Today on Facebook on the “Commodore Amiga” group I noticed a link to: https://console5.com/wiki/Converting_from_Surface_to_Leaded_Capacitors
And he who posted it asked about the opinions of using Holethrough caps.
And well again I was reminded of a horrible motherboard sent to me for a fix after a failed recap.
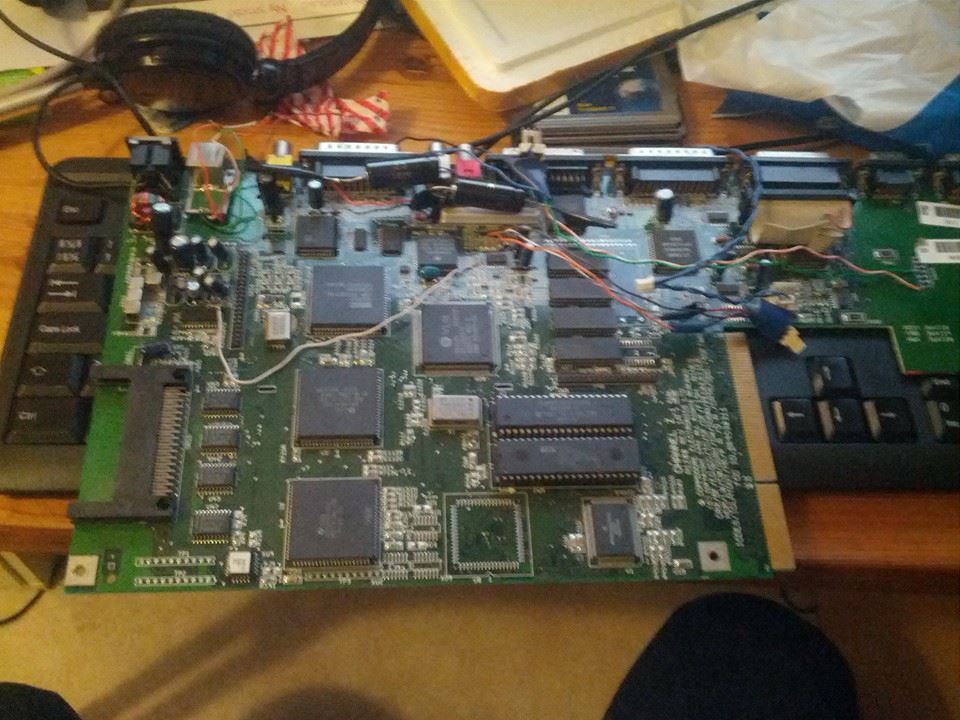
This was the board, YES! that two black things at keyboardconnector sure IS 22uF caps.
So let us go through some basic stuff:
WHY Recap?
ok, Amiga 600, 1200, 4000, CD32, CD32 FMV Module, A4000 030 and 040 CPU cards all suffer of leakage. When the caps leaks it eats up your motherboard and after a while destroys it. OFTEN it is noted by bad composite out, bad audio. also effects like nonboot (CD32, A600), or cracking noises or distorded audio.
And when you have issues like distorded audio, just a change of capacitors will not do it (recap) so it is better to have your machine recapped BEFORE you are having any issues.
How to notice leakageissues? Well first of all, not always those issues are visible. a board can look perfectly fine and when removing caps you notice leakage.
BUT often you can see some dull colors at the bottom of the caps, like this example:
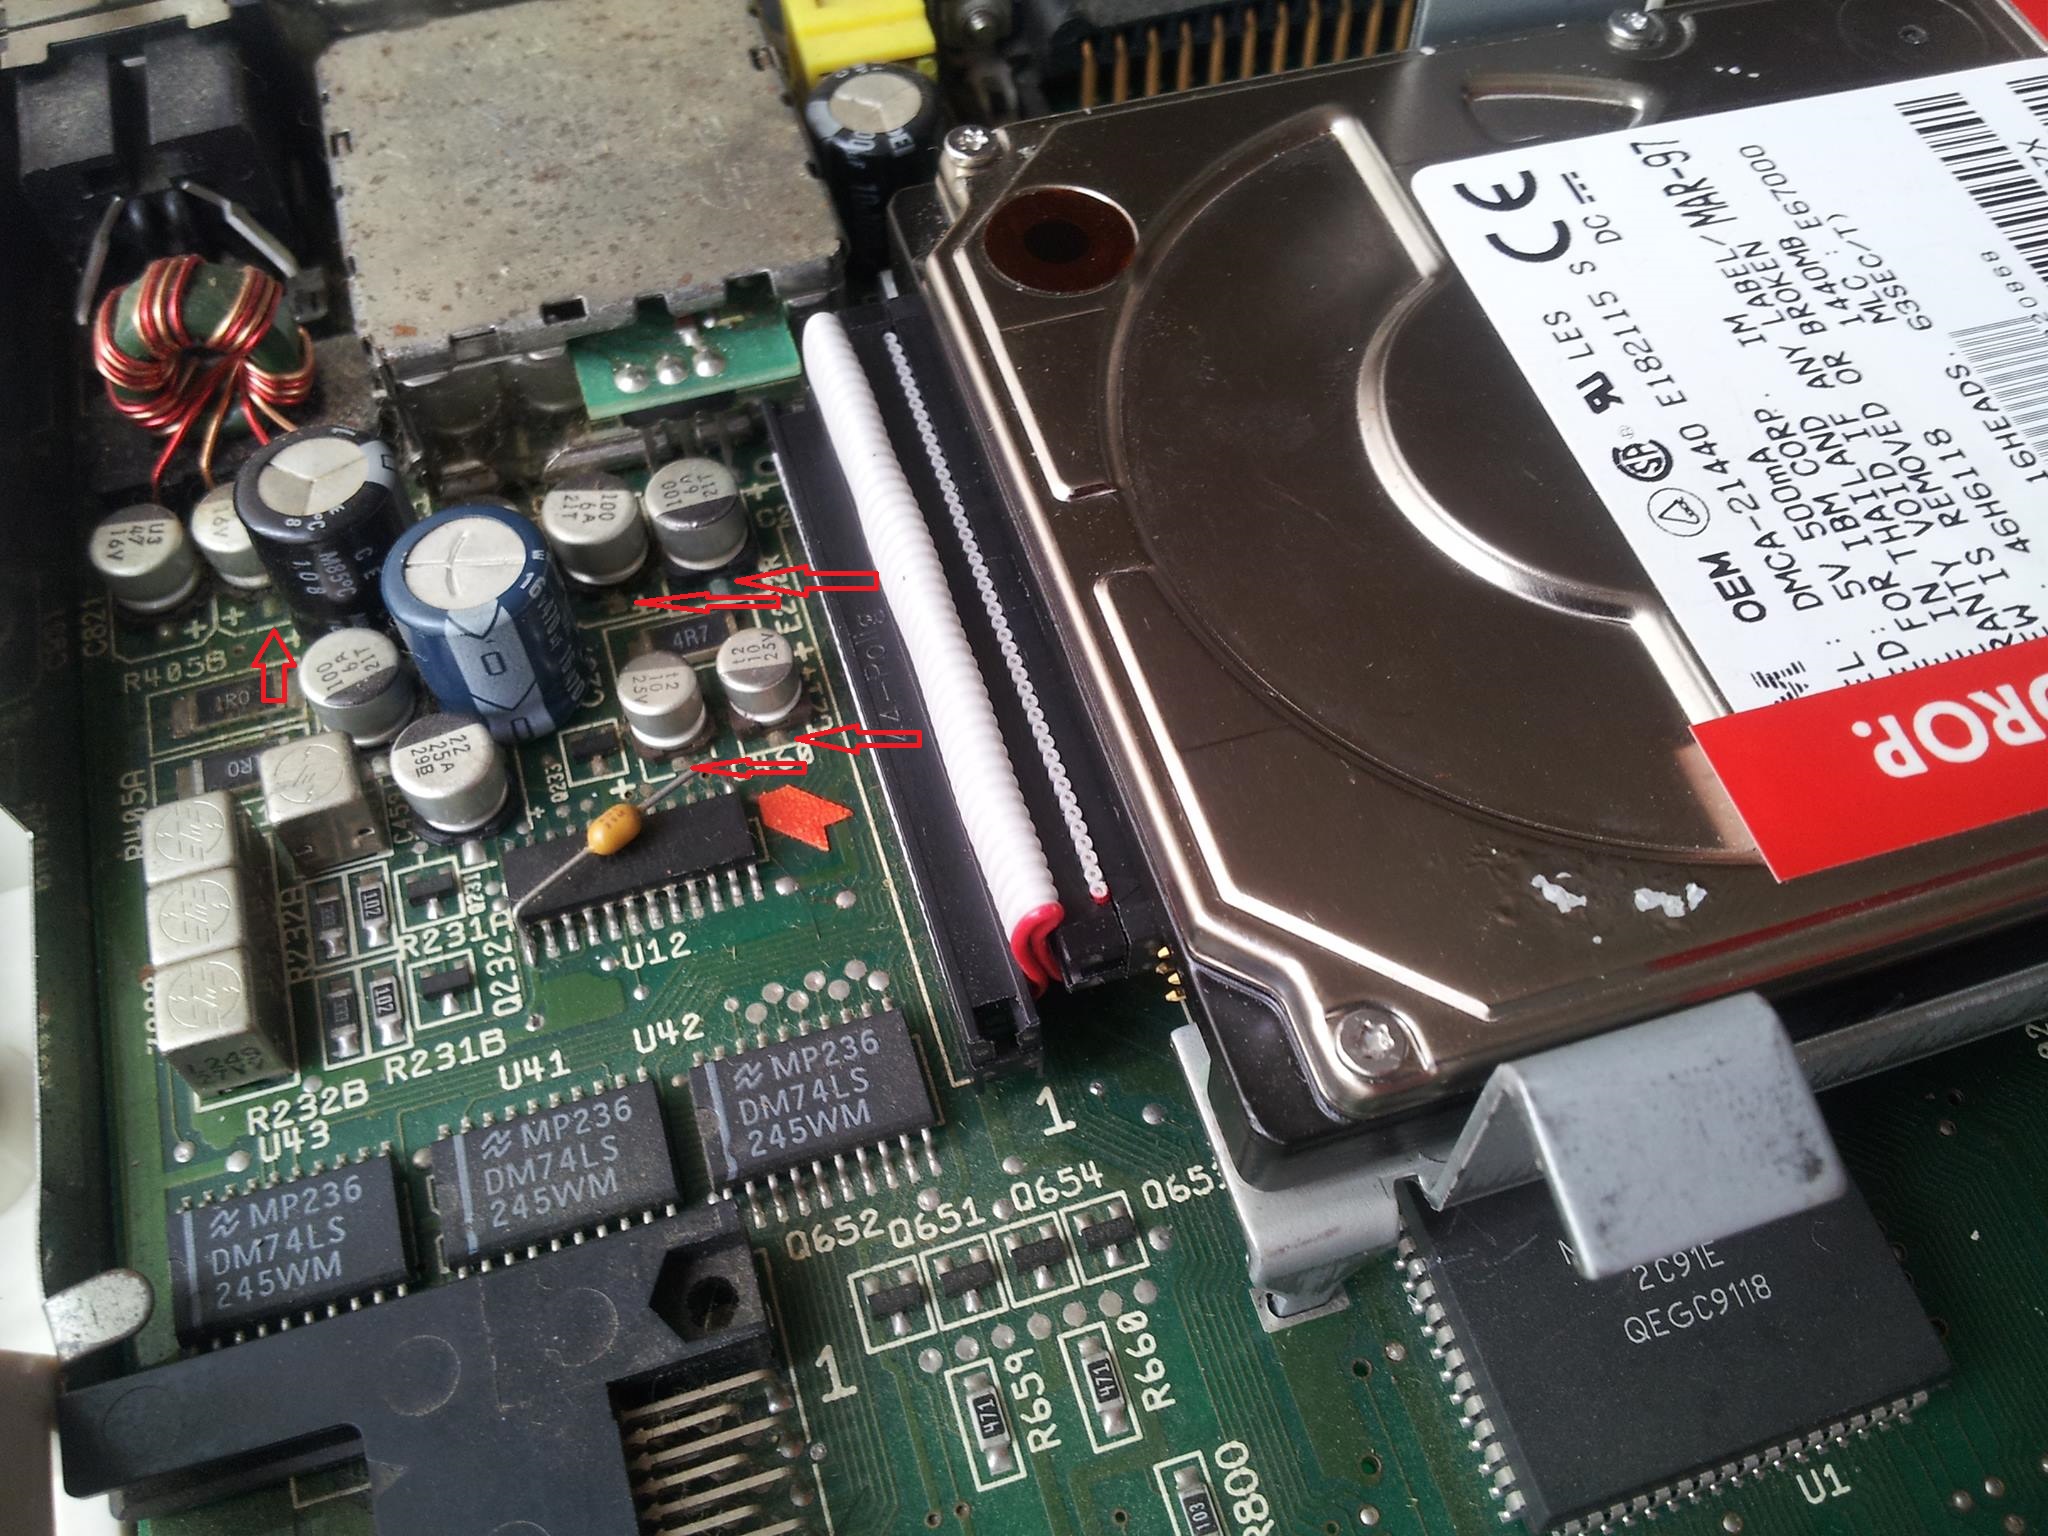
at the arrows you can see that there is a grey/greeish color and not as shiny as it should be. the darker the worse.
So what you need to do is to replace them, and I would recomend to change them all while doing it.
so.. HOW do you remove it? at the link at the top, they say that you can twist them off.
ok. well you CAN take your magnum and SHOOT them off the board if you like to. But it is TOTALLY wrong.
WHY?
Simple, look at the board, the pads they are small. (like 2x3mm) and are glued to the PCB. they are not designed for the force applied when removing the caps with force. it CAN work but it can also fail so you need to do a lot of extra work, especially when dealing with weakend pads due to the leakage. so twisting, wiggeling, cutting them off stresses the PCB more then it was designed for, especially with old stuff like the Amiga. There are only 2 days that works good:
- Hot Tweezers, this is like a tweezer of 2 solderingirons, heating up both spots at the same time, so you can easy remove them
- Hotair station, there are really ok hotairstations now for more or less nothing on E-Bay like the Atten 858D, they are really nice, and with a temperature of aprox 280 degrees it is quite easy to remove the caps without damaging surrounding plastics.
So simply: Do NEVER apply force when removing SMD caps, NEVER EVER. there is no excuse even if it MIGHT work most of the times. but usually you DO rip a pad or so making the recap much harder.
OK. New caps then. what to use?
First of all: Commodore have calculated a lot when designing the machines, of types etc. BUT also: during production you want to cut costs. You simply does not put in the best stuff as it costs too much, and ACTUALLY . you want customers to buy more machines later, so they should not last too long.
Through-hole caps: again, in the link above he uses throughhole caps.
YET again, this is just WRONG!. even if they MIGHT leak less (they sure can leak aswell!), again they are not designed for SMD installation. SO the pads on the PCB is stressed from the caps. Vibration if you move it, expansion when the machine gets hot/cold. Remember it took aprox 20 years before there was issues with the LOW QUALITY caps commodore used, the stress from holethrough caps can also take several years before they get noticed.. at my picture above, I do not need to tell you that the pads for the audiocaps (22uF, the BIG black ones) was loose. but also pads for other locations replaced with holethrough caps.
There is NO reason whatsoever to put in holethrough caps except one thing: You cannot solder SMD! and that is false as it is actually HARDER to solder in trough hole caps on SMD locations then real SMD caps.
Ceramic Caps: Well People are putting in ceramics instead as “they will not leak”. This is very true YES, instead they short and makes very ugly HARD to repair burnmarks on the motherboard. AND also they have totally different
characteristics than electrolytes. So it will not work as Commodore designed it for.
Tantalum Caps: Ok this is somewhat better then Ceramics, but yet again, different
characteristics than electrolytes, they do not leak, true. intead they can explode making more damage on the motherboard, also handles ripple etc different.
One VERY simple rule here: keep within the same type then it will work as Commodore once planned to it. a booting machine is NO proof of working caps whatsoever. remember that the Amiga boots without any of the electrolytes installed (but no audio, composite out etc.. but will boot) so even with leaking BAD caps it can behave like it works.
I myself use Panasonics Hybridcaps. (a nonformatted list at the end of this post) that have proven to work just fine, they DO cost some. but this is the Amiga, it is worth it.
OK enough of ranting and so. lets do the COMPLETE guide of recapping.
Some months ago I made 2 short videos of it:
https://www.youtube.com/watch?v=5DB56v_p80k
but here is the Complete guide for persons who cannot solder:
- Open your Amiga
- Remove motherboard, put it into a ESD Bag
- Contact a peson with good reputation of recapping using SMD electrolyte caps
- Ship it to the person above
- Wait
- Recieve Package from person
- Install motherboard into your case
- Enjoy
SIMPLY!: if you need a guide: DO NOT DO IT!.
Interested to learn? dig up D-Link routers, remove components, replace them on and on and on again until you do not make misstakes.. THEN you can do your Amiga rework. NEVER EVER practise on the Amiga. it MIGHT look simple, but I have got so many board with problems as people practised on their beloved Amigas.
removing components from the Dlink etc might be harder as they use leadfree solder, but then you learn more.
So simply: NO force when removing caps, no throughhole, and keep the same type.
A working list of caps for the Amiga computers using SMD:
A4000:
5 SMD 22 uF 35 VDC, EEHZA1V220R (NOTE! 2 of the mounted wrong on motherboard)
10 SMD 47 uF 35 VDC, EEHZA1V470P
1 SMD 100 uF 25 VDC, EEHZA1E101XP
1 SMD 10 uF 50 VDC, EEHZA1H100R
2 SMD 4.7 uF 35 VDC, EEEFK1V4R7R
2 470 uF 25 VDC, EEUFR1E471 (Through hole)
(Rev D Motherboard: add 2 22uF)
A4000T:
6 SMD 22 uF 35 VDC, EEHZA1V220R
14 SMD 47 uF 35 VDC, EEHZA1V470P
11 SMD 100 uF 25 VDC, EEHZA1E101XP
3 SMD 10 uF 50 VDC, EEHZA1H100R
15 SMD 4.7 uF 35 VDC, EEEFK1V4R7R
3 470 uF 25 VDC, EEUFR1E471 (Through hole)
A1200
5 SMD 22 uF 35 VDC, EEHZA1V220R
2 SMD 47 uF 35 VDC, EEHZA1V470P
4 SMD 100 uF 25 VDC, EEHZA1E101XP
3 SMD 10 uF 50 VDC, EEHZA1H100R
2 470 uF 25 VDC, EEUFR1E471 (Through hole)
2 1000 uF 10 VDC, EEUFR1A102L 6 (Through hole)
(A600: add one 10uF more)
CD32:
6 SMD 22 uF 35 VDC, EEHZA1V220R
5 SMD 47 uF 35 VDC, EEHZA1V470P
9 SMD 100 uF 25 VDC, EEHZA1E101XP
4 SMD 10 uF 50 VDC, EEHZA1H100R
4 SMD 4.7 uF 35 VDC, EEEFK1V4R7R
1 470 uF 25 VDC, EEUFR1E471 (Through hole)
2 1000 uF 10 VDC, EEUFR1A102L (Through hole) (NOTE! mounted wrong on motherboard)
A3640:
5 SMD 22 uF 35 VDC, EEHZA1V220R (3 are mounted wrong on PCB)
A3630:
4 SMD 22 uF 35 VDC, EEHZA1V220R
CD32 FMV Module:
6 SMD 47 uF 35 VDC, EEHZA1V470P
5 SMD 100 uF 25 VDC, EEHZA1E101XP
2 SMD 10 uF 50 VDC, EEHZA1H100R
Those caps are of a MUCH better quality than the original ones and will hold extremly longer period of time. I would guess atleast 30+ years.
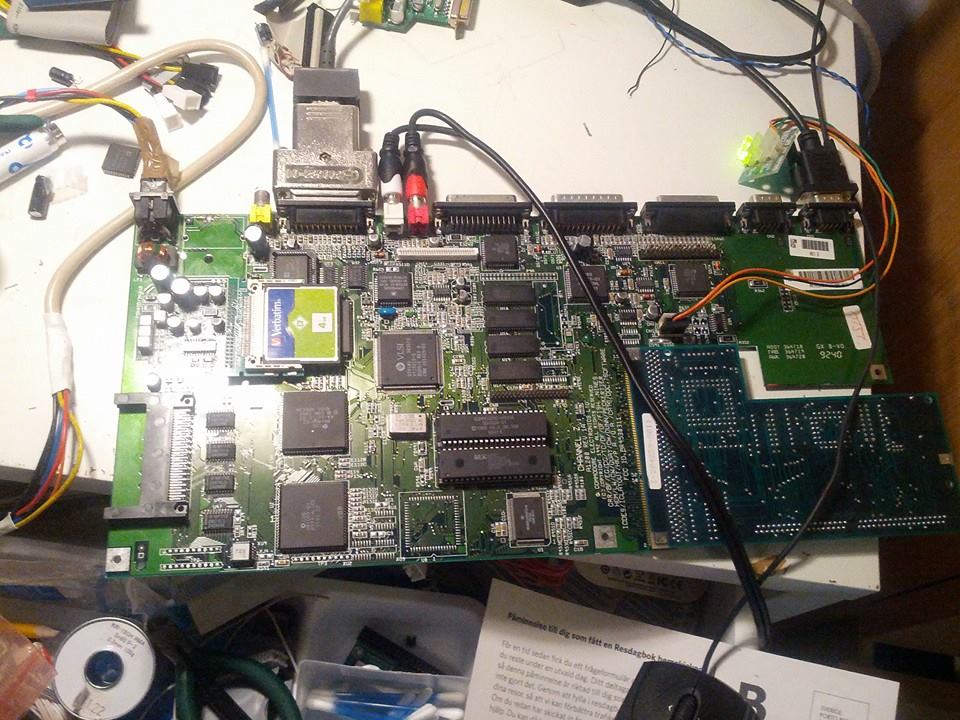
oh the bad board with horrible caps? Do not worry this is the endresult:
In the text you mention that you recieve boards for recapping. Do you offer this as a service?
YES I do.
just send a mail to repairs(at)diagrom.com
Only best sollution:
hybrid polymer aluminium capacitors. Better than everything!
https://industrial.panasonic.com/ww/products/capacitors/polymer-capacitors/hybrid-aluminum#s3
as in my list 🙂
Hi!
I have just recapped an A1200, using a kit bought over the web with the correct capacitors although I think the 10uF ones are smaller and 16v.
The process went fine, no broken traces and the A1200 boots fine. For some minutes I have normal screen and colors, but a few minutes later I notice the RED turned into a light magenta and the colors looks washed and with too much bright/contrast.
These 16v 10uF can be the problem? Or it is somewhere else?
Thanks in advance.
nah that does not sound like a cap issue..
Hej, Jag har en A1200 med ett fel så att 3 tangenter inte fungerar, är det något du skulle kunna åtgärda tro?
Låter som att du behöver köpa ett nytt tangentbordsmembran
Okej, kan man se på membranet om det är defekt?
Små sprickor etc
Hi John
Saw your list of caps to use on a600. Can you help me figure out what new cap replaces which old one? I cant find any more info on capping a 600 apart from that article
well 22uF at 22uF locations etc..
You claim that A4000 has two 22uF capacitors mounted wrong on motherboard. You people still spread this nonsense? Are you capable of measure the voltages with an oscilloscope to see that you are writing nonsense (yet again)?
this was in spam..
yes. to measure it. put the negative probe on your oscilloscope on the negative part of the cap, and the positive on the positive part of the cap and watch the swing go between 0 and -2.4V aprox. Meaning they are turned the wrong way..
You never mention the Amiga 3000 or 3000T. I am in the process of acquiring both and they have not been touched (other than battery). Do these models not need recapped?
The Amiga 1200 REV 1B has C460 populated with an additional CAP so it needs 4 SMD 10 uF 50 VDC not 3.
you are right should edit that
You don’t mention the older models – does this mean that 500s and 3000s (those are the ones I got) don’t need re-capping? I’ve read that at least the power supplies should get new capacitors. What’s your take on this?
Thanks!
they can dry out. but not really leak.. so even if it might be good maintenance to have them changed in time. not alarming right now
hay chuck, thank for your great work, do you know if i can skip any of the caps if i don’t want to use the build in rf tuner?
Thanx. well. cannot check chematics now. but compare to my R1200 and you will see 🙂
Hey Chuck, nice non-guide you have here, thanks for the info. I have a question, what do you recommend to clean the black goo of the leaked capacitors once you remove them from the board? I’ve tried IPA and white vinegar, but once it dries, the black goo seems to be still there (not shiny board as you say here), so what do you use to completely get rid of that electrolytic goo?
Well now I actually put it in my ultrasonic cleaner
Your tutorial link; (https://www.youtube.com/watch?v=5DB56v_p80k) not working. Can you update if it has been changed please. THANKS!!
problem is that I have no local copy of that. it is a result of all fake copyrightclaims of the idiot at phake5
Hi!
We are currently recapping A1200 rev 2B mothrboard. C407 cap on The motherboard is a tantalum SMD -type. The one that came with The replacement kit Is not a tantalum -type.
Is it ok to go with different type cap on C407 (replacement kit Is from amigakit)
I actually usually let that tantal be.
Tjo.
Vad tar du för en recapping av en a1200? 🙂
Hittar ingen prislista.
Vågar inte göra det själv.. xD
500SEK
You did not mention the A1000 and A2000, do they have better quality components that are harder to leak, or you just forgot to mention them? Thanks.
no they are using throughhole caps and are not as prone to leak!. however they can dry out and loose its preoperties. so you might need to replace those anyway. but they usually does notleak and make issues .
Hej. Har en 1200 som inte rörts på 20+ år. Förutom recap. Är det nåt jag ska tänka på. Vilket ör det bästa sättet att rengöra moderkortet? Om jag ska skicka den till dig för recap. Hur går jag tillväga, och vars i sverige bor du.
Mvh / Arvid
Jag rengör allt med ultraljudstvätt..
Jag bor i Karlstad. för recap (och ultraljudstvätt) så kontaktar du mig på johnhertellnu
Which 2, 22 uF 35 VDC, EEHZA1V220R mounted wrong on motherboard ?
Those for audio C443 and C433
Well.. I do not belive in registering trademarks etc etc.
so by that I cannot say anything. however.. what to say I would “preffer” that the boards from me is the ReAmiga ones..
in short: I have no real plan for the name.
Hi John,
I am mounting a 4000 rev.B + CS MK1 040 with the original capacitors still that works fine except for the IDE. If I prepare a CF with WinUAE, the system loads correctly but the computer hangs with any attempt to write to the card. Almost always with a Guru 80004.
I have tried several CF-IDE adapters and cards and have also found that they work on other Amiga.
Could it be an error related to the capacitors?
Sounds like missing 040/060 libs in your WB installation
Hi John, since Panasonic Hybrid Polymer caps are nowhere to be found these days, can you recommend similar caps like the series you mention in your list?
I would like to recap my A4000, but the 47uF are nowhere to be found, the other SMD ones either.
Thanks in advance!
have no partno now sadly but I have use WURTH caps a while that works fine
Hi John, im new to recapping/soldering. I watched a video of a guy in NZ cut the caps in half with snips, you commented on it. So when I recapped my own amiga i looked at the new caps and found they have 2 thin connections underneath. I figured the old ones must be the same so i melted one side of the solder while in situ and leaned the cap backwards, then heates the other piece of solder and the cap came off easily. Is there anything wrong with this approach?
As I told. anything with force, cutting, twisting etc are WRONG!.
Very nice resource here, thanks for doing this!
I have some old pc boards, and audio boards with TINY surface mount caps, and I’m practicing on them before I TOUCH my A4000 board, but I have started by cleaning around all the leaky caps with vinegar and IPA to stop further corrosion.
If my systems have video issues, and a recap doesn’t change the issues, I suppose components need replacing.
Would you resolder all dull traces? Suck old solder off, and flow new solder? What say you?
yes remove and clean. also put a wire through vias as that isthe most common place of issues
Is there a reason why to use hybrid polymer capacitors instead of non-hybrid polymers? Asking because I have to recap my 1200 and would like to never see caps leaking again and eg. Chemi-Con PXG series does have caps which have correct diameter, higher than original voltage rating and excellent life?
Not really. except maybe “price”