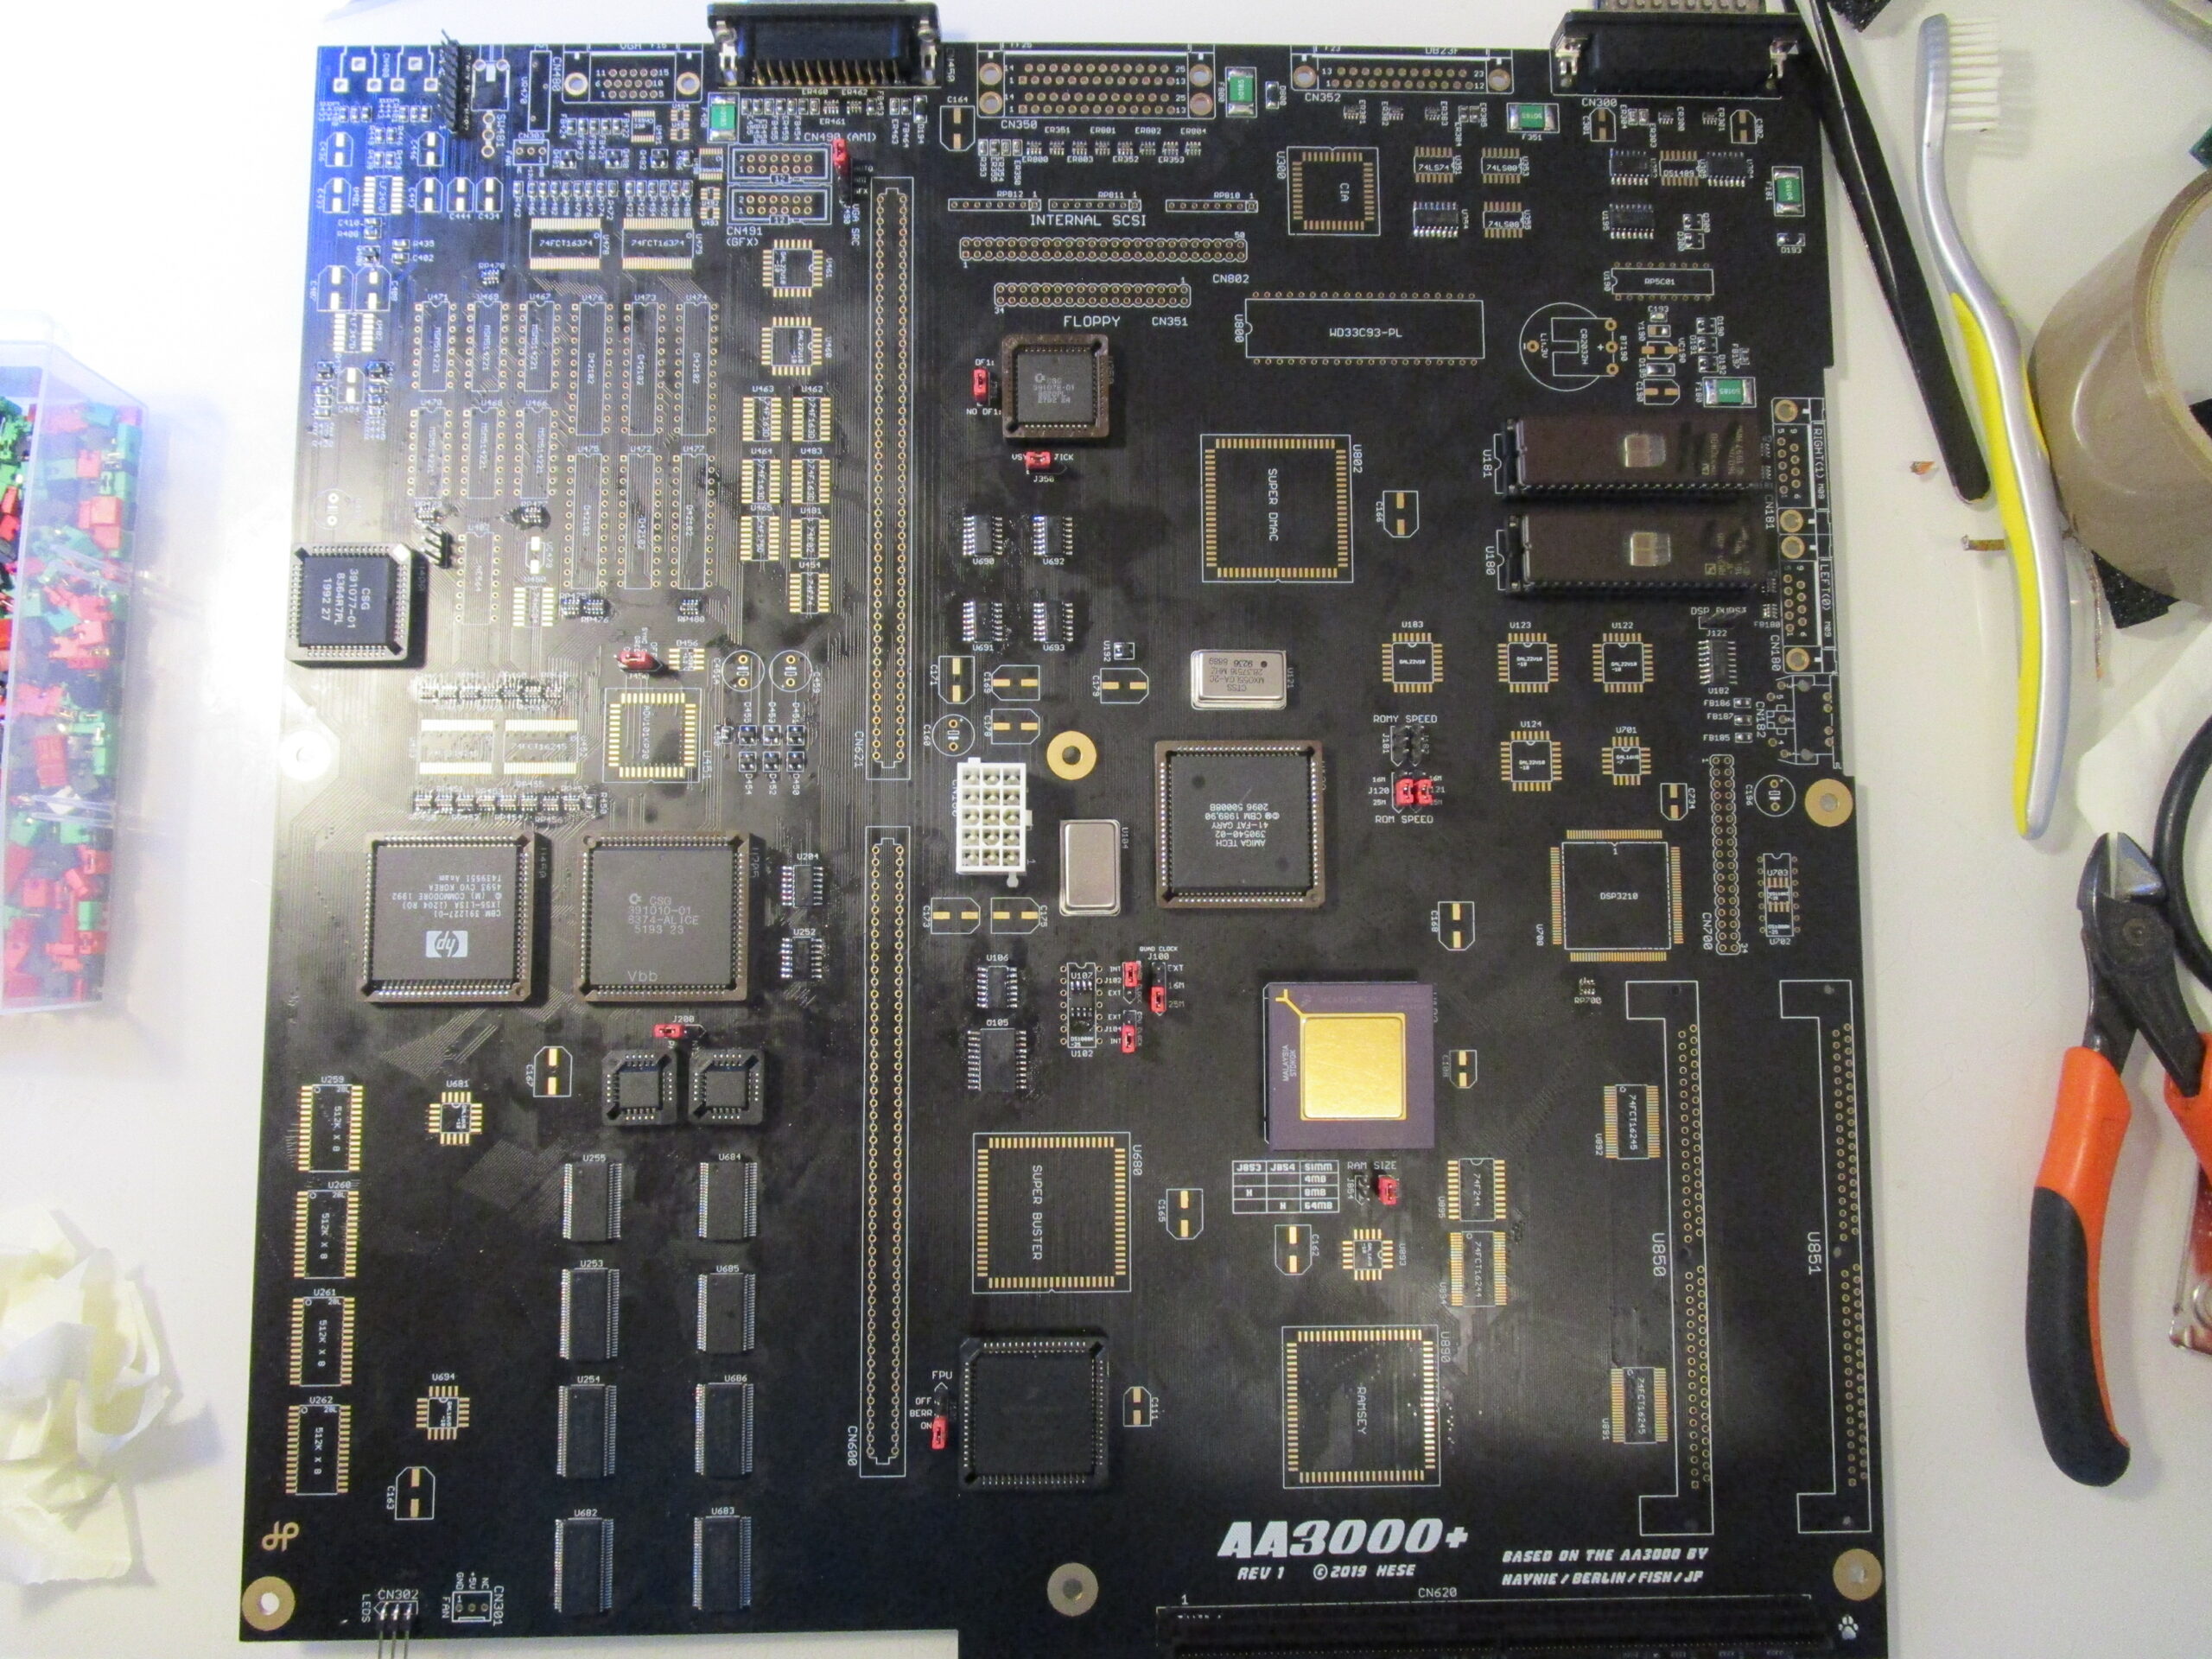
A while ago I bought the AA3000+ PCB, it is basically a redesign from the scrapped AA3000 project, an Amiga 3000 with AGA, Redesign by Hese.
(Hm need to include links to projectpage is there is one)
So here is how I did (or technically doing as I am at writing point not done yet) my build. I try to do it like I have done all other buildguides, from a minimal setup to a more working machine.
BUT as I have no schematics or so, some parts will be by guessing and how I did on the A3000 and A4000 builds.
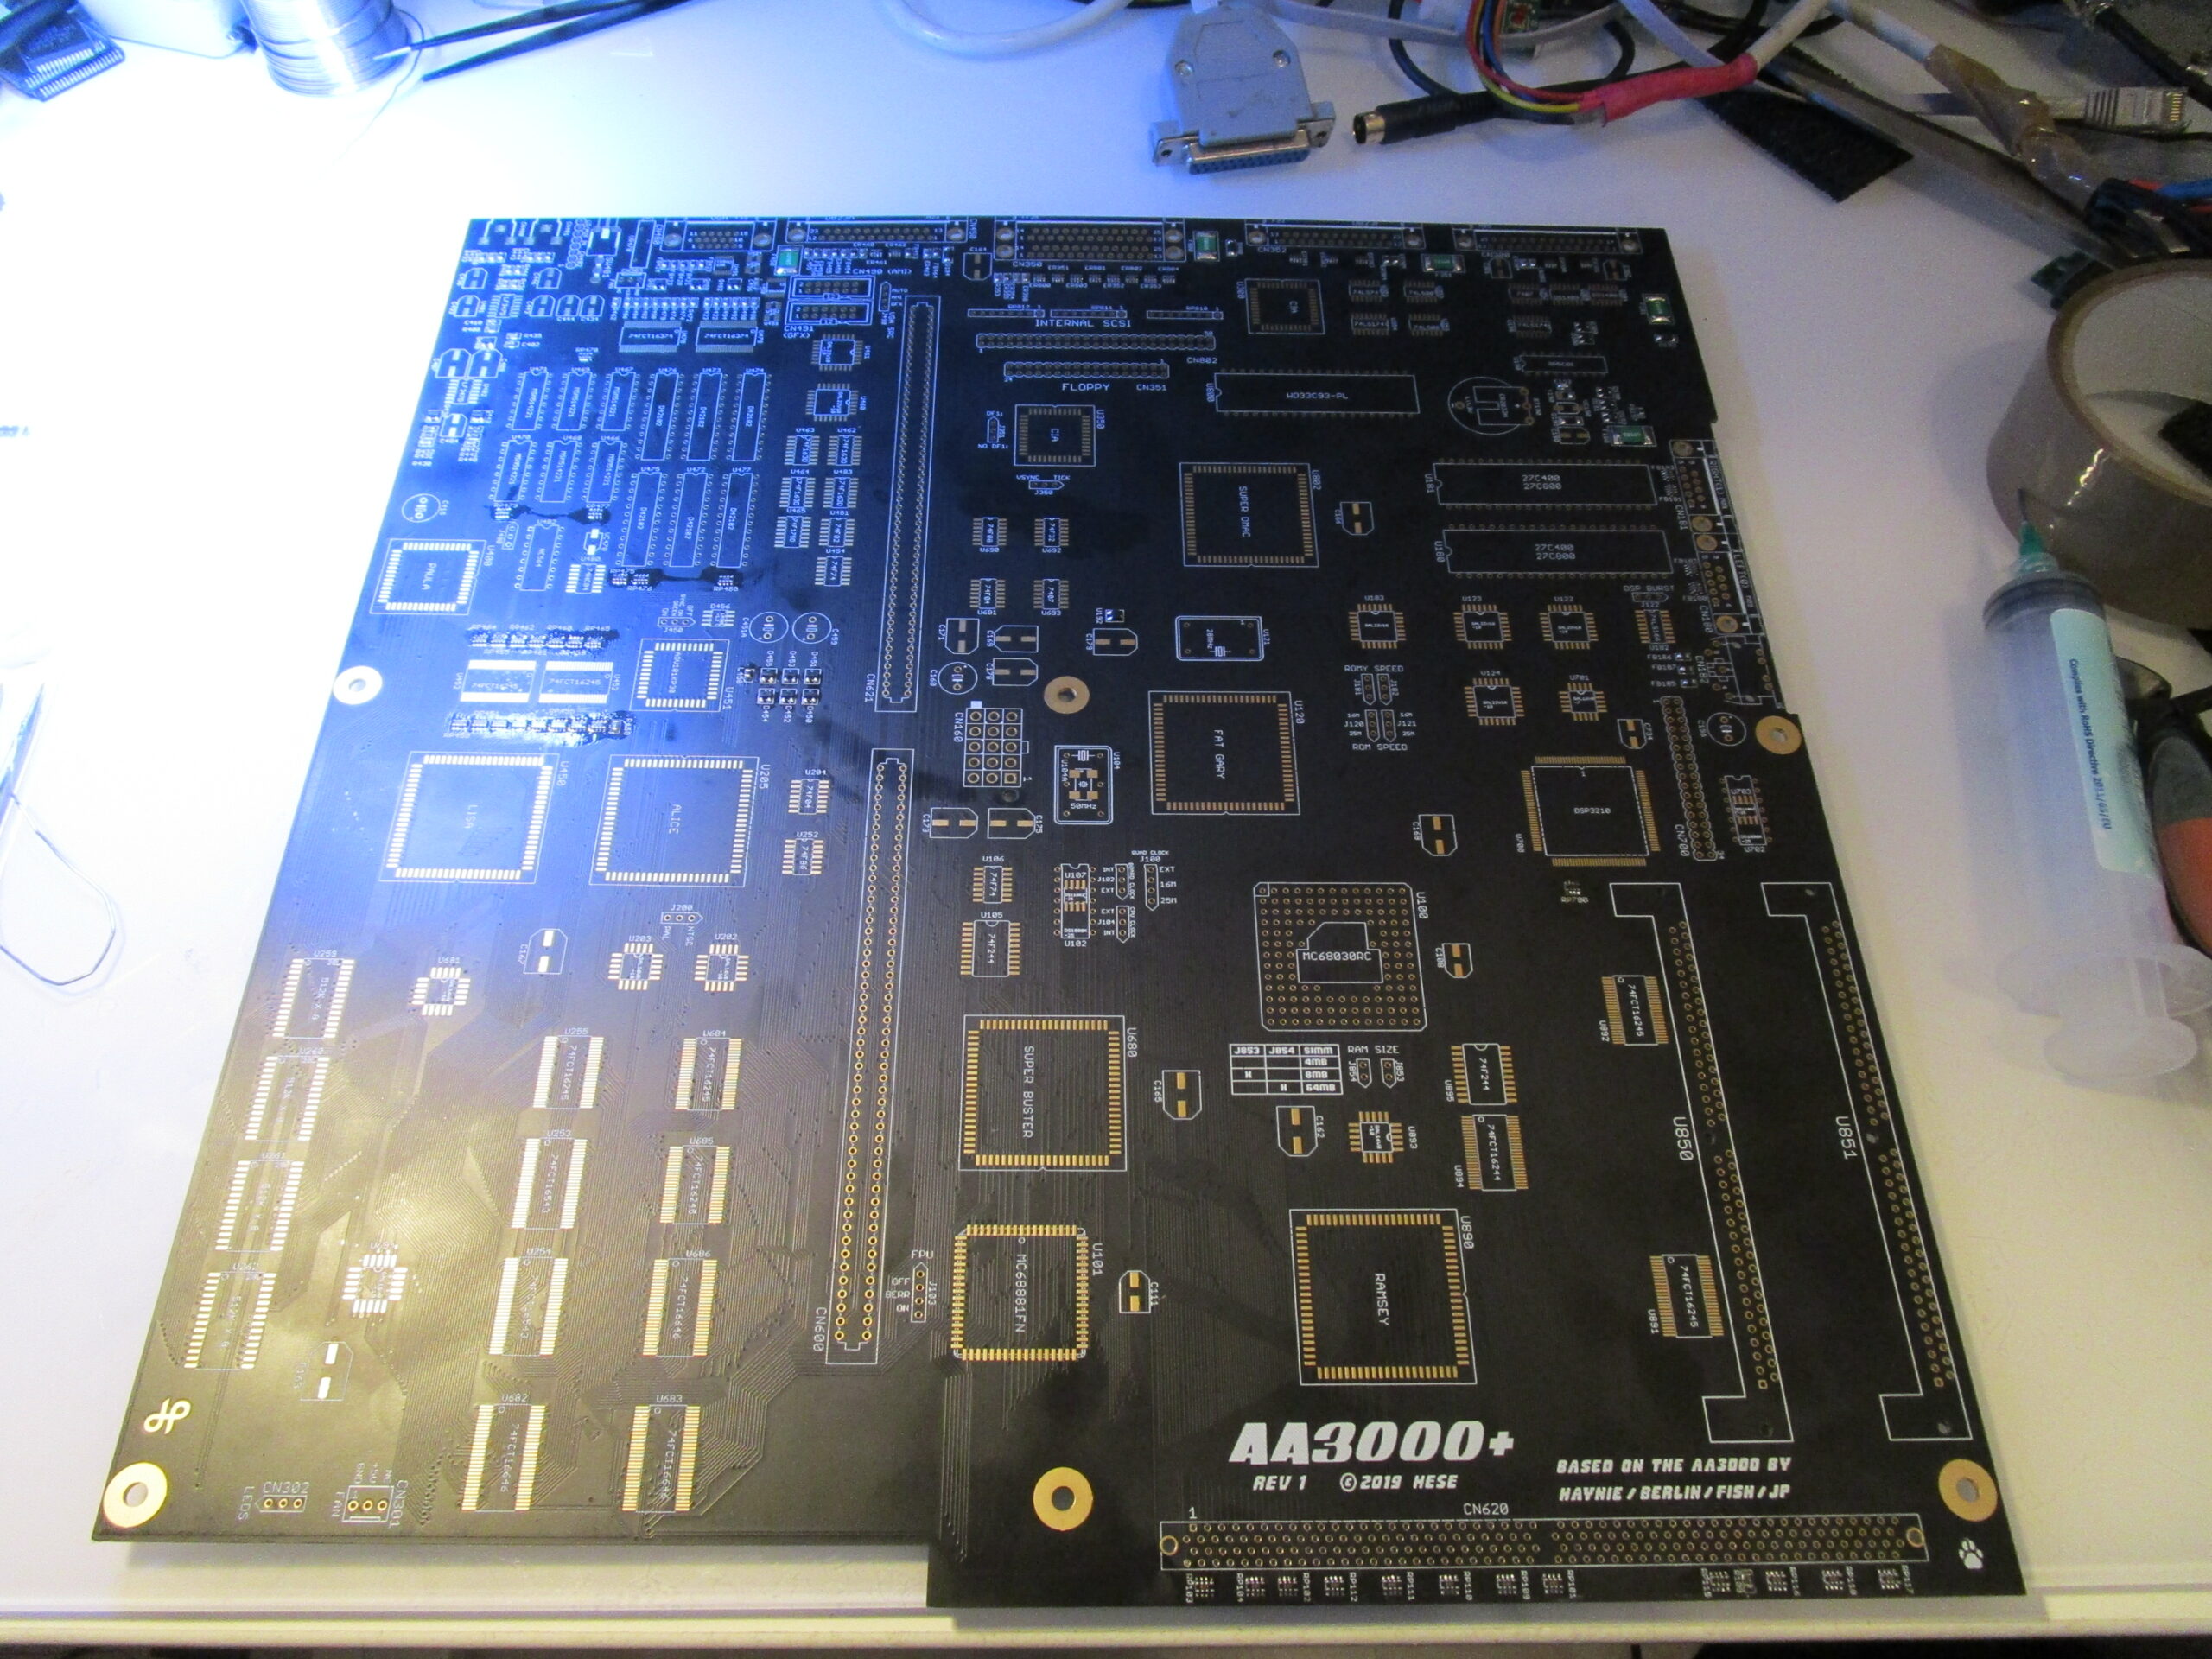
BUT as usual I start with a board with ALL passives on. (this uses small resistornets etc, be careful to solder them right without bridges)
I made a Locatorpage for this instead of using the file by Hese:
https://locator.reamiga.info/locator.php?project=AA3000Plus
First, POWER to the board. so add the Powerconnector and the headers for the LEDs to the bottom left.
I put my LED board here to see that it works. power on and:
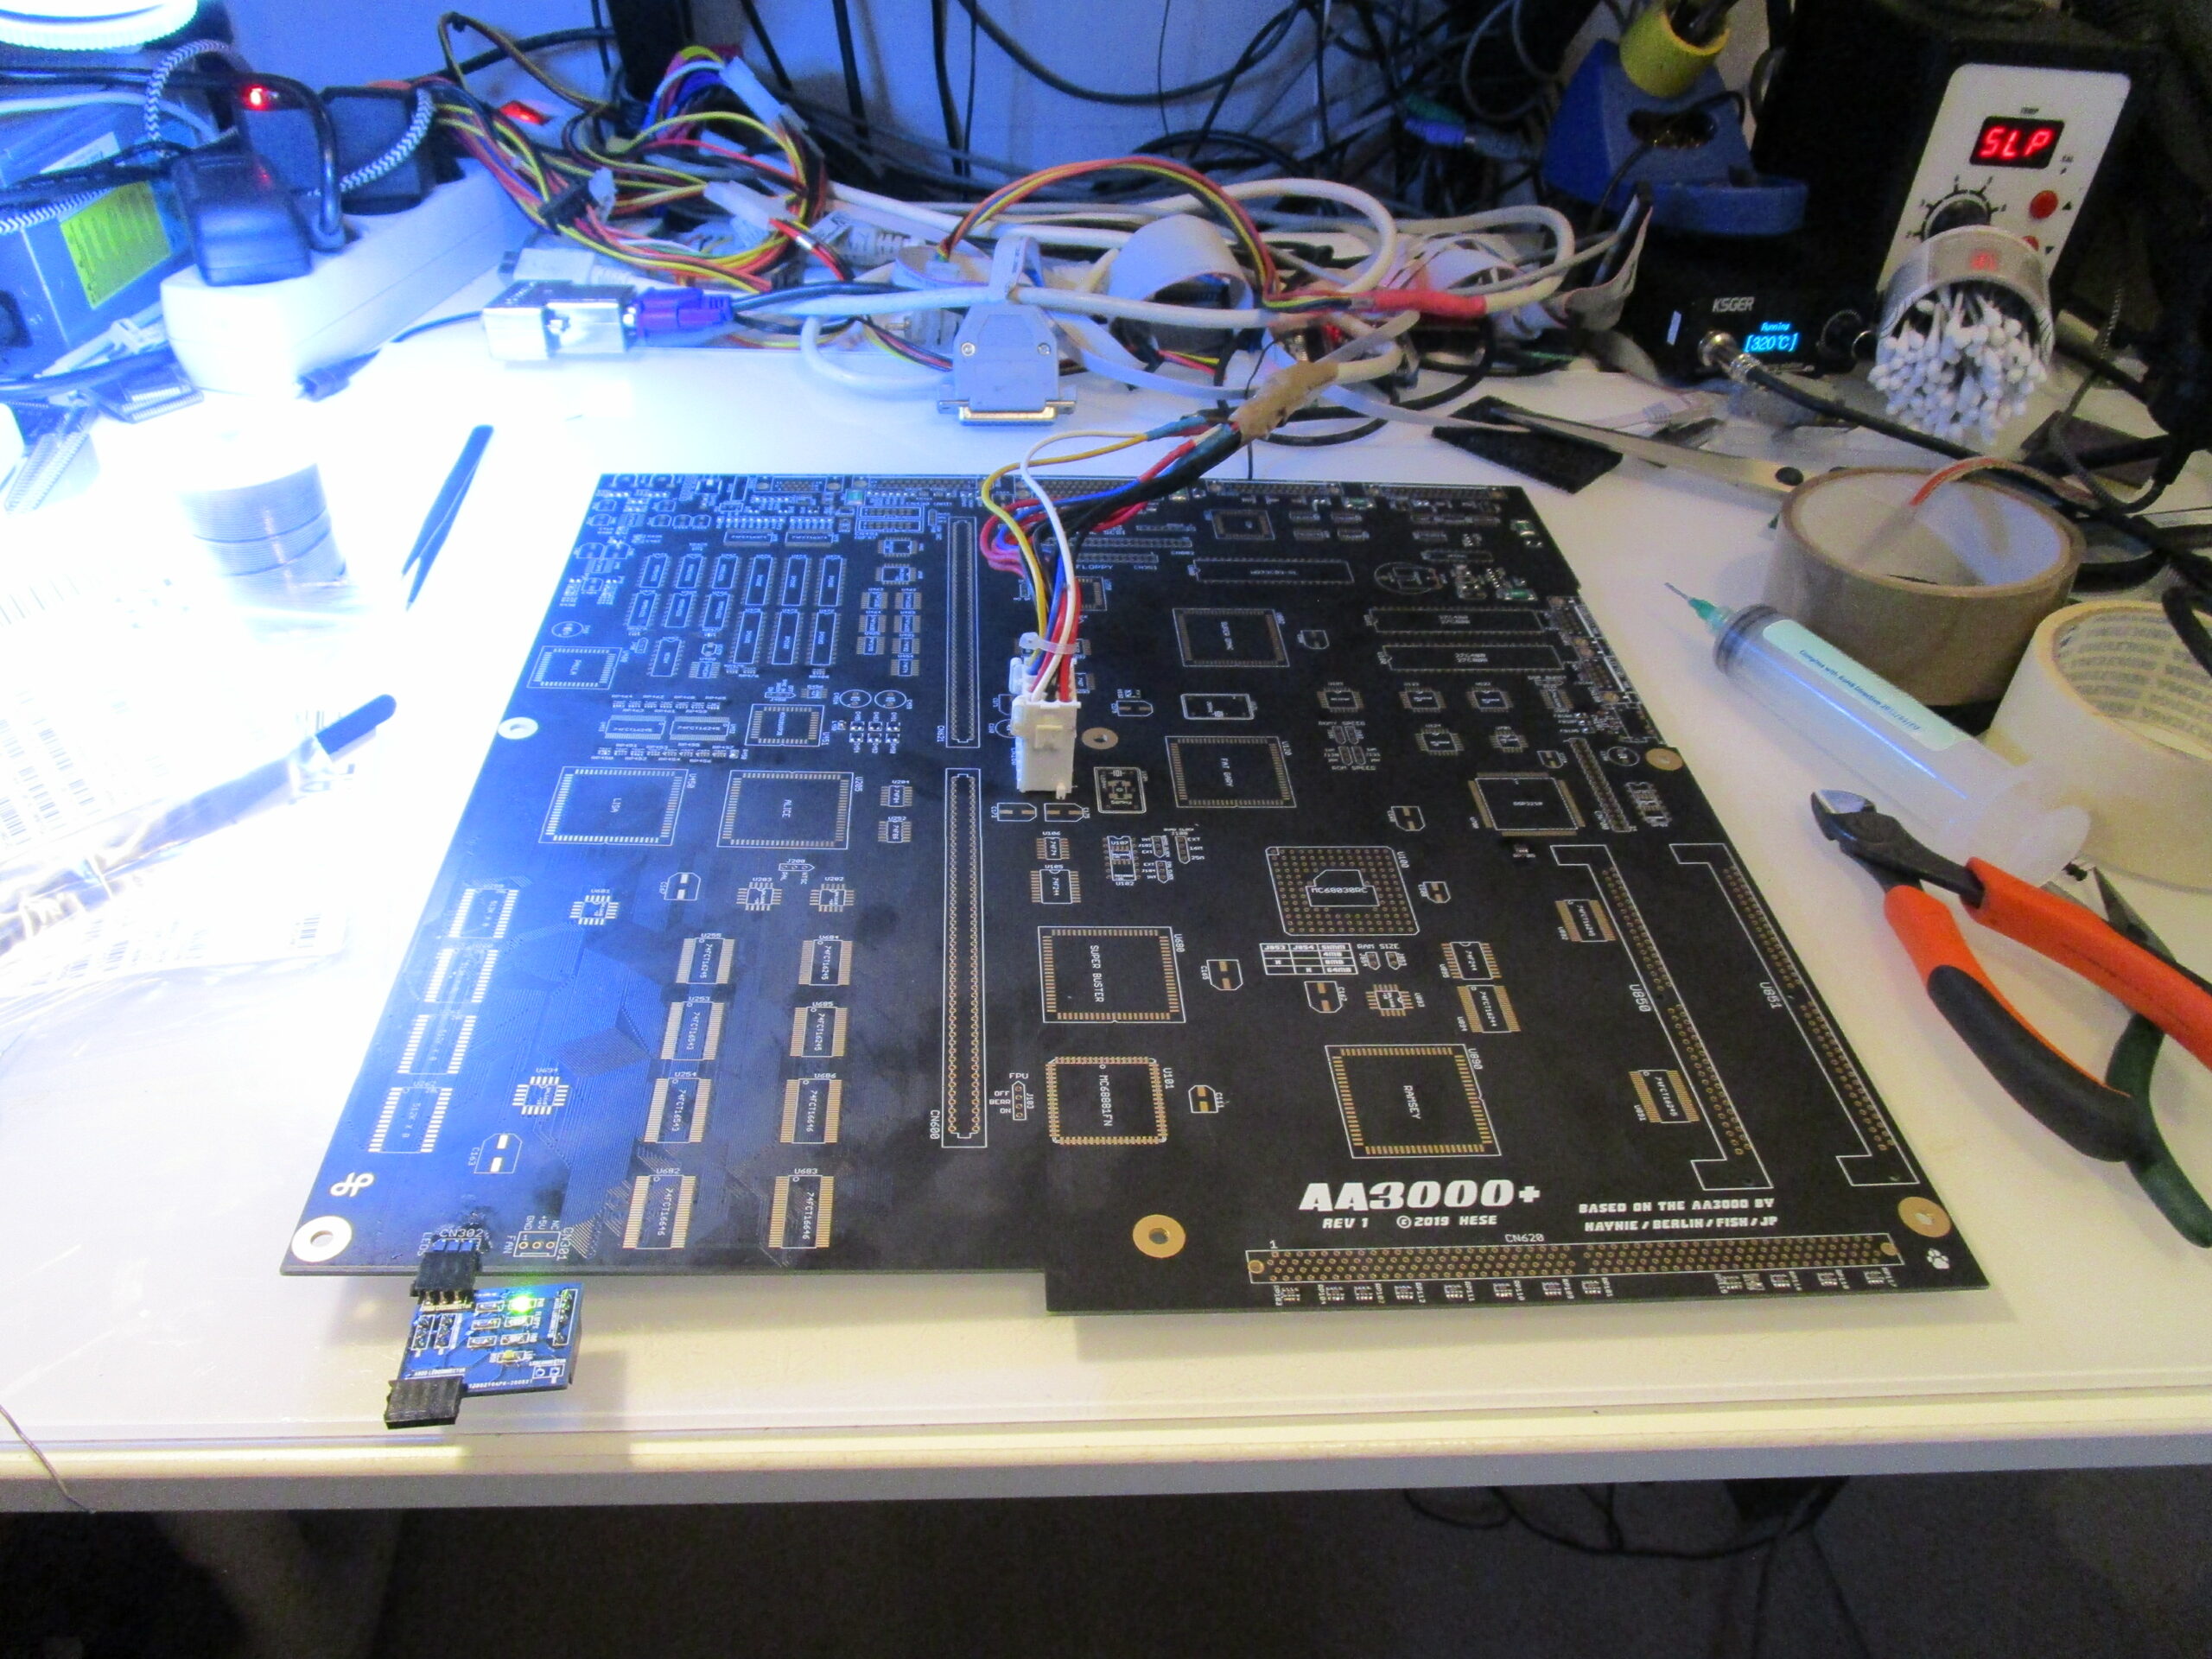
Led is light, that means +5V works.
Time to fix so the board can handle a reset:
Add U692 (74F32) and U693 (7407)
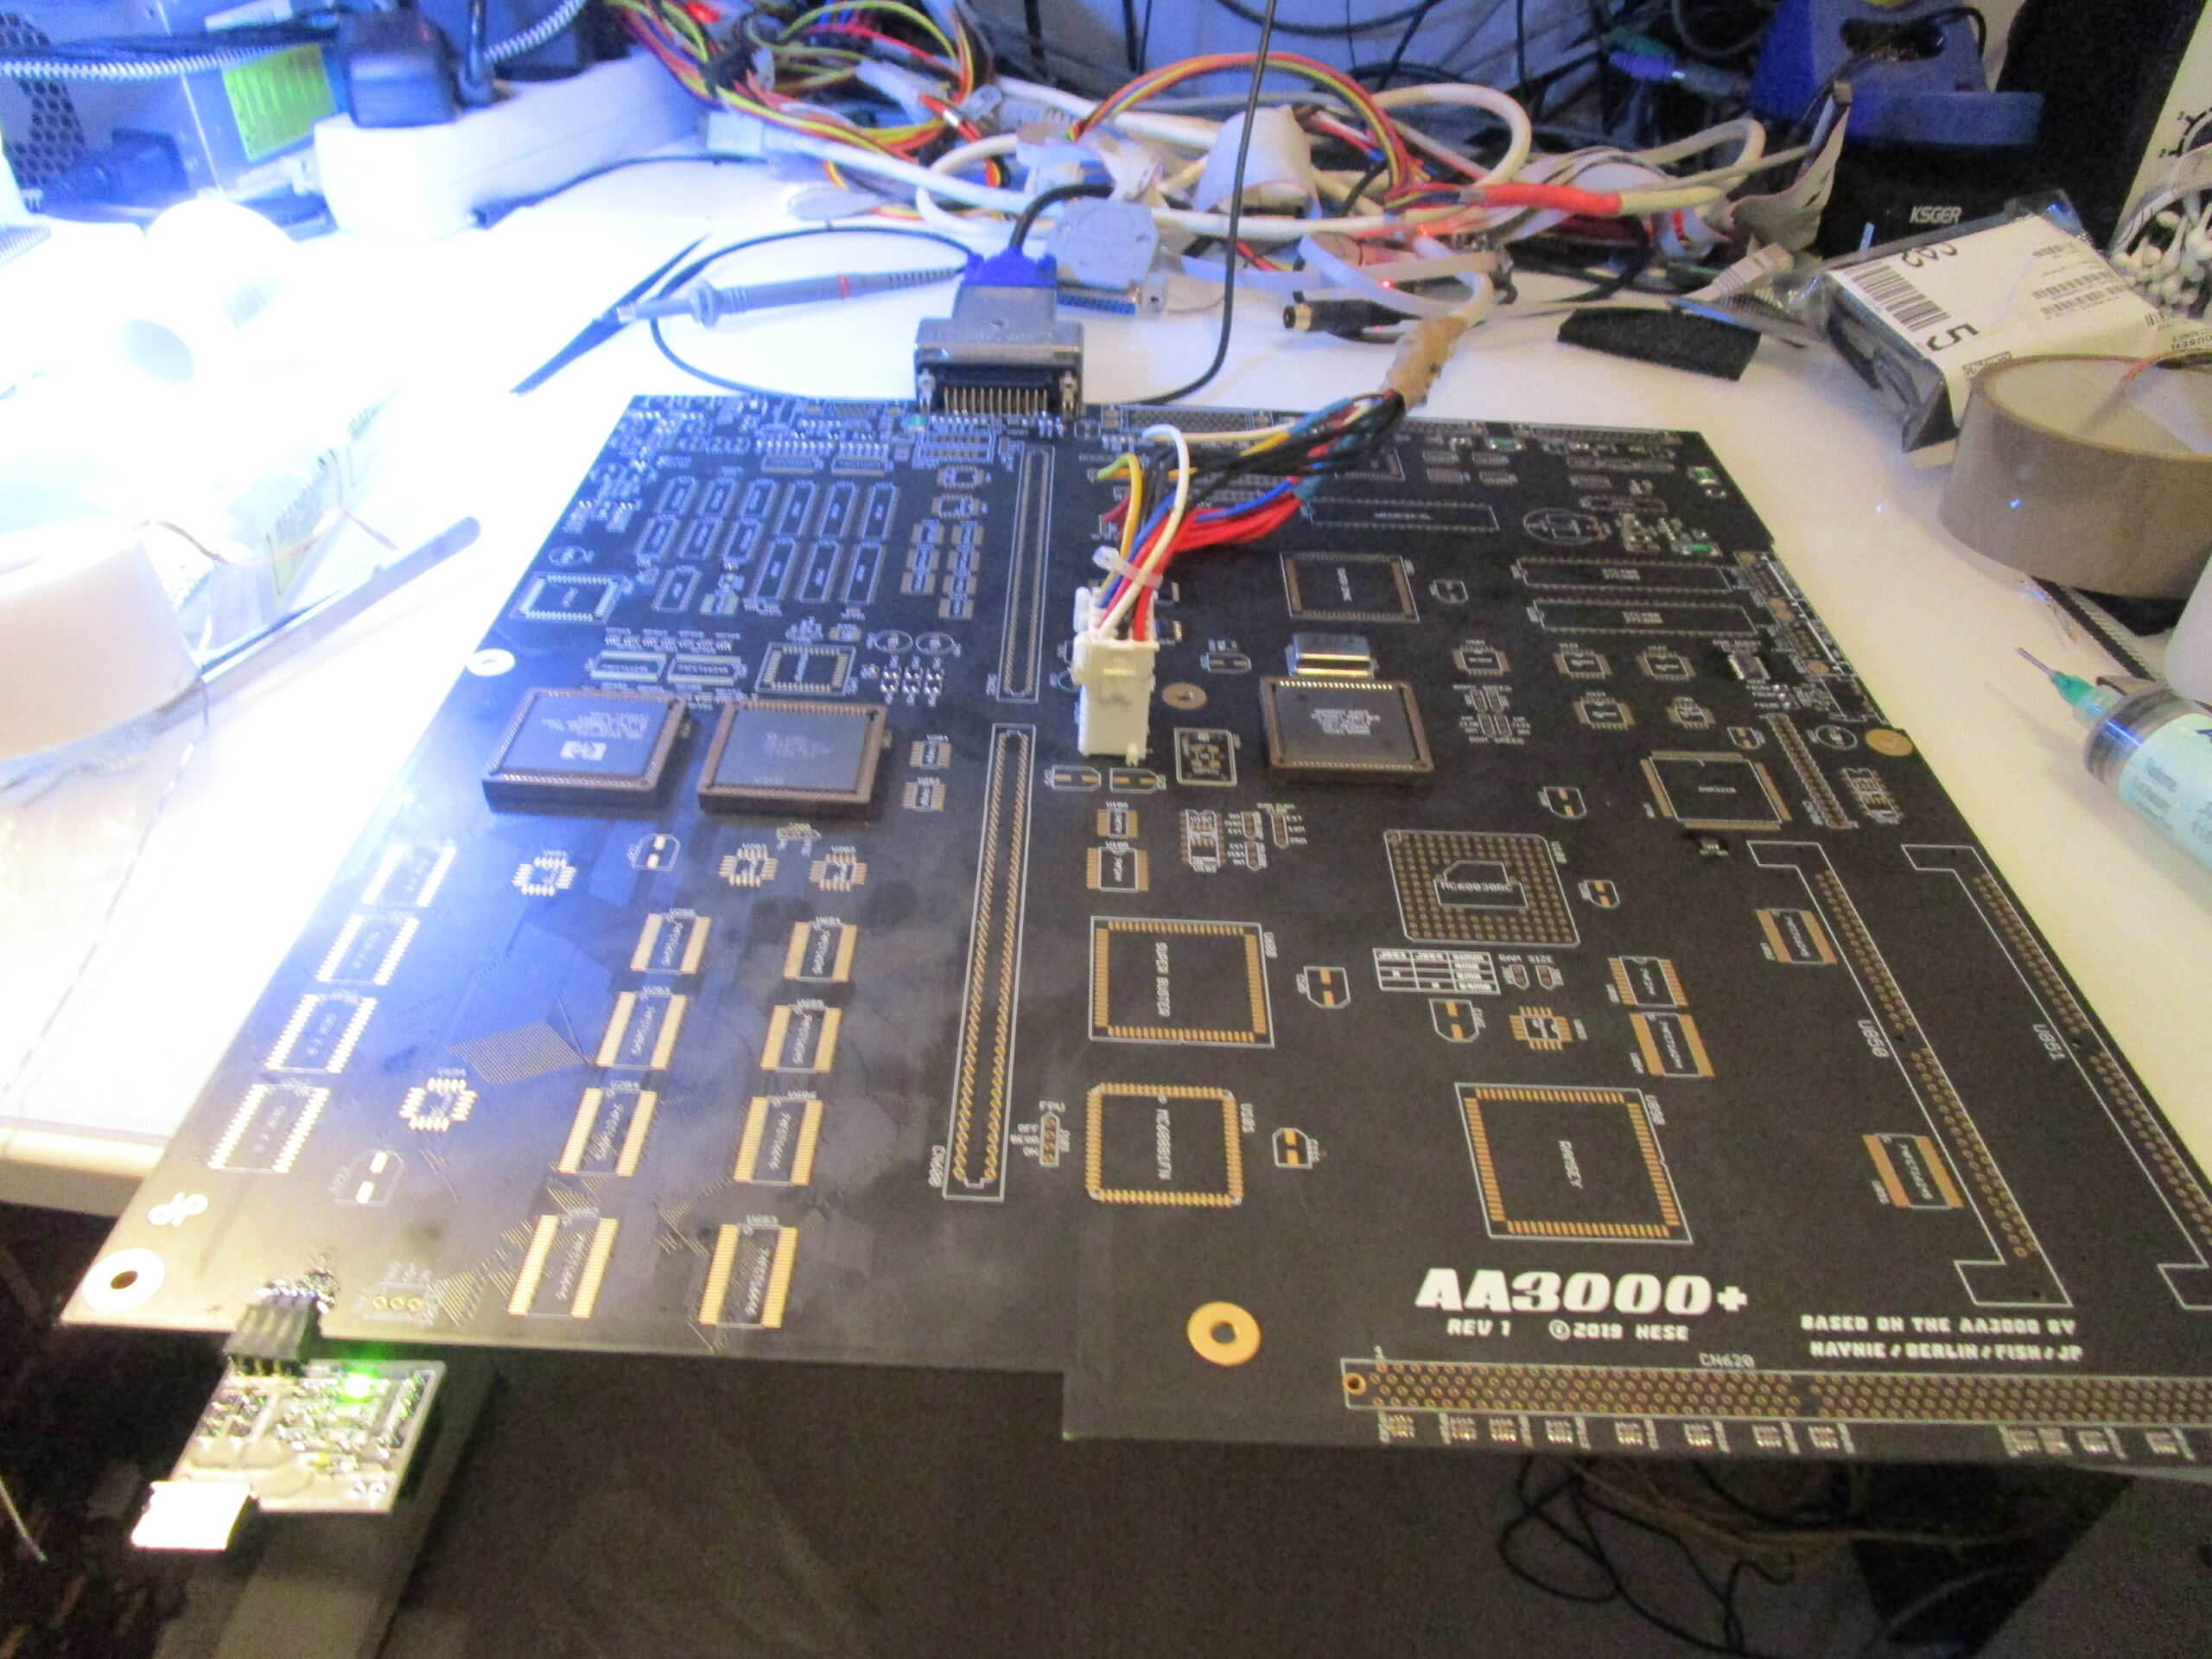
now reset is up, time to get a V and H sync out of the RGB port.
so add Gary, Lisa, Alice and U182 (74LS166), 28MHz Oscillator (U121) and the 23 pin RGB port.
and as I say: SOCKETS! they are the biggest reason people have issues with their builds. only put on sockets if you know how to put it there securly.
(well this board is not a board for beginners of SMD soldering 🙂 )
this leaves the board at this state:
So if your monitor reacts at sync it should do that now. (or you check it on the RGB port with oscilloscope) (NOT VGA)
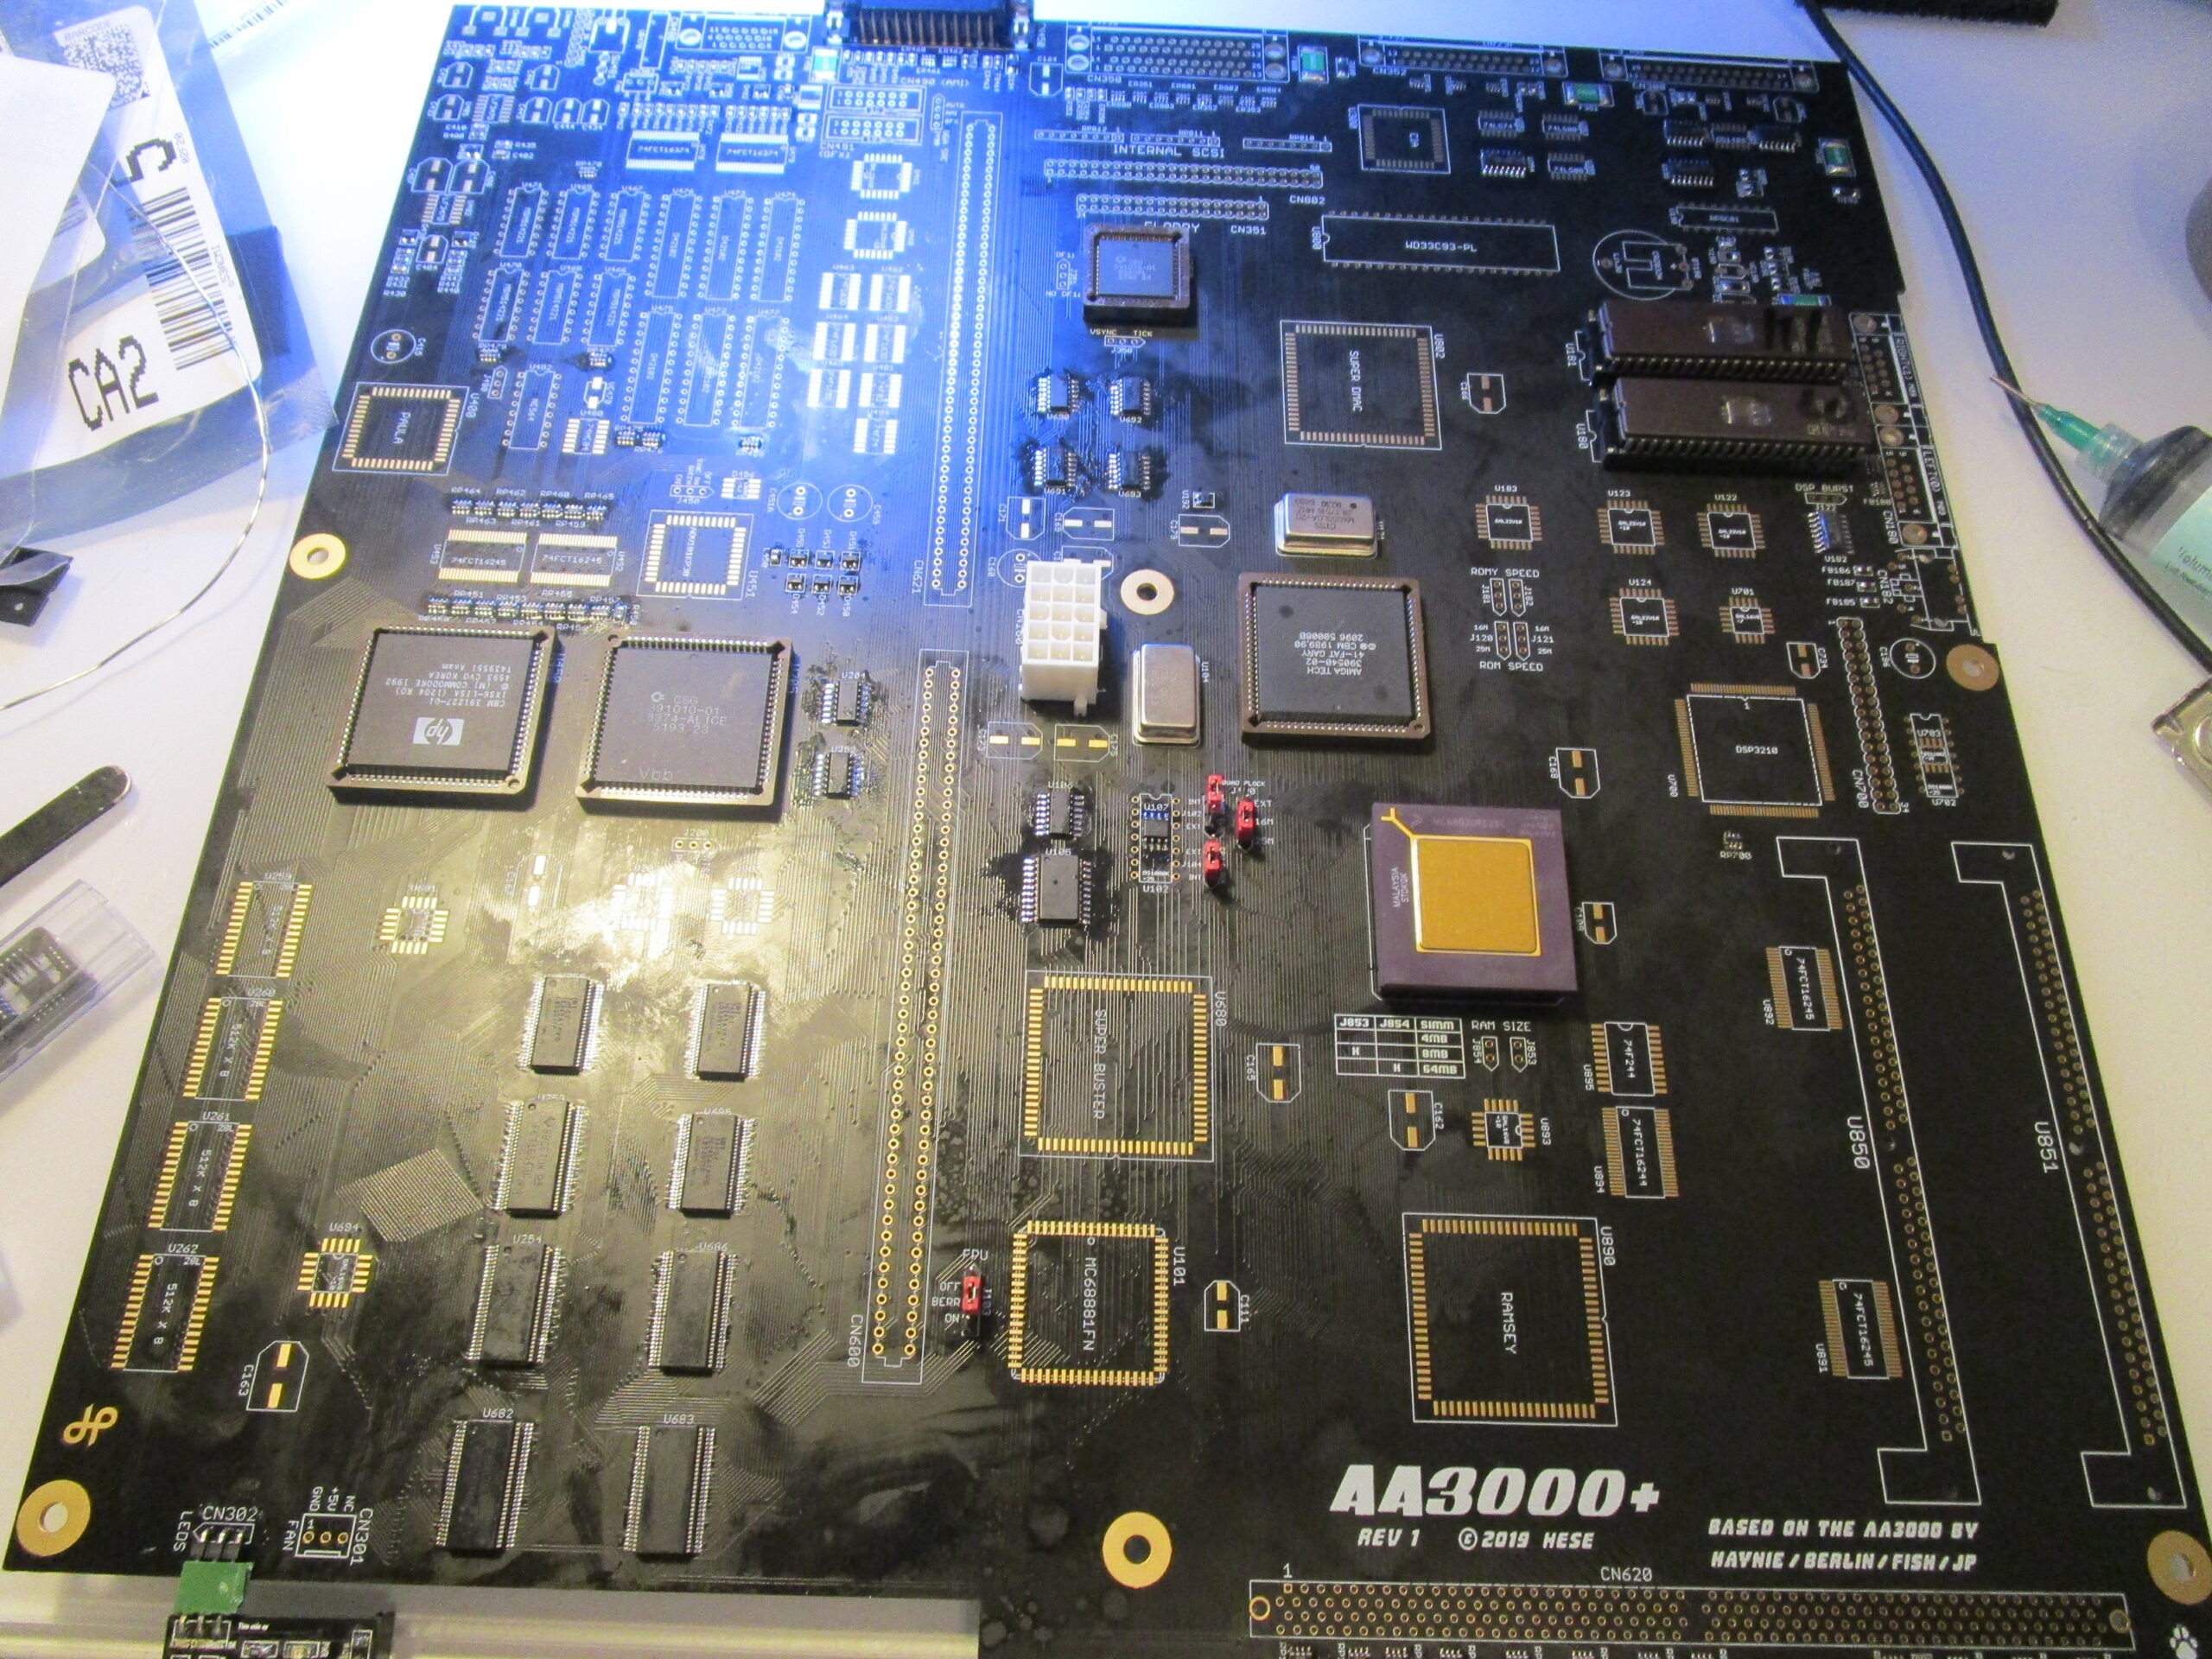
so to make the board run some actual code:
add U690 (74F08), U204, U691 (74F04), U352 (7407), U304 (1488), U354, U195 (74LS174), U106 (74F74), U252 (74F86), U105 (74F244), U253, U254 (74FCT16543), U255, U684, U685 (74FCT16245), U686, U682, U683 (74FCT16646), ROMS (populate with DiagROM), CPU, 50MHz oscillator, U107 or U102 with delayline and U350 (8520)
Also add Jumpers: J102 (set to 2-3), J104 (set to 1-2), J100 (set to 1-2)
now when you power on. the powerled should change brightness after 1 second. and board looks like:
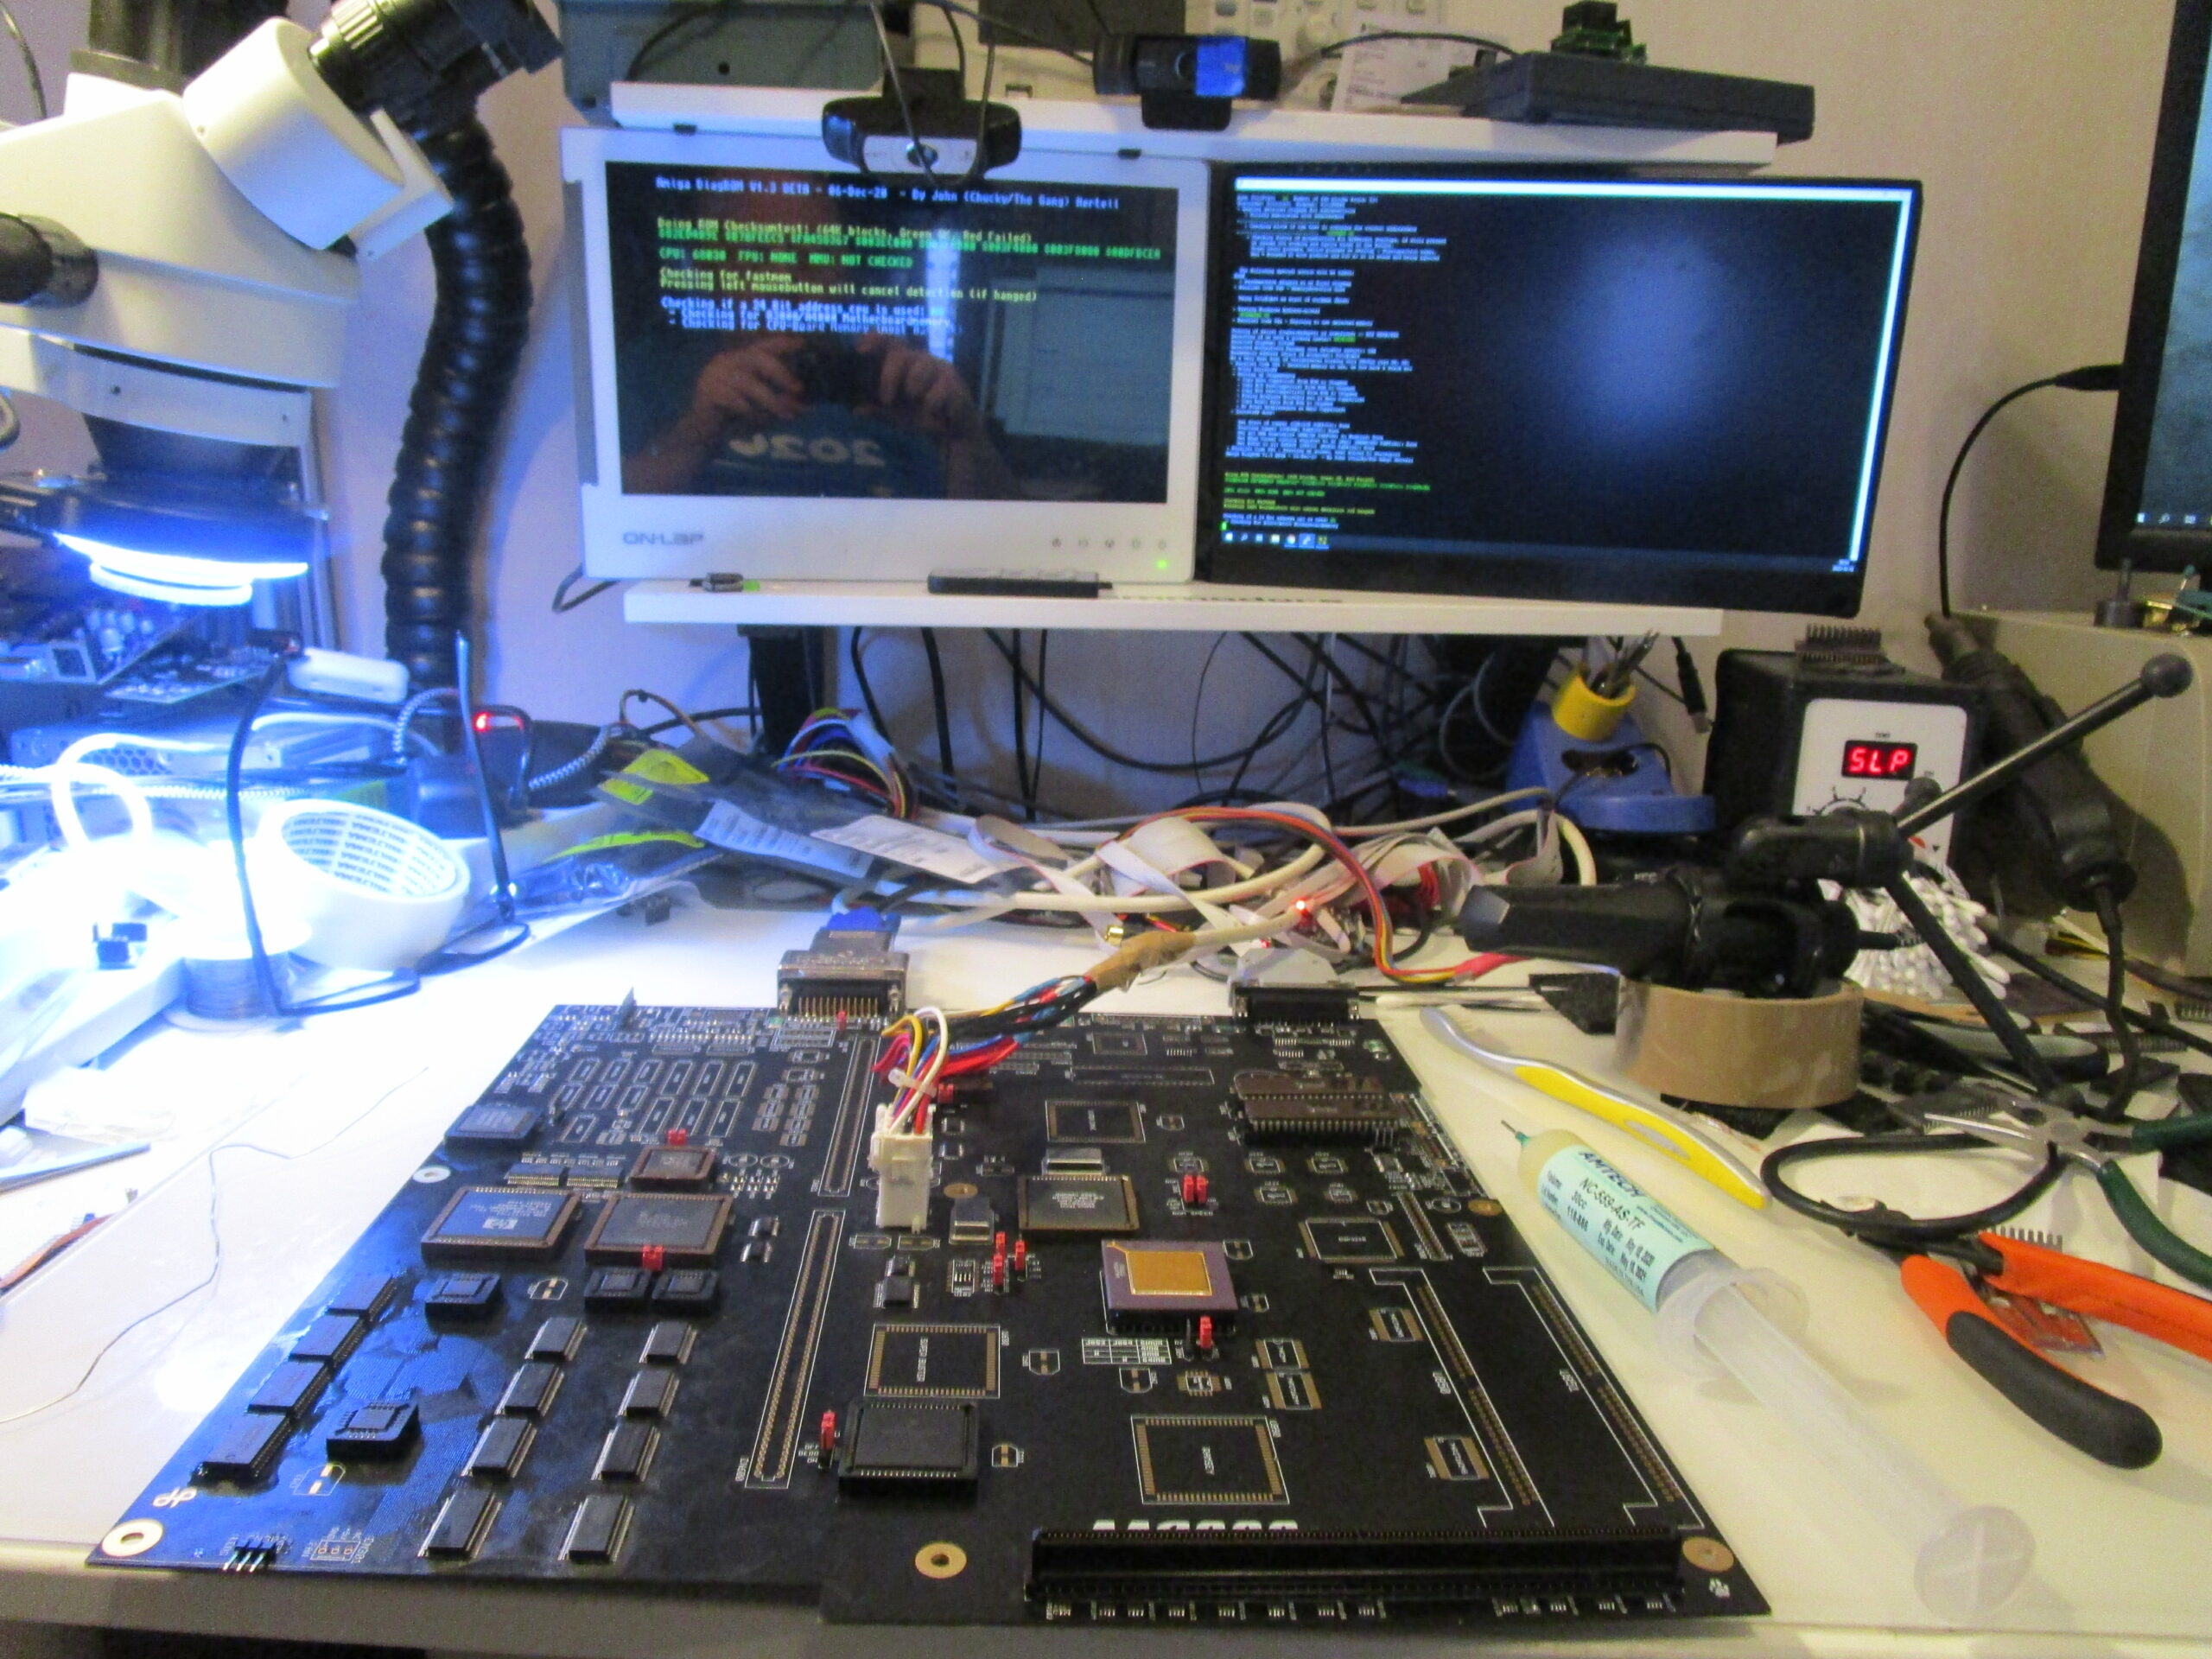
Now add U202, U203 (Programmed ofcourse!) and Paula and the serialport. (CN300)
Diagrom should now output serialdata:

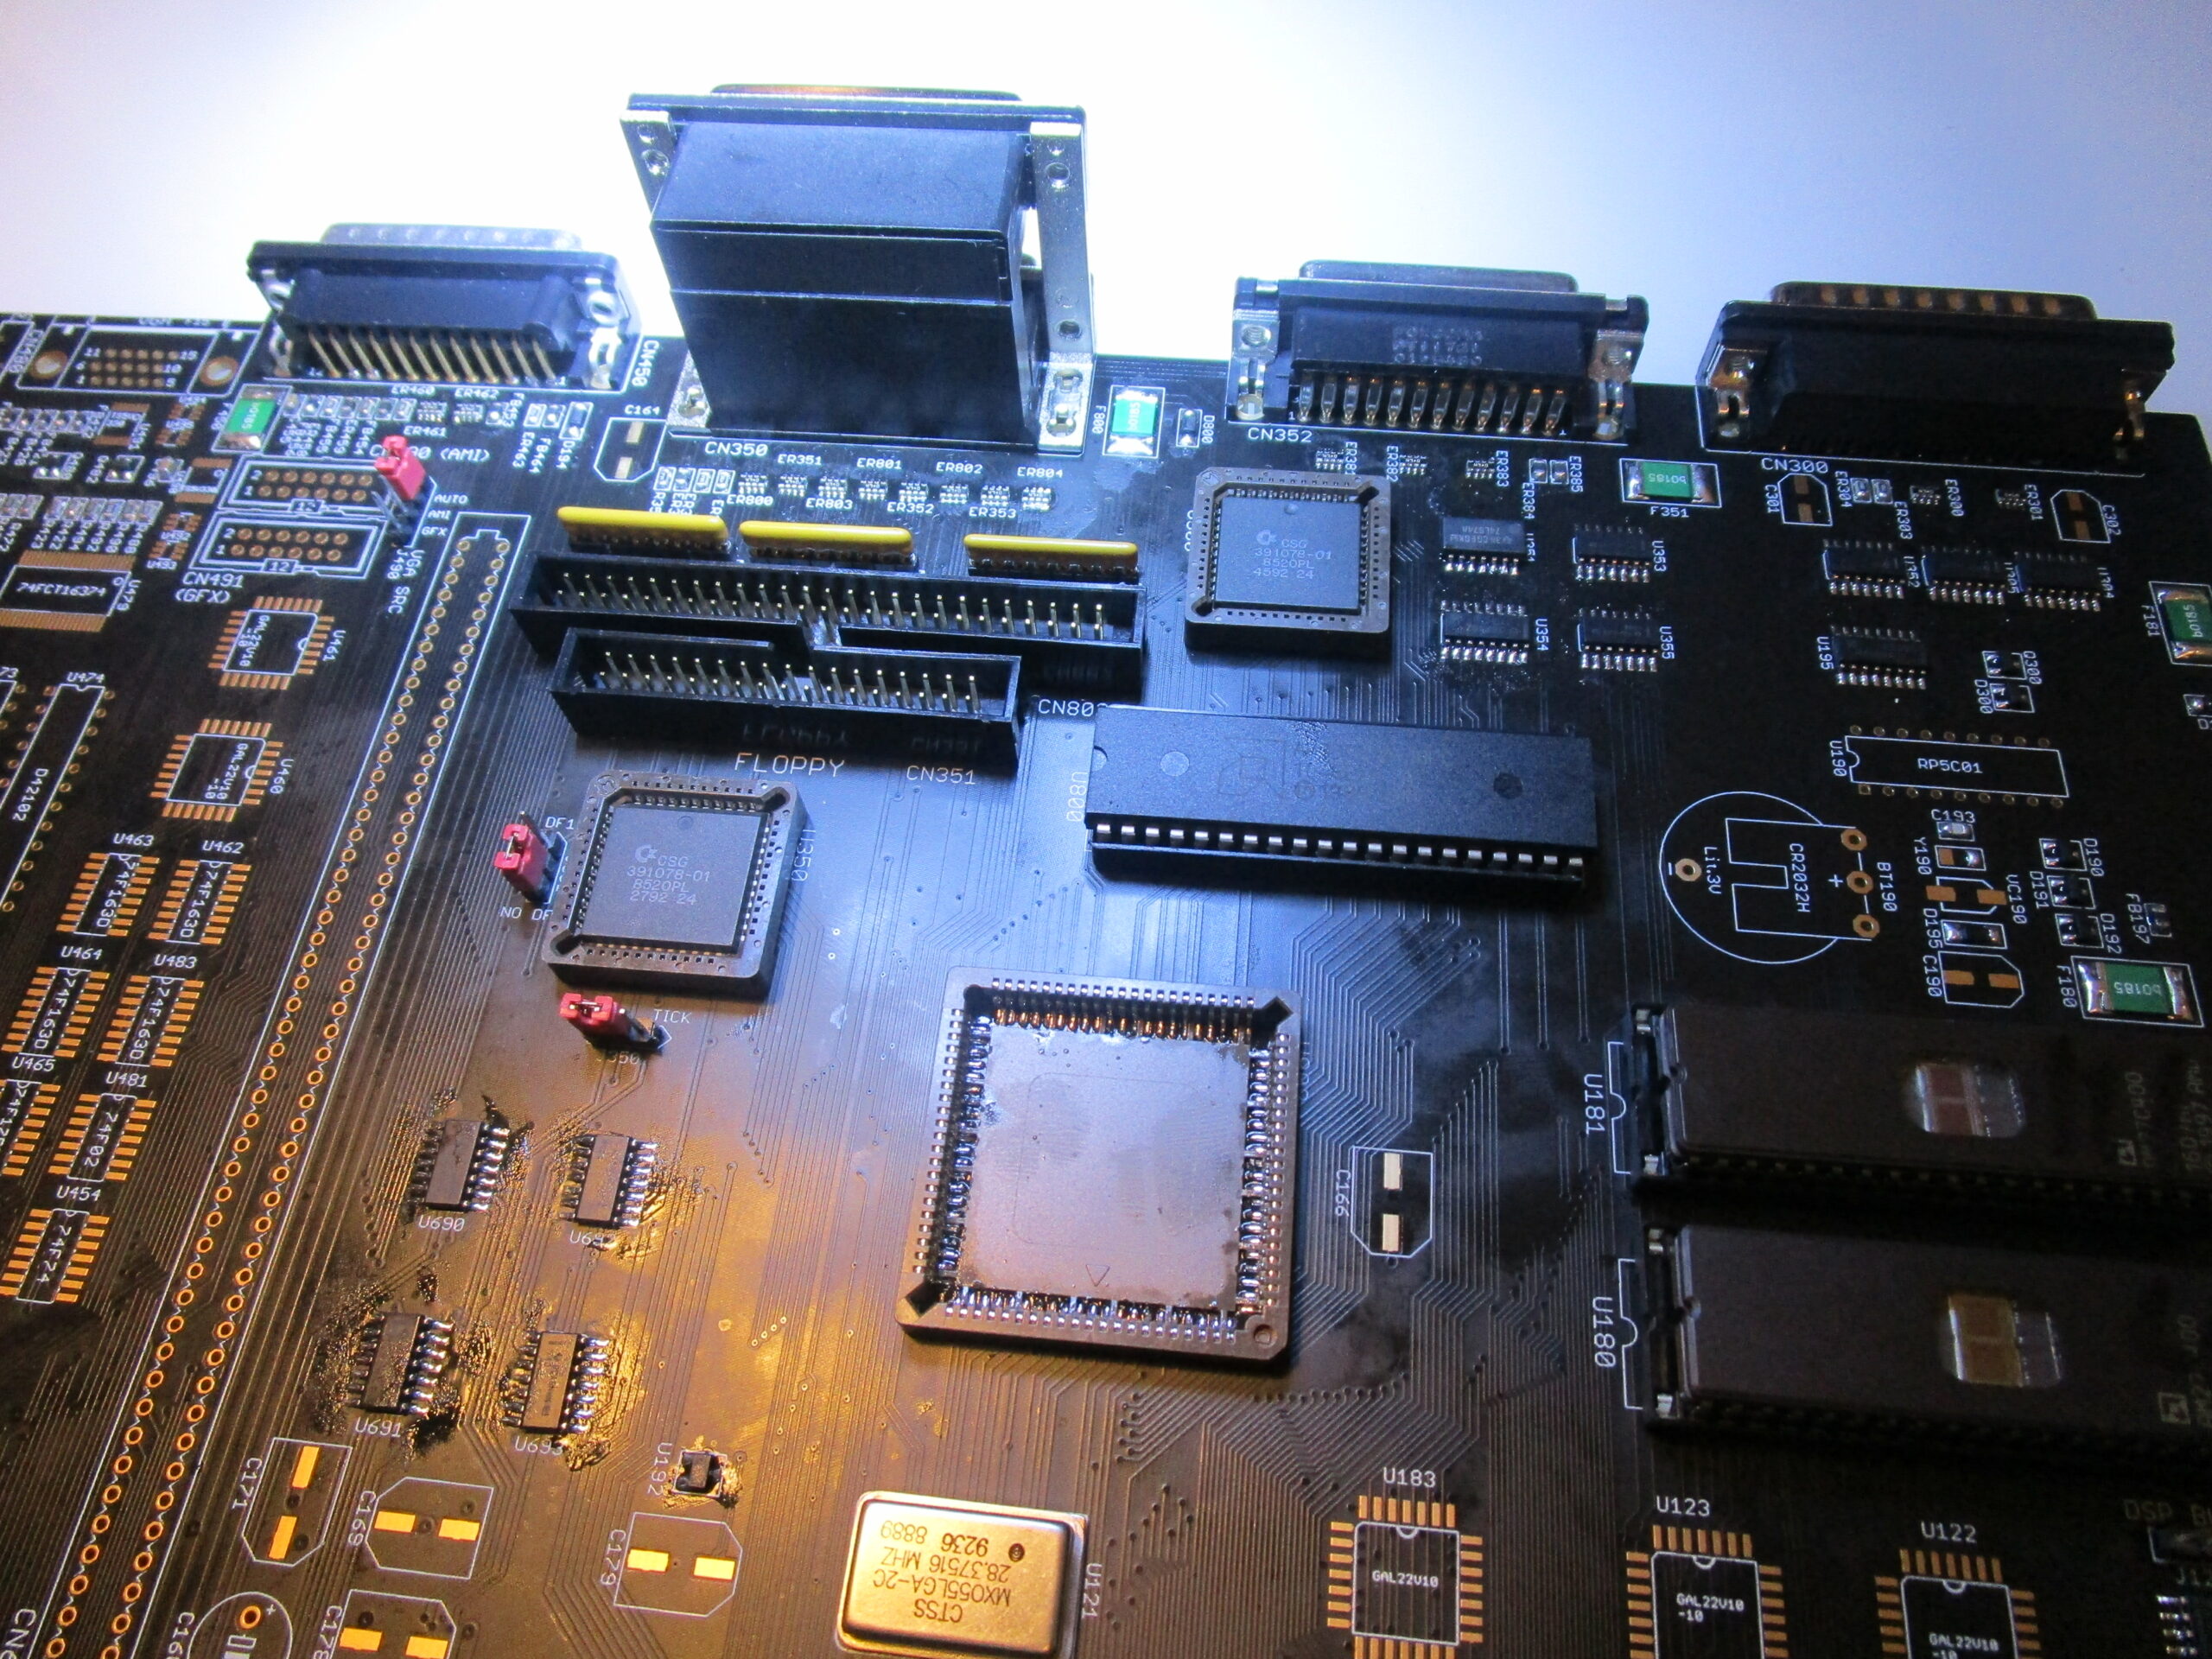
Now is a good time to add the CPU-Slot, the FPU and all jumpers and it is like this:
I will include CORRECT jumpersettings down here, on picture MIGHT be wrong so use this text instead:
<TO BE UPDATED>
Anyway, now add the memory chips for Chipmem, U694 and U681 (programmed ofcourse)
DiagROM should now find Chipmem and output:

(do not ask me why I did not screenshot that instead 🙂 )
Now add U453, U452 (74FCT16245), D456 (LM385-1.2) and the VideoDAC. and we should get a screen:
Now time for the fastmem.
I soldered U893 with a socket, however there is no code for this GAL, and what I understand it will require a redesign to get 64MB to work. so skip 64MB mem, will apperntly not work. no need to add this socket.
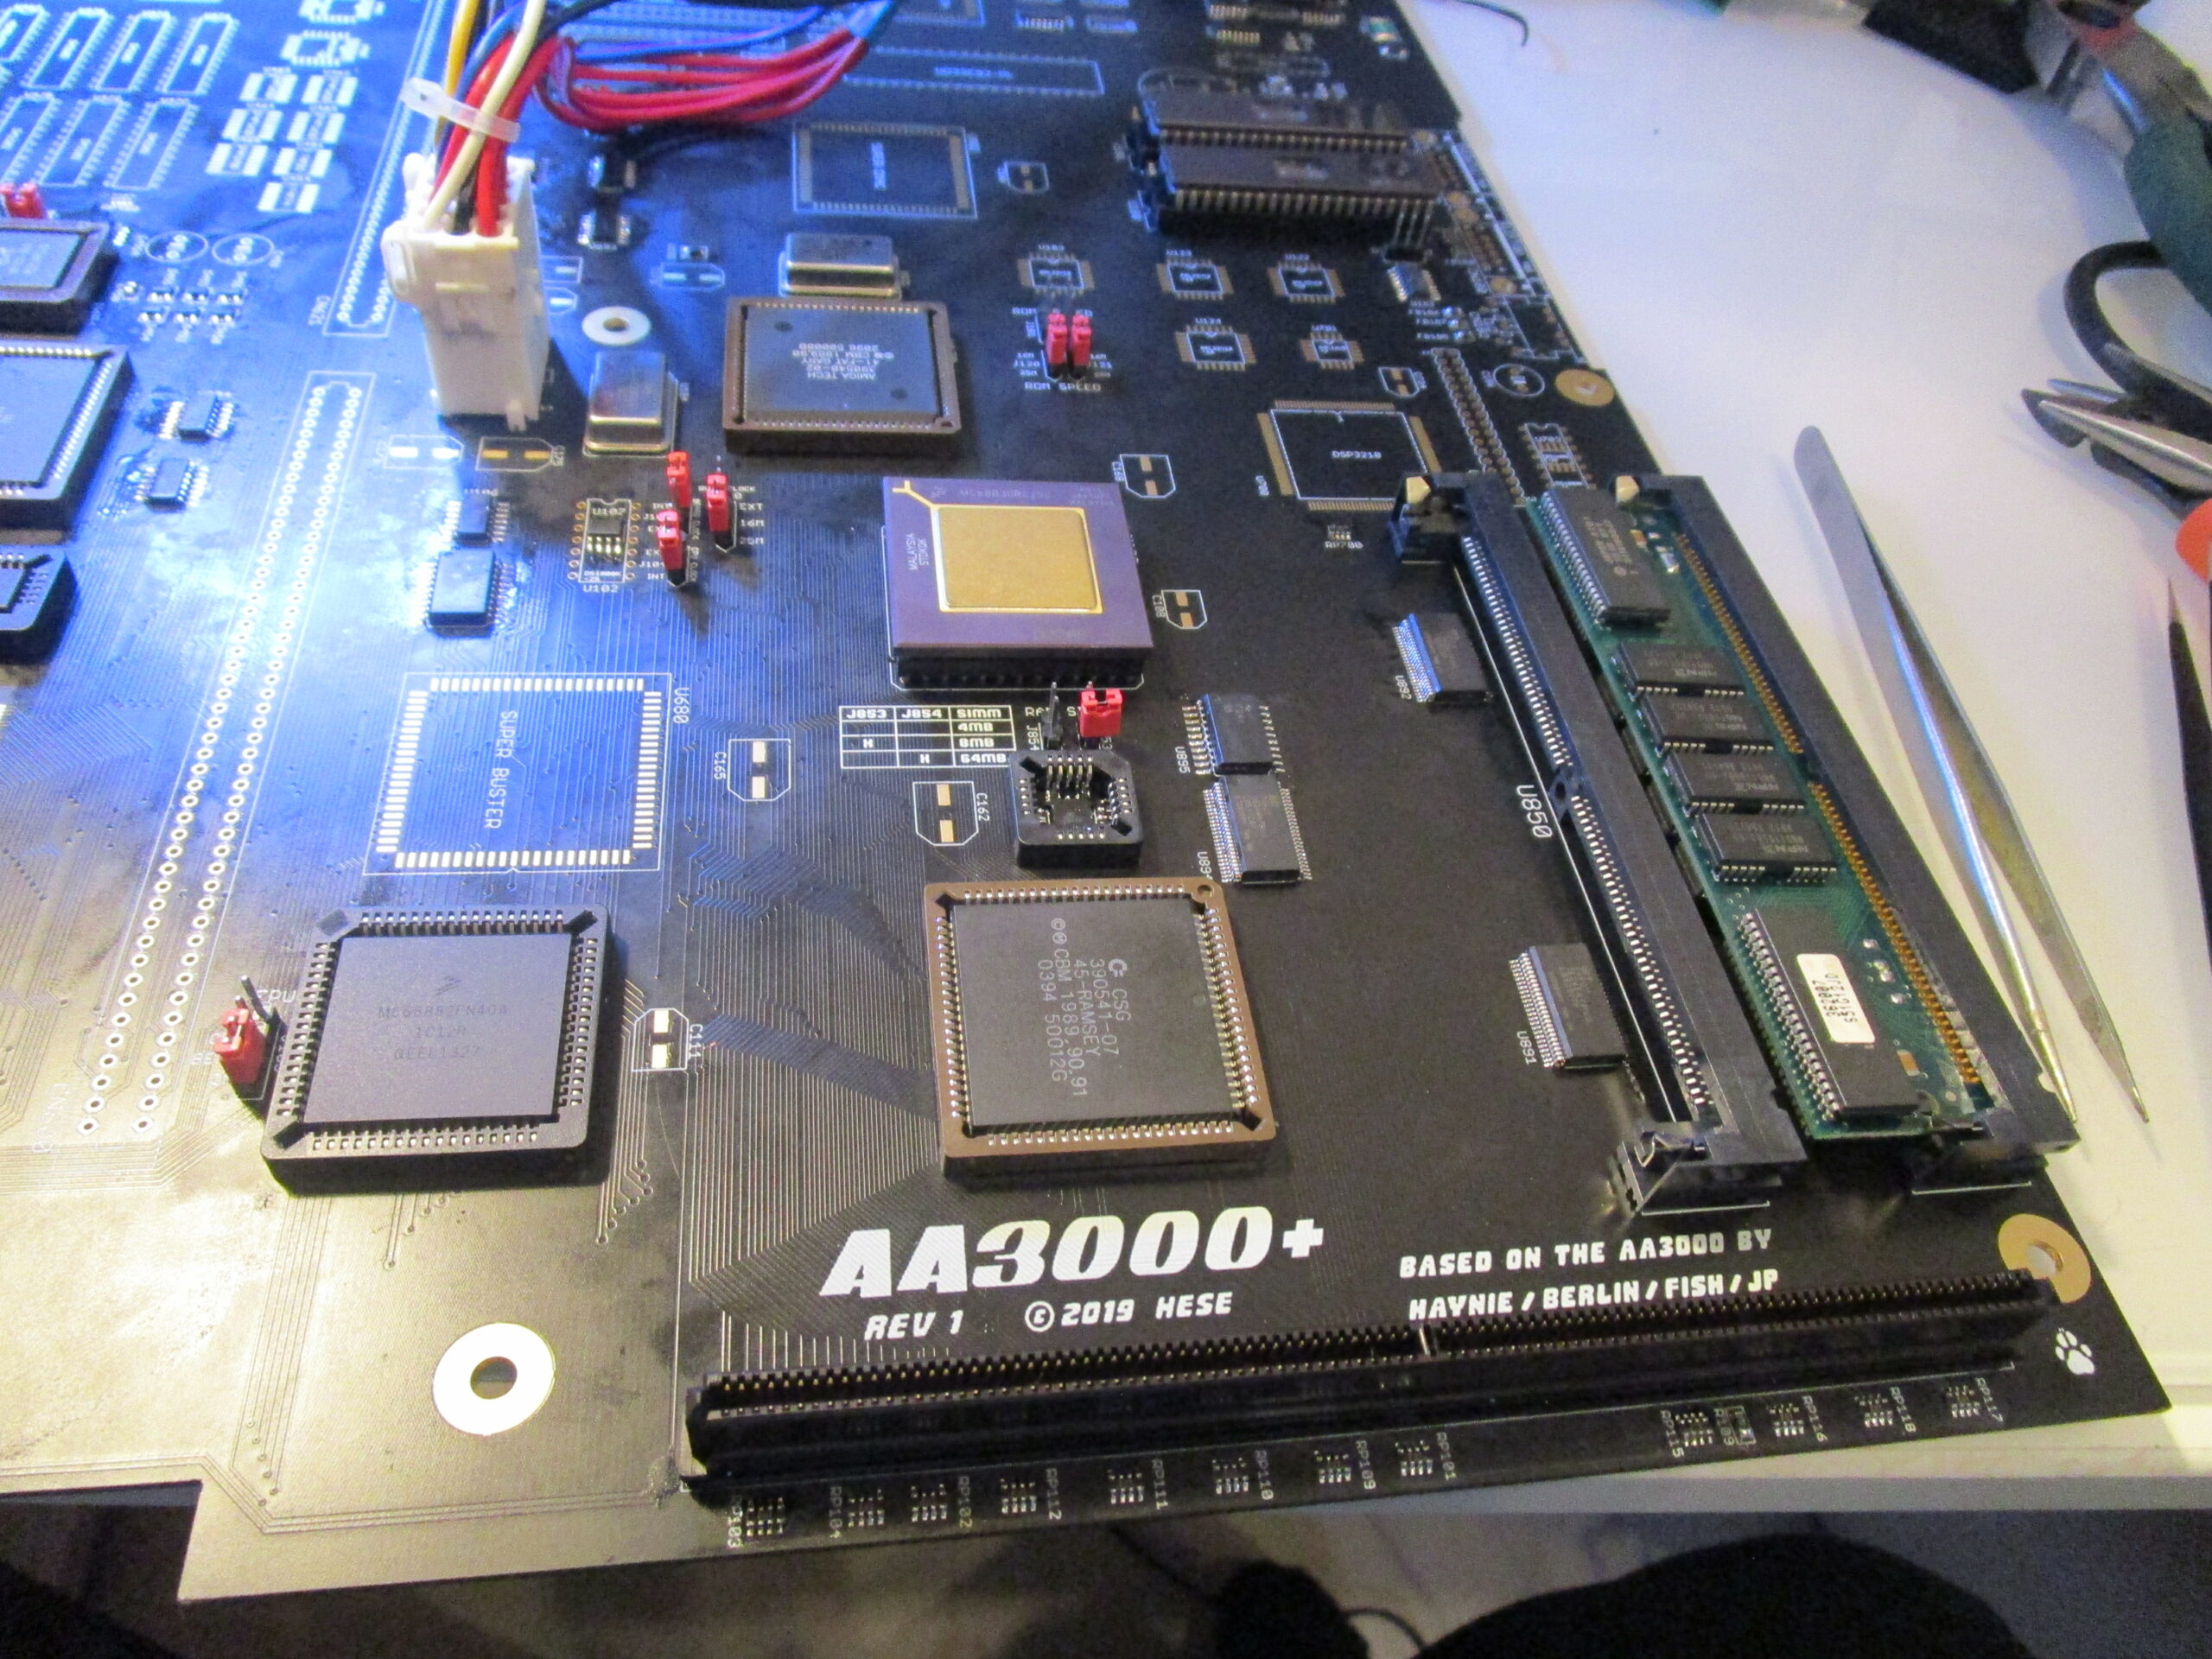
add U895 (74F244), U894 (74FCT16244), U892, U891 (74FCT16245)
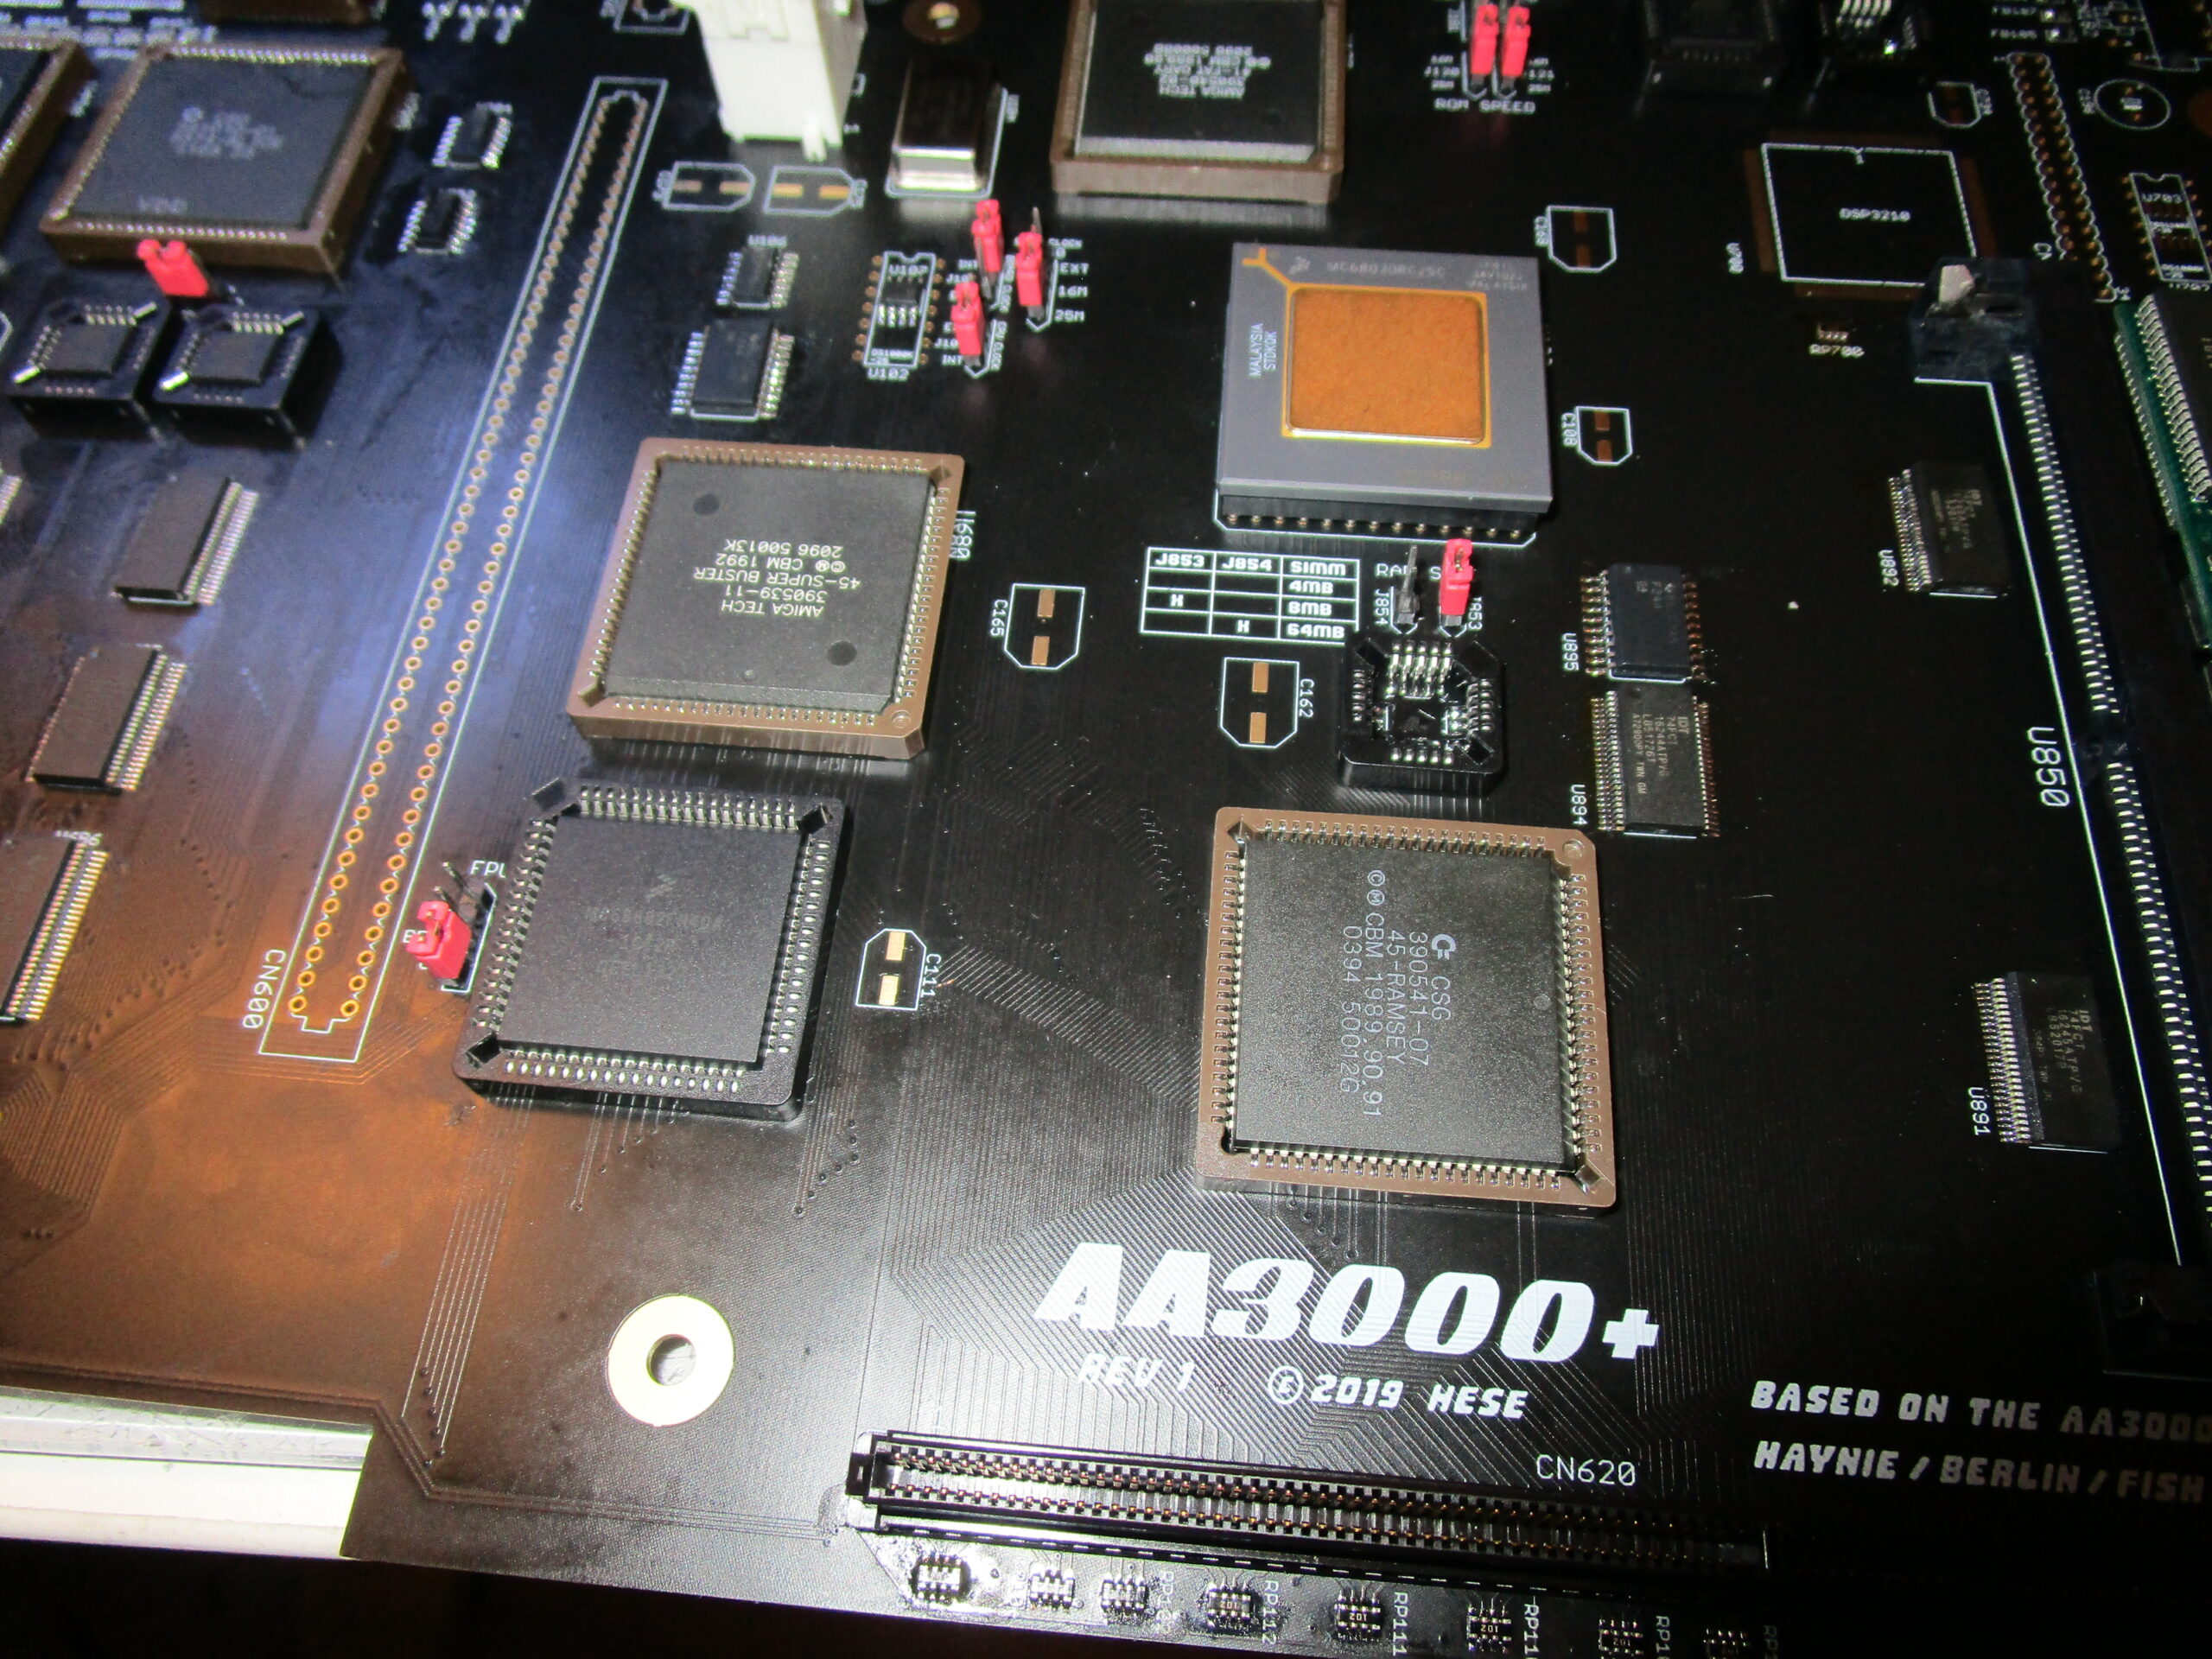
Ramsey and Simmsockets:
(picture here with just one 8MB simm so you can see all components)
For audiom add U401, U402 (LF347) no idea if both are used for audio, as no schematics. but well add them.
and audioports. AUDIO will however not work as no electrolytes in place.
however it looks like:

Also time to add the U300 CIA and U305 (1489) so CIA will work, and we will have serial input aswell:
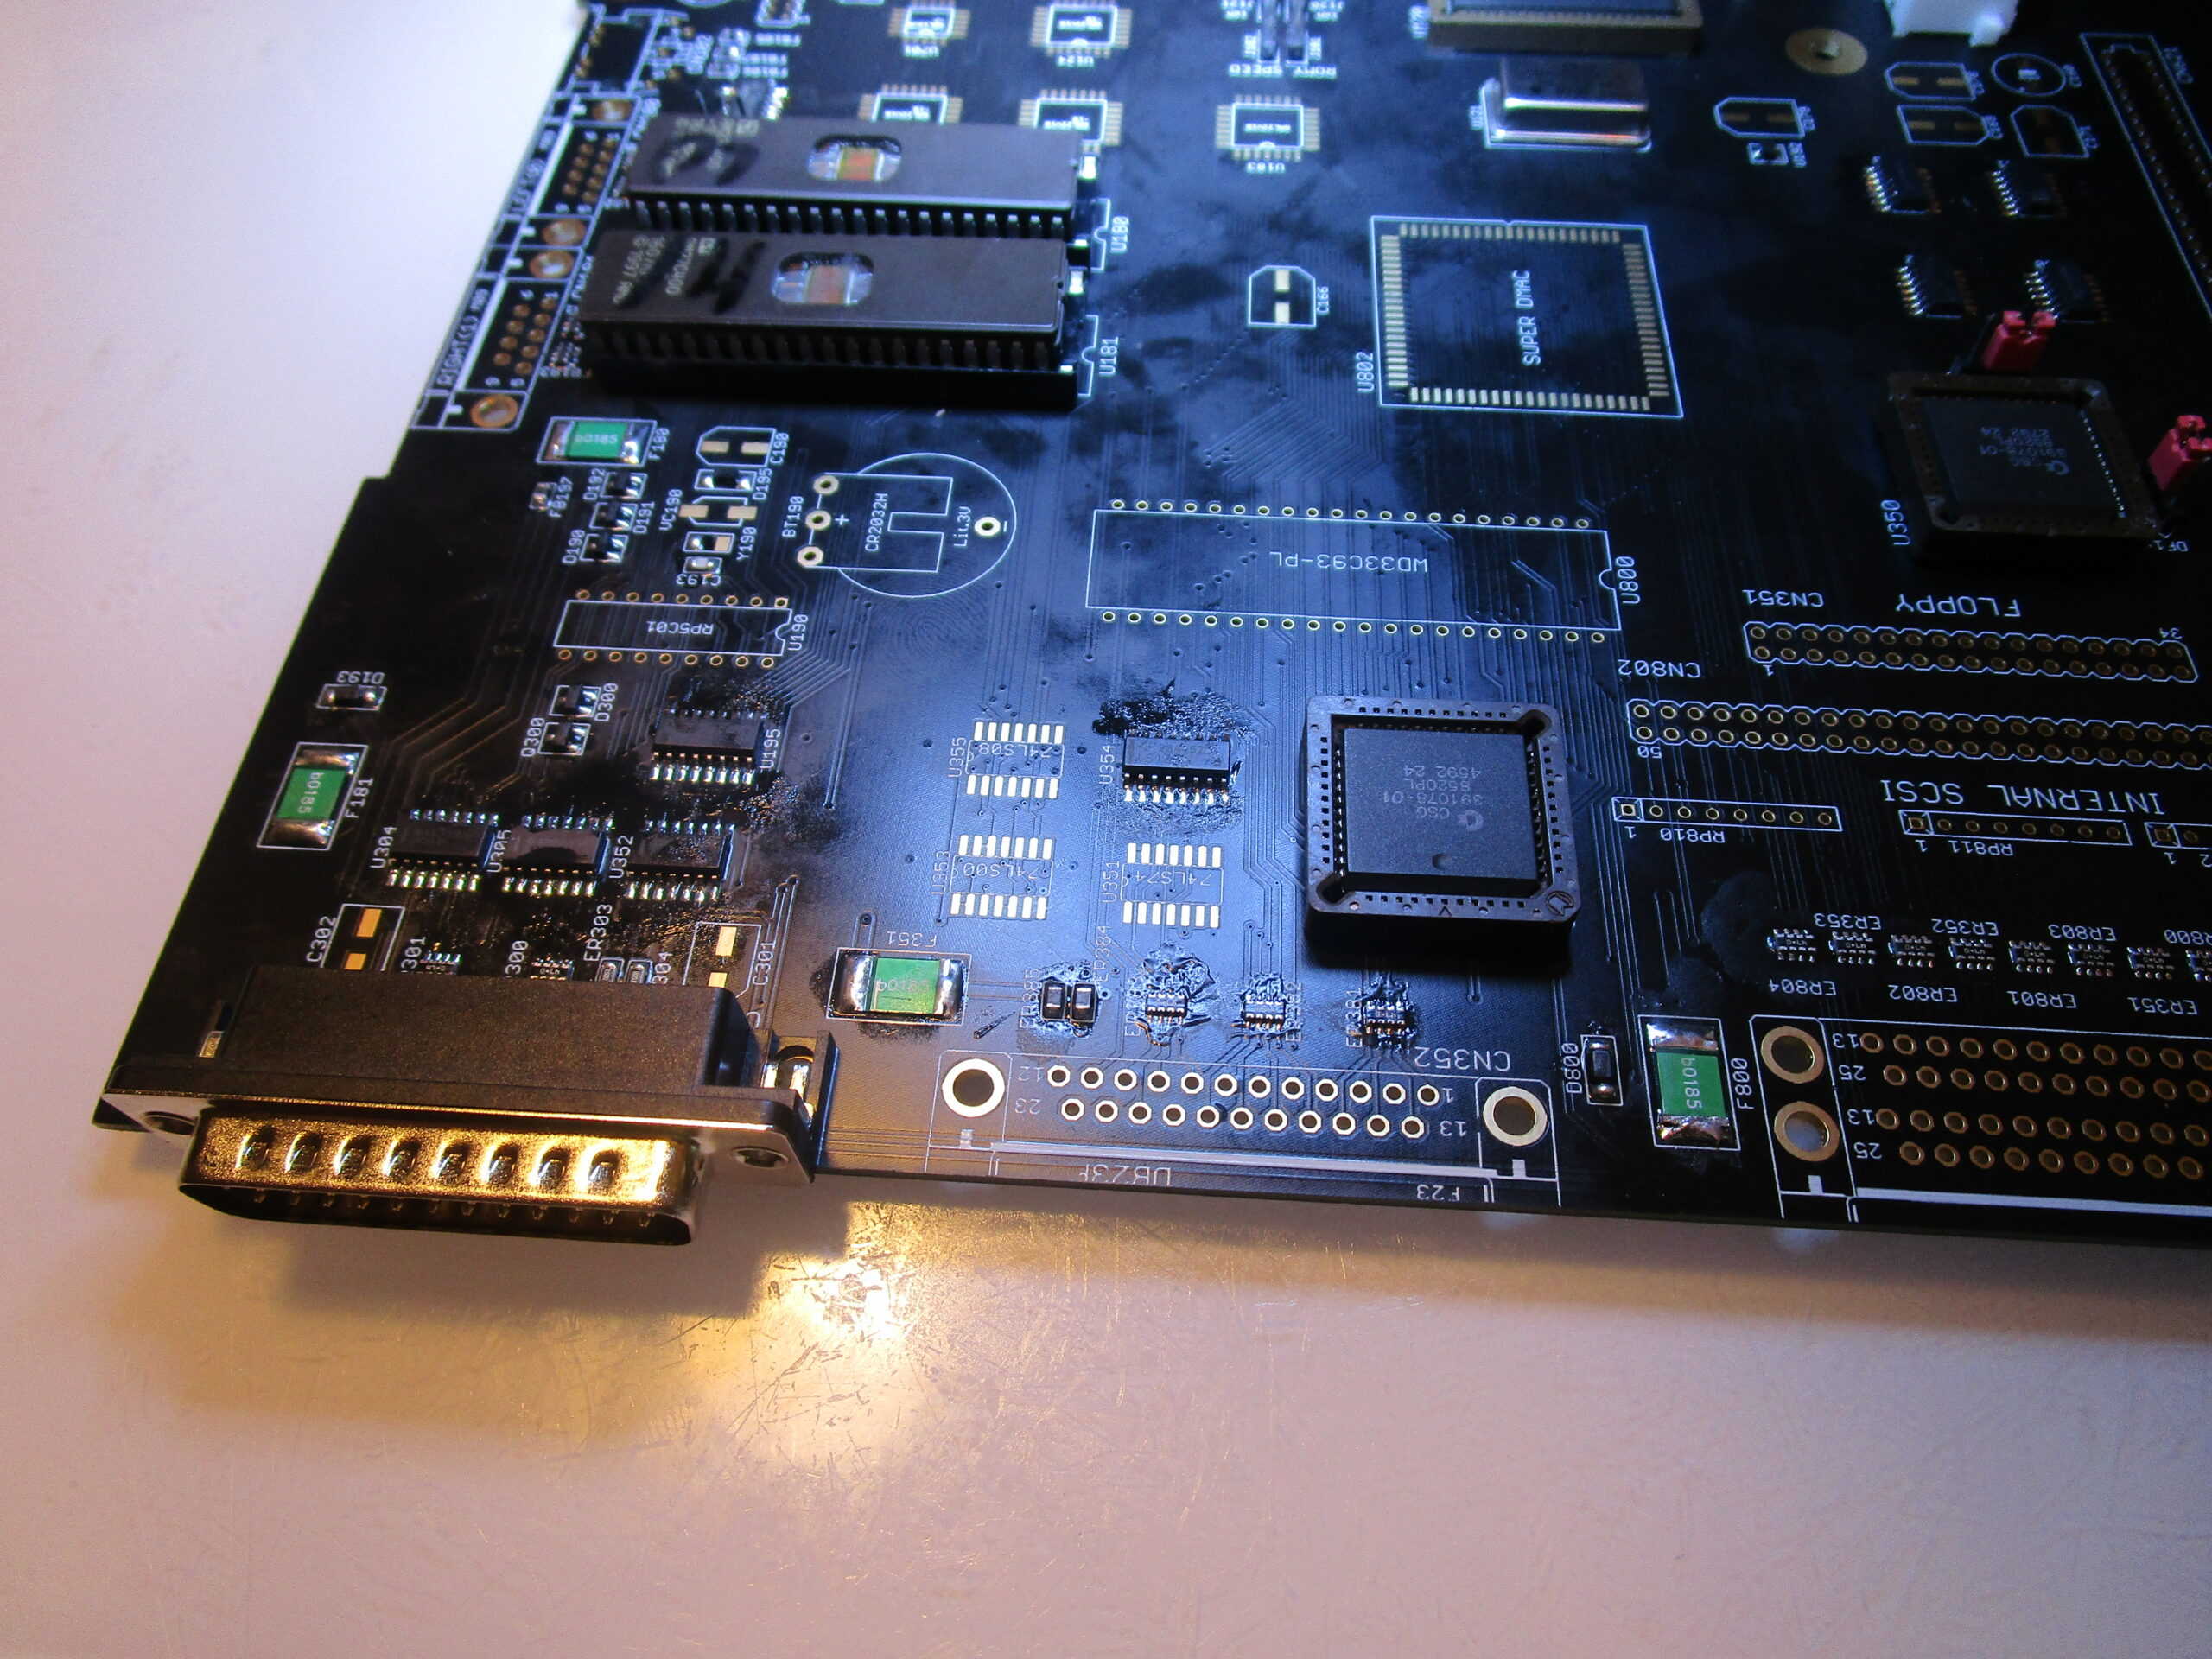
Time to get the floppy working.
Add U353 (74LS00), U355 (74LS08), U351 (74LS74), and internal and external floppyconnectors.

Intsall the Parallel/external SCSI connector (Dual 25pin Dsub), put in headers for the SCSI termination and then add the terminatorresistors, SCSI connector, SCSU Chip (U800) and DMAC (U802).. I got an issue here that machine will not start with Dmac installed. it will be fixed later down here.
ABOUT SCSI Termination! the terminators shold be on the board if you do NOT have any external scsi device! learn about SCSI termination.
anyway area looks like:
Now I add the GAL chips to the right.
REMEMBER if you will use a DSP a patch is needed (maybe more later not known yet)
You need to run a bridging wire between between U122 pin 5 to U124 pin 27.

so this is when I am done:

I have currenlty programmed the GALS with “NO DSP” code, and skipped those 2 needed for the DSP. all to get the rest working first.
(NOW again machine boots with DMAC in, atleast when I put in U124)
time to add Buster:
And put in A3000 Kickstartroms AND:
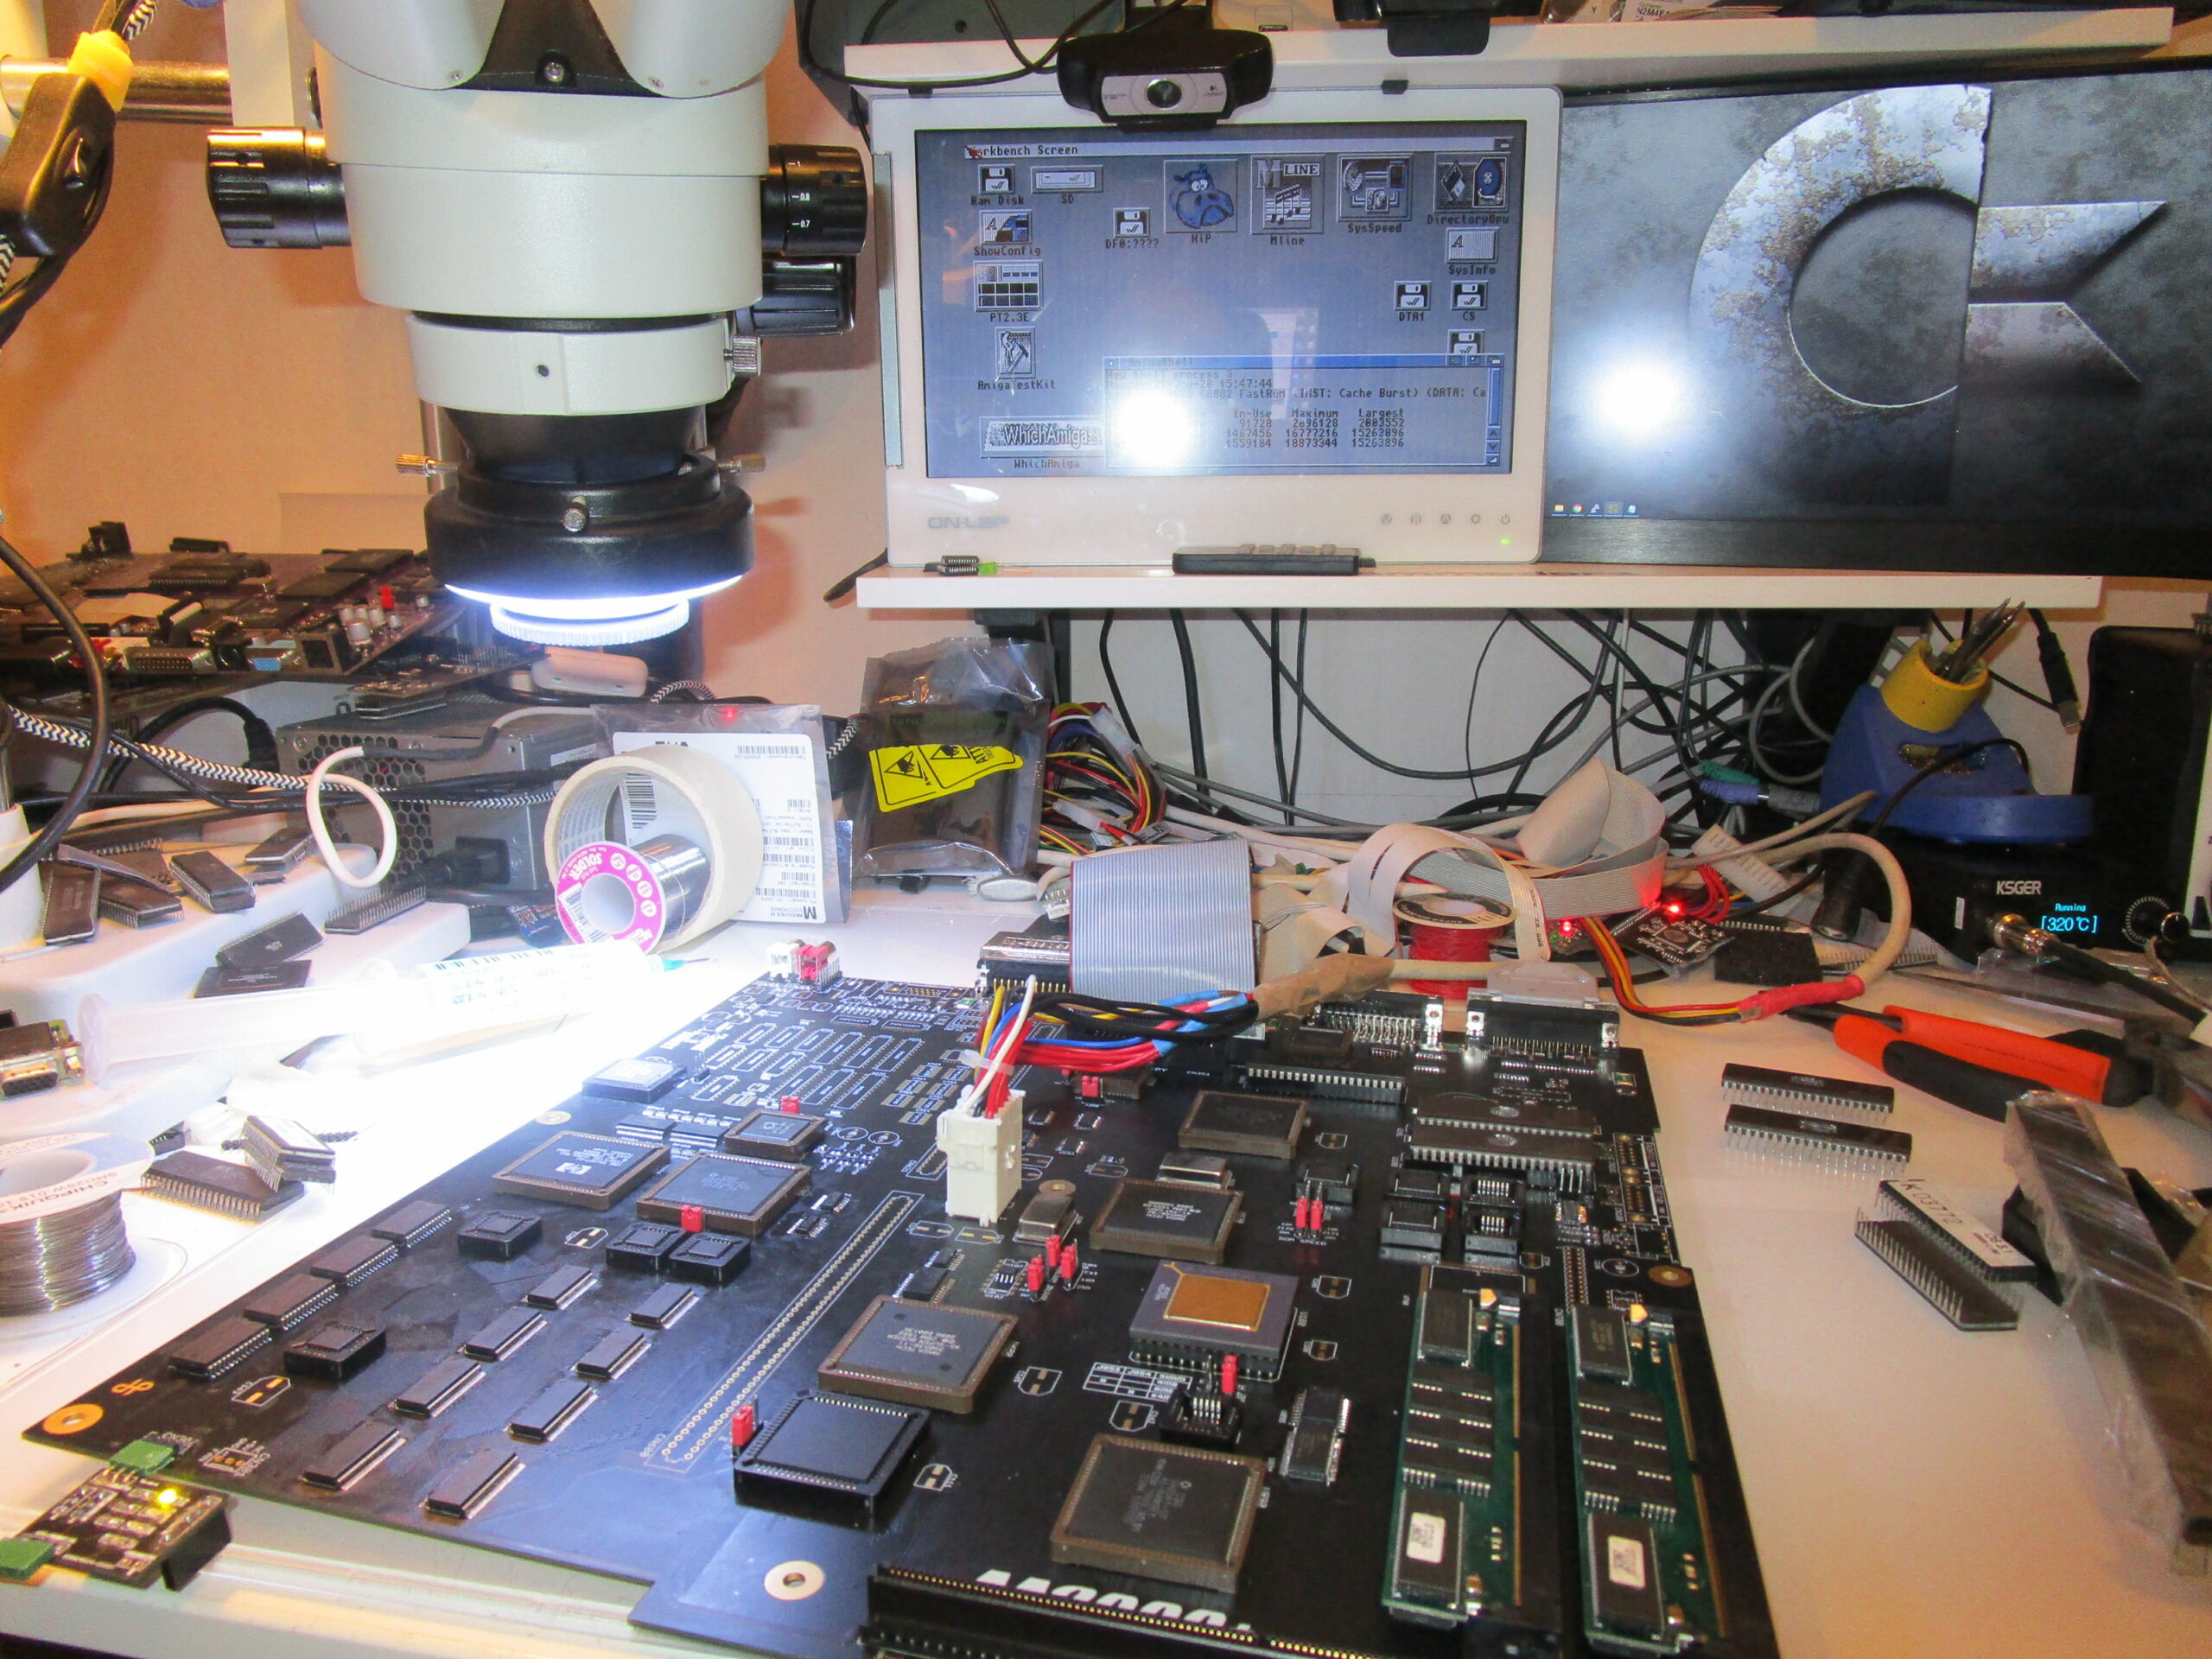
Board WILL now boot! nice.
I will take a small rest now, and do the rest of the build in some days for Part2!
Hi Chucky,
thank you for the guide! Unfortunately, I started my build shortly before your post, so I didn’t know what’s necessary for a minimal run setup.
Therefore, besides the birdseed, I already populated all the 74xxx stuff, diodes, flicker fixer SMD parts, etc.
With Gary, Alice, Lisa, Paula, both CIAs, U202, U203, Diag ROMs, and the Video DAC in place, when I flip the power switch, the machine shows a dark grey screen and the power LED stays dim. Serial output is mute as well. If I take out the ROMs, nothing changes, so they are definitely not addressed.
All the chips get luke warm, only Gary is stone cold. I’ve had (at least) two bridges between address lines when I first tested the board.
Can these bridges have killed Fat Gary? Is there some signal Gary should provide after power on, if he’s alive to test if he is operational?
I measured the board upside and down, cleaned contacts, replaced all the reset and serial output ciruitry already, but still nothing changed.
All the clocks are there, _RESET, _FAIL, _HLT and so on are high.
I know, this isn’t your project, but perhaps you can send me off in the right direction, where to look first…
Thank you!
Update: Soldered in a keyboard connector.
Caps lock behaves as you’d expect from a board whose processor/ROM doesn’t start. After about 10 toggles, it freezes. CIA buffer seems to work, though.
Keyboard reset works, too. After CTRL-A-A, caps lock can be toggled again for about 10 times. Screen doesn’t change, serial output shows nothing.
I really think I killed Gary… 🙁
Oh my, after removing almost all logic chips from the board and redoing it step by step, it turned out that both 7407 I had (from UTsource) were either fake or dead.
Board works fine now, all custom chips are okay!
Never use UTSource for widely available chips. You’re rolling the dice with UTSource and you never save money with them.
I have an A3000 that was damaged by battery leakage. After “repair” it still doesn’t boot, drives are spinning up. So, it really needs a transplant to your new motherboard. Can you possibly do that for me? If so, please send me the shipping instructions and let me know the price and how you would prefer that I to send payment. Thank you.
I have too much trasnfers to do so sadly no
Hej När kommer part 2 av A3000
Jag har en A300 som jag skall byta moder kortet och har redan köpt det av dig så jag behöver din vägledning för att göra rätt
Jag har en guide. följ den
Hej
Har en A3000D, som jag köpte när jag gick i gymnasiet.
Fick en batteriläcka, och klantade till det, när jag försökte ta bort VARTA batteriet. Lyckades förstöra lite av kopplingspunkten/banan, men maskinen klarade sig och funkar fortfarande.
Hursomhelst , har jag länge velat skaffa ett 68060 accelerator kort.
Om jag förstått det rätt, så tillverkar och säljer du A3660 kort, men då ingår inga komponenter. Jag antar att det medföljer en lista på vilka komponenter som behövs.
Funkar kortet med MC68060RC50 processor (med MMU och FPU) ?
Passar ditt kort rent fysiskt i en A3000 Desktop orginal låda ?
Jag tänker, om man har en CPU fläkt
Är även intresserad av ditt ReAmiga 3000 moderkort.
Ser dock problem med att få tag i alla komponenter.
Men du kanske har kontakter/tips ?
Någon chans att det kommer en ny variant med USB portar och 060 CPU som passar till en standard PC-låda? dvs att tangentbord och mus kopplas på baksidan istället för på sidan?
A3660 är en nerlagd produkt vänta på TF4060 som kommer snart.
vissa komponenter kan man inte få tag i längre men man kan ta från det gamla 3000 kotrtet
version av kortet som passar vanlig PC låda komme rite tyvärr.
Please let me know what programmer to use for the GALs and SPLDs etc as an alternative to TL866II
Many thanks
Well I use a SuperPro 610P expensive. but WORKS
Thankyou, I just ordered a SuperPro 610P through Chipsetpro.com as it came with most adapters I would evert need! 🙂