I was sent an Amiga 2000. The powersupply on it died.
So how to fix this? well. you can put in an modern ATX Powersupply. So I did, and this is a short writeup of how to do it.
Before I posted that -5V is not important. well. this is not true. WIthout -5V you will get a unstable RGB out, atleast for 15KHz VGA monitors. it will go on/off all the time.. also as I posted. PICASSO-II requires the -5V line. so you must get a old ATX psu with -5V (white cable to the connector)
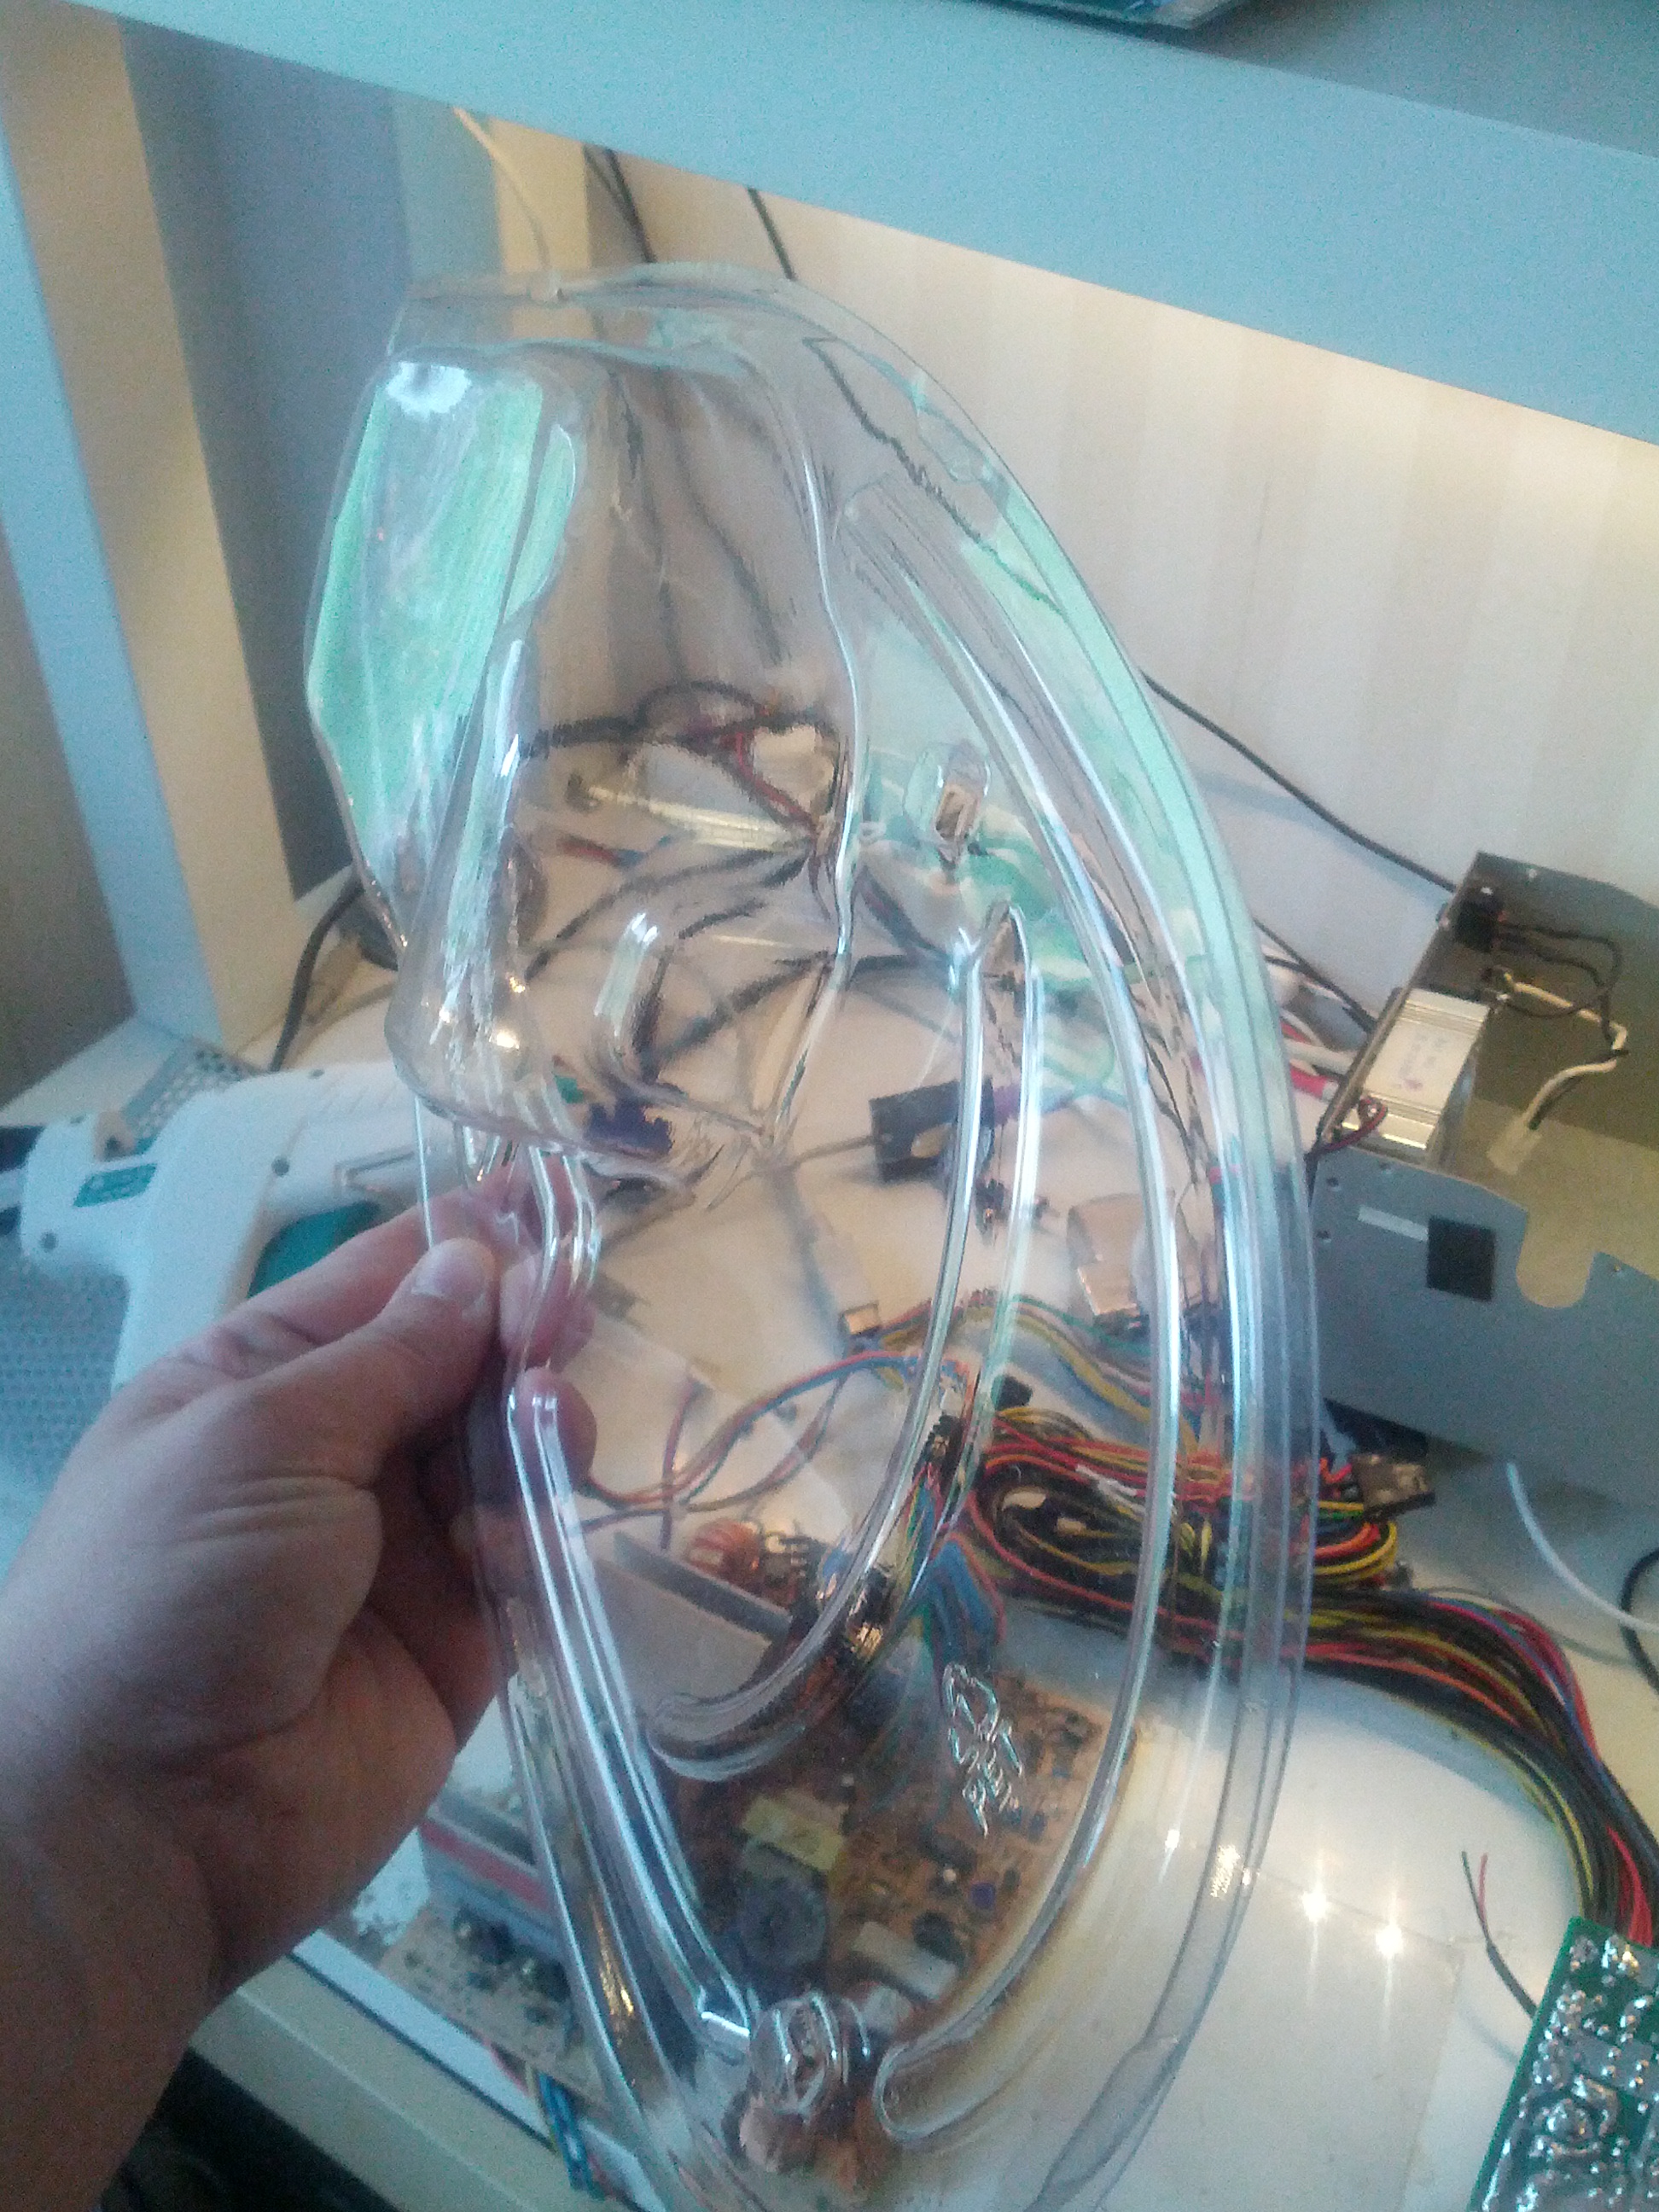
So, first, remove your old PSU and open it.
IMPORTANT! do NOT touch the big capacitors on the A2000 PSU or the ATX one.
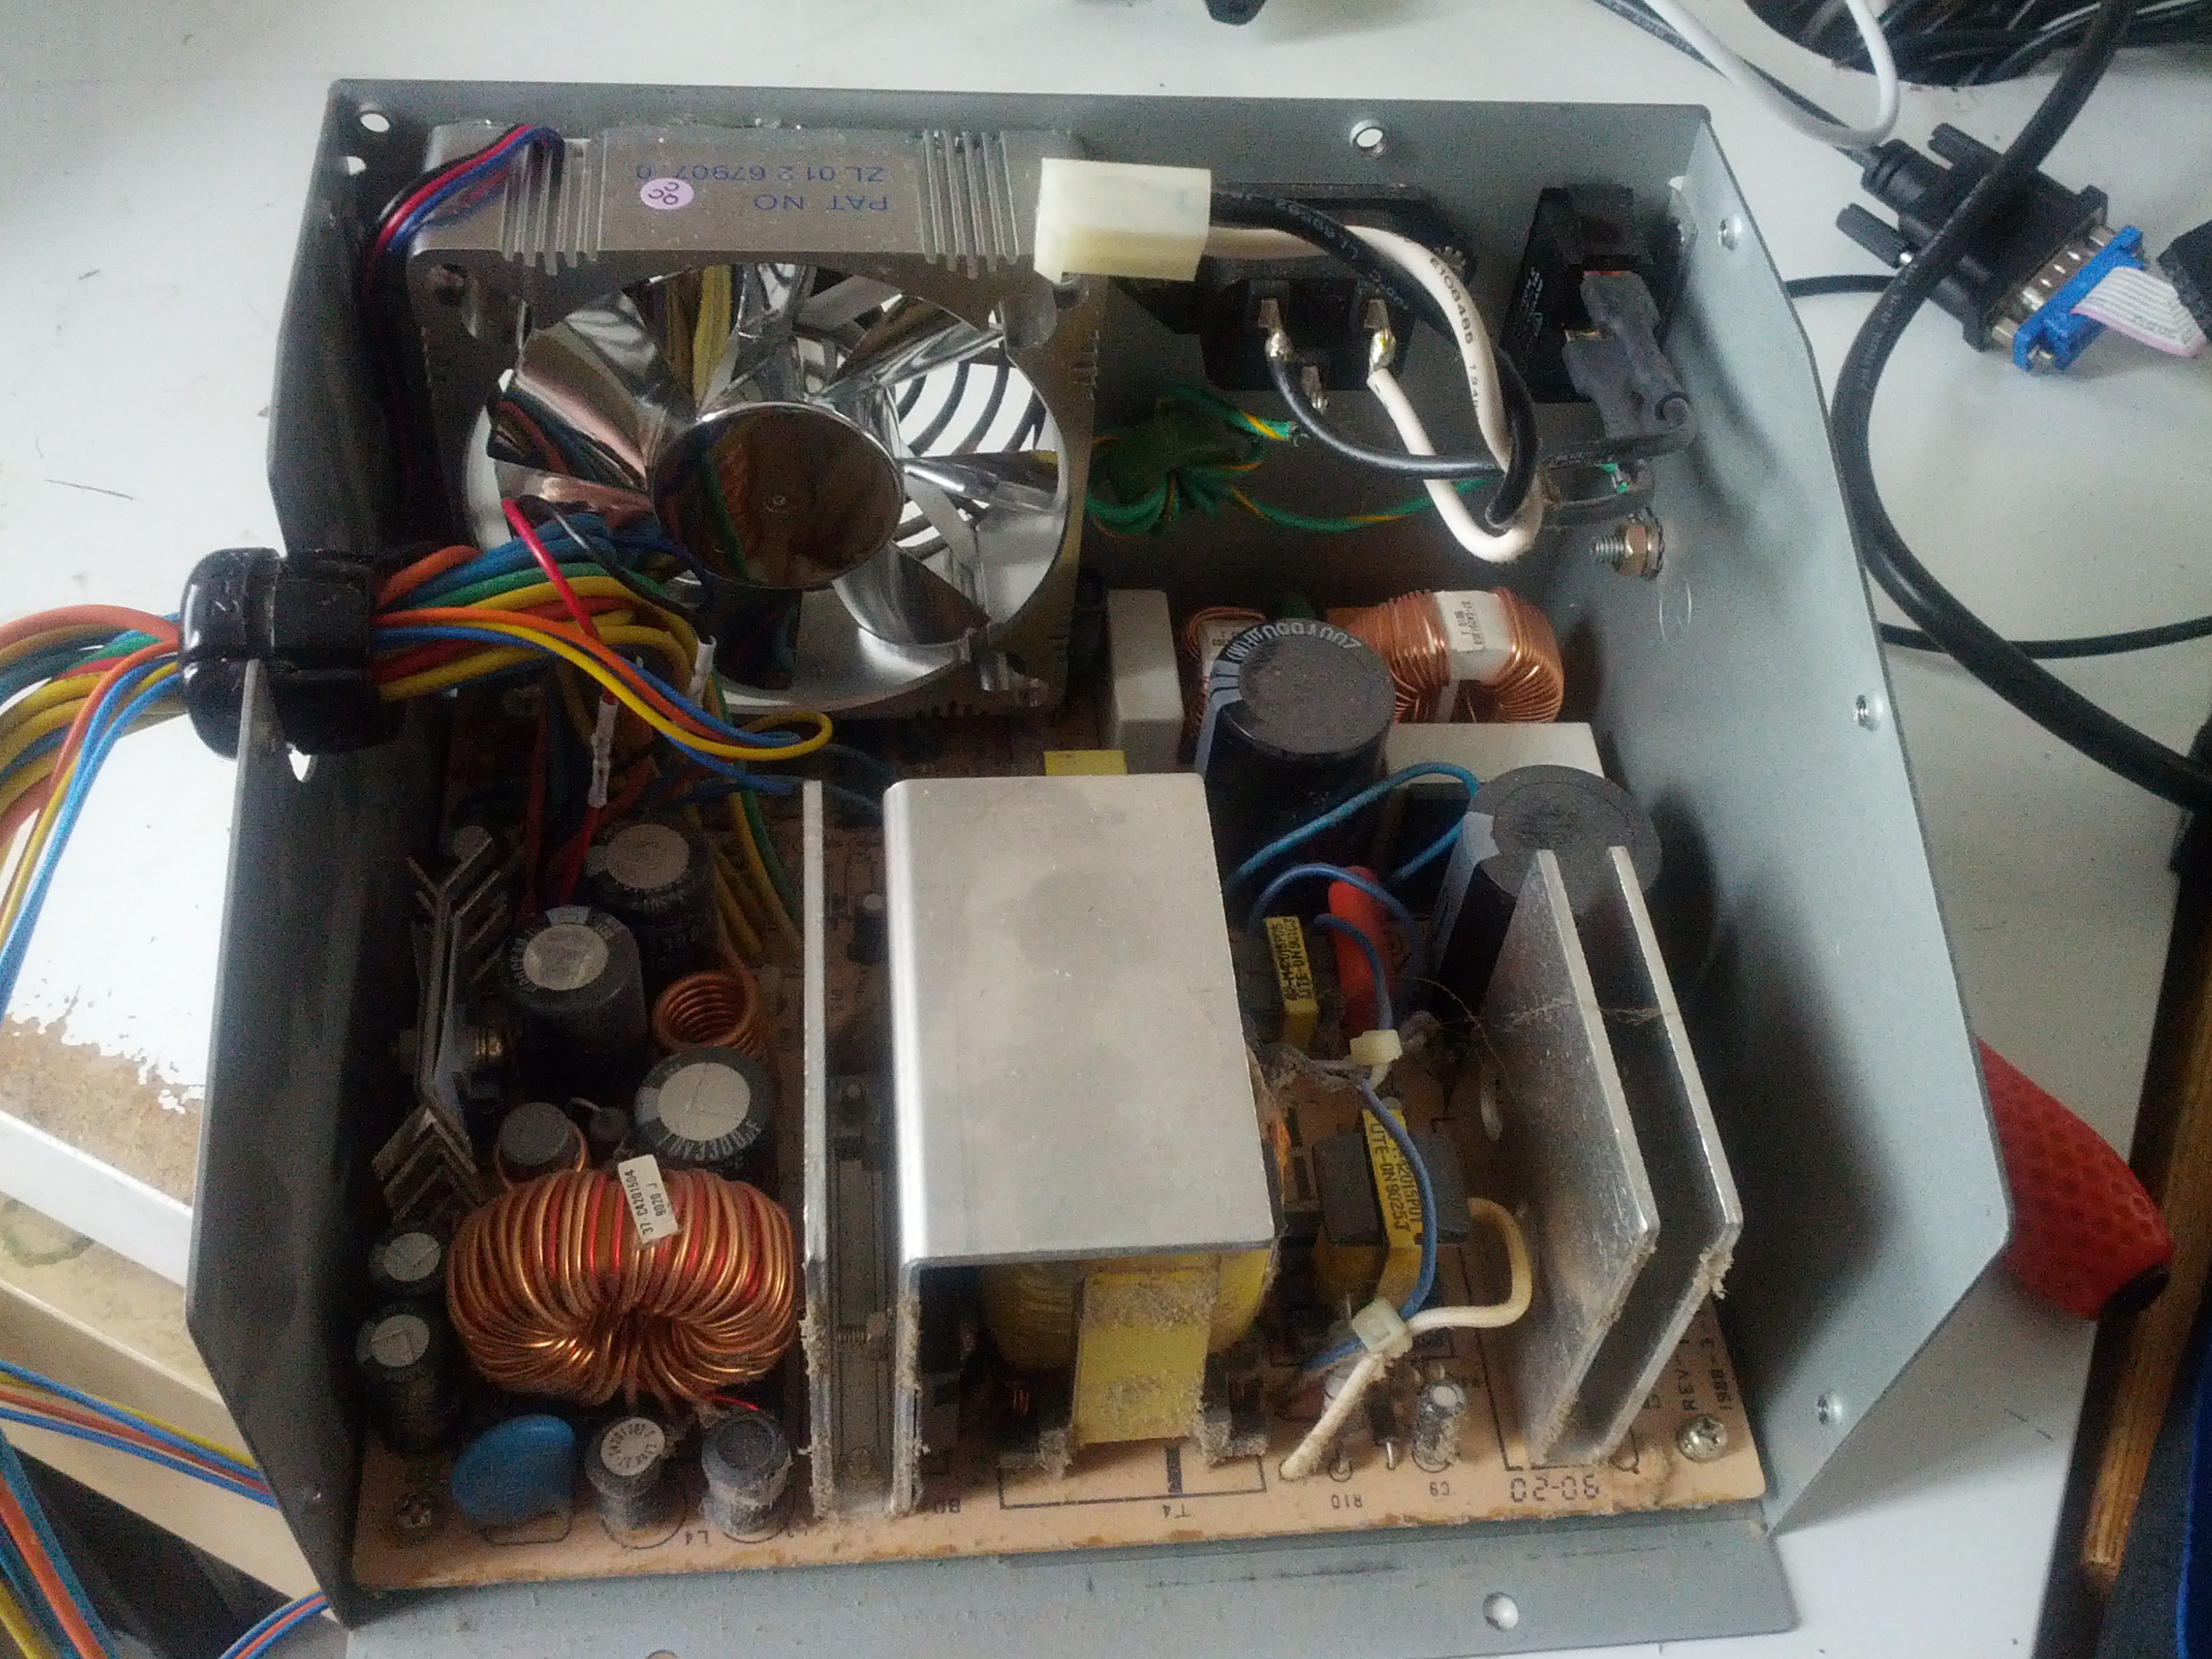
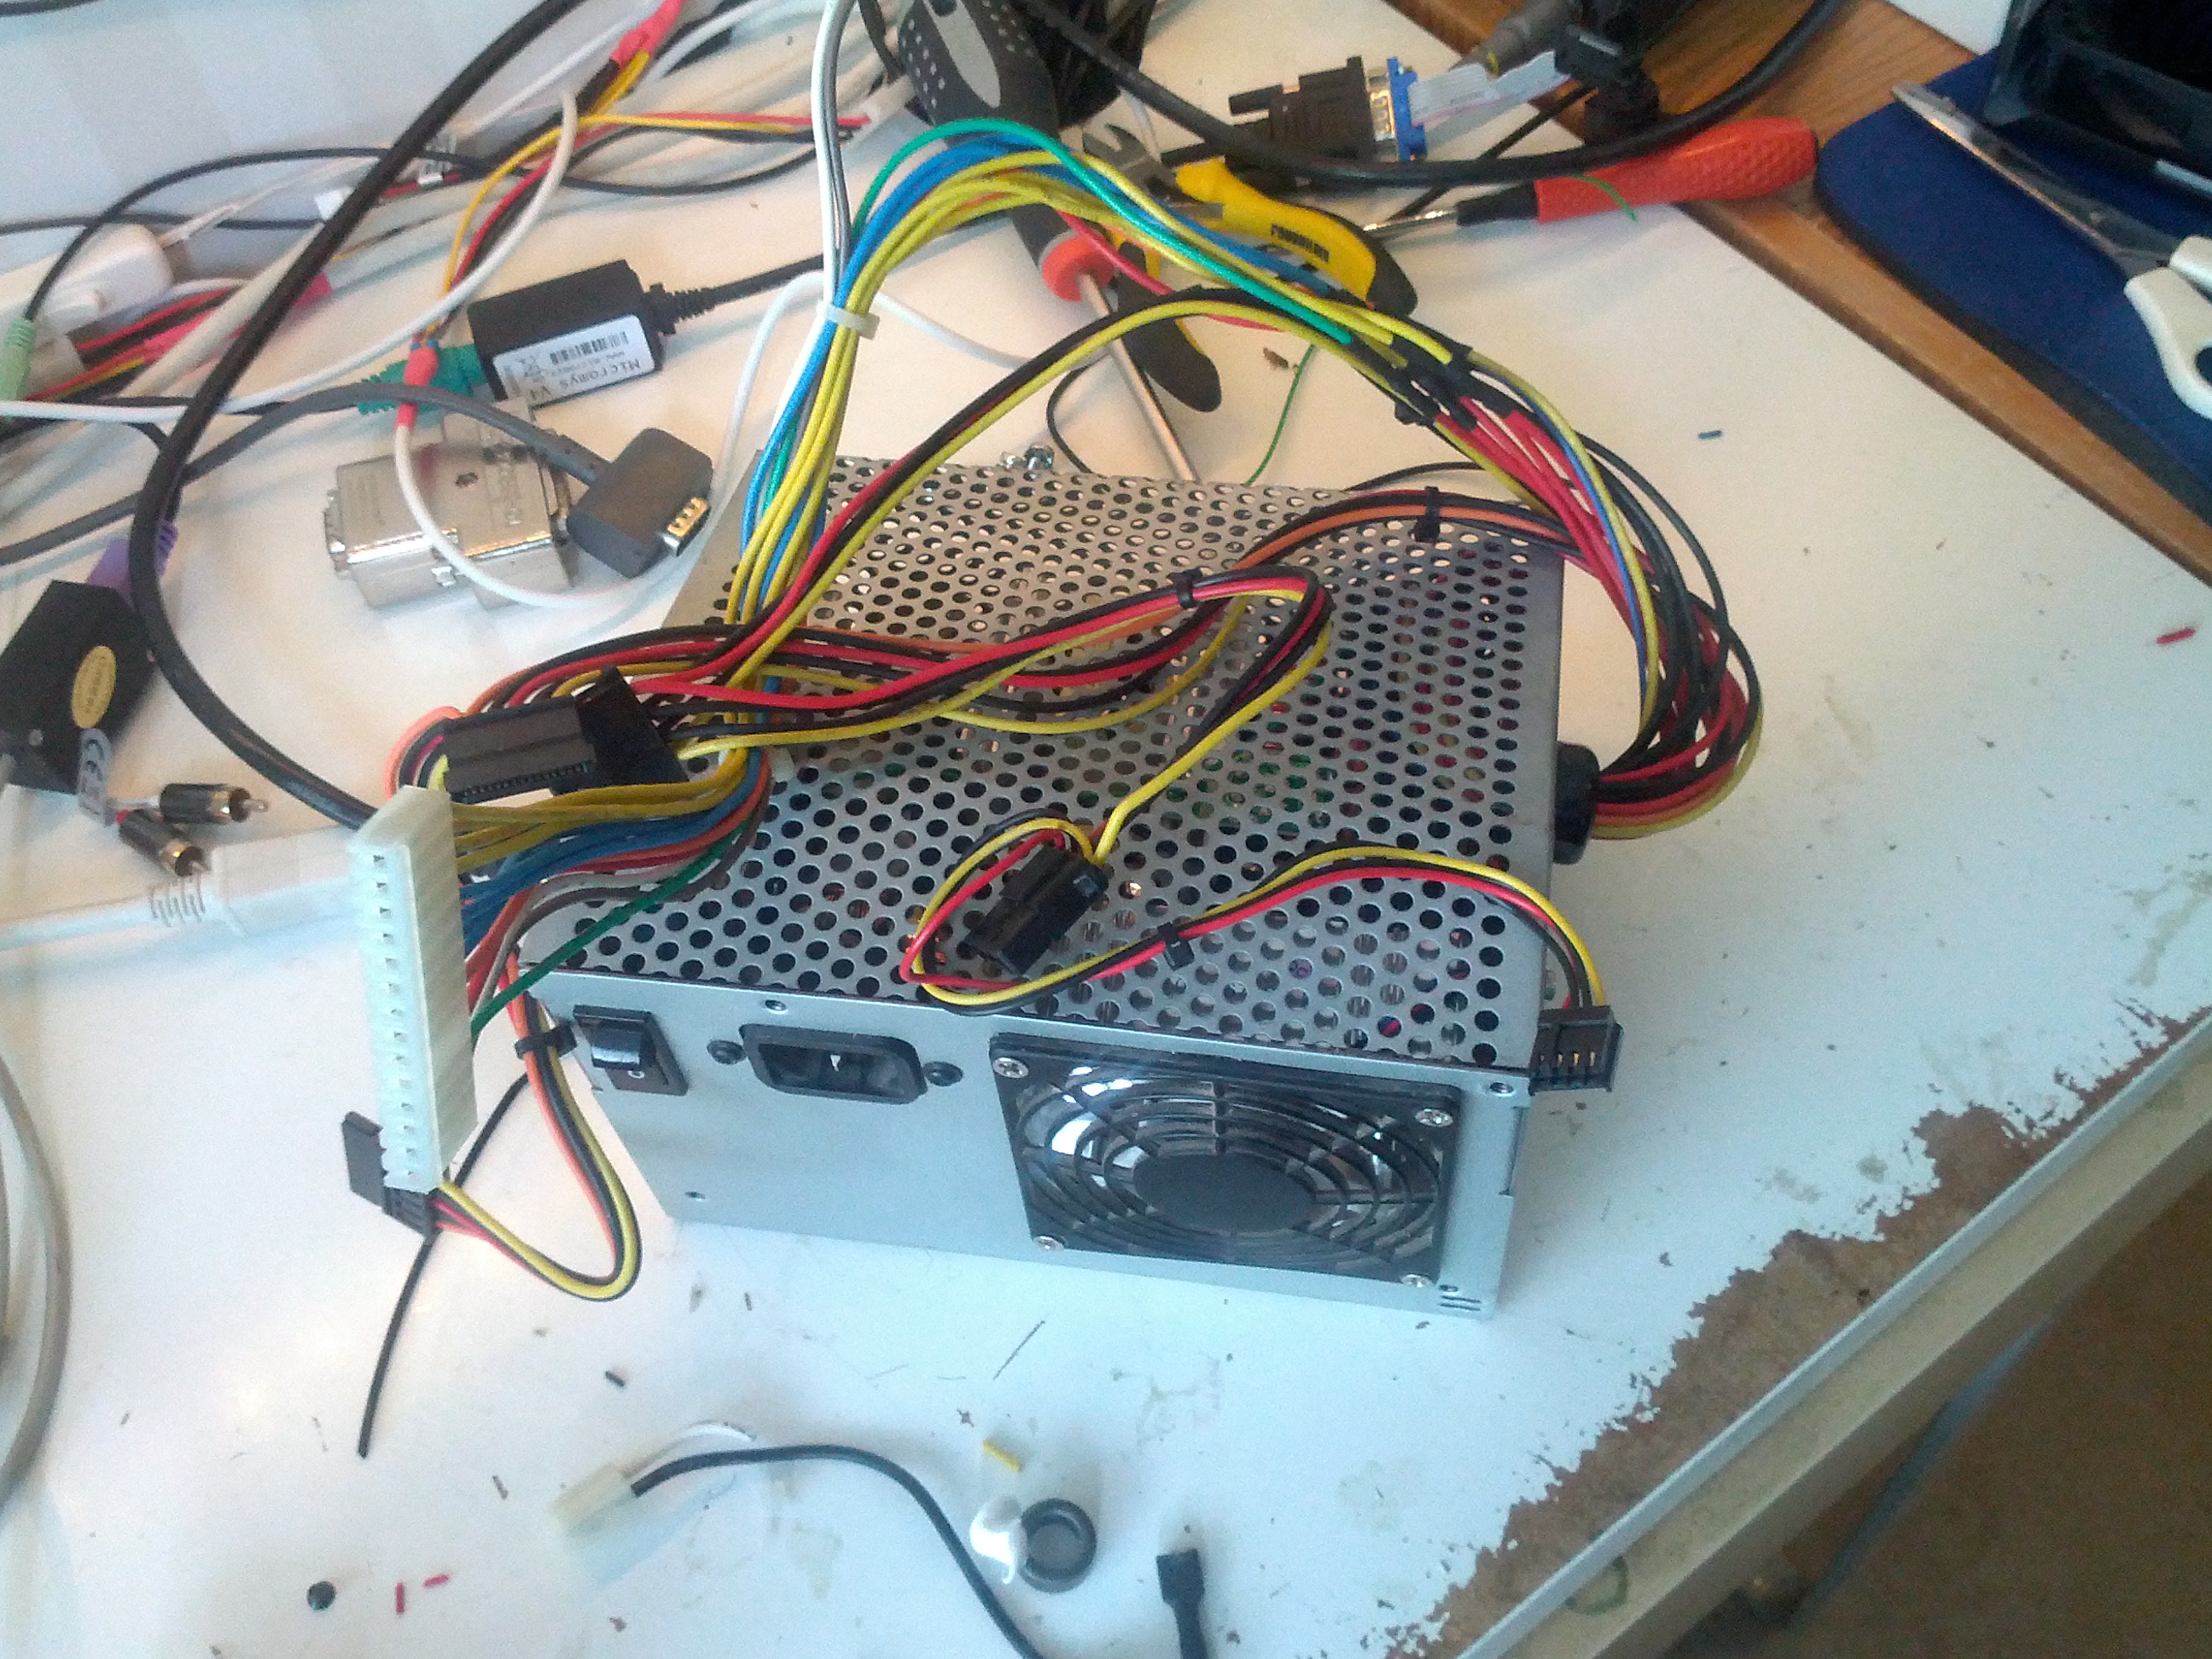
This is how it looks like. (the fan on this have been changed once if you haven’t changed it. DO get a new 80x80mm fan.
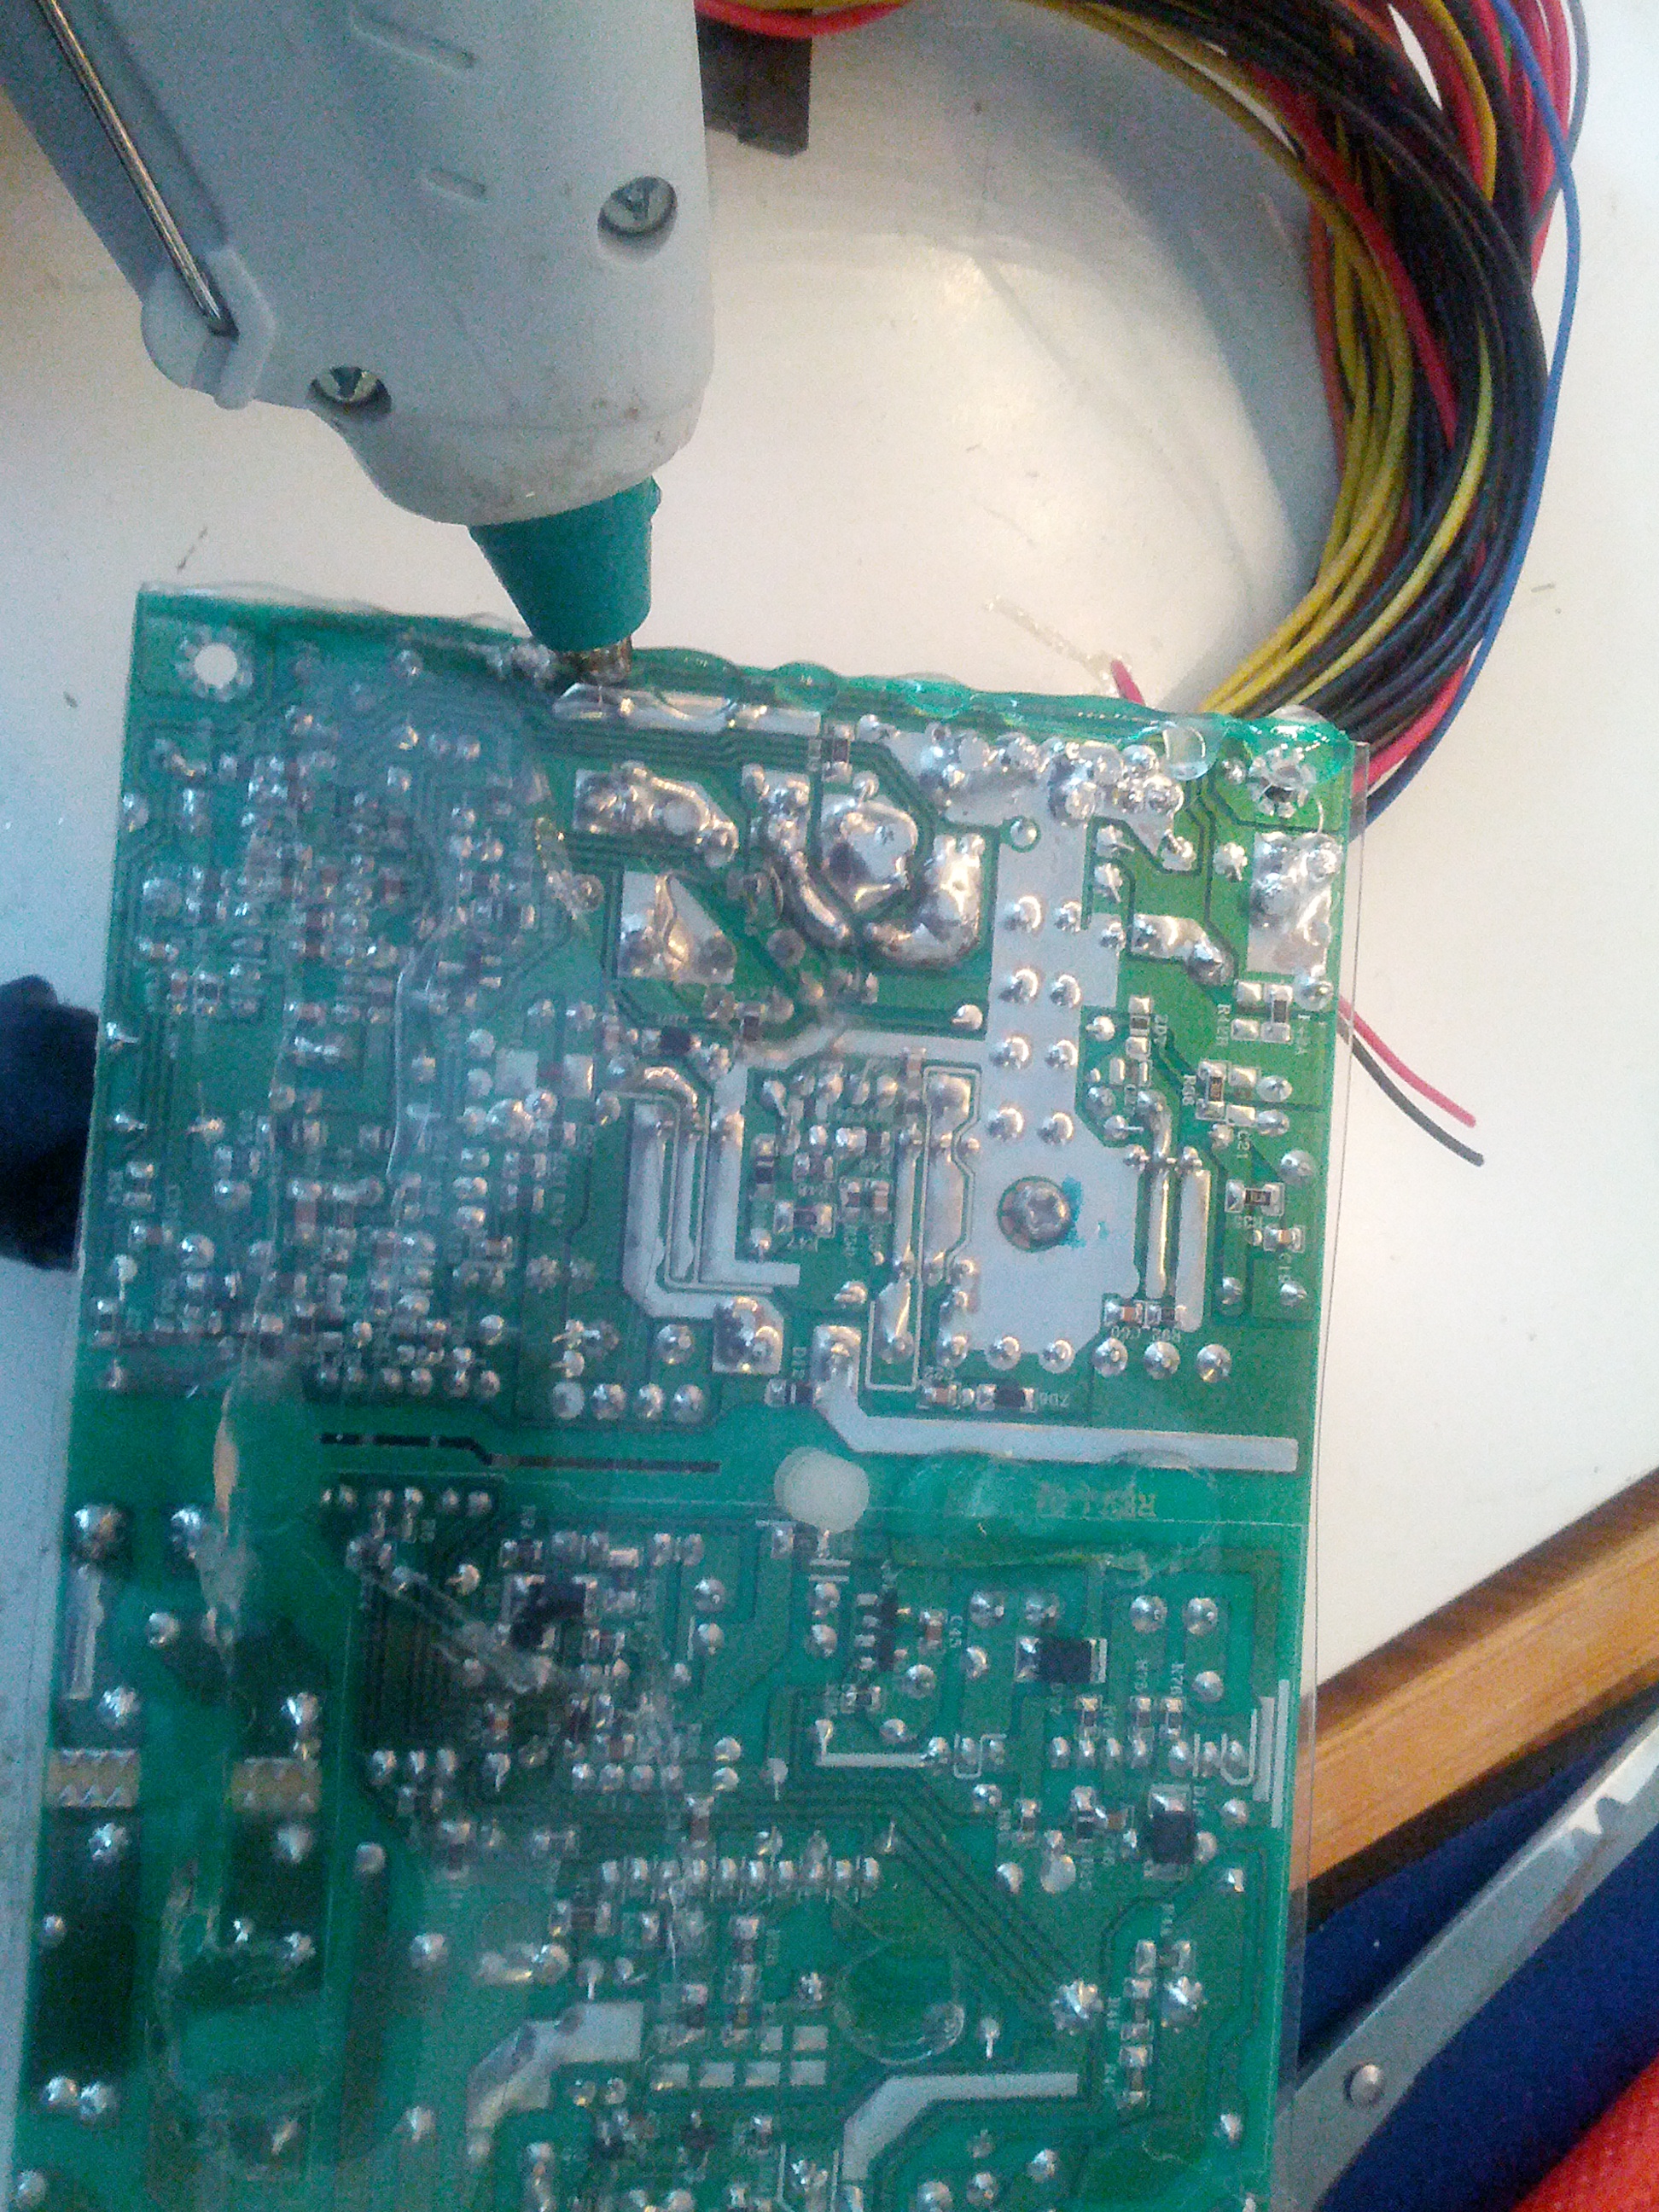
Now it is time to remove everything from the inside.
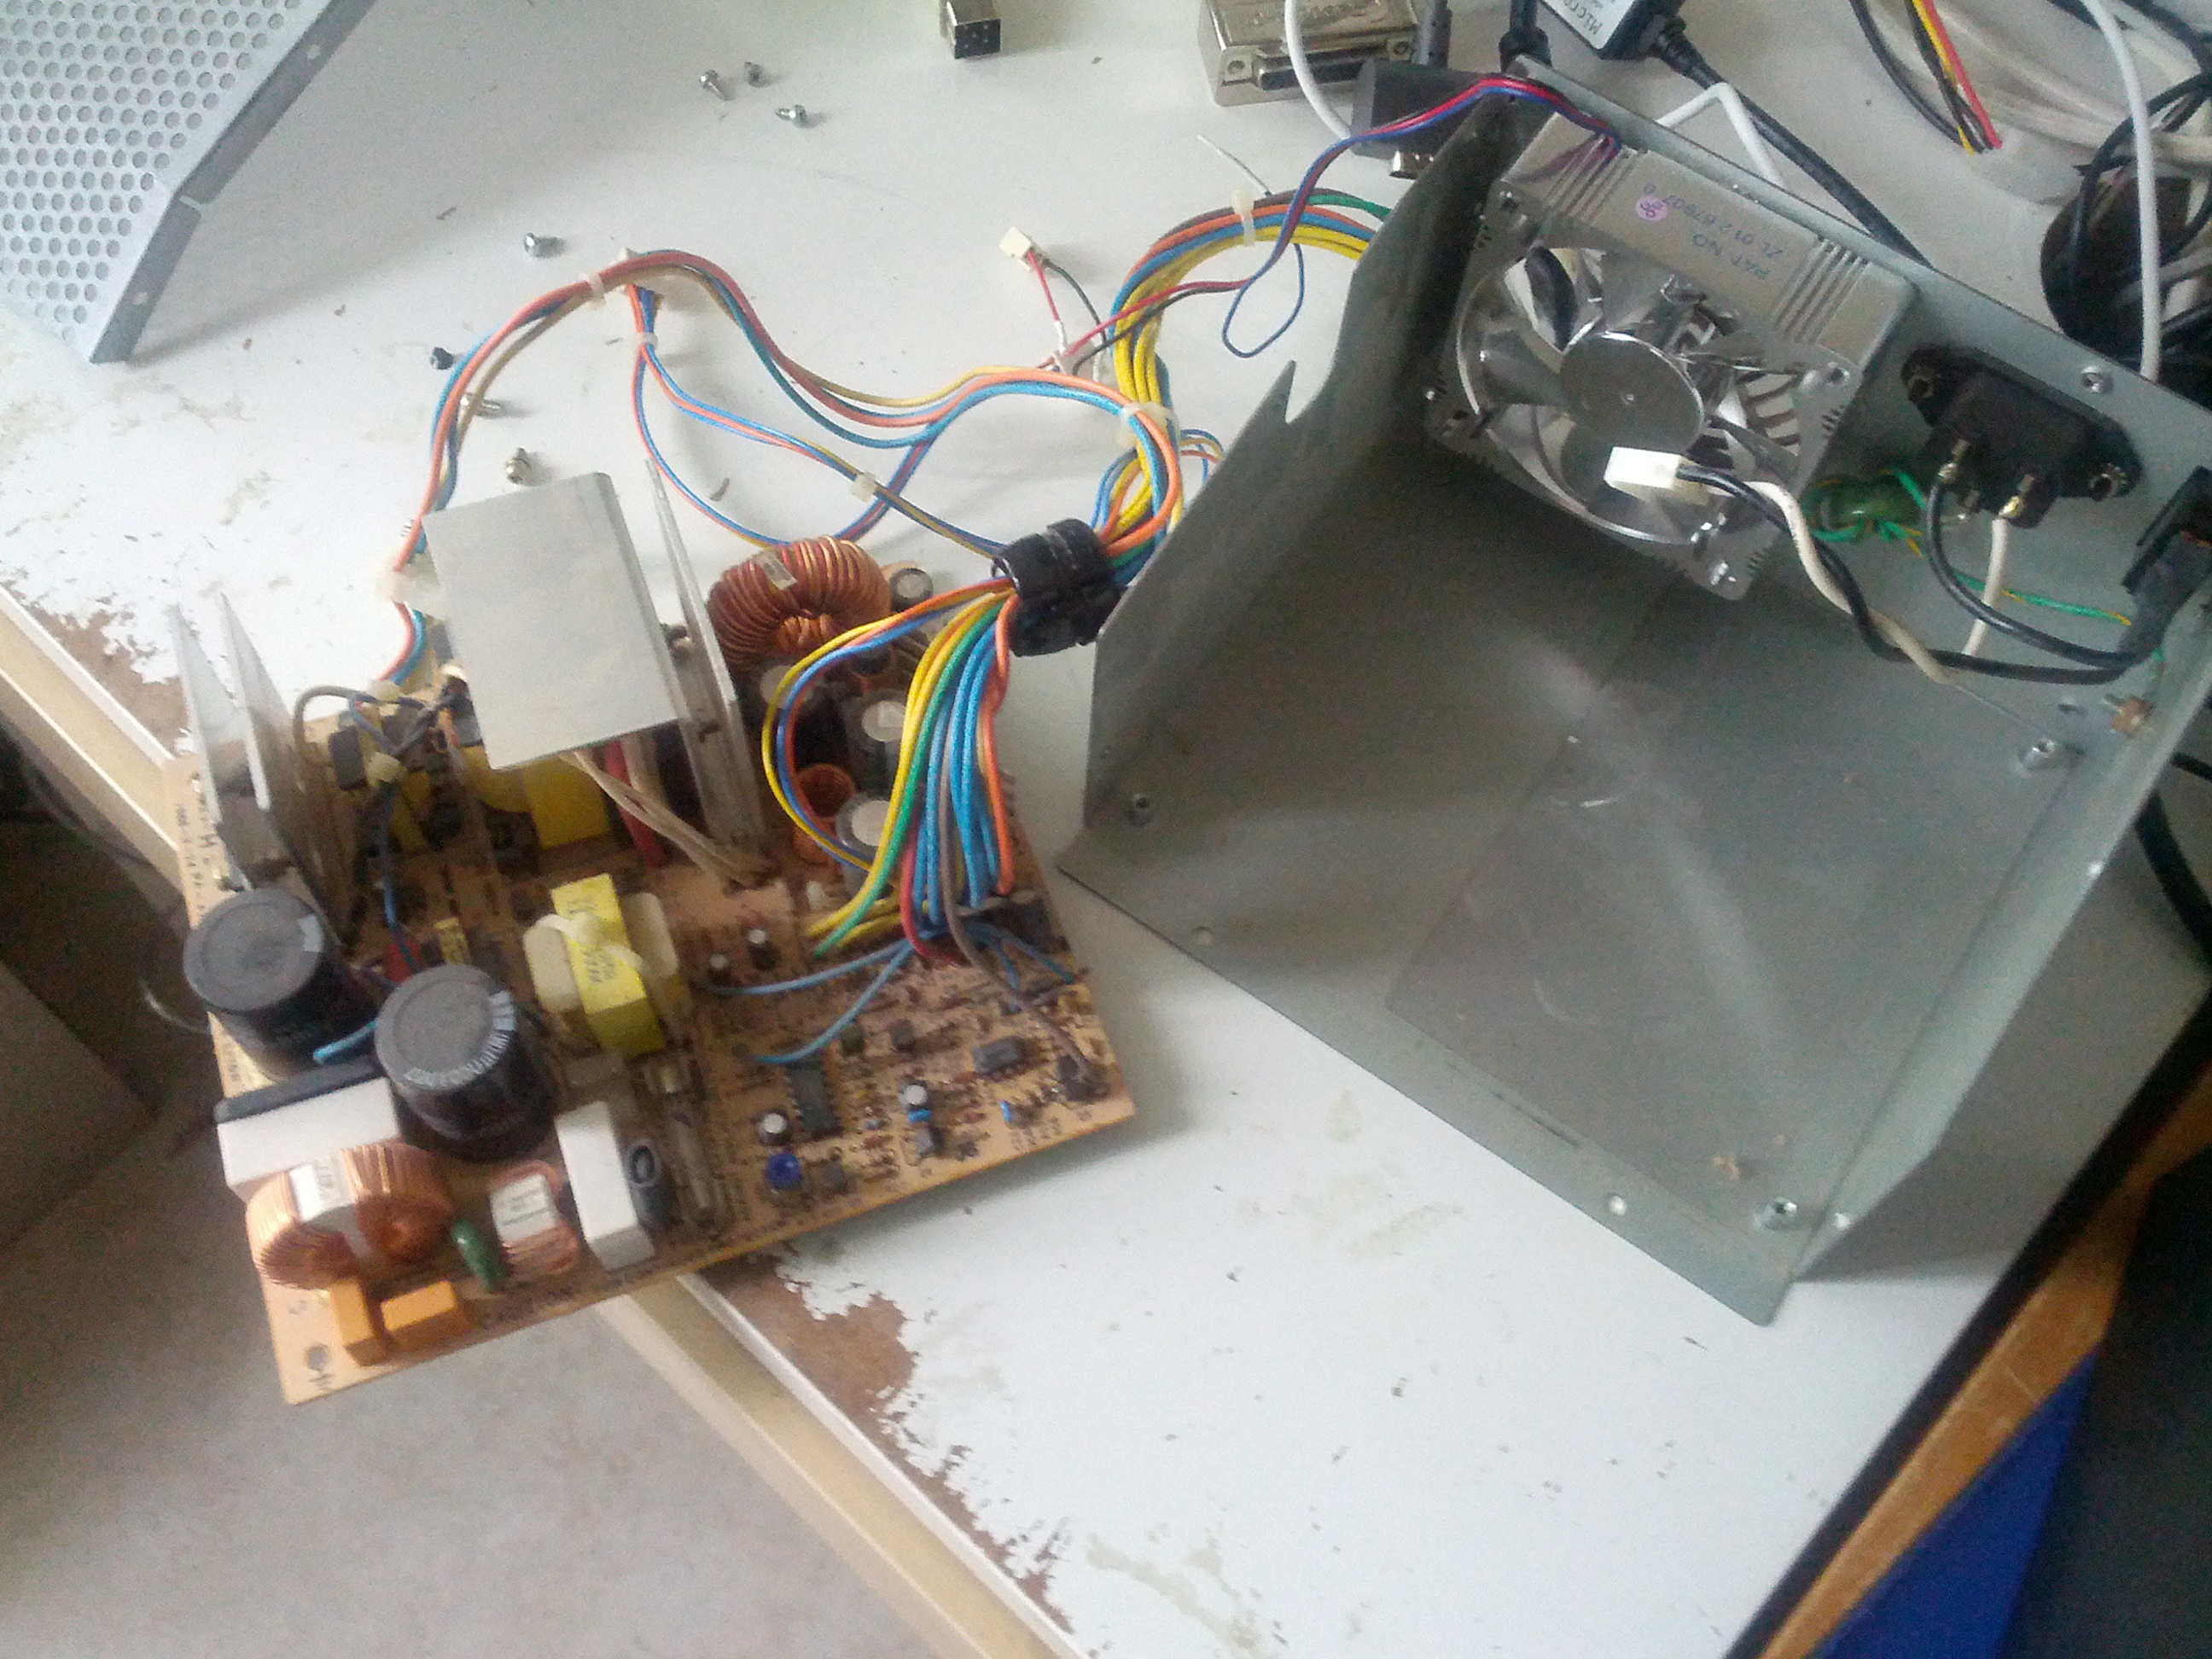
Cut off the wires to the incoming 220V connector AND to the powerswitch (as that switch will not switch the 220V anymore)
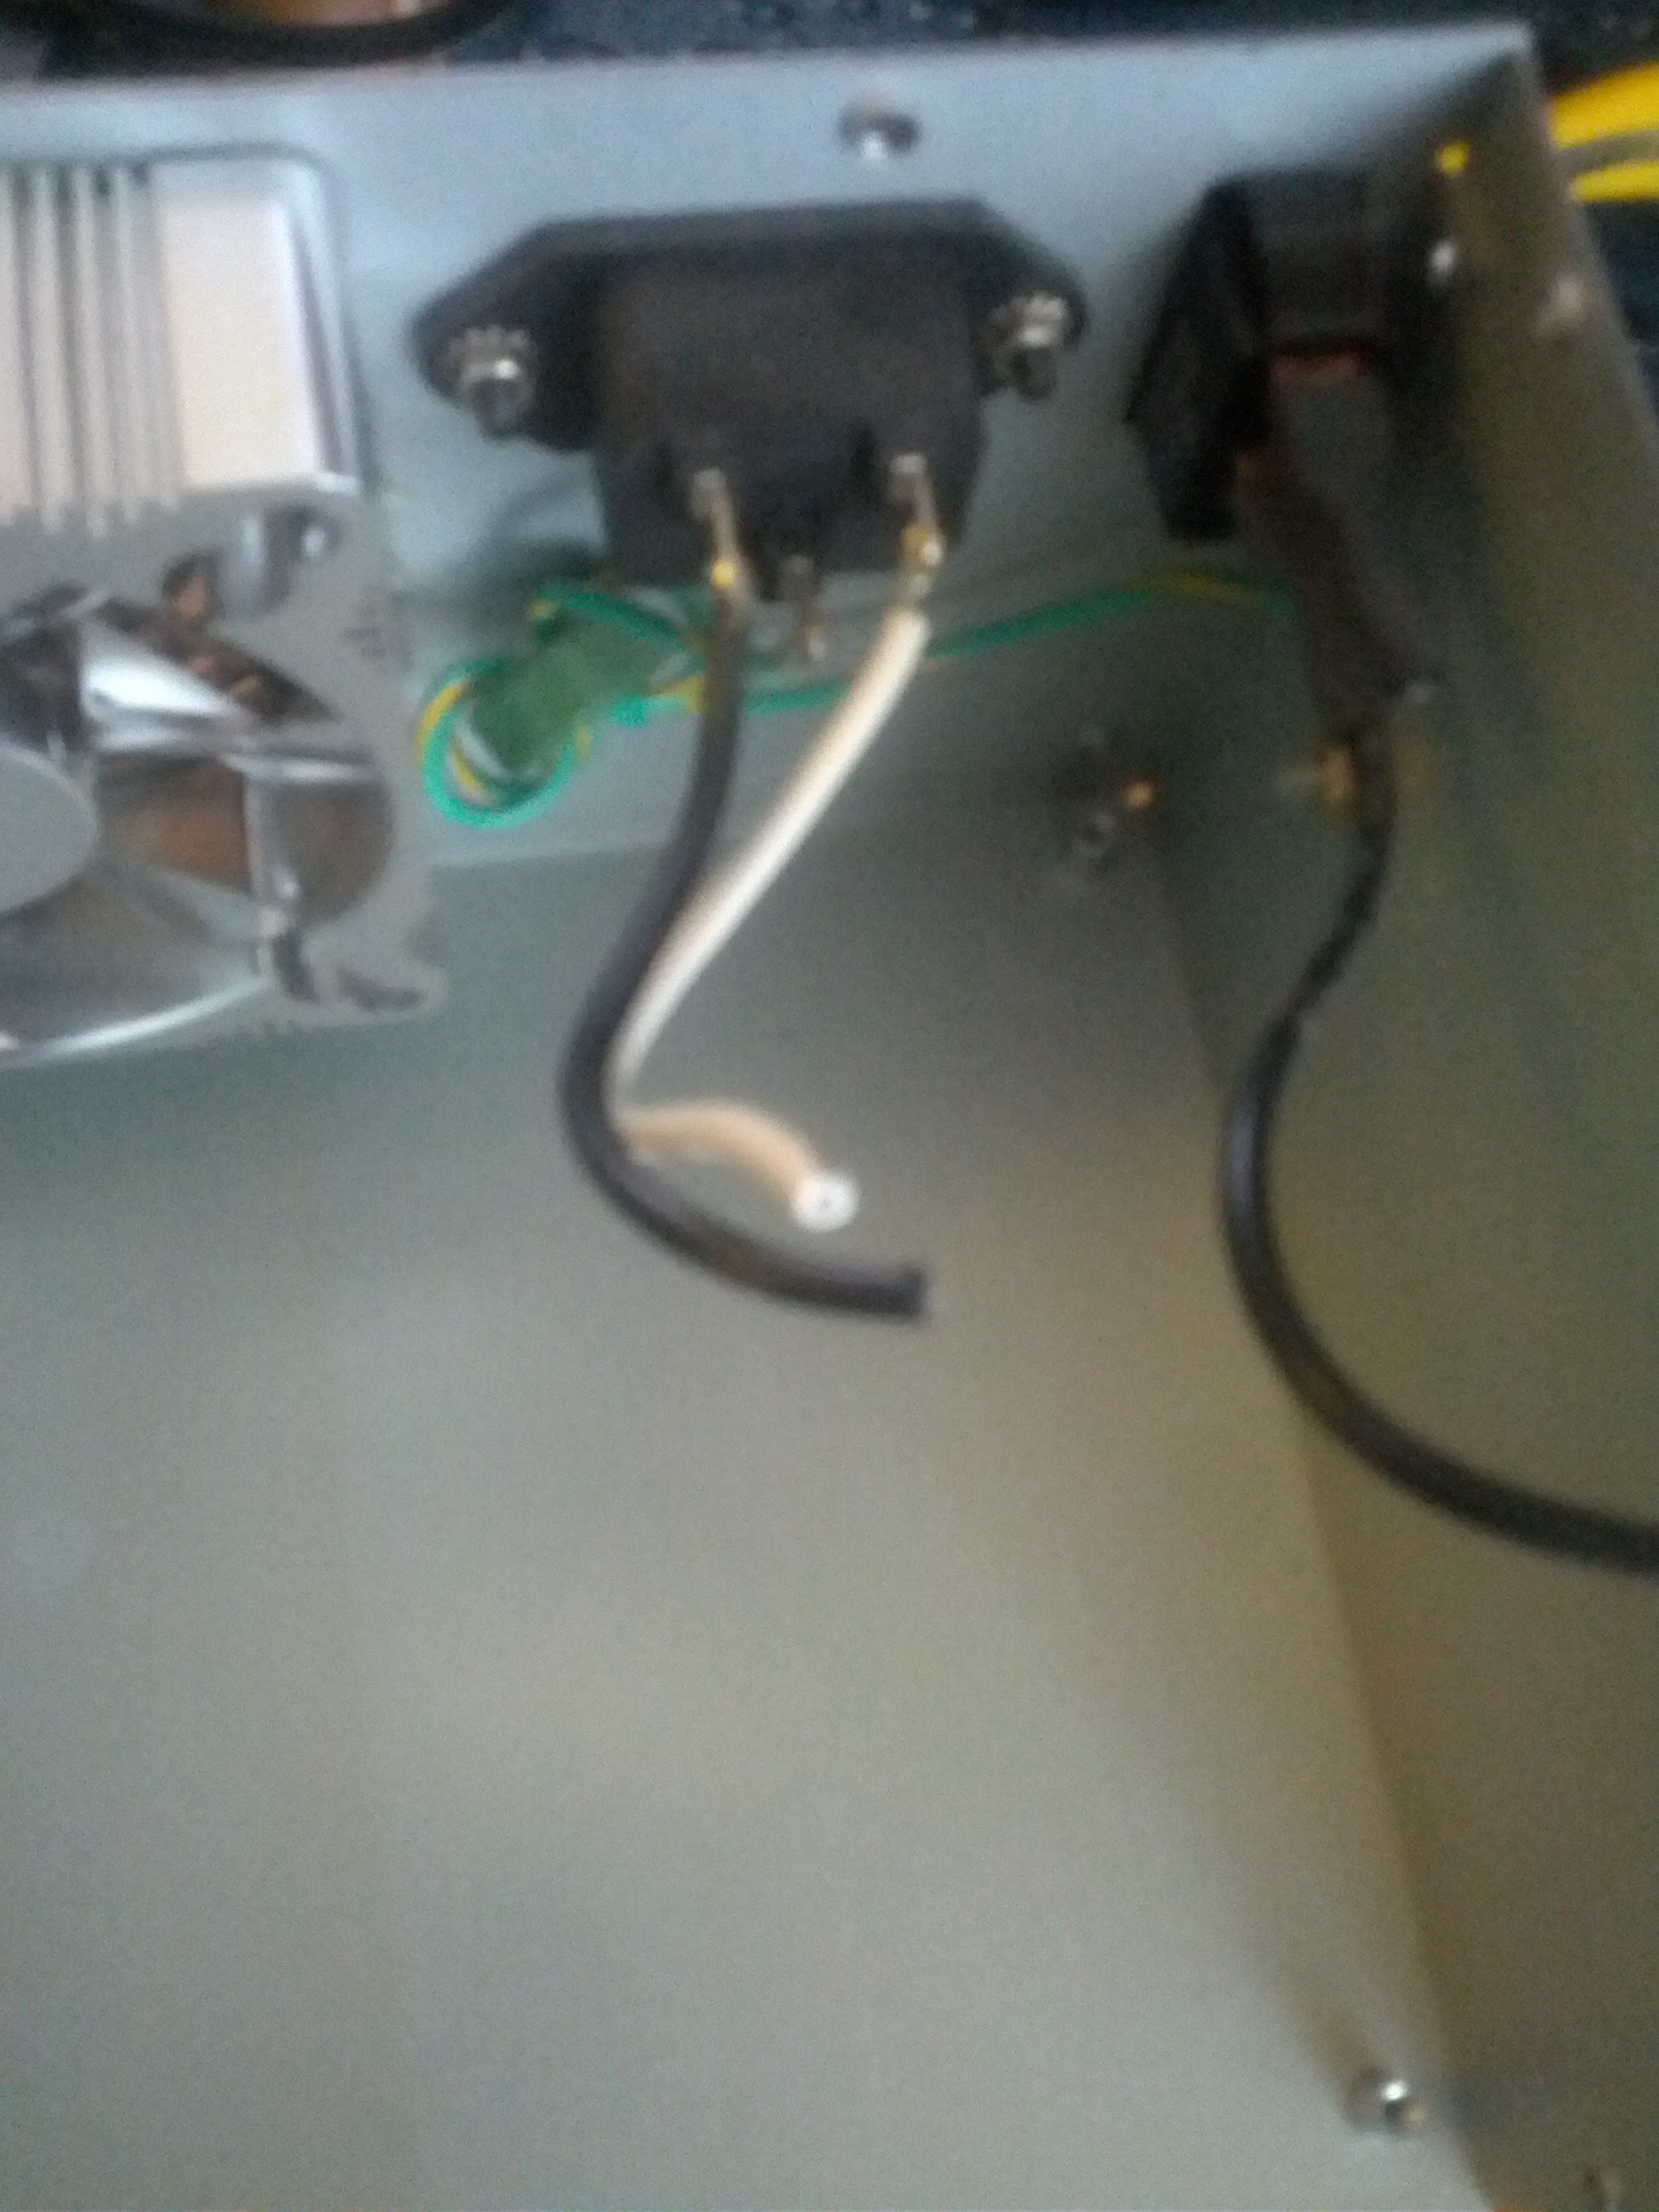
Now you have 2 loose wires for the 220V and the powerswitch is also alone.
Time to open up your ATX PSU and remove all electronics. (it is important that the atx PSU has a smaller mainboard then the original one, usually no problem if it is a 200-400W PSU. and you often does not need more)
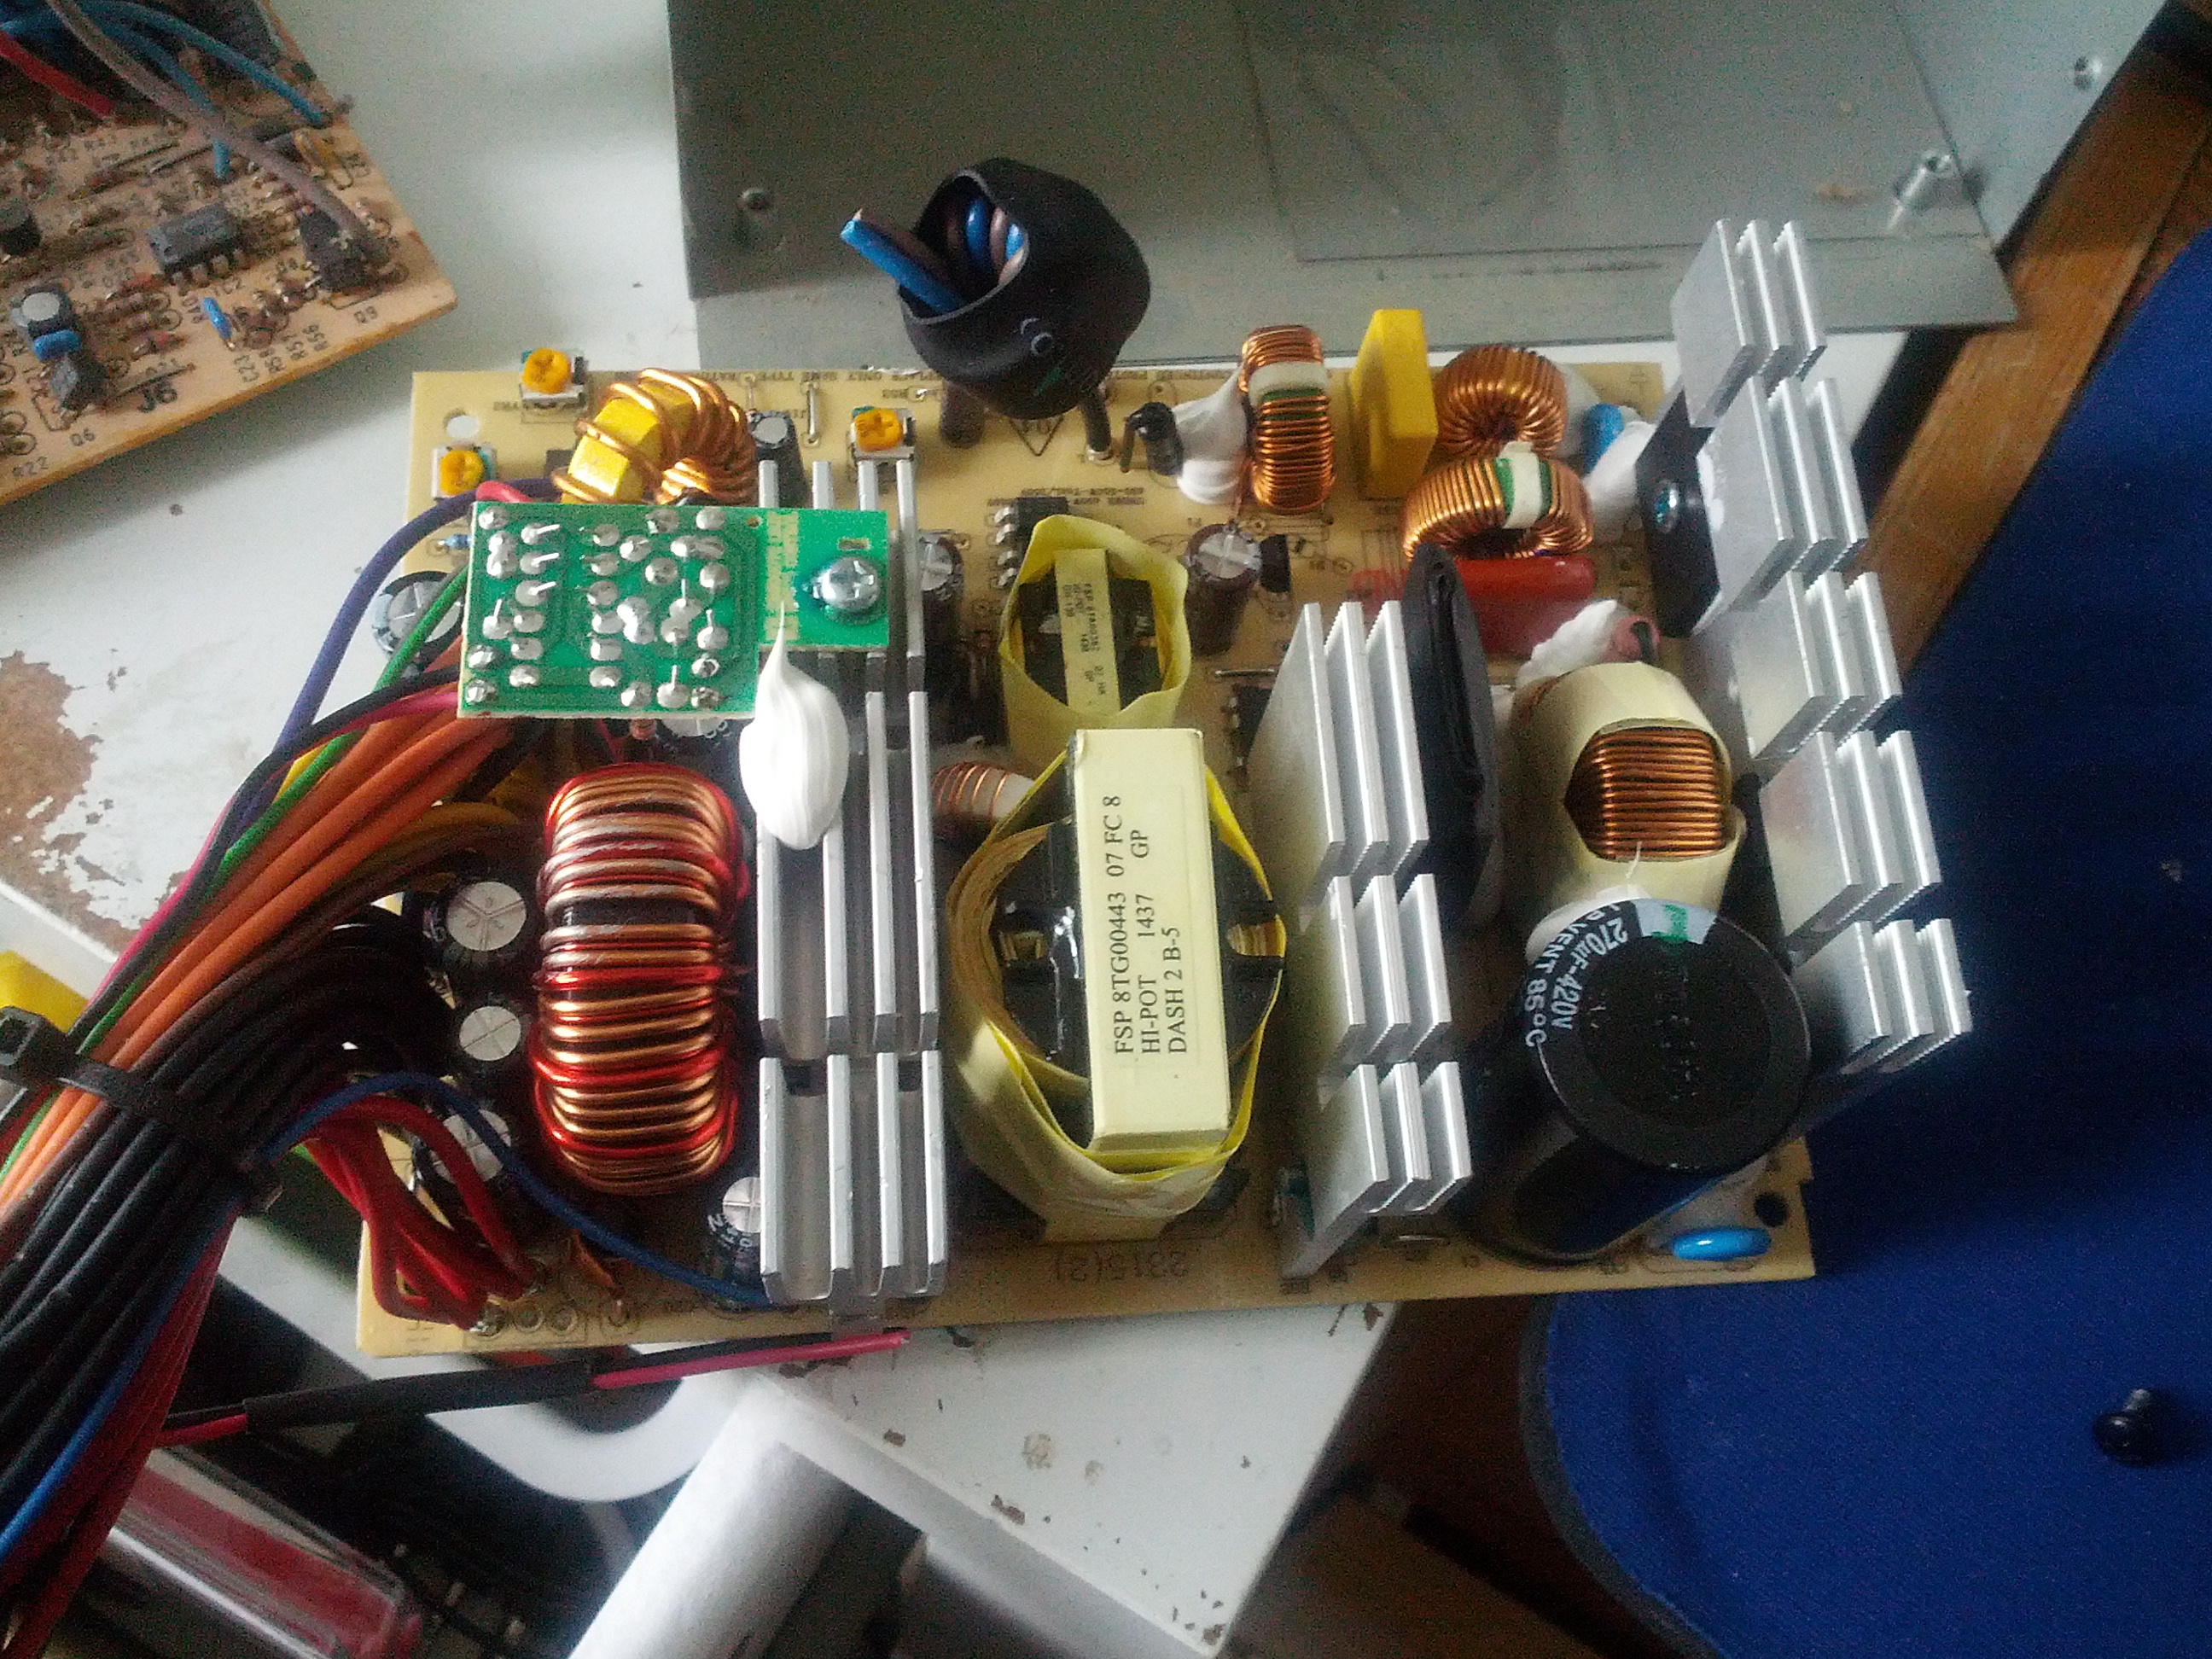
This is the ATX psu electronics ripped out.
Now just to be sure, we have to insulate the bottom of the motherboard.
there was a plastic sheild in the A2000 PSU that can be used, but mine was too small. So how to do it?
well, I found a package from a toy I got my son. you know the damn plastic things you have to use force to open?
Well.. I did cut out a part that fit my PSU and actually hotglued it to the bottom:
Now when everything is insulated. lets start fix the wires.
From the old A2000 PSU, remove the connector to the motherboard:
Now when you have the connector loose:
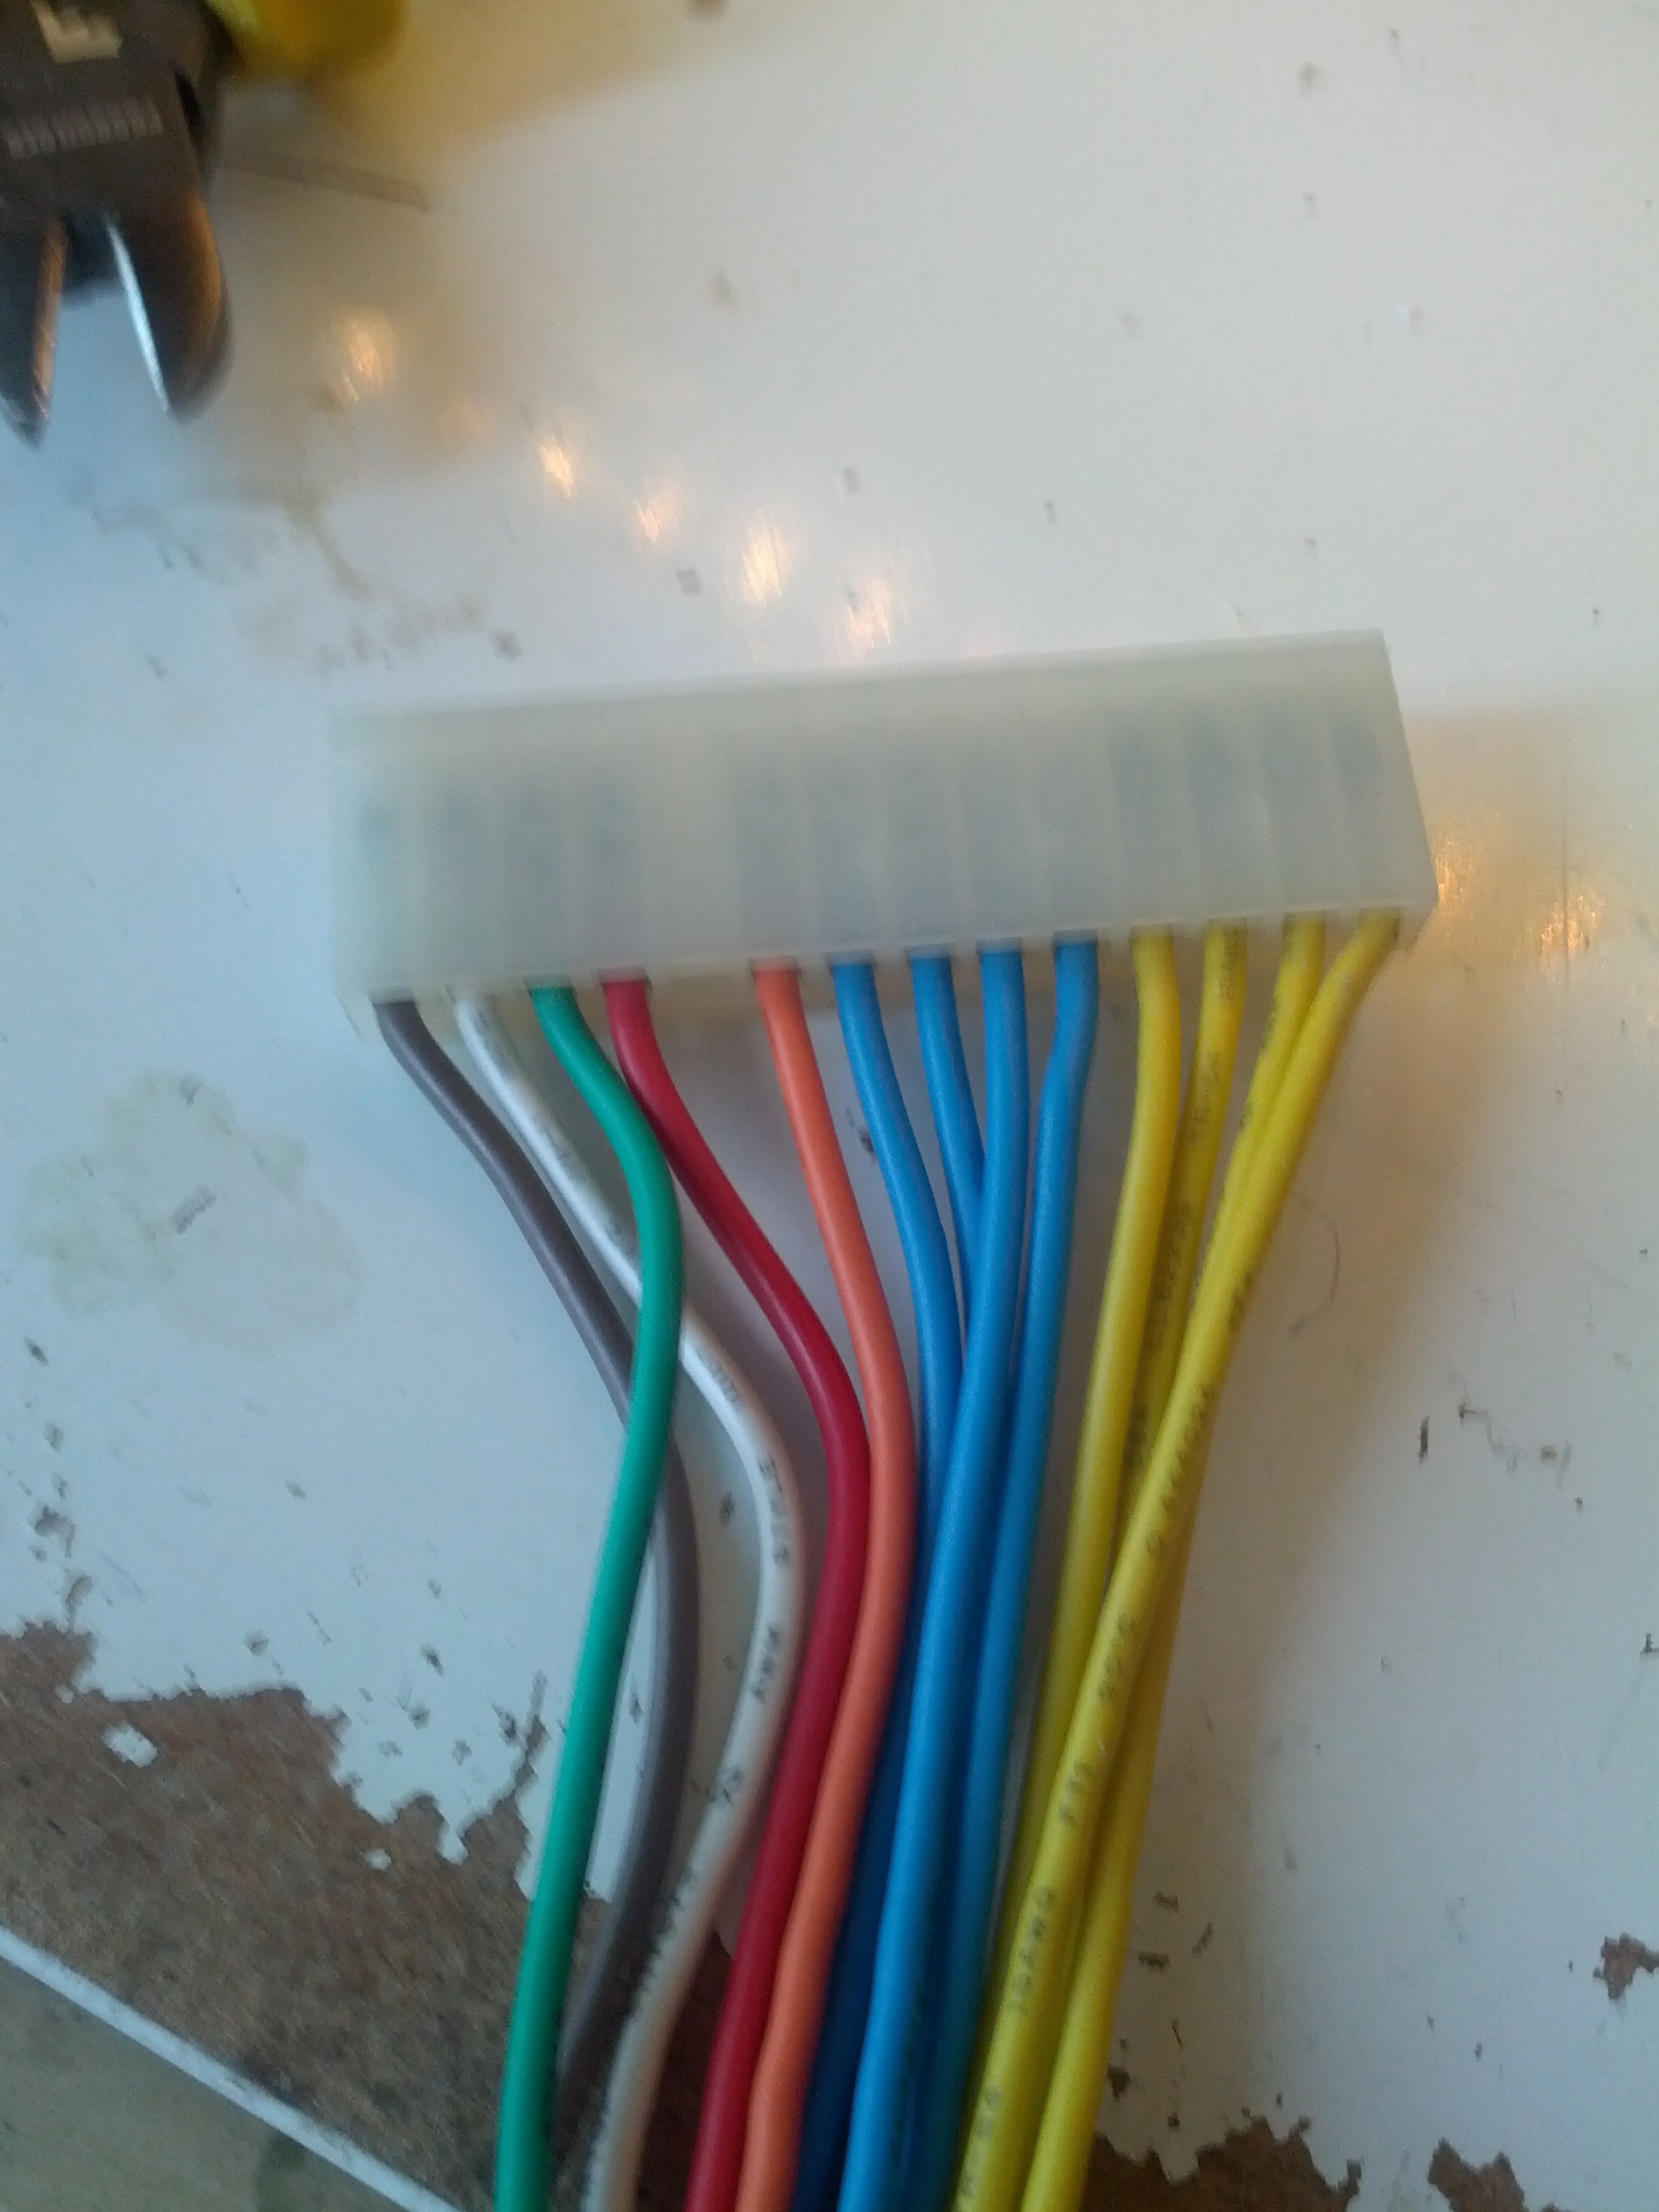
Lets check the pinout of the A2000 PSU:
1, 2, 3 and 4 (Yellow on this picture) is +5V
5, 6, 7 and 8 (Blue on this picture) is GND
9 (Orange on this picture) is +12V
11 (Red on this picture) is -12V
12 (Green on this picture) is +5V User
13 (White on this picture) is -5V
14 (Black on this picture) is TICK.
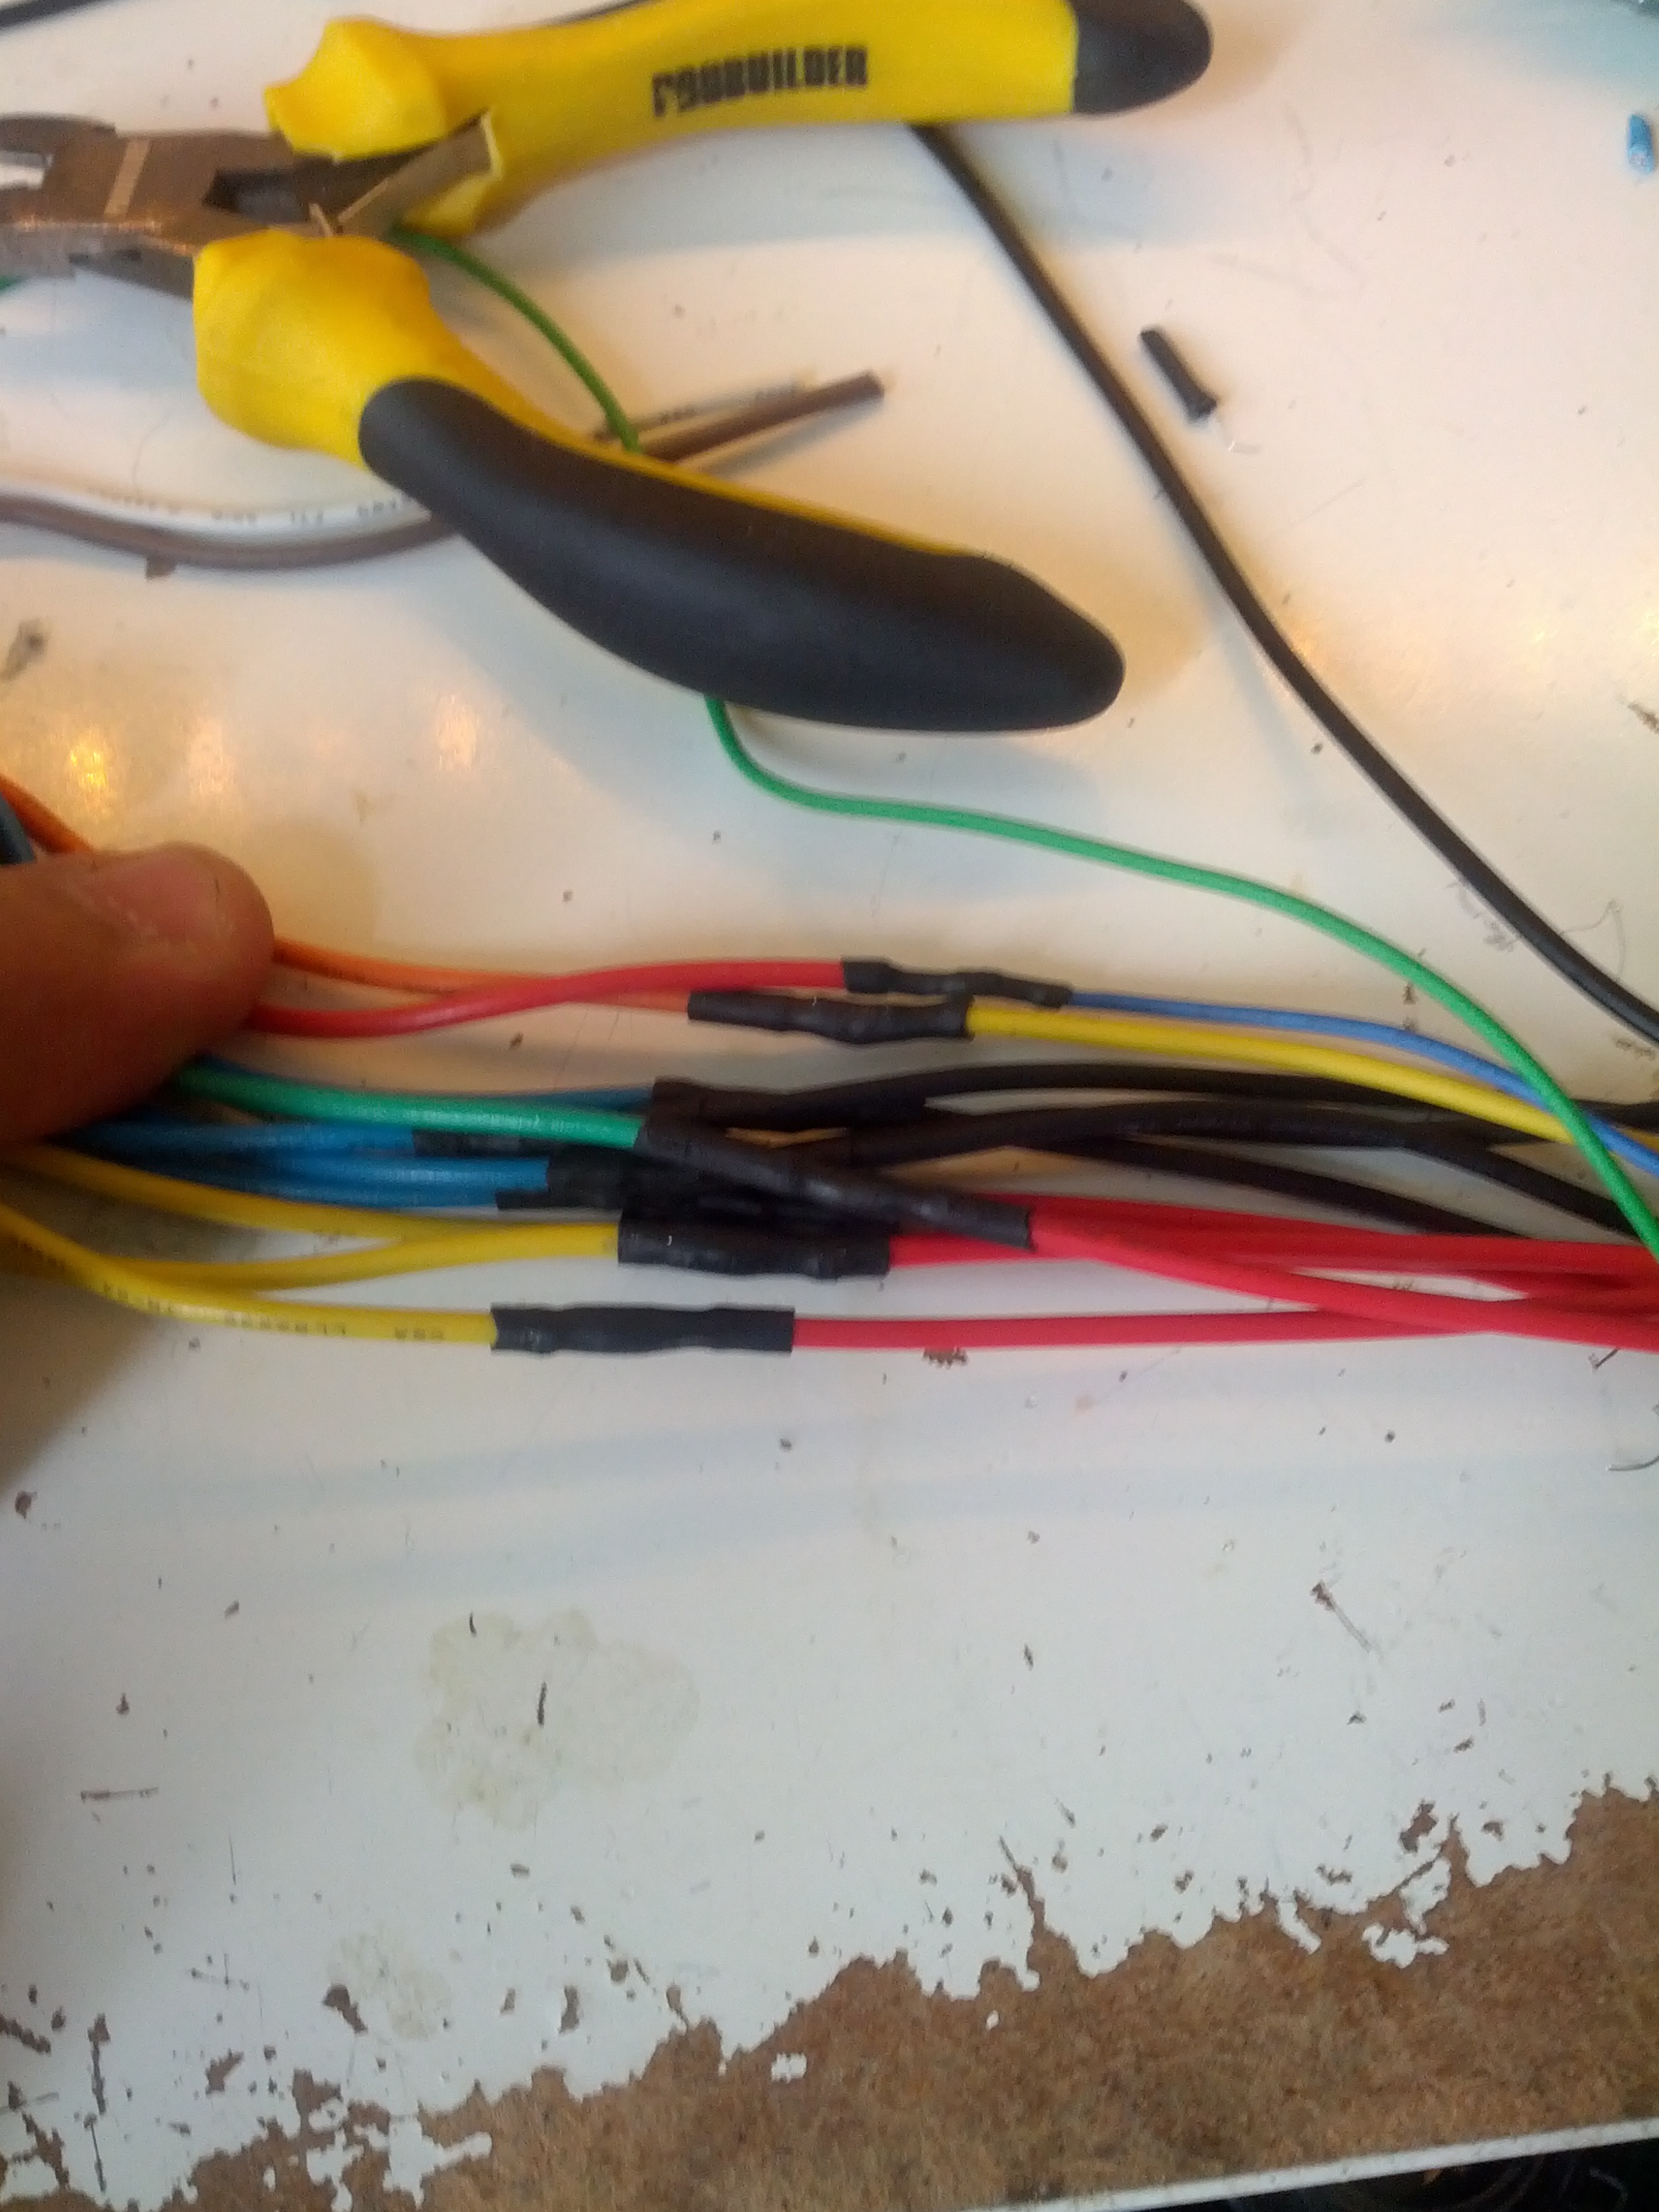
now we have 2 problems. the ATX does not contain a -5V (WELL old ones does! then you can connect it)
and ATX does not have a TICK signal. we have to skip them (more about TICK later) so insulate them
for the others, connect them to the ATX PSU;
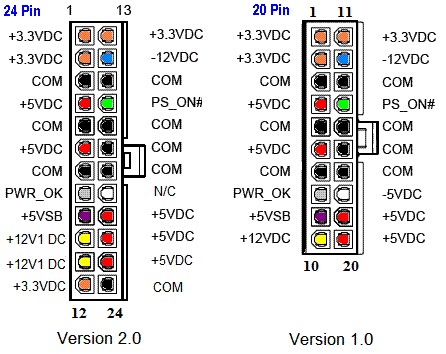
As you can see on the specifications:
Cut off 4 Red wires (+5V) on the ATX and connect to the Amiga +5V (Yellow for me)
Cut off 4 Black wires (GND) on the ATX and connect to the Amiga GND (Blue for me)
Cut off one Yellow wire (+12V) on the ATX and connect to the Amiga +12V (Orange for me)
Cut off one Blue wire (-12V) on the ATX and connect to the Amiga -12V (Red for me!) (NOTE!! easy to do wrong here. NO +5V
Cut off one Red wire on the ATX (if you do not have any more, using Version 1.0 solder a wire from the +5V) and connect to the Amiga +5V User (Green for me)
Also cut off a Black wire and the Green (powerON) so you have long wires for this.
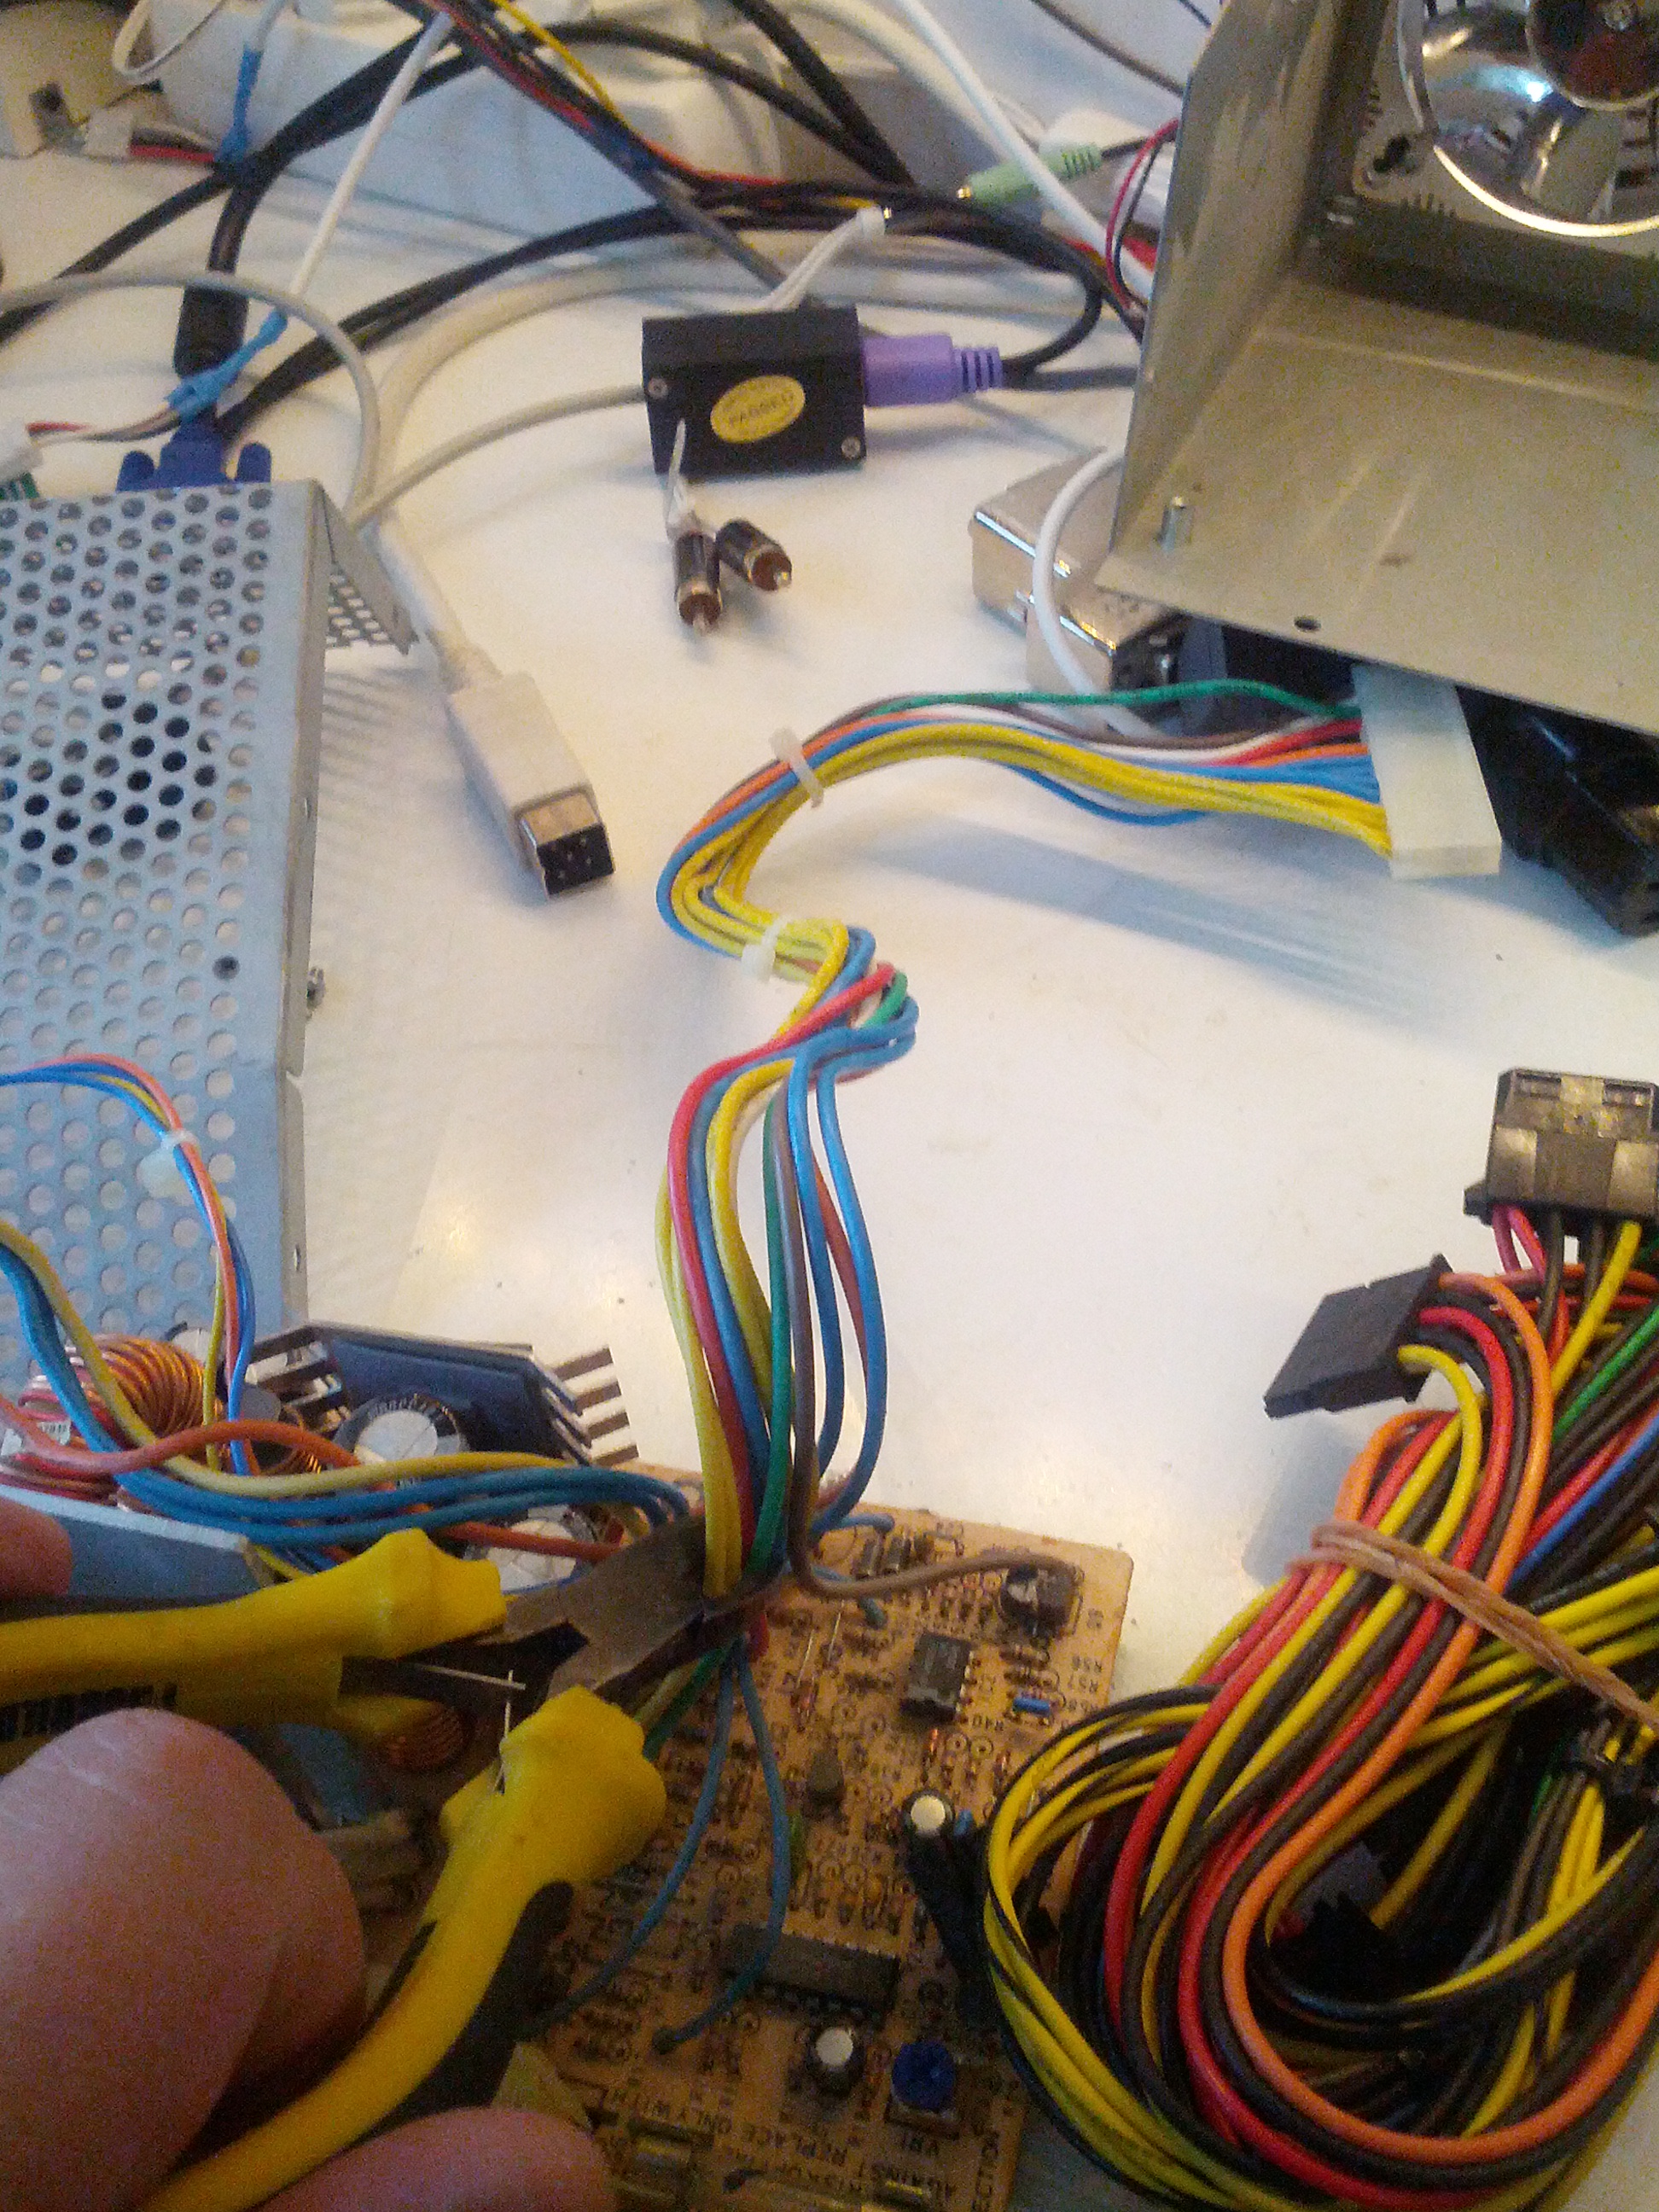
Now you should have something that looks like:
now the rest of the wires to the ATX Connectors, like +3.3V etc are not used. so cut the wires close to the motherboard and insulate:
also do this for the SATA cables and GPU cables as they will not be needed and only takes space.
Now lets mount eveything inside the old A2000 PSU Case:

As my board only had one screwhole that did fit, I screwed it in place and used hot glue to put the rest in place.
Now solder the 220V cable to the loose ends we had before. AND the black/green wire we have free, put them to the powerswitch.
AND connect the fan aswell.

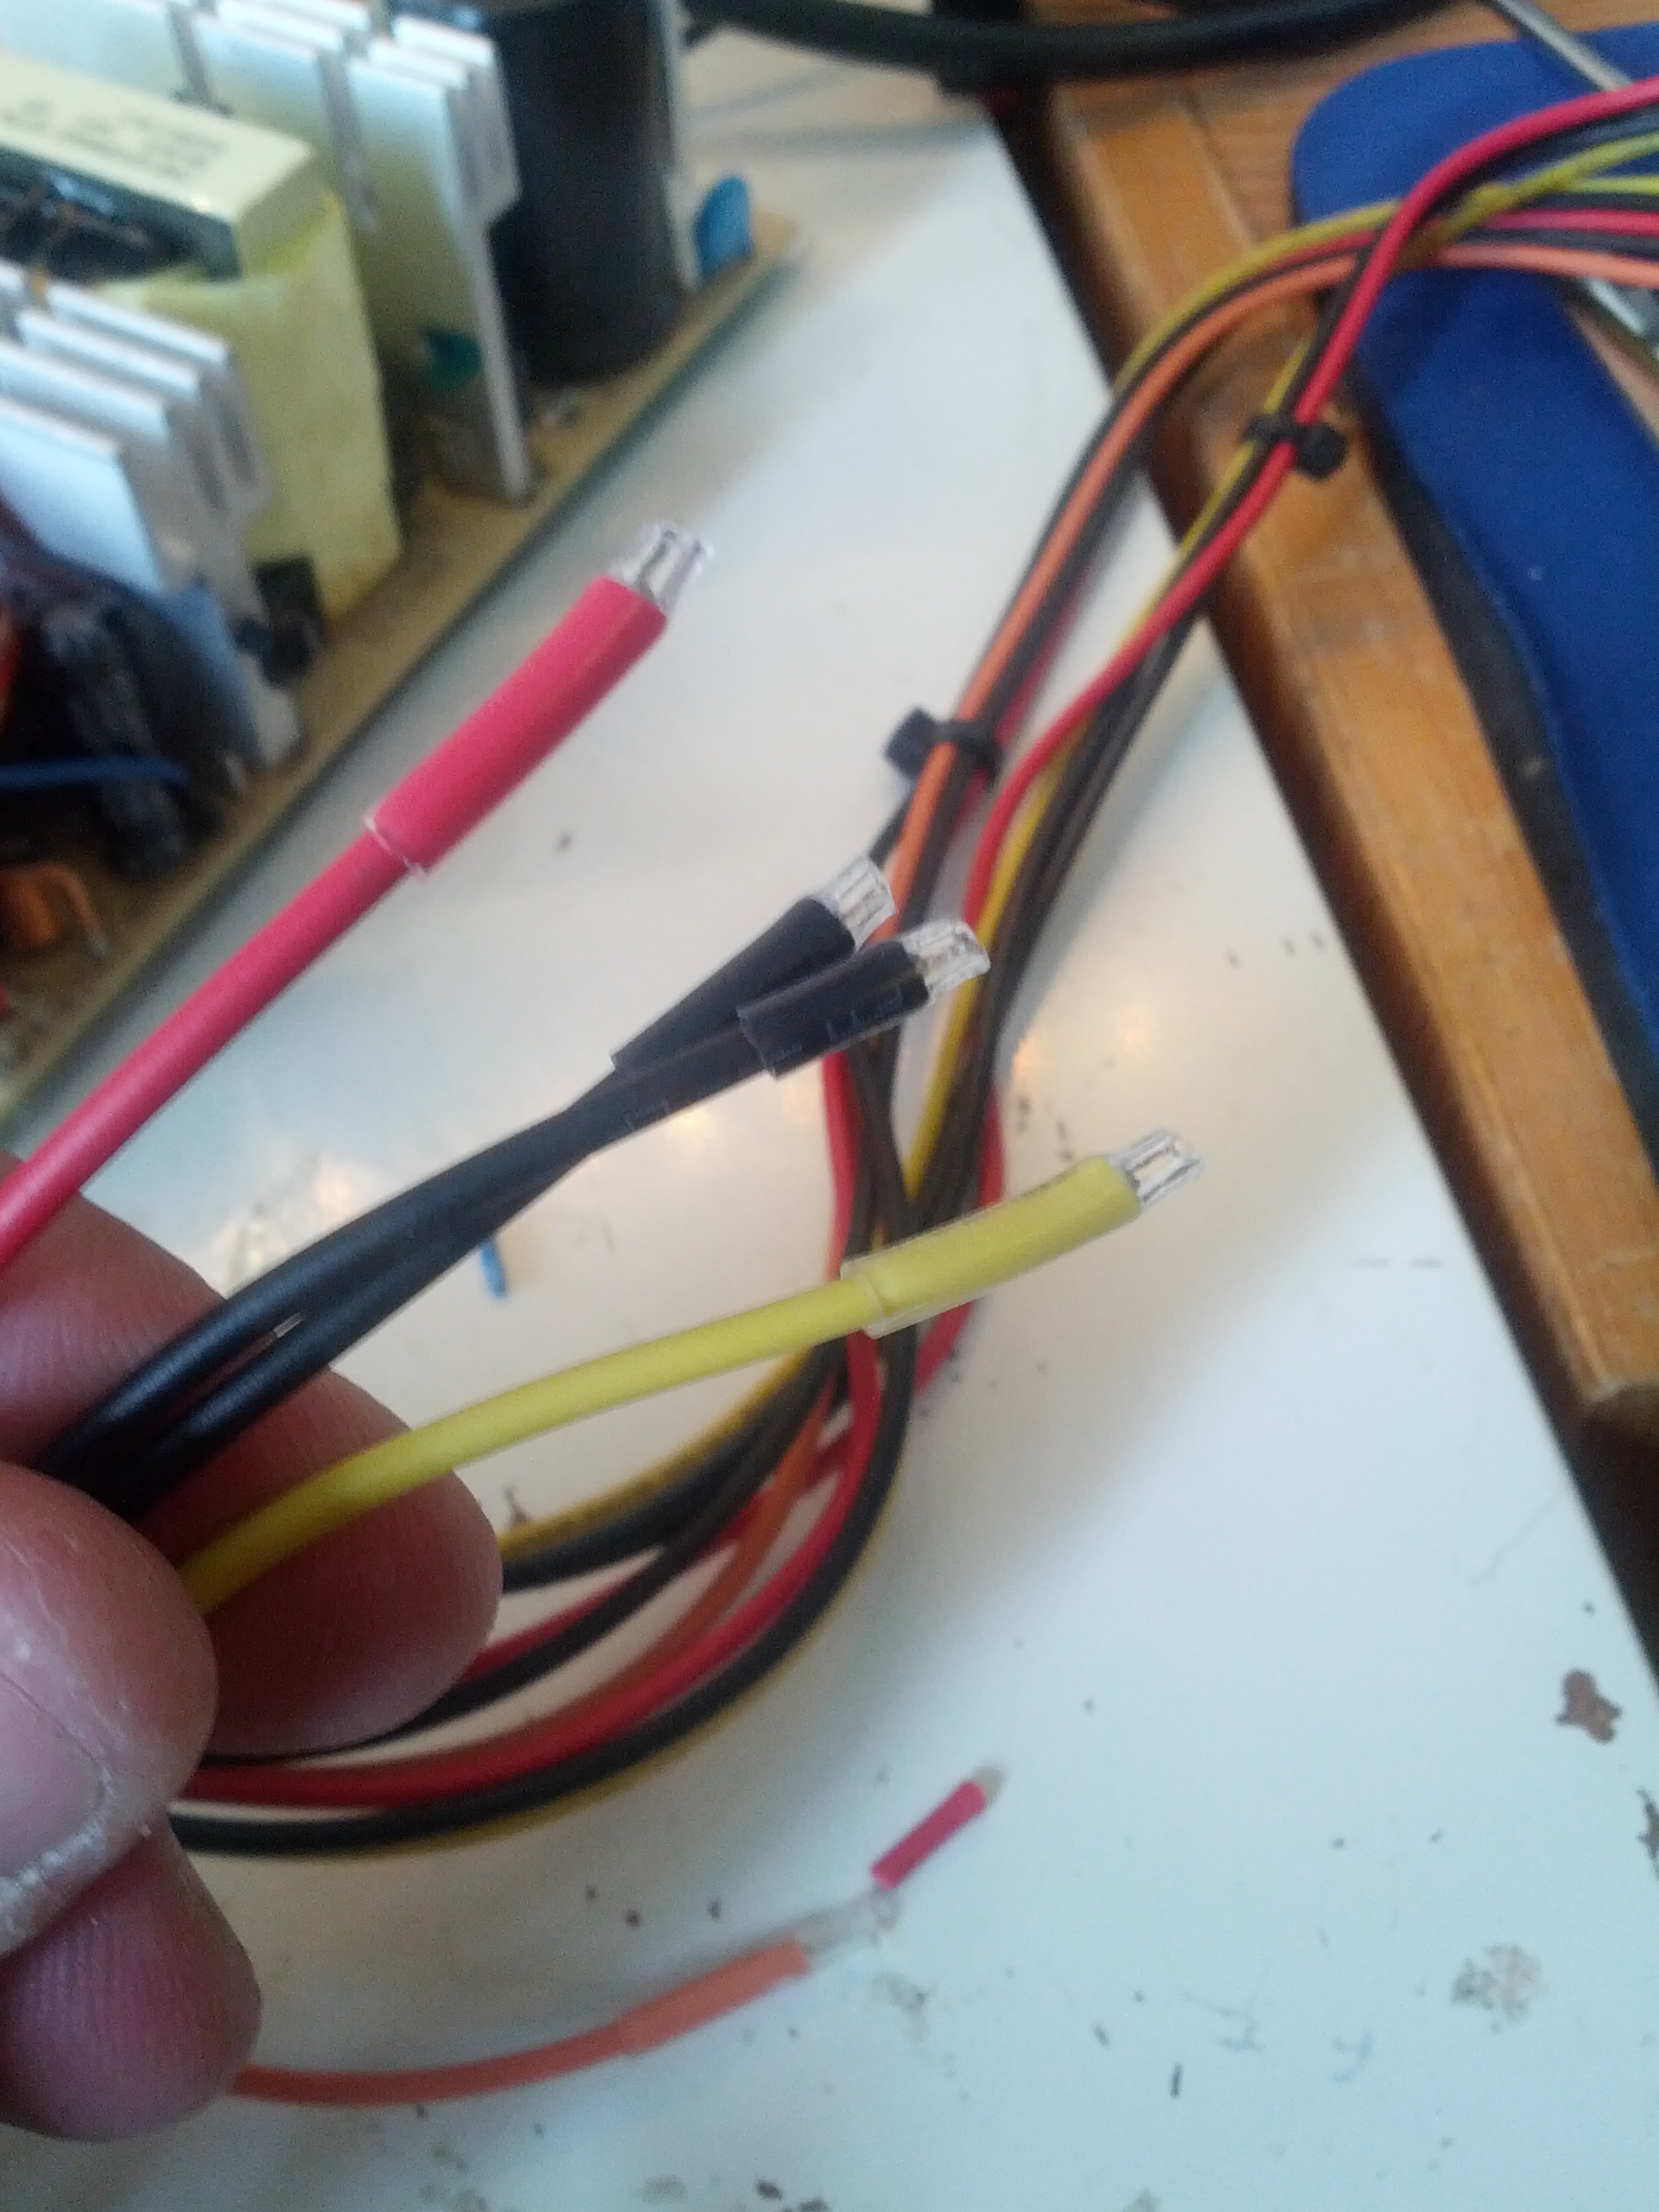
Now lets put all back together again: (Remember it should blow OUT of the PSU)
Looks like the old PSU.
Before connecting, measure that you connected everything right in the cable to the motherboard.
BUT! you will fail turning the machine on. powerled will only flash and it will restart.
this is due to the TICK signal is missing,, but inside the machine you have a jumper J300 move this to this setting:
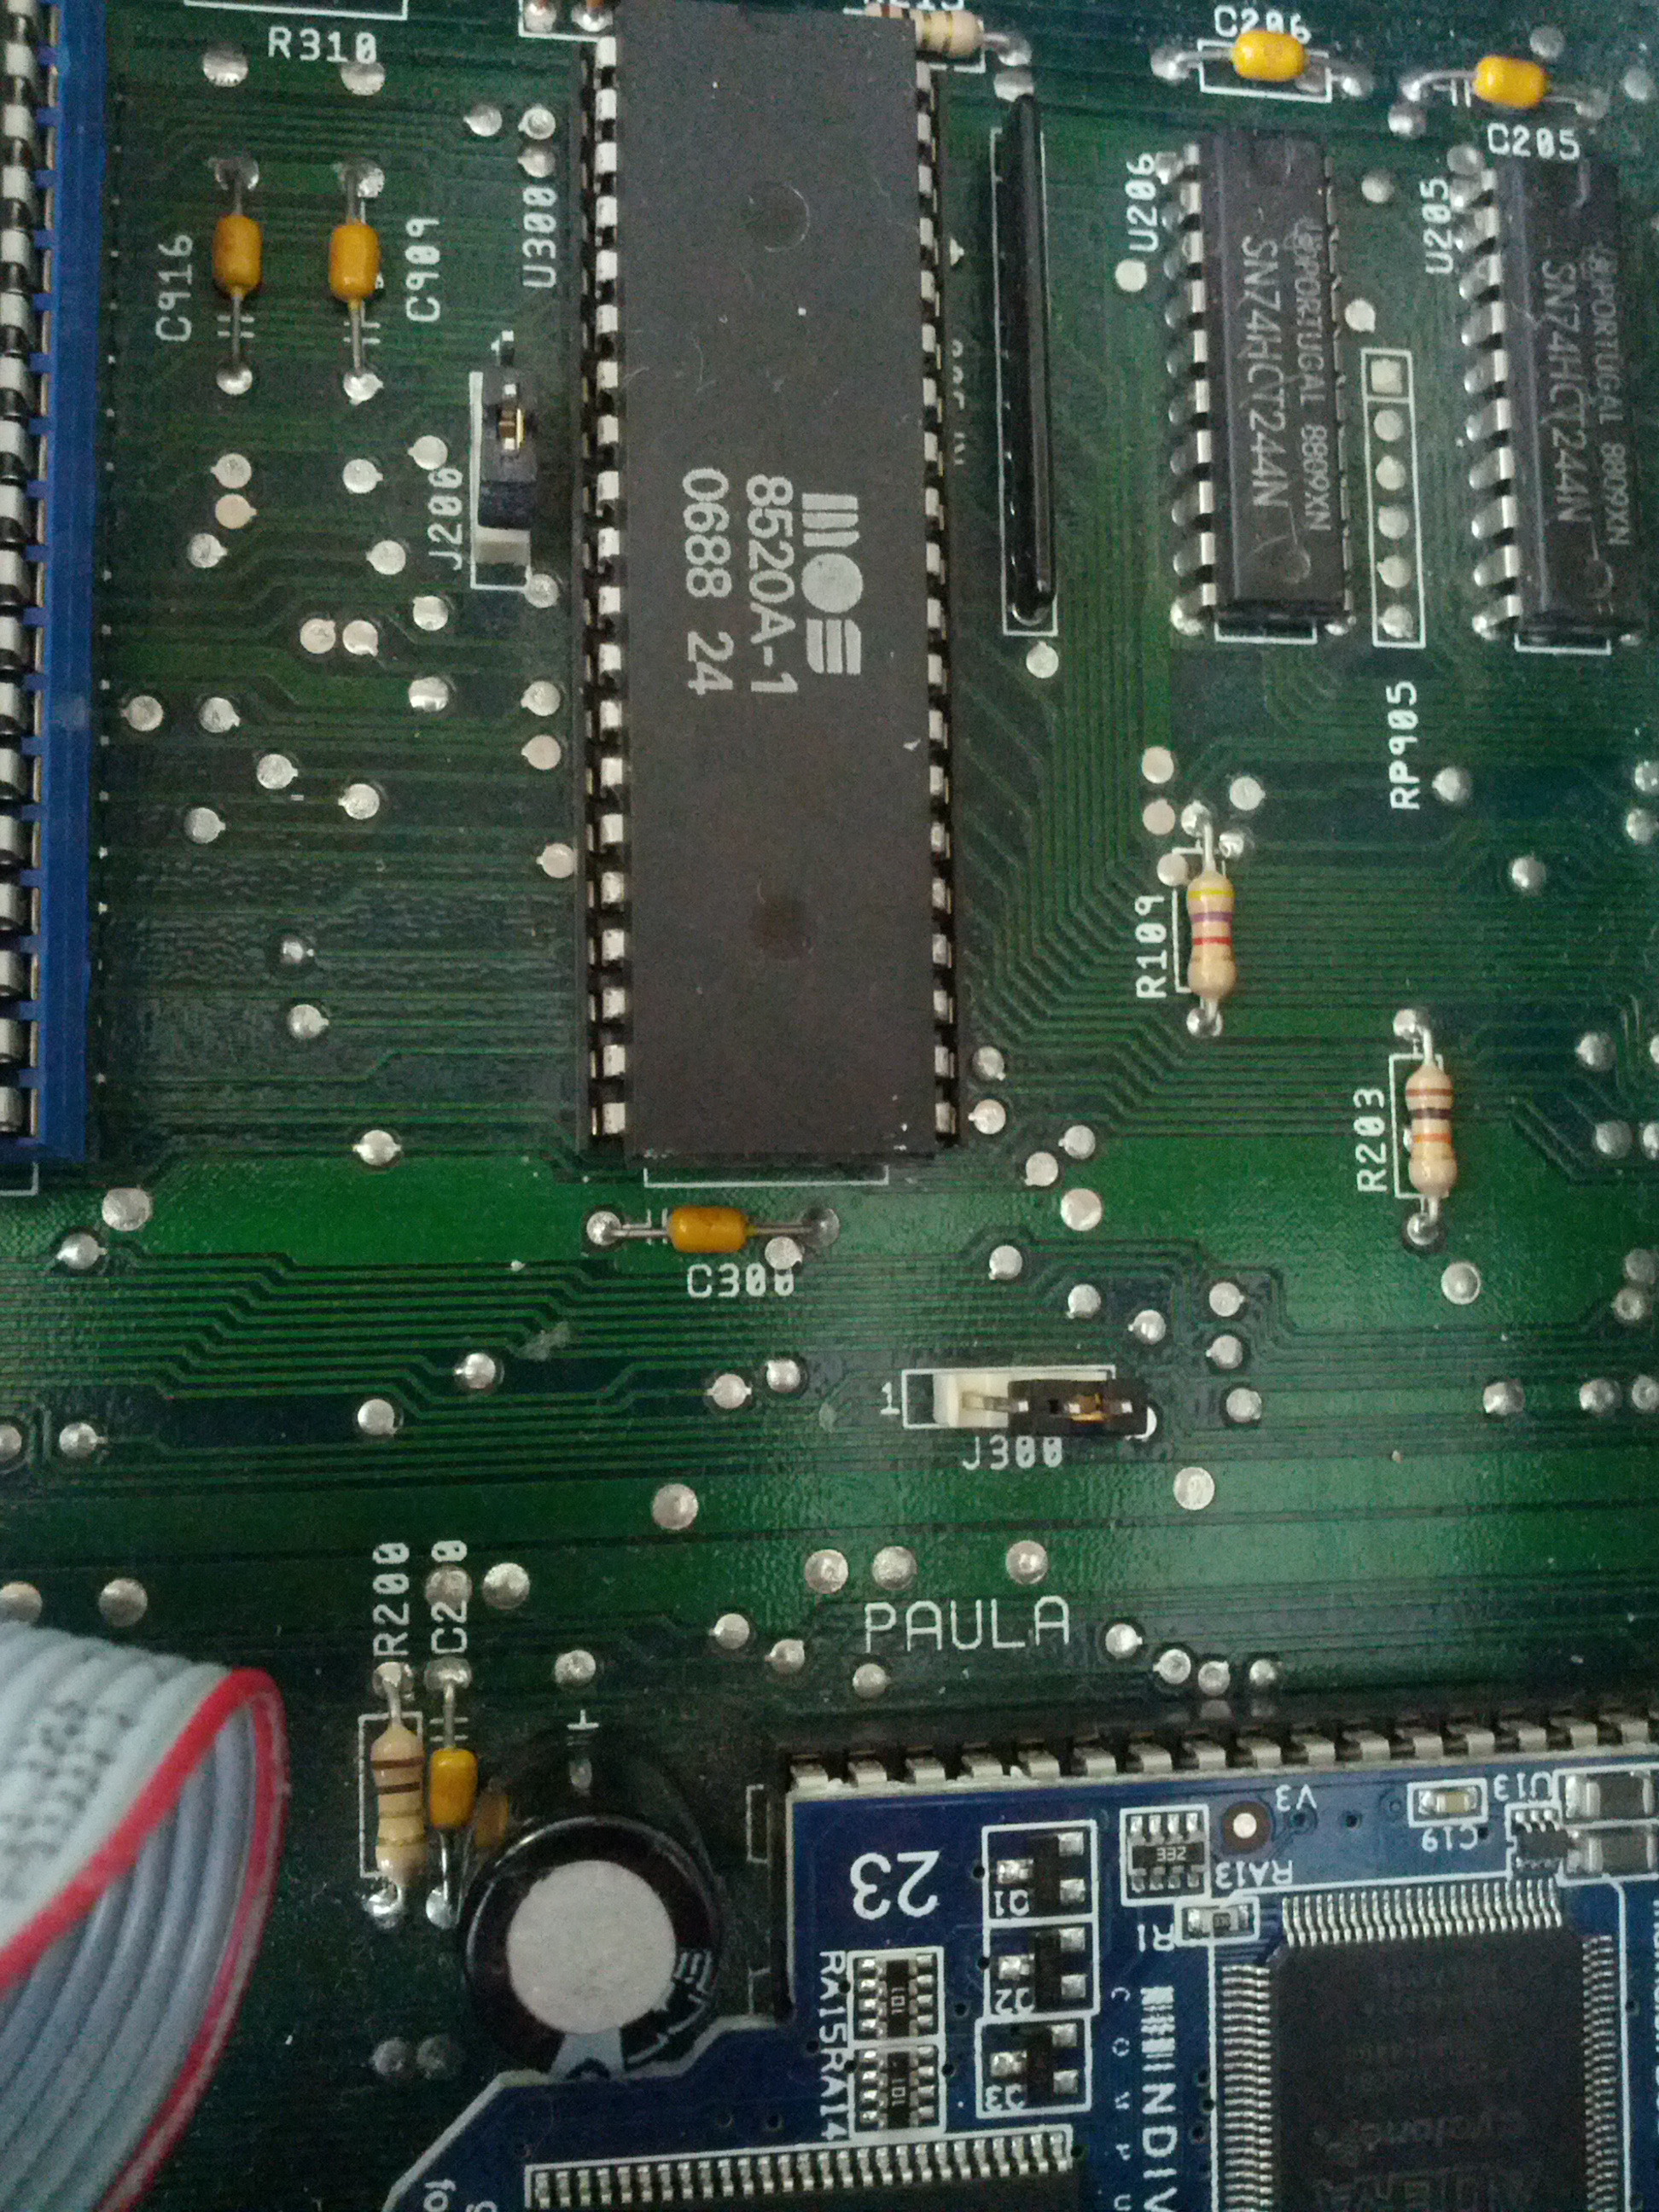
and it will work. now it will use the VSync as TICK signal.
Connect to the Amiga and use as before. you will most surtain have a more quiet machine now (as you changed fan.. right?) and as the modern PSU is way more efficiant.
Great article. Although, you never explained further what to do about the -5 volt signal if the power supply doesn’t have it. What’s the solution then?
Hi,
You could use a 7905 regulator attached to the -12V line to get -5V or you could buy a small negative voltage switch-mode PCB off ebay which would also regulate the -12V down to -5V as well. The current drawn for the -5V rail by the Amiga is minimal so you won’t need huge heat-sink either.
Thanks
yeah I will look at it. someday 🙂
Hello
I changed my old PSU for my amiga 2000, and I’m using an ATX PSU. I did not pay attention to the absence of the -5 v
since the change there is often a machine crash. according to you is it possible that it comes from the absence of -5 Volt or must it be another problem ?
is -5v essential or not?
I just installed an ATX in my A2000.
I ‘ve set jumper 300 to the other posititon.
The Amiga works: it boots floppy and I can hear the sound of the intro.
But the Image is very faint.
So I guess I need a 7905 -5 volt regulator to add the -5 volt
Why not just repair the original board ? It doesn’t look that complicated.
Well sure that is always the best thing to do.. but not always really possible of different reasons
Excellent guide! Just did my very old A2000 PSU after it went it with a lot of white smoke. “New” PSU now spins like a kitten. Too bad my A2000 mainboard hasn’t come back alive yet. At least the PSU is not the reason. All voltages measured to be correct and jumper 300 moved, but still black screen.
if you had magic smoke.. it might have damaged more things in the machine..