I get this question ALOT.. how to setup an Amigadrive from UAE.
so instead of answering multiple times.. I do this guide.
Here I do a quick setup of UAE and install a STANDARD WB 3.1 installation, no fancy stuff or so. just plain standard. and then prepare a disk and copy the installation to it so it can be placed in an Amiga and boot. this will also mean NO support for larger disks etc. maybe a later time.
First let start WinUAE:
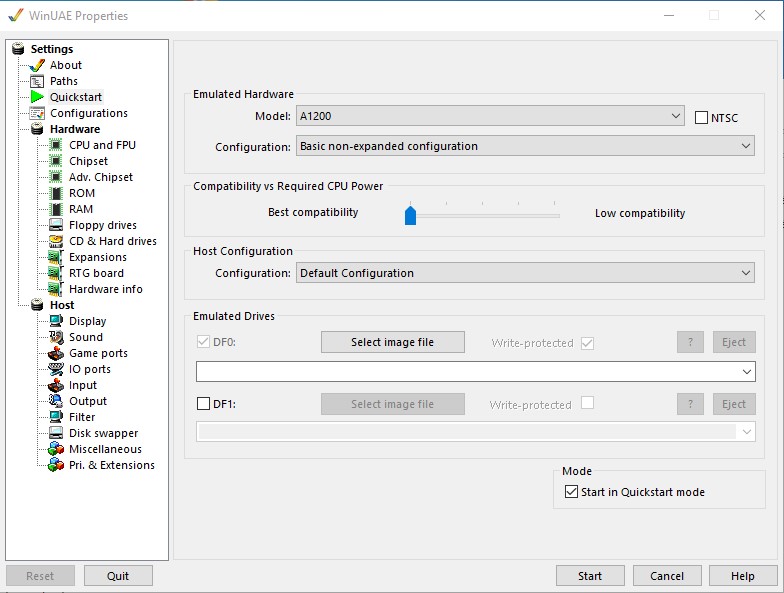
in Quickstart , Here select model. I choose A1200
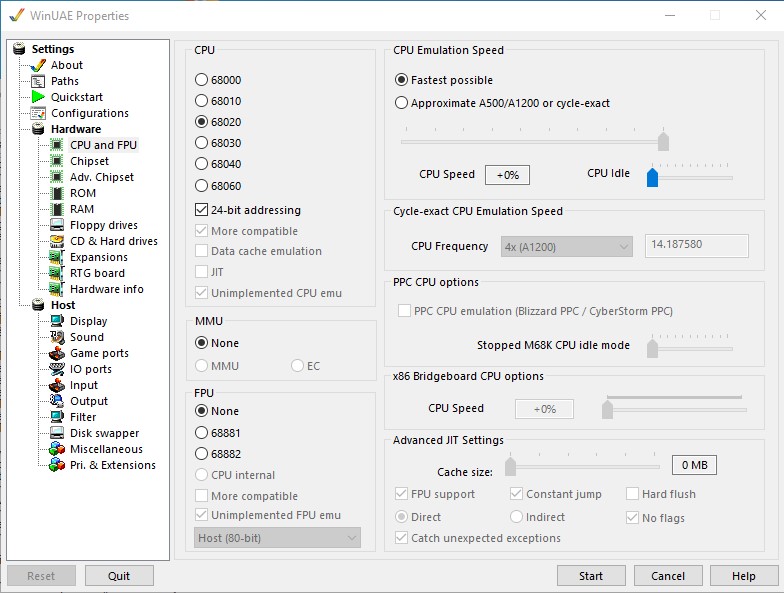
At CPU I select 020, but I also tick “Fastest Possible” as I am not interested of any cycle-extact things here. I want to have speed.
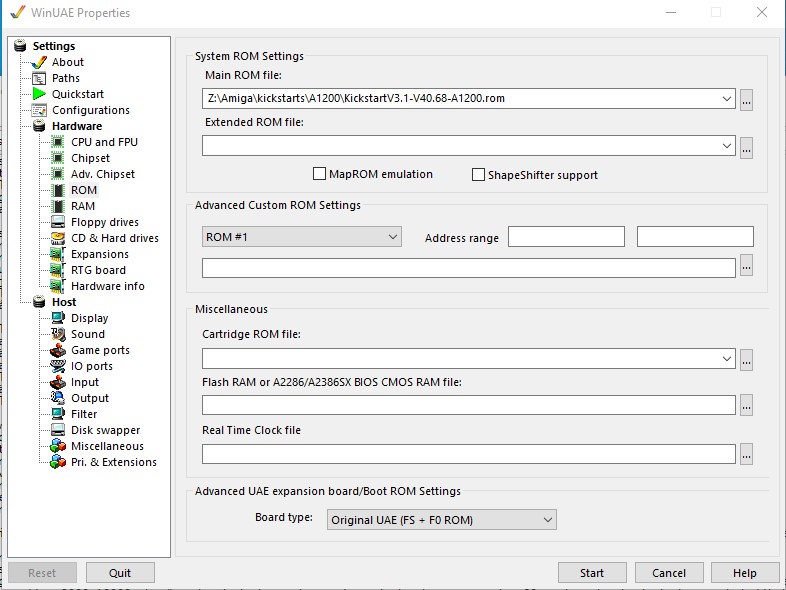
Next step is ROM. I select a 3.1 rom for the 1200. i will NOT provide it to you.. but hint. you CAN from an real amiga dump the data from $f80000 and 512K from that and use that file.. 😉
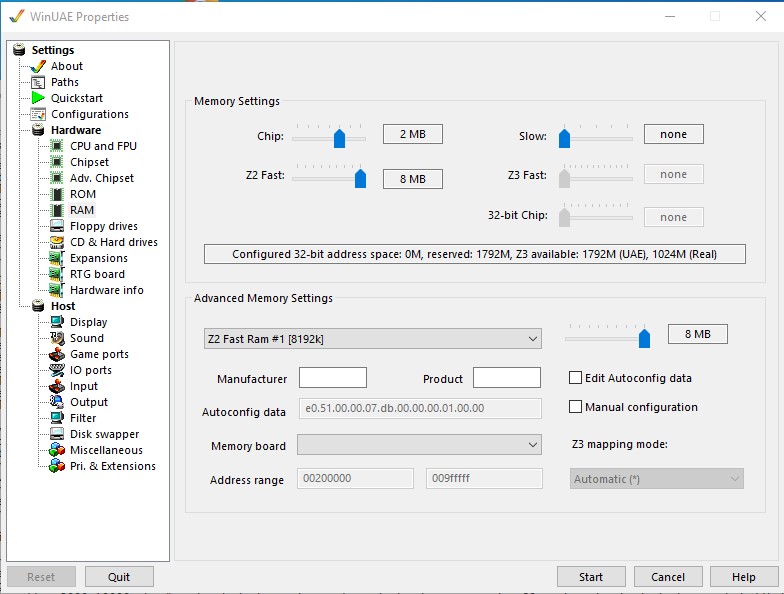
Then at RAM I add Z2 memory. it is not really needed. but. hey! it is “free”
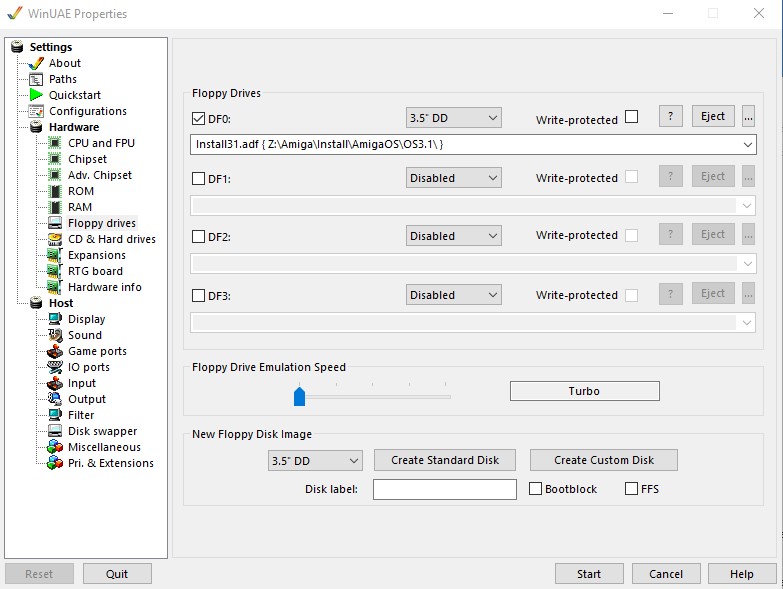
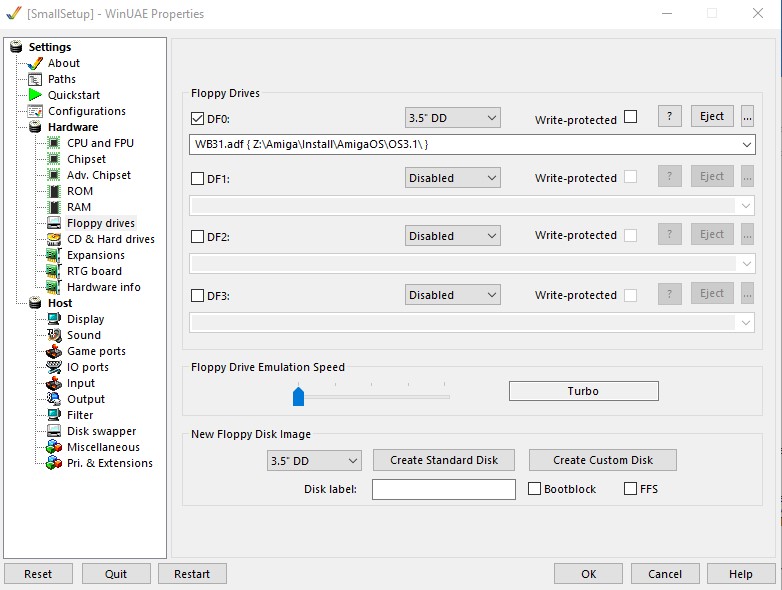
Time to point to the floppy. I select the install disk for 3.1 and also set speed to Turbo.

Time for HD. Click on “Add Directory or archive”

Here use devicename HDD and what you want it to be called. and a directory where to put the files.
NO I do not use DH0 here as I want that to be used on the amigaside later. AND I do not use a HDF file etc. as by this method I can ZIP the installation from the pc and send to someone, backup or whatever. I haven’t found any drawback to use this.
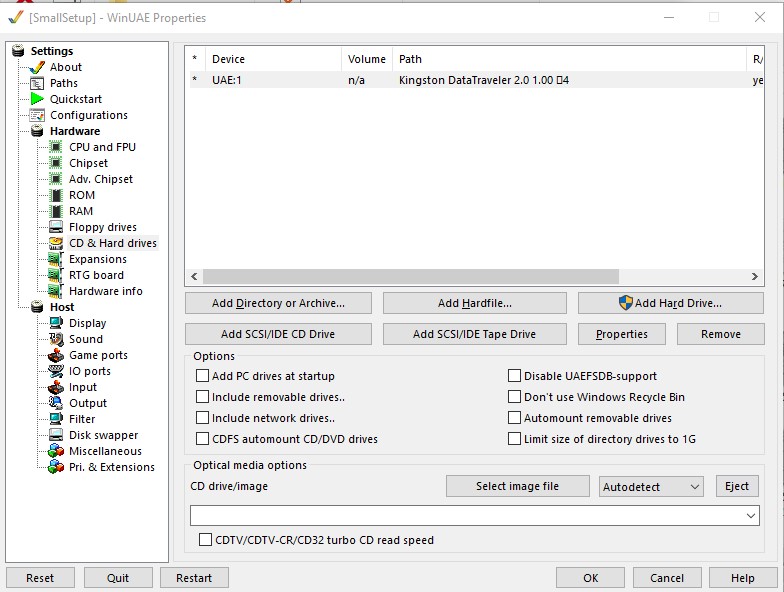
Anyway clicking OK and it will look like the picture above with HDD dir.
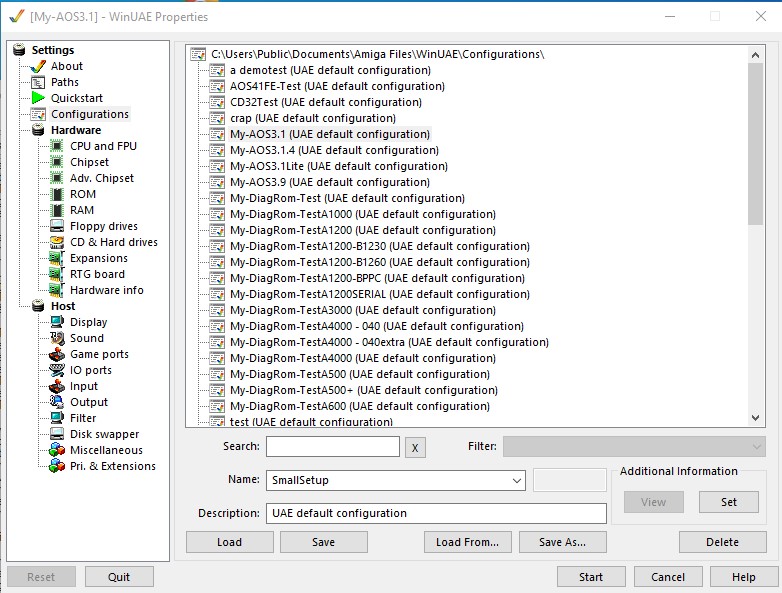
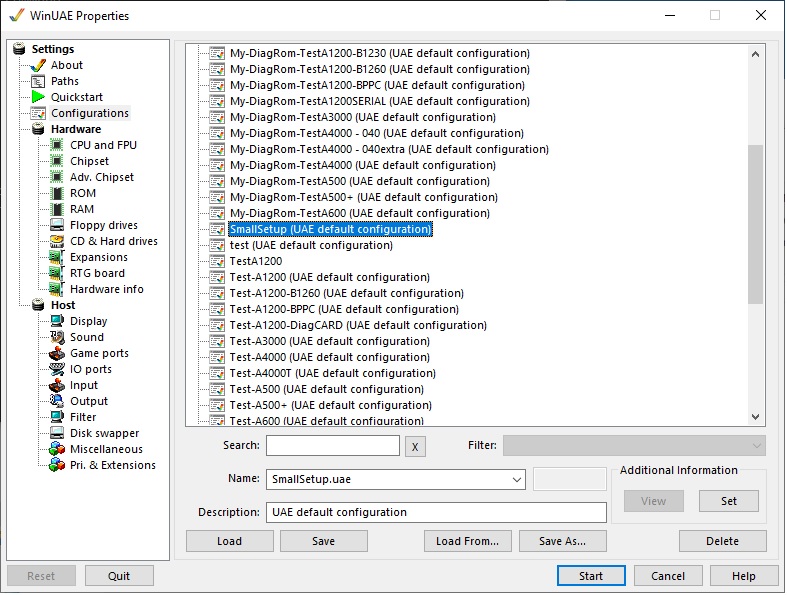
Now to config. your list wil be shorter. as this is my testbench etc I got lots of configs. But in “name” enter some name. I took SmallSetup.
and Save the config
now click “Start” and the Amiga will boot to the install disk:

so double-click on Install3.1:
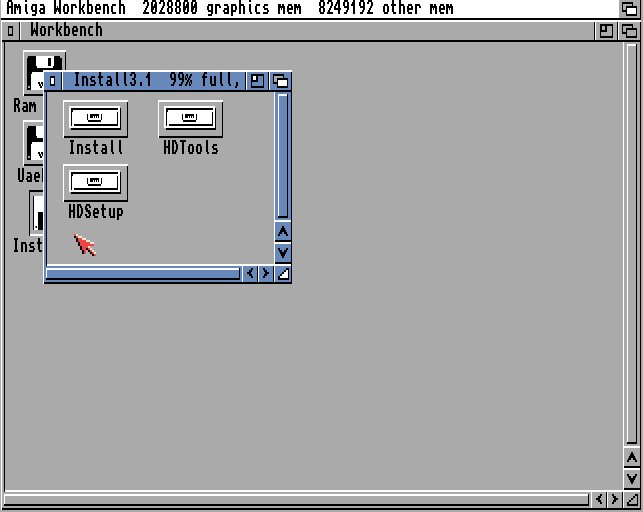
and on “Install”
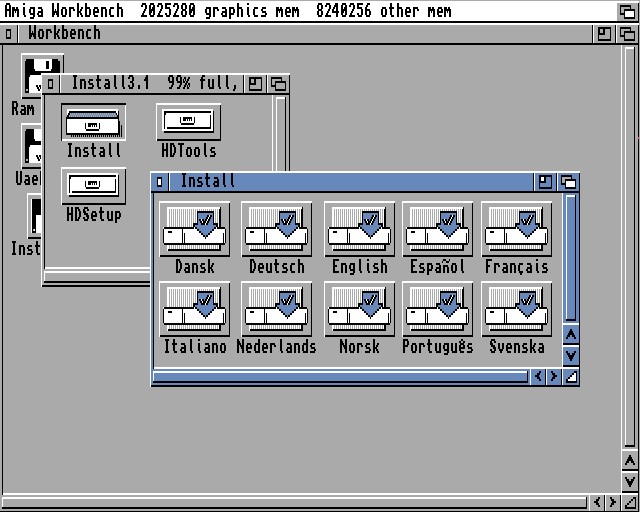
Select language. I use English:

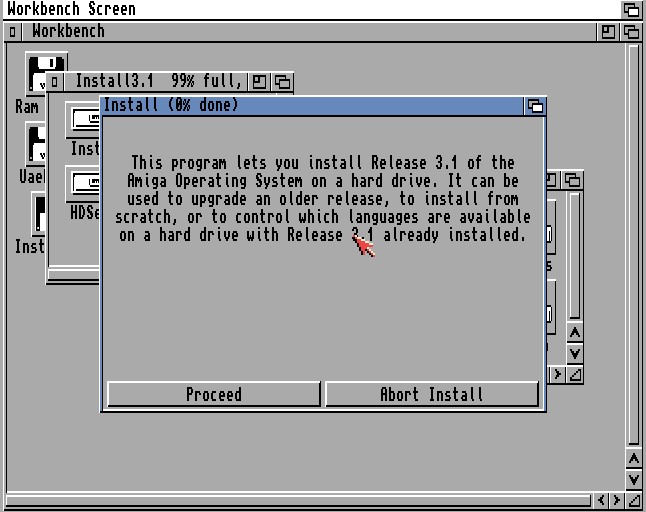
And you will see the installer:

Press “Proceed”
and press “Install Release 3.1”
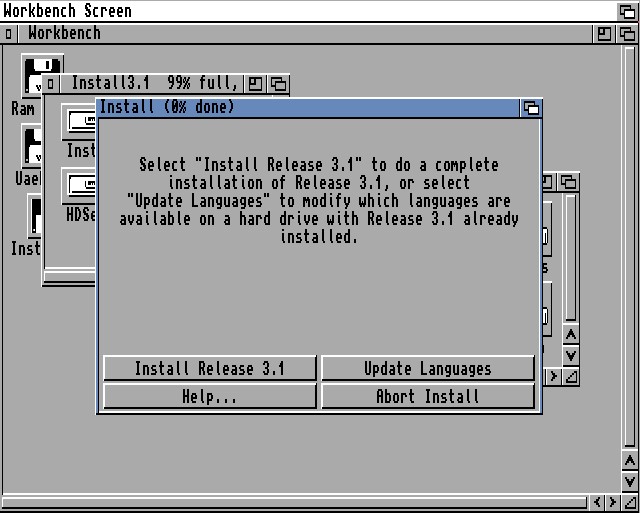
and you will be presented:
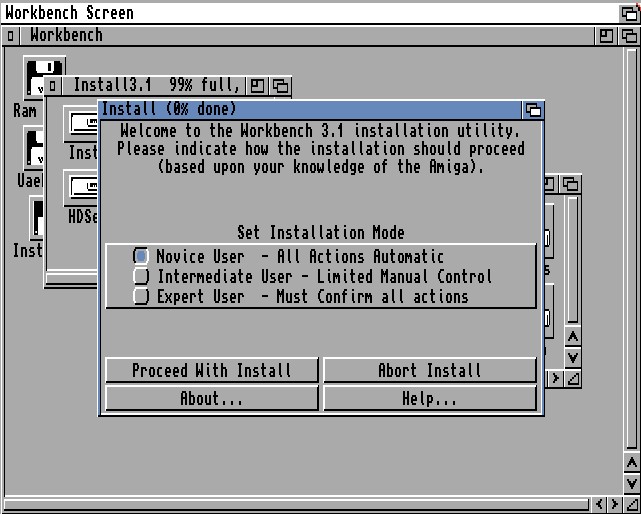
Here stick to Novice user. it is ok for us now.
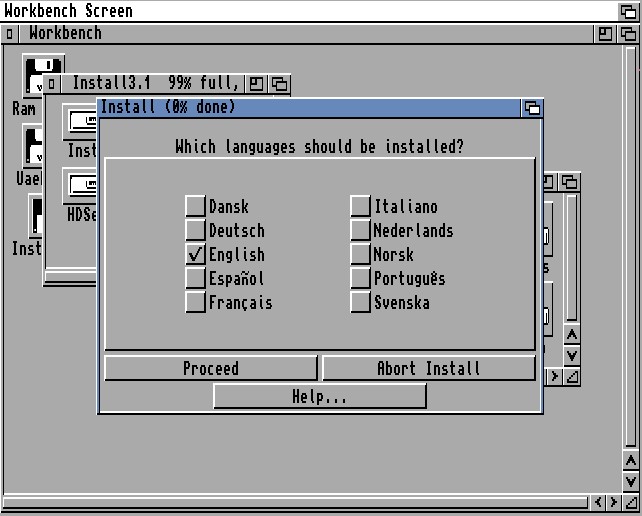
Select languages you want. and “Proceed”

I do not care about printers. so Proceed.
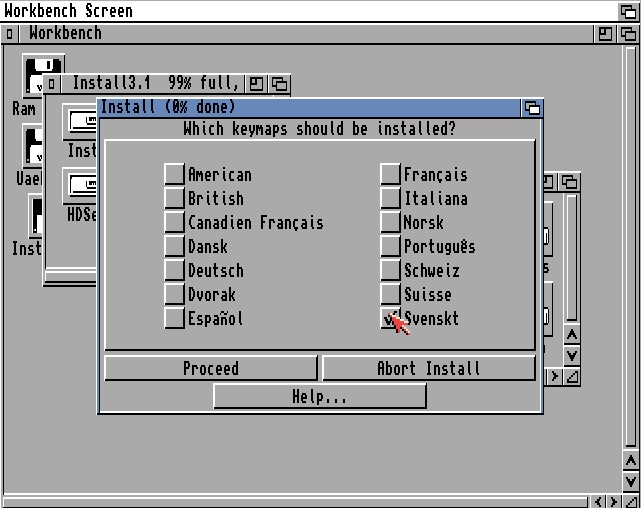
Choose keyboards you want to install. as my keyboard is Swedisg I click it. And proceed
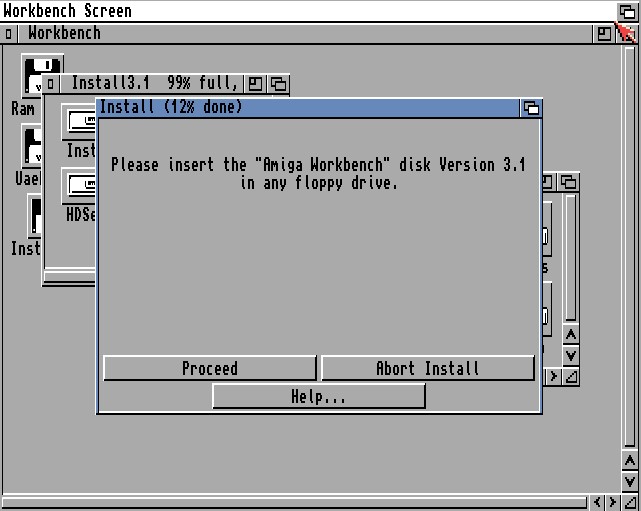
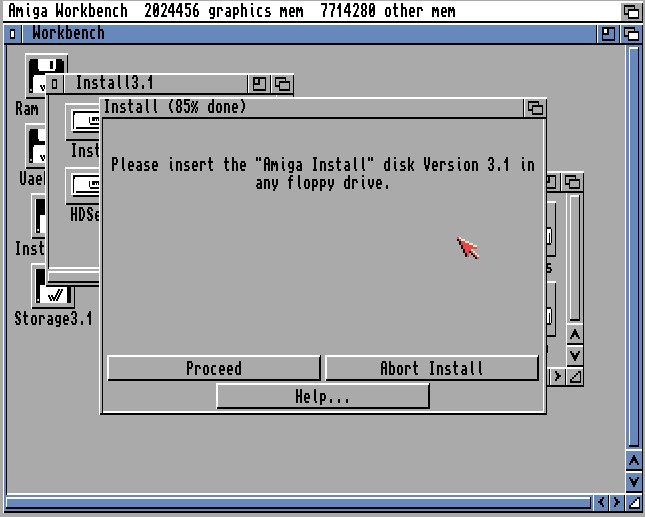
When this pops up. press F12 on your keyboard:
And select the WB disk and OK
after a short time, it will automatically go to next step:
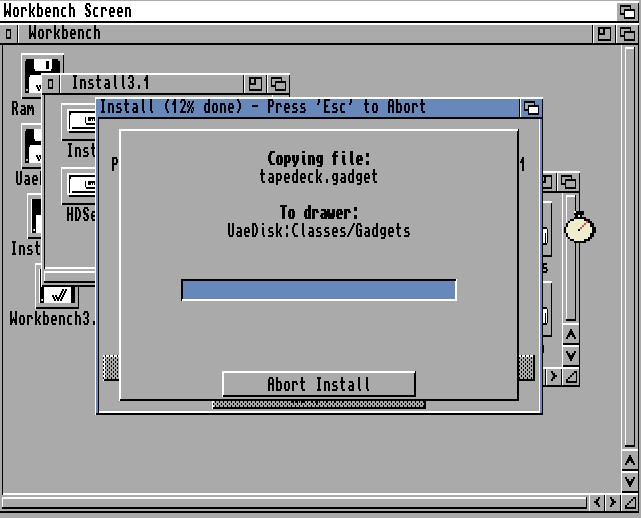
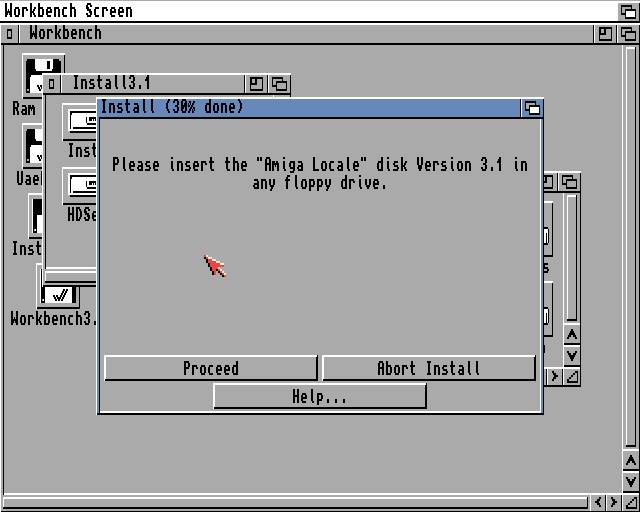
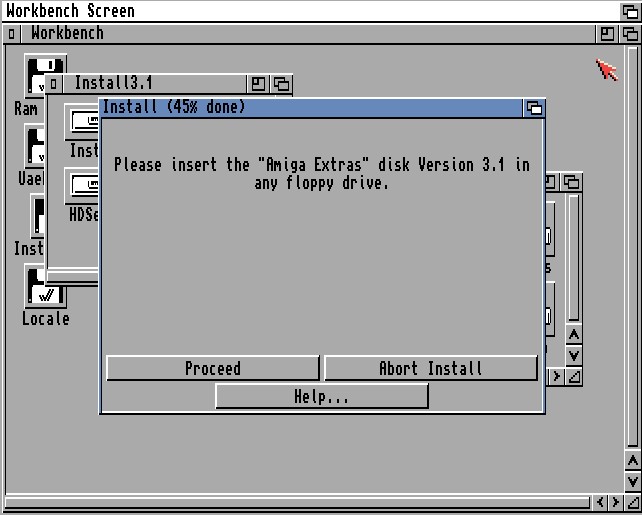
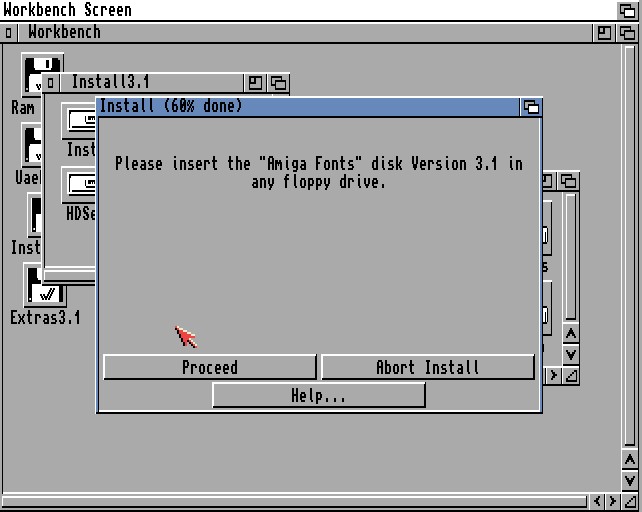
Well same here.. F12.. etc
I will just repeat all screens here:
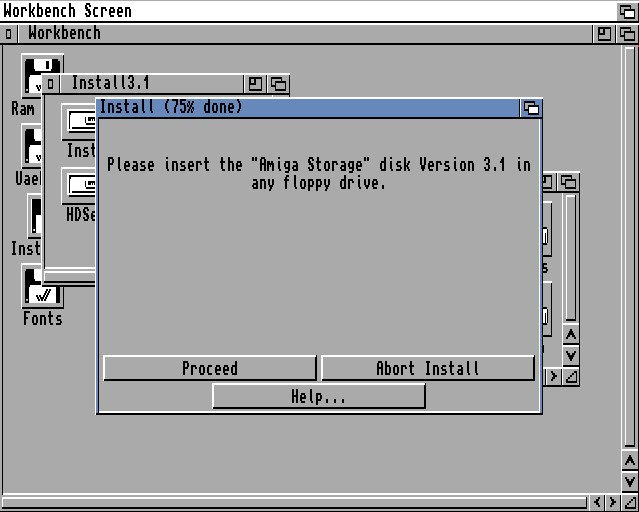
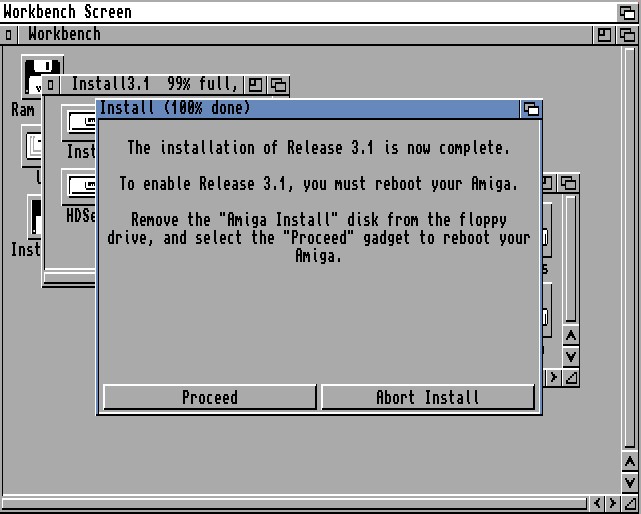
So this is done. now time to eject the disk. or it will be booted.
press F12

and click “eject” on df0.
DO also save this config. so it will not boot from disk the next time..
(to be honest. I happened to do this during my screenshot test 🙂 )
press start
then in UAE on the Amiga. press “Proceed”
And it will boot. (here you can see the installdisk. you will not. as you ejected it 🙂 )
anyway. now exit UAE with ALT+F4
OK. now it is time to to the physical amigastuff..
if you DO have a real HD that have been formatted on an amiga. you can skip this part. and go to the “Setup disk in WinUAE” later.
OK you have a HD, CF, SD, SCSI disk? attach it to some kind of adapter to your PC. Somewhat wrong I will use a USB stick here, even if it will not physically work on an amiga. the handling is the exact same thing:
a device with ANY kind of partitiondata windows can find. it WILL block WinUAE. you MUST clear stuff. so to do so. Start a “CMD” as admin:
press the windows/start button and just type “cmd” and it will show you some results:
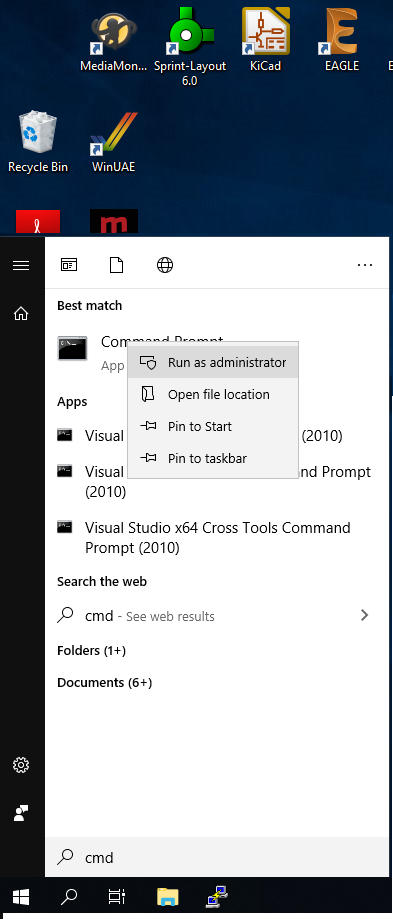
when you see “Command promt” RIGHTclick on it and “Run as administrator”
if you have UAC enabled (AS YOU SHOULD!) you will get a yes/no question every time. answer YES..
at the DOS promt write diskpart and press enter
You will now see:
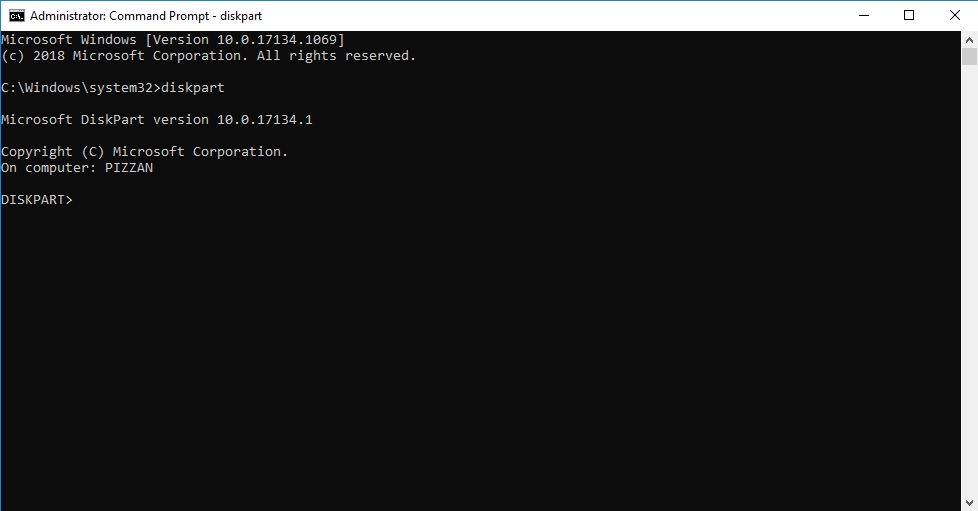
now you want to list the disks on your system:
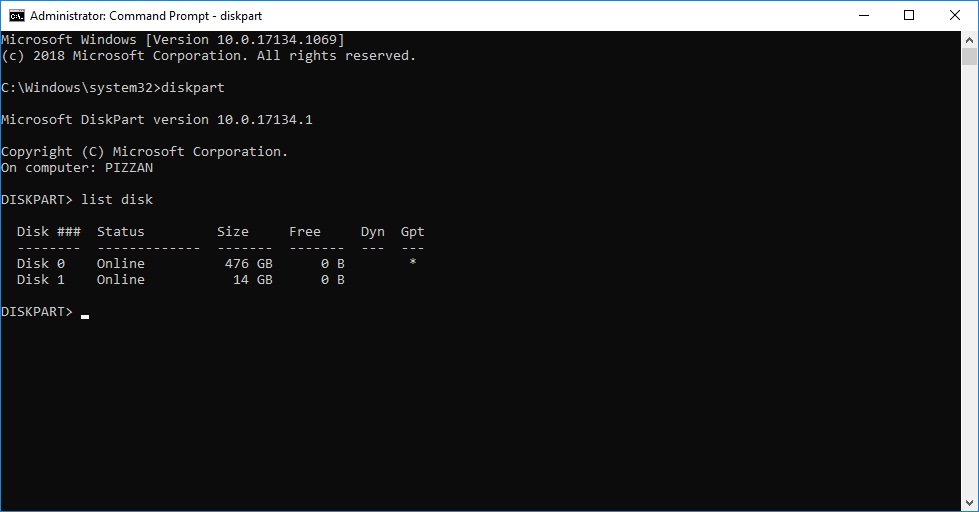
Here you can see that I got 2 disks.
and disk 1 is my device I want to use on the Amiga (noted by the SIZE!)
lets select it:
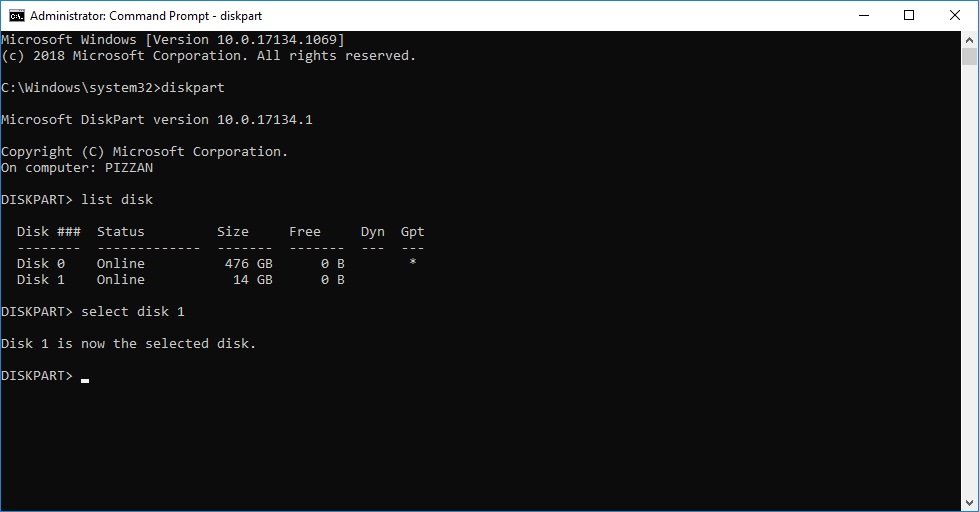
just write Select disk 1. remember to use the correct number for YOUR system. do something wrong and you WILL screw up your system. and do NOT blame me!
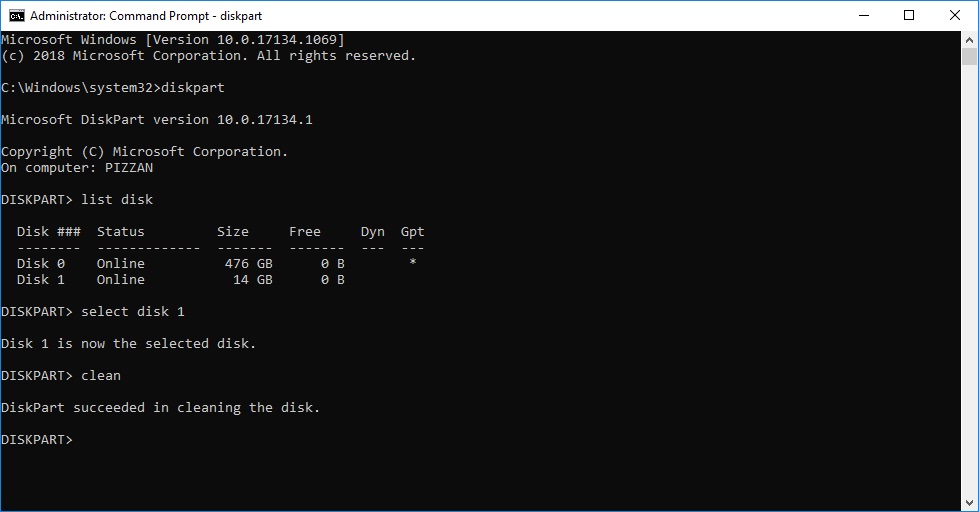
by writing Clear and press enter. it will clear ALL data on this disk. no questions. it will do it. wrong disk and you WILL be sorry!
you can now close this. and you will notice that windows will not recognise the device anymore
Setup disk in WinUAE
THIS is where you need to jump to of you have a Amigadevice already that doesn’t need to be cleared on a PC
Time to start WinUAE. but you NEED to do this as admin. FORGET all old REMOVED commandlines to winuae. it WILL NOT WORK.
rightclick on the WinUAE icon:

and choose “Run as administrator” and choose YES on a UAC request..
Load your config you saved
and go to:
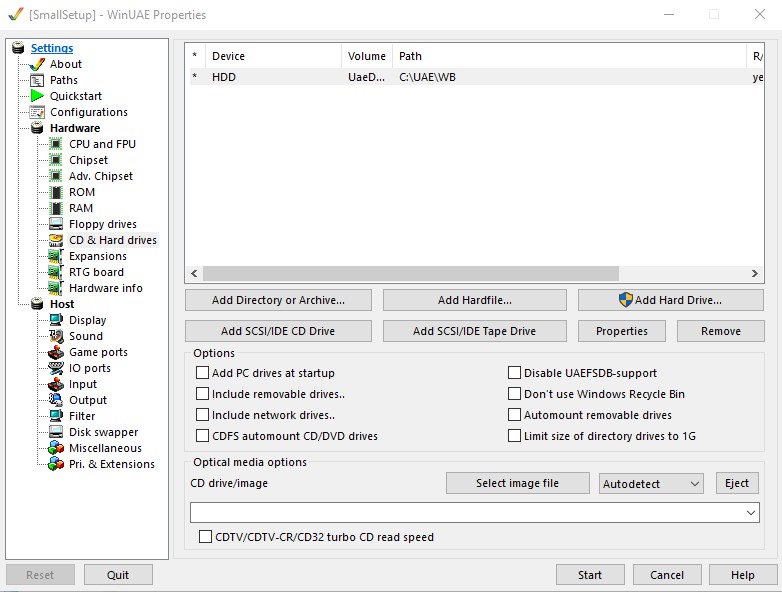
CD & Hard drives
Press “Add hard Drive”
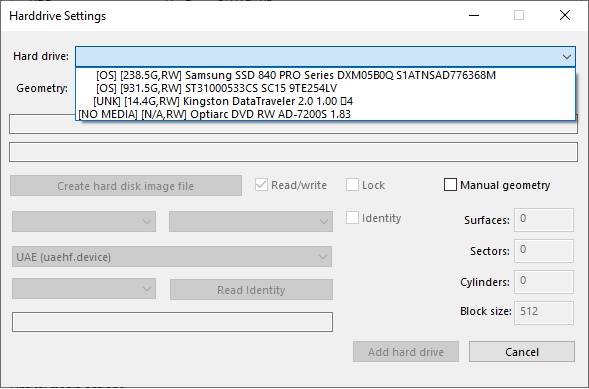
You will see a drop down list. here you can see the device as [UNK] if it is a real amiga device it will read [RDB] instead.
choose it and “Add hard drive”
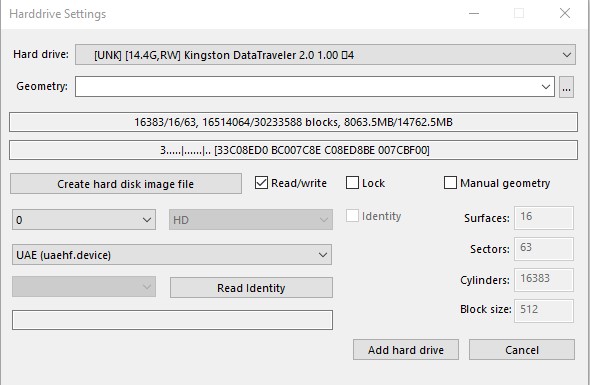
yeah! right stuff Add hard drive
now Start UAE and let the WB boot
(IF you didn’t save the config after removing the install floppy. remove that floppy now BEFORE boot)
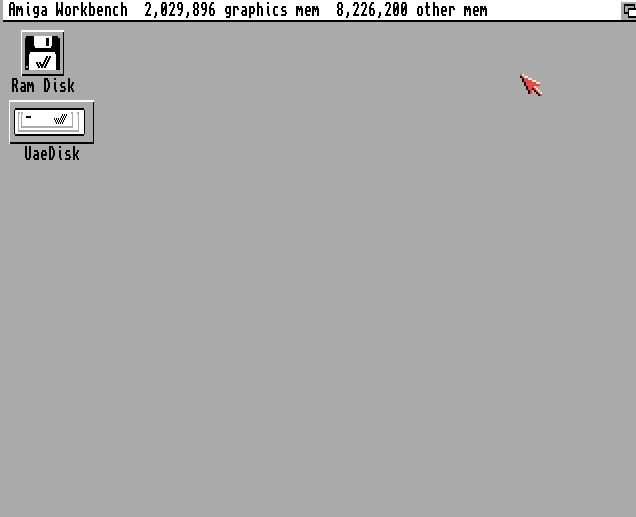
It is booted. Time to partition the drive (IF you have a amigadrive mounted. it will be presented here. but now we act as it isn’t!)
Doubleclick UAEDisk
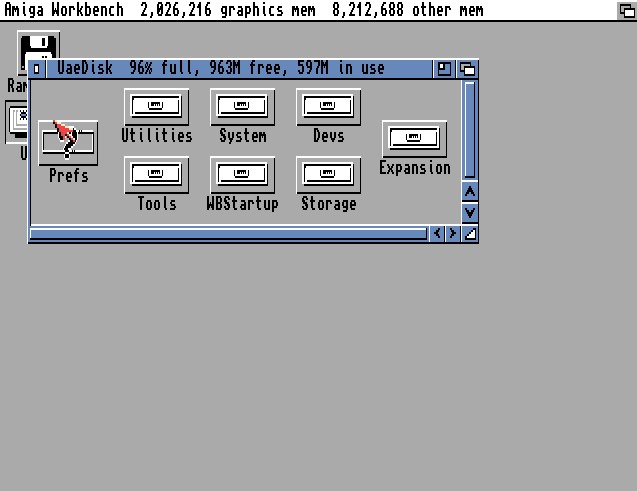
and doubleclick Tools
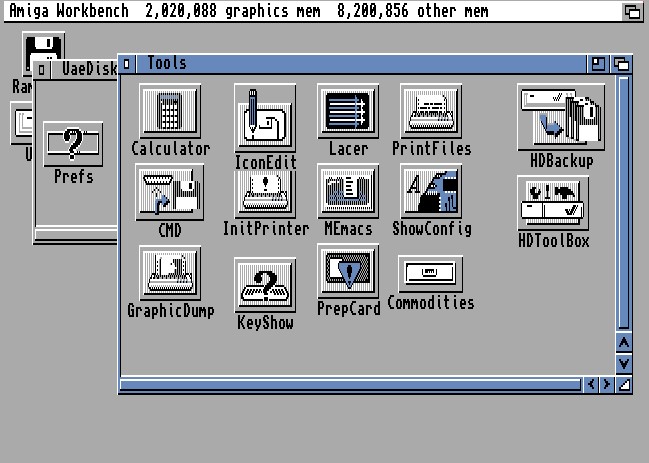
you might need to resize the window.
but click once on HdToolbox and the hold down right mousebutton to get into the menus.
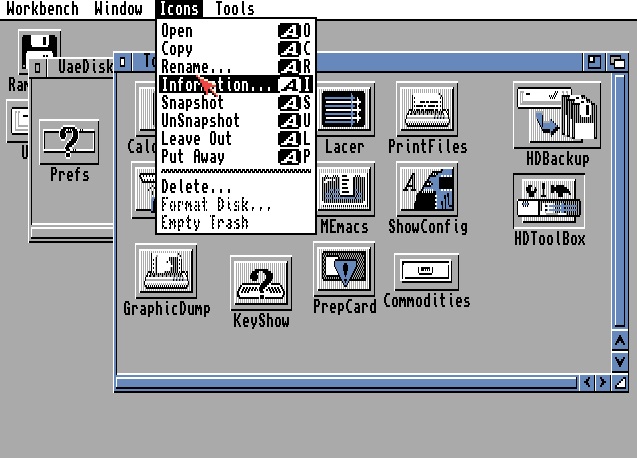
Go to Icons/Information and release the mousebutton:

Click on the SCSI_DEVICE_NAME line.
at the window below. change scsi.device to uaehf.device and press enter

press Save
and now doubleclick on Hdtoobox
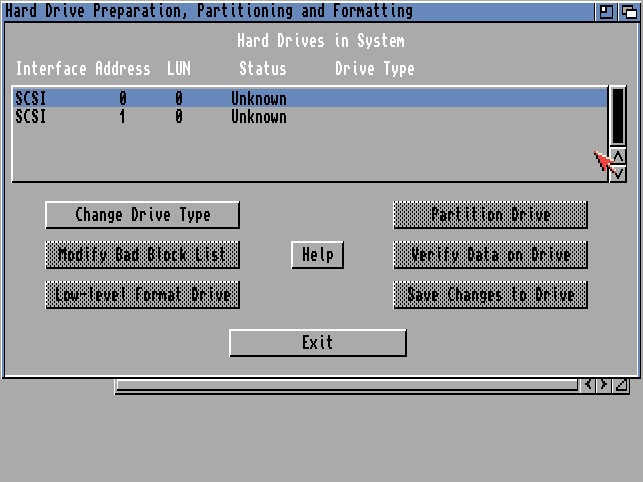
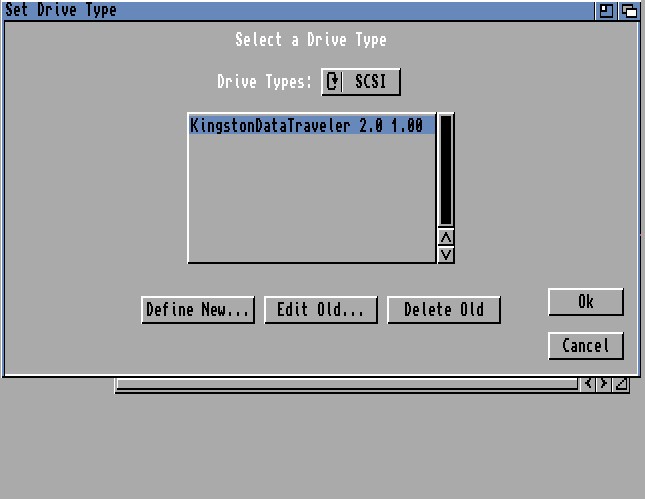
it wil now show some devices. might be unknown or known. usually it is the device at the bottom so click it
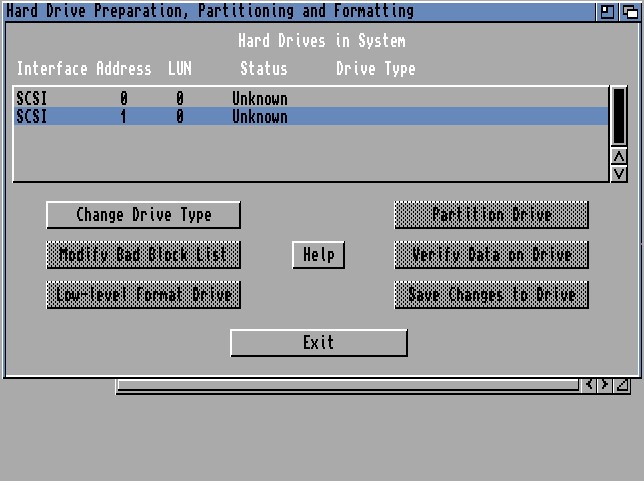
and Change Drive Type
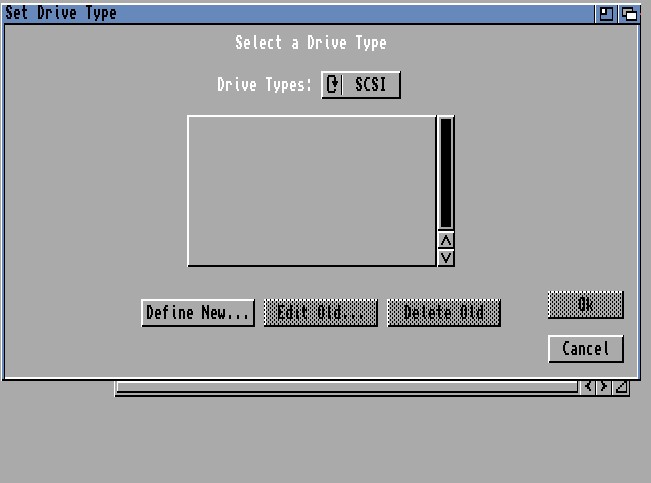
here we had not handled any drives. it might be different for you. anyway. “Define new”
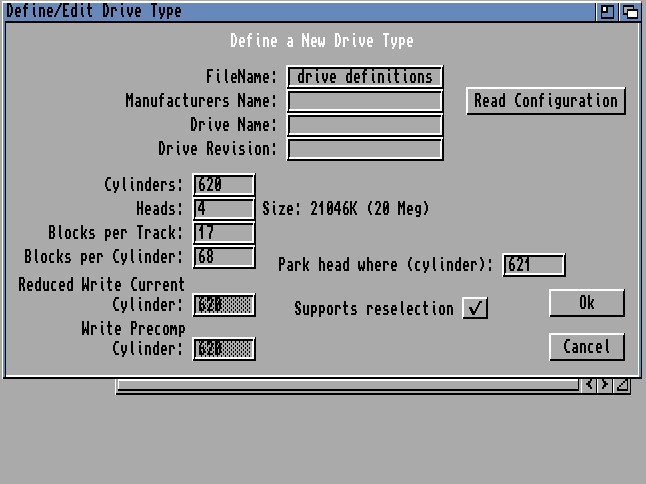
now it is time to read the data.. press “Read configuration” and it will read the physical data from the device
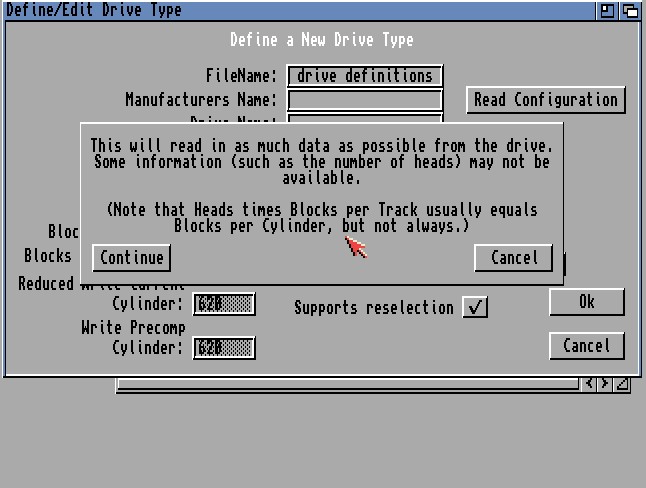
it will warn you some. yeayheay. press Continue


Here you can see that it is the correct drive. if not cancel and select another drive
if it is all OK press OK
Press OK here aswell it wil save this data
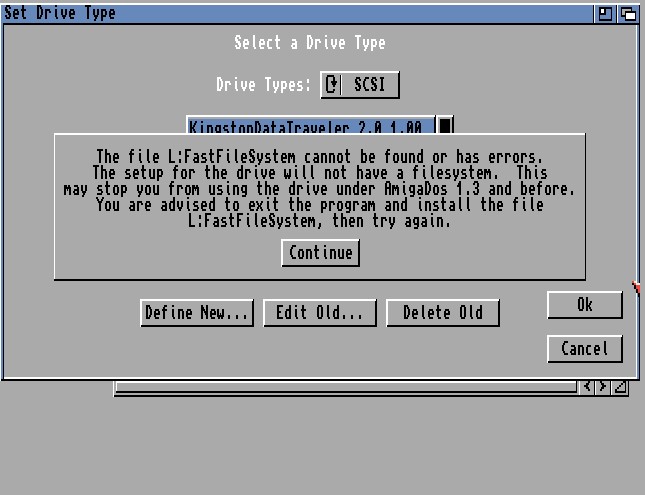
you MIGHT get this nag. bah! Continue. I will not use old OSes anyway

press Partition Drive:

This might look different for you. but resize the FIRST parition to BELOW 2GB!
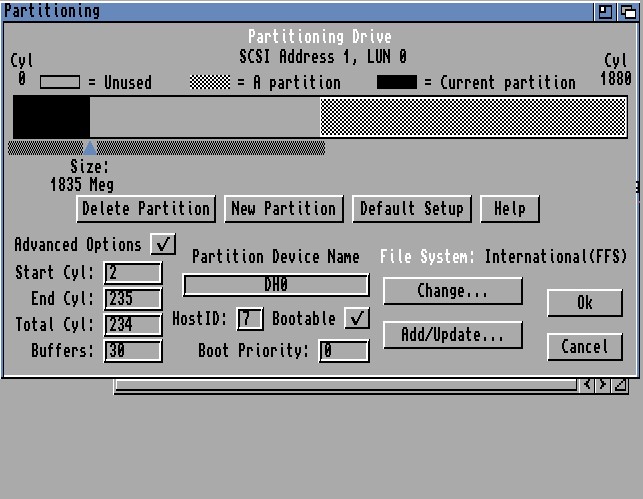
Also press “advanced options” change partition drive name to DH0 (or whatever you want) make sure Bootable is ticked.
in this tutorial I will NOT change filesystems etc. we keep it simple!)
now click on the other parition (OR paritions if you got a large disk) and delete all the others
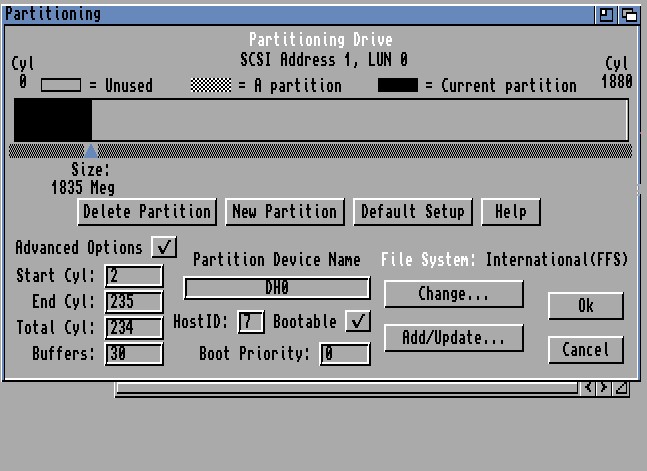
we let the rest be unused. press OK
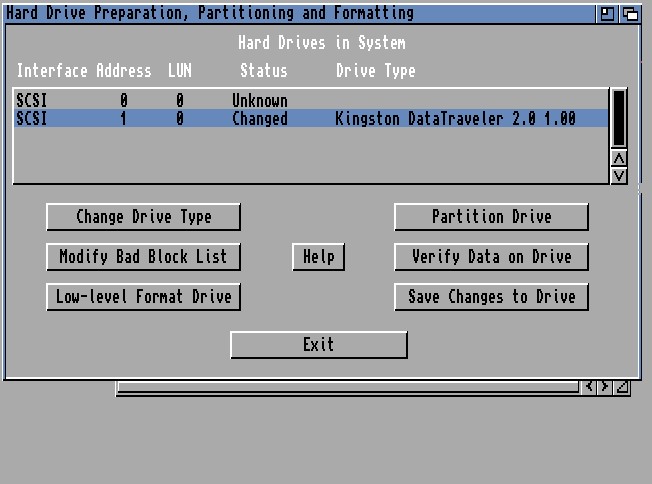
press “Save changes to drive”

it will now be greyed out. press exit
here you might get different results. warning about parititons changed, it will reboot etc etc. it is ok
if no reboot. DO reboot with ctrl+windows+windows
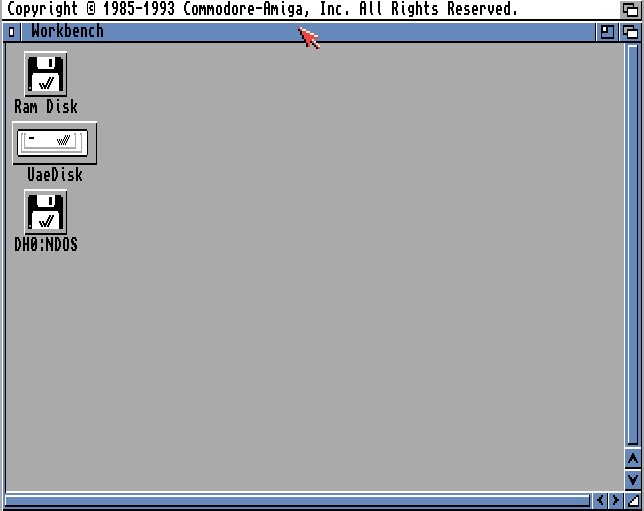
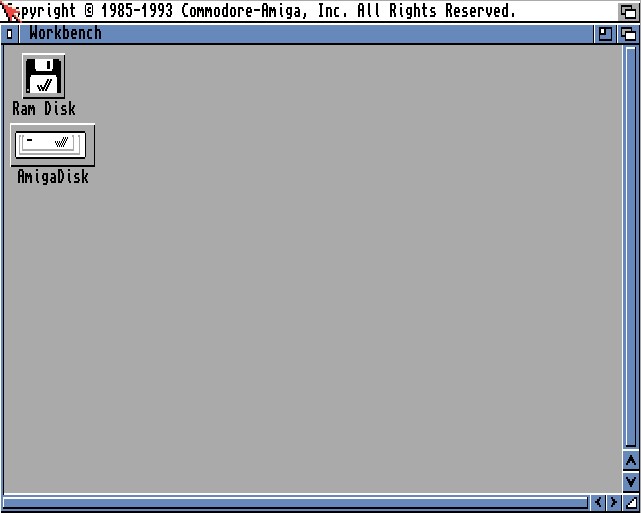
the drive will pop up after like 1 second or so as NDOS etc.
click it and then hold right mousebutton:
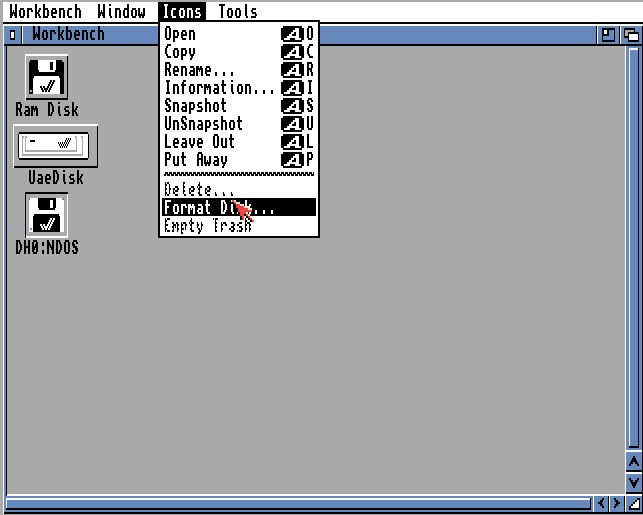
go to Icons and Format disk
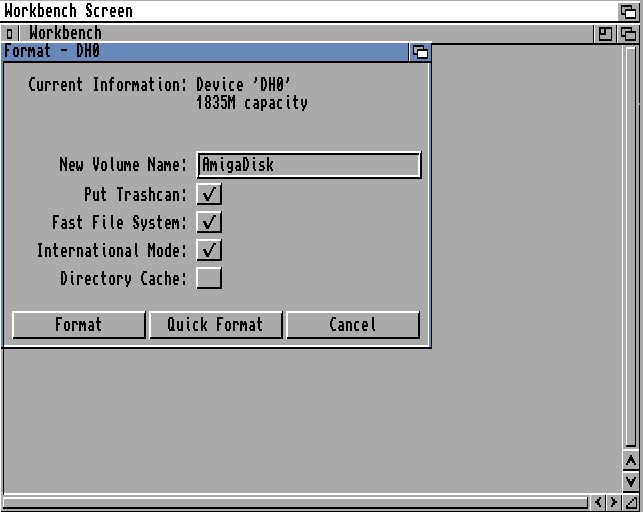
Write a name and choose QUICK FORMAT (it is pointless doing “format” or so. do it QUICK!)
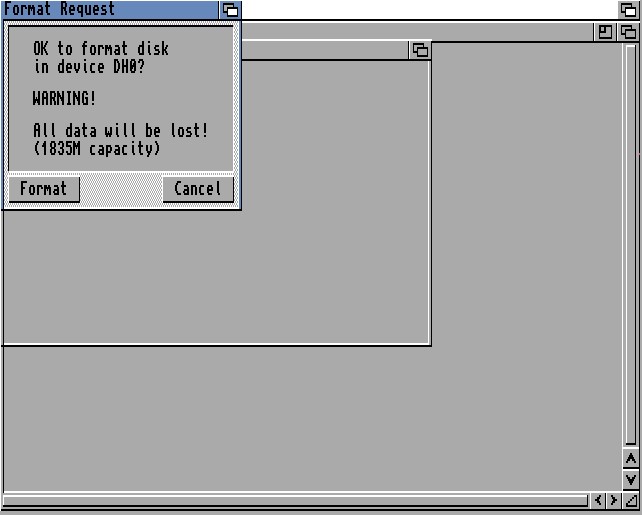
are you SURE? press format
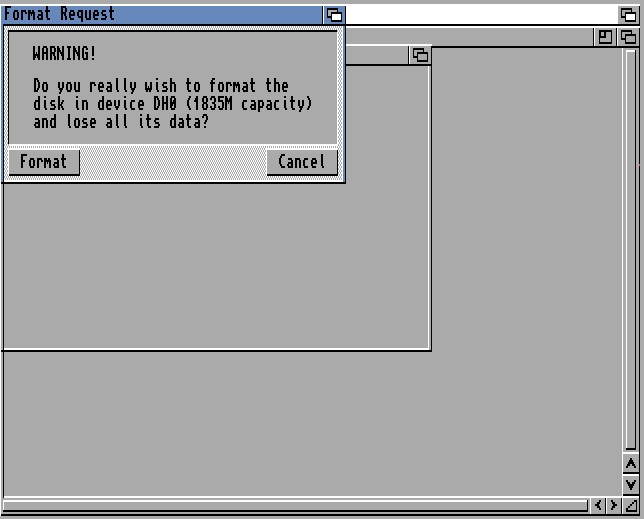
Are you REALLY sure? press format
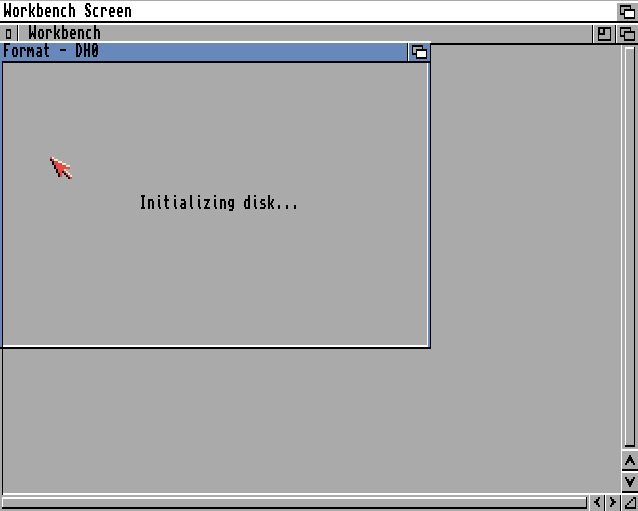
formatting drive
and:
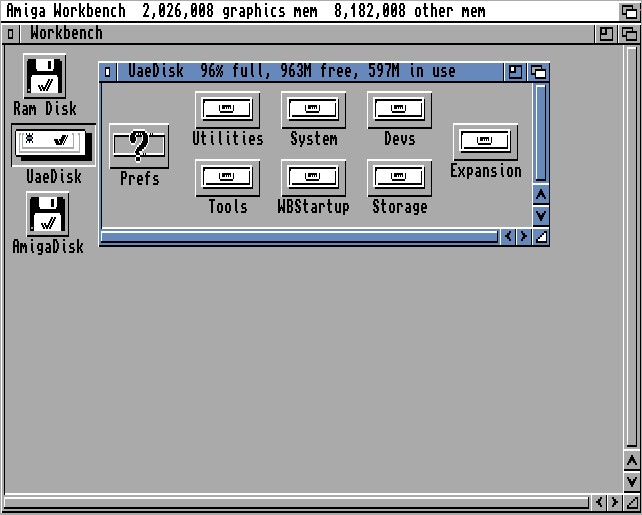
yeah disk is formatted
go to UaeDisk (or the UAE disk you did) (doubleclick on it)

Doubleclick on System

Start CLI (or well. Shell!)
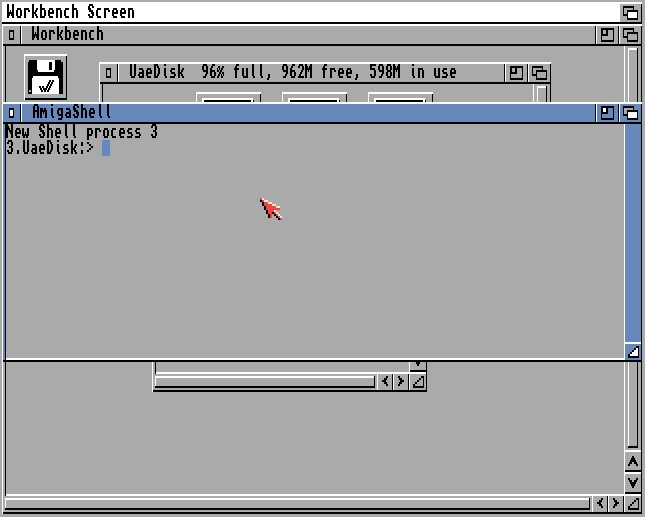
Resize and move it to a good size and write info and press enter
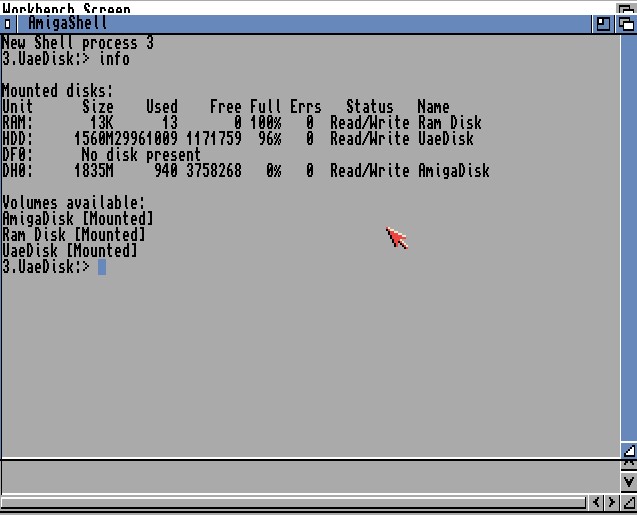
here you can see that the PC hd is named “HDD:” and the Amiga is named “DH0:” now time to copy from the PC to Amiga:
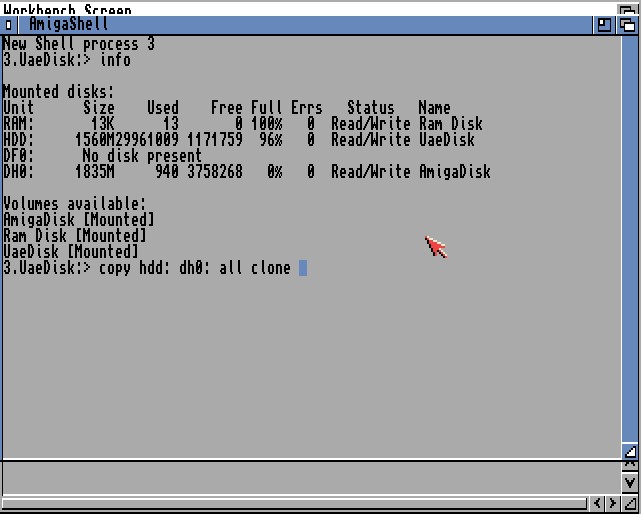
simply write copy hdd: dh0: all clone this copies ALL from HDD: to DH0: and will clone all tags etc. if you also enter quiet after it will not show anything making copy faster.
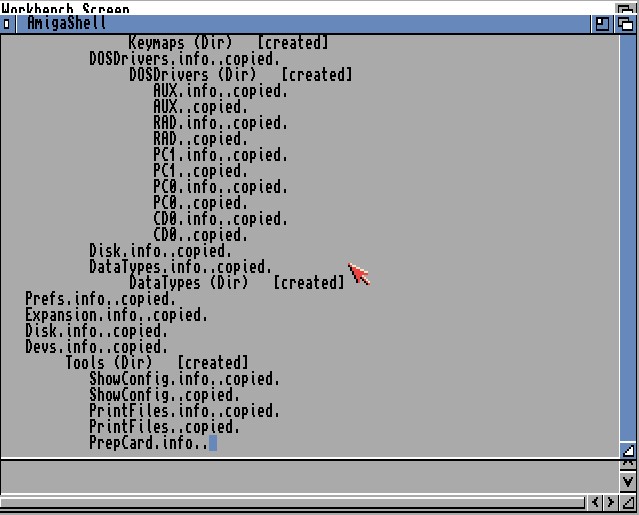
it copy data..
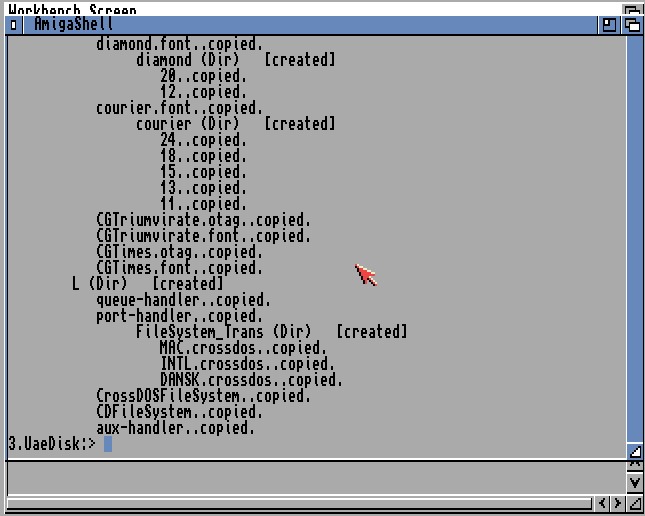
and now it is DONE.
now press F12

click on “HDD” and choose “remove”
do however not save this.. this is just to let WinUAE to only know of the physical Amiga disk you have left.
now press Start:
AND Voila. WinUAE just started from your physical disk prepared for Amiga. put this disk in your amiga and you can boot it.
if you prepare your installation before copying it to the Amigadisk. you can prepare all from uae. making it extremly more easy than copy stuff to your amiga etc.
a HINT here is actually to make sure your WinUAE disk is not named “uaedisk” as i sys but instead SYS then installsoftware will use SYS: as name and that is always the bootdisk on the amiga.
Hope you liked it. please comment if you think I should do it more advanced. what more do you want me to cover?
IF you want me to do a youtube version TELL ME!
Damn really great guidethanks alot.
Ok, I have it working now, needed to remove the CF from the configuration and then re-add it and restart WINUAE…Running 3.1.4…
Thanks for the great walk through…
v/r
Ron K.
Hey,
I’m at this point:
“here you might get different results. warning about parititons changed, it will reboot etc etc.”
And I have no HD icon. Everything was ok before. Could You help me some way?
your adapter might not talk PIO mode…
Hey Chucky,
thanks a lot for your detailed explanation! Perfect!
I recently started playing with my A2000 again, after 23 years! Everything works like a charm. I decided to “upgrade” a little and spend the machine an IDE-CF converter (I have the first Buddha IDE controller inside) so that I can finally dump my 1995 IBM IDE HDD which is louder than a buzzsaw 🙂
While I’m writing this, I’m still waiting for the delivery. Nevertheless, with your guidance I was able to successfully prepare a bootable CF card. I only had to look up, why formatting it didn’t result in a validated disk. Found out, it’s a 8 GB card and I had to make 2 partitions around 3600MB each.
Within WinUAE I can now boot to workbench, so it works as intended.
As soon as I have tested it with the adaptor, I’ll be back here.
Thanks a lot!!
Using WinUAE 4.40 I get the same problem as Maciej above, no matter which CF card or adapter I use. After partitioning and rebooting, the drive never shows up in Workbench.
I tried using Johan Driessen’s guide too, and had exactly the same problem.
Downgraded to WinUAE 4.10 and everything works as it should.
So something has changed in the newer versions, and guides would need to be updated too. 🙂
Oh maybe time for a bigreport to Toni..
Hi,
Fantastic guide. Seems to have worked very well for me.
Only question I have is that while I’m partitioning my drive, it’s an 80GB disk btw, I can create one partition at around 1.2GB, but if I change anything, the screen corrupts and makes it impossible to make it any bigger. Also because of the same issue, I can’t create and additional partitions.
Any ideas how to make this a bit easier? Any other partitioning programs?
in 3.9 and 3.1.4 I think it works better