Now it is time to fix power, storage and finalize the build.
First, as the BPPC requires more power then the Amiga motherboard can handle. I have to add one extra +5V line. I was thinking on how to fix this. First I was planned to use the “Sheild” cable in the powercable as it was unused, but after some thinking I decided this to be a bad move and IF I should connect that to an non-modified Amiga, bad things would happen. So I decided to have a extra powercable for the separate +5V.
So I did a cable, that takes +12V from the Amiga motherboard floppy, and an extra outlet for +5V.
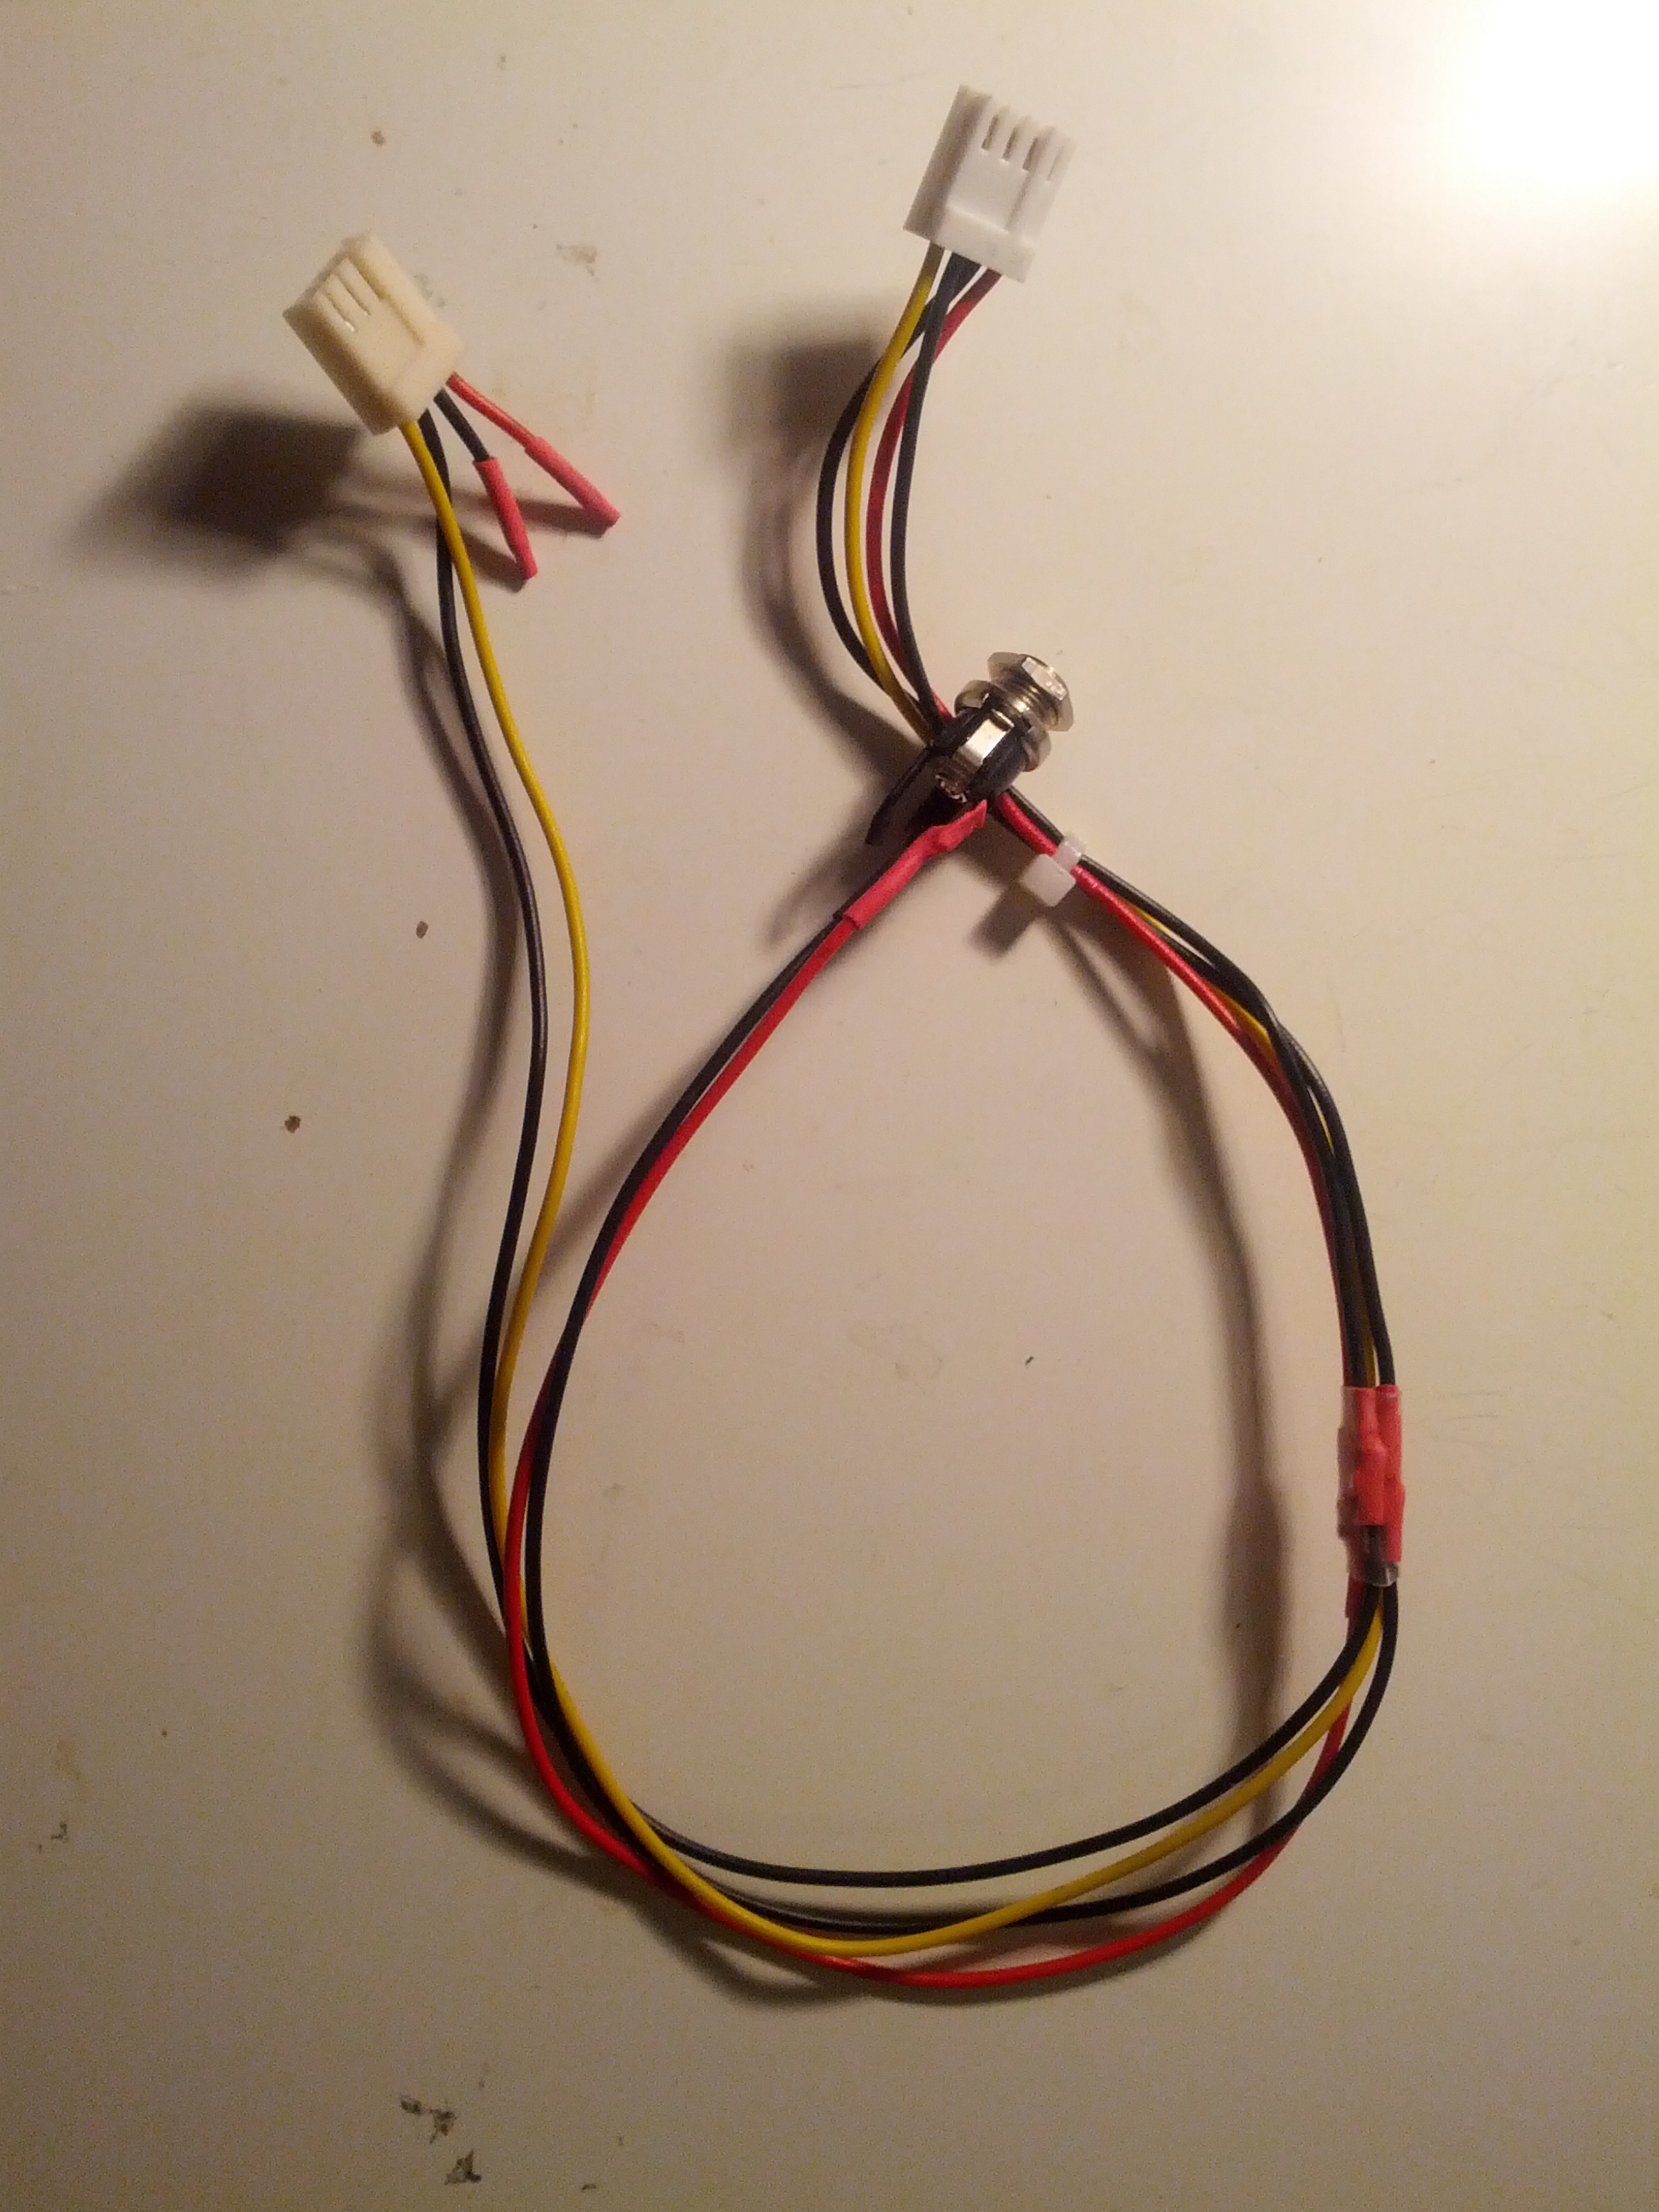
So it delivers fresh +5V and 12V on a floppy-power cable.
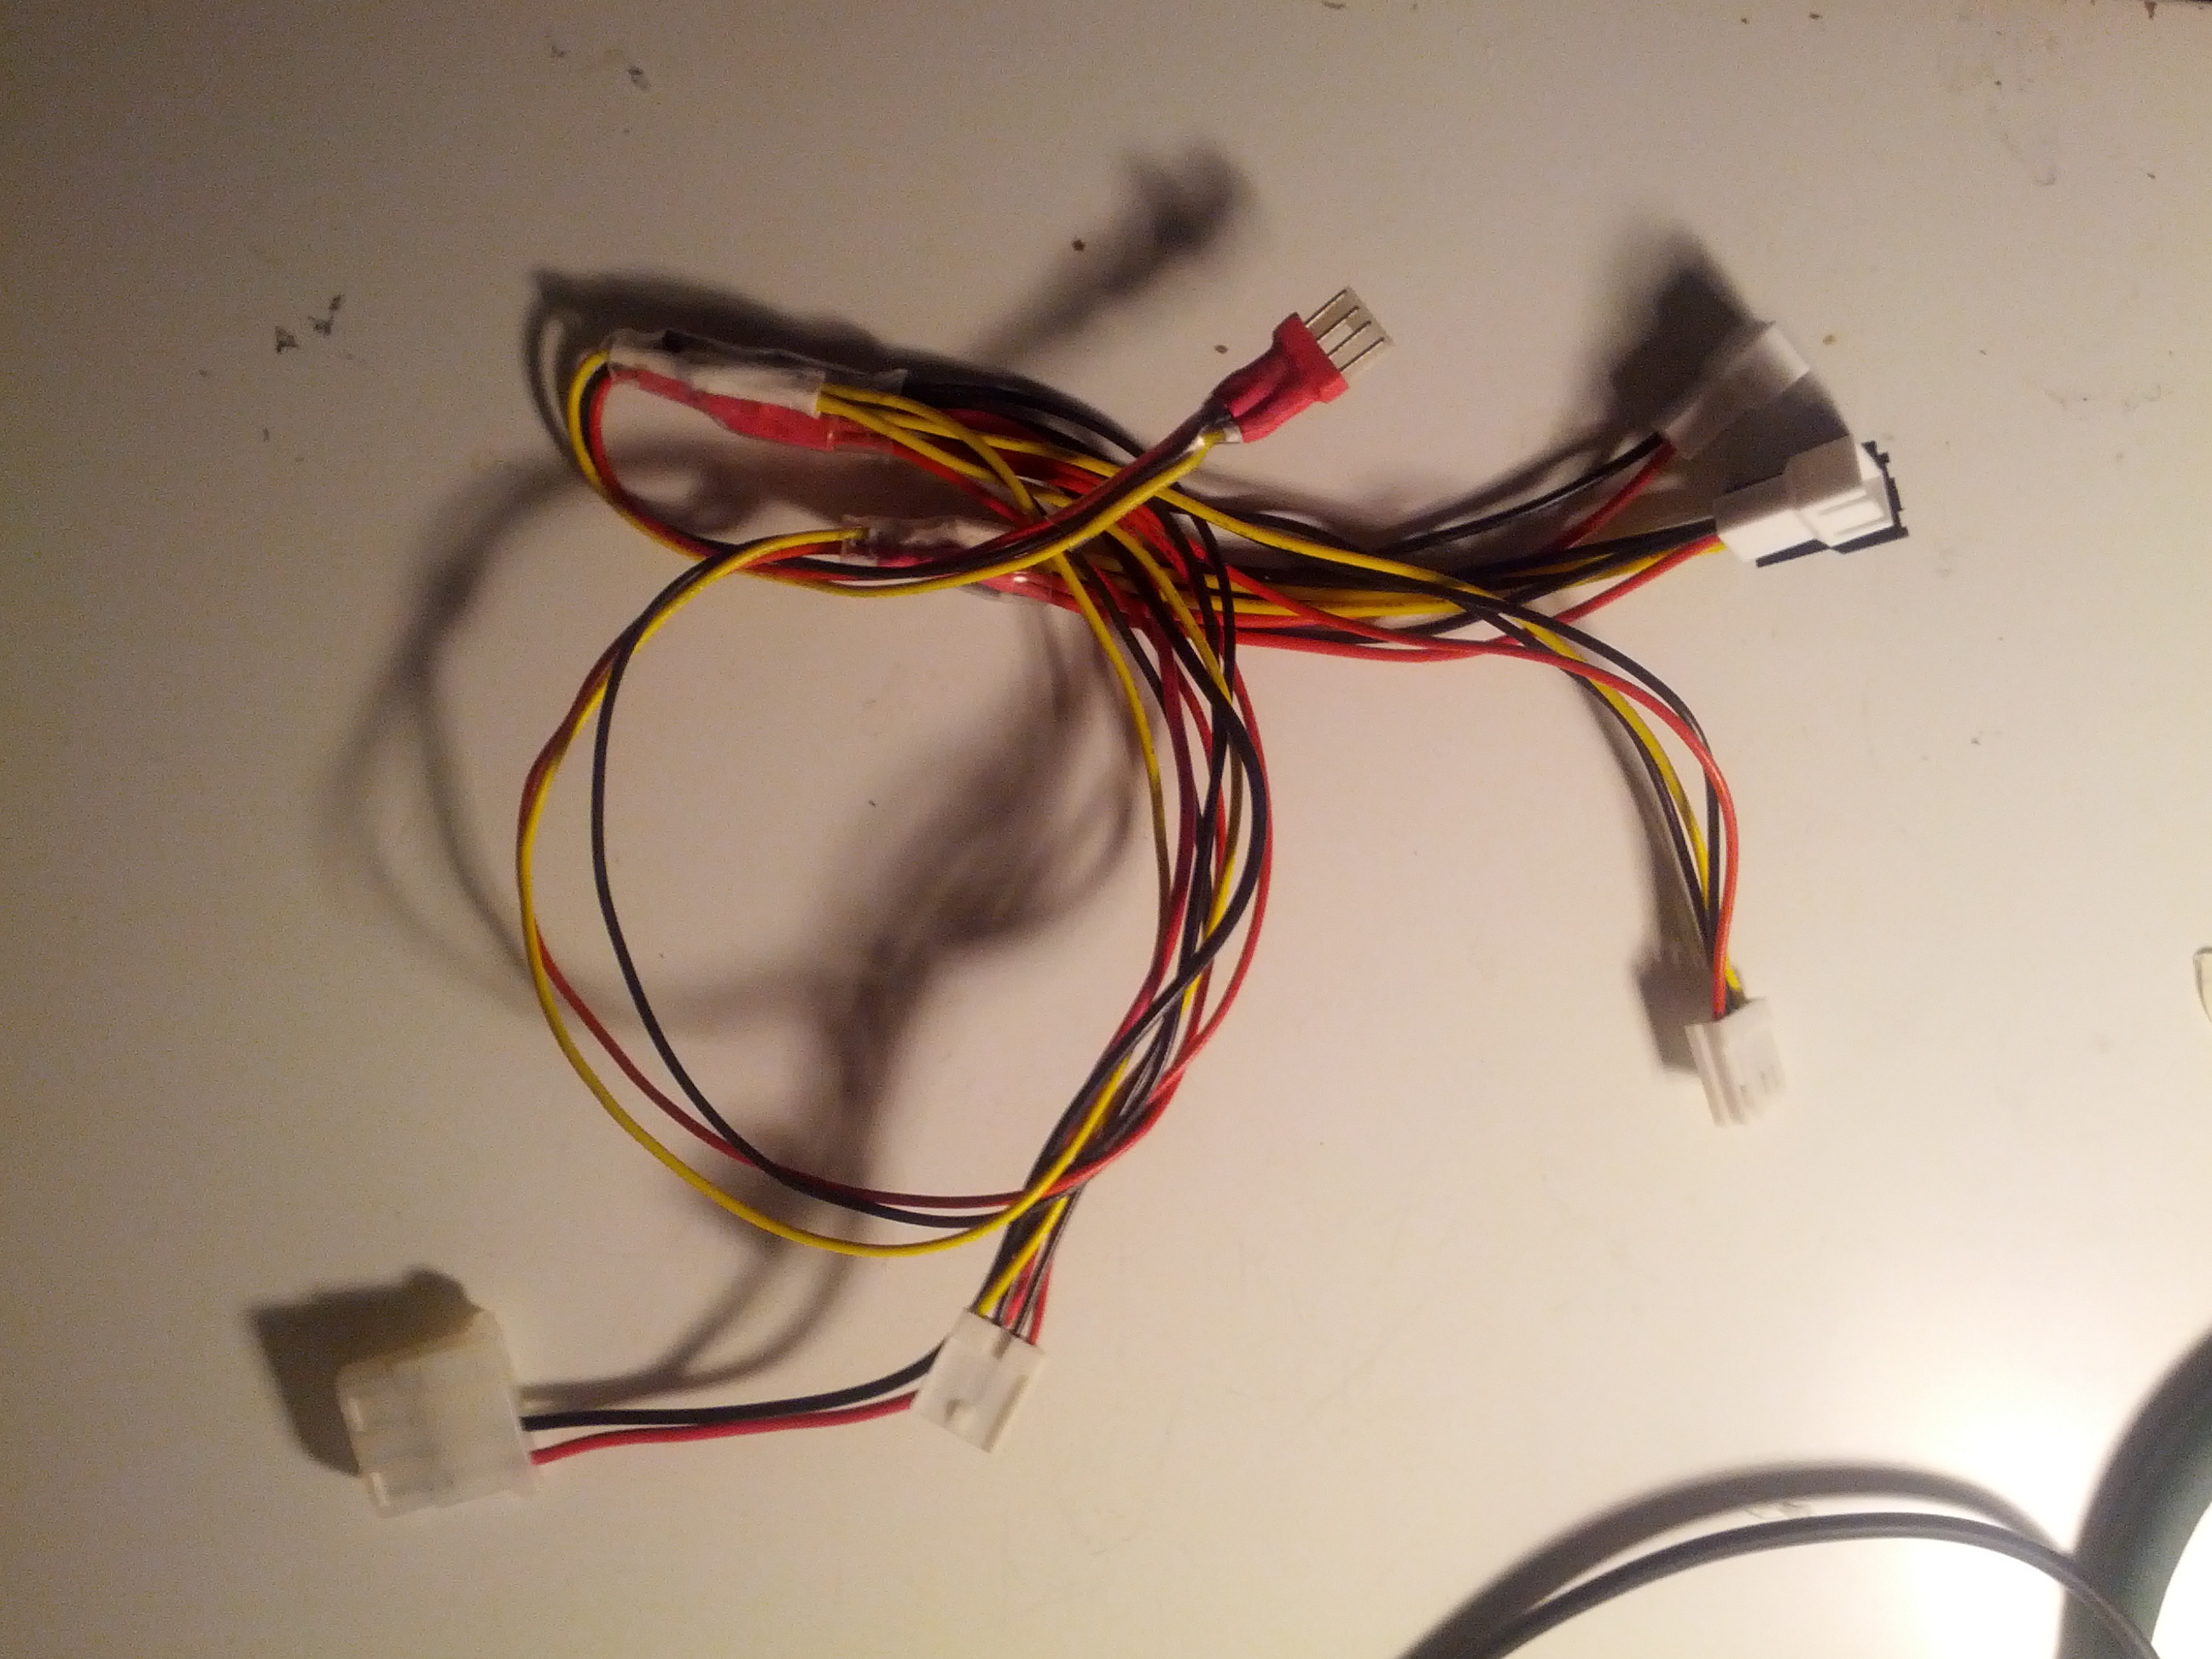
then I made a own cable to distribute this power internally in the Amiga:
but when testing this. The machine refused to start. WHY? well. I have used the same ground on the Amiga as the extra +5V cable. Making the +5V to drop. So I did cut the groundcable from the Amiga using only ground from the extracable, now the +5V was in an ok level again and the machine worked. So my original idea of extra +5V on the sheild pin wouldn’t work. good for me that I decided to skip that idea.
But during my tests, I noticed that my Amiga was very VERY unstable. And to my horror. I noticed that one 128MB module had shorted to the internal sheilding close to the trapdoor. so one 128MB module was simply dead.
To prevent this.. one VERY important thing when it comes to the A1200 and expanding: INSULATE
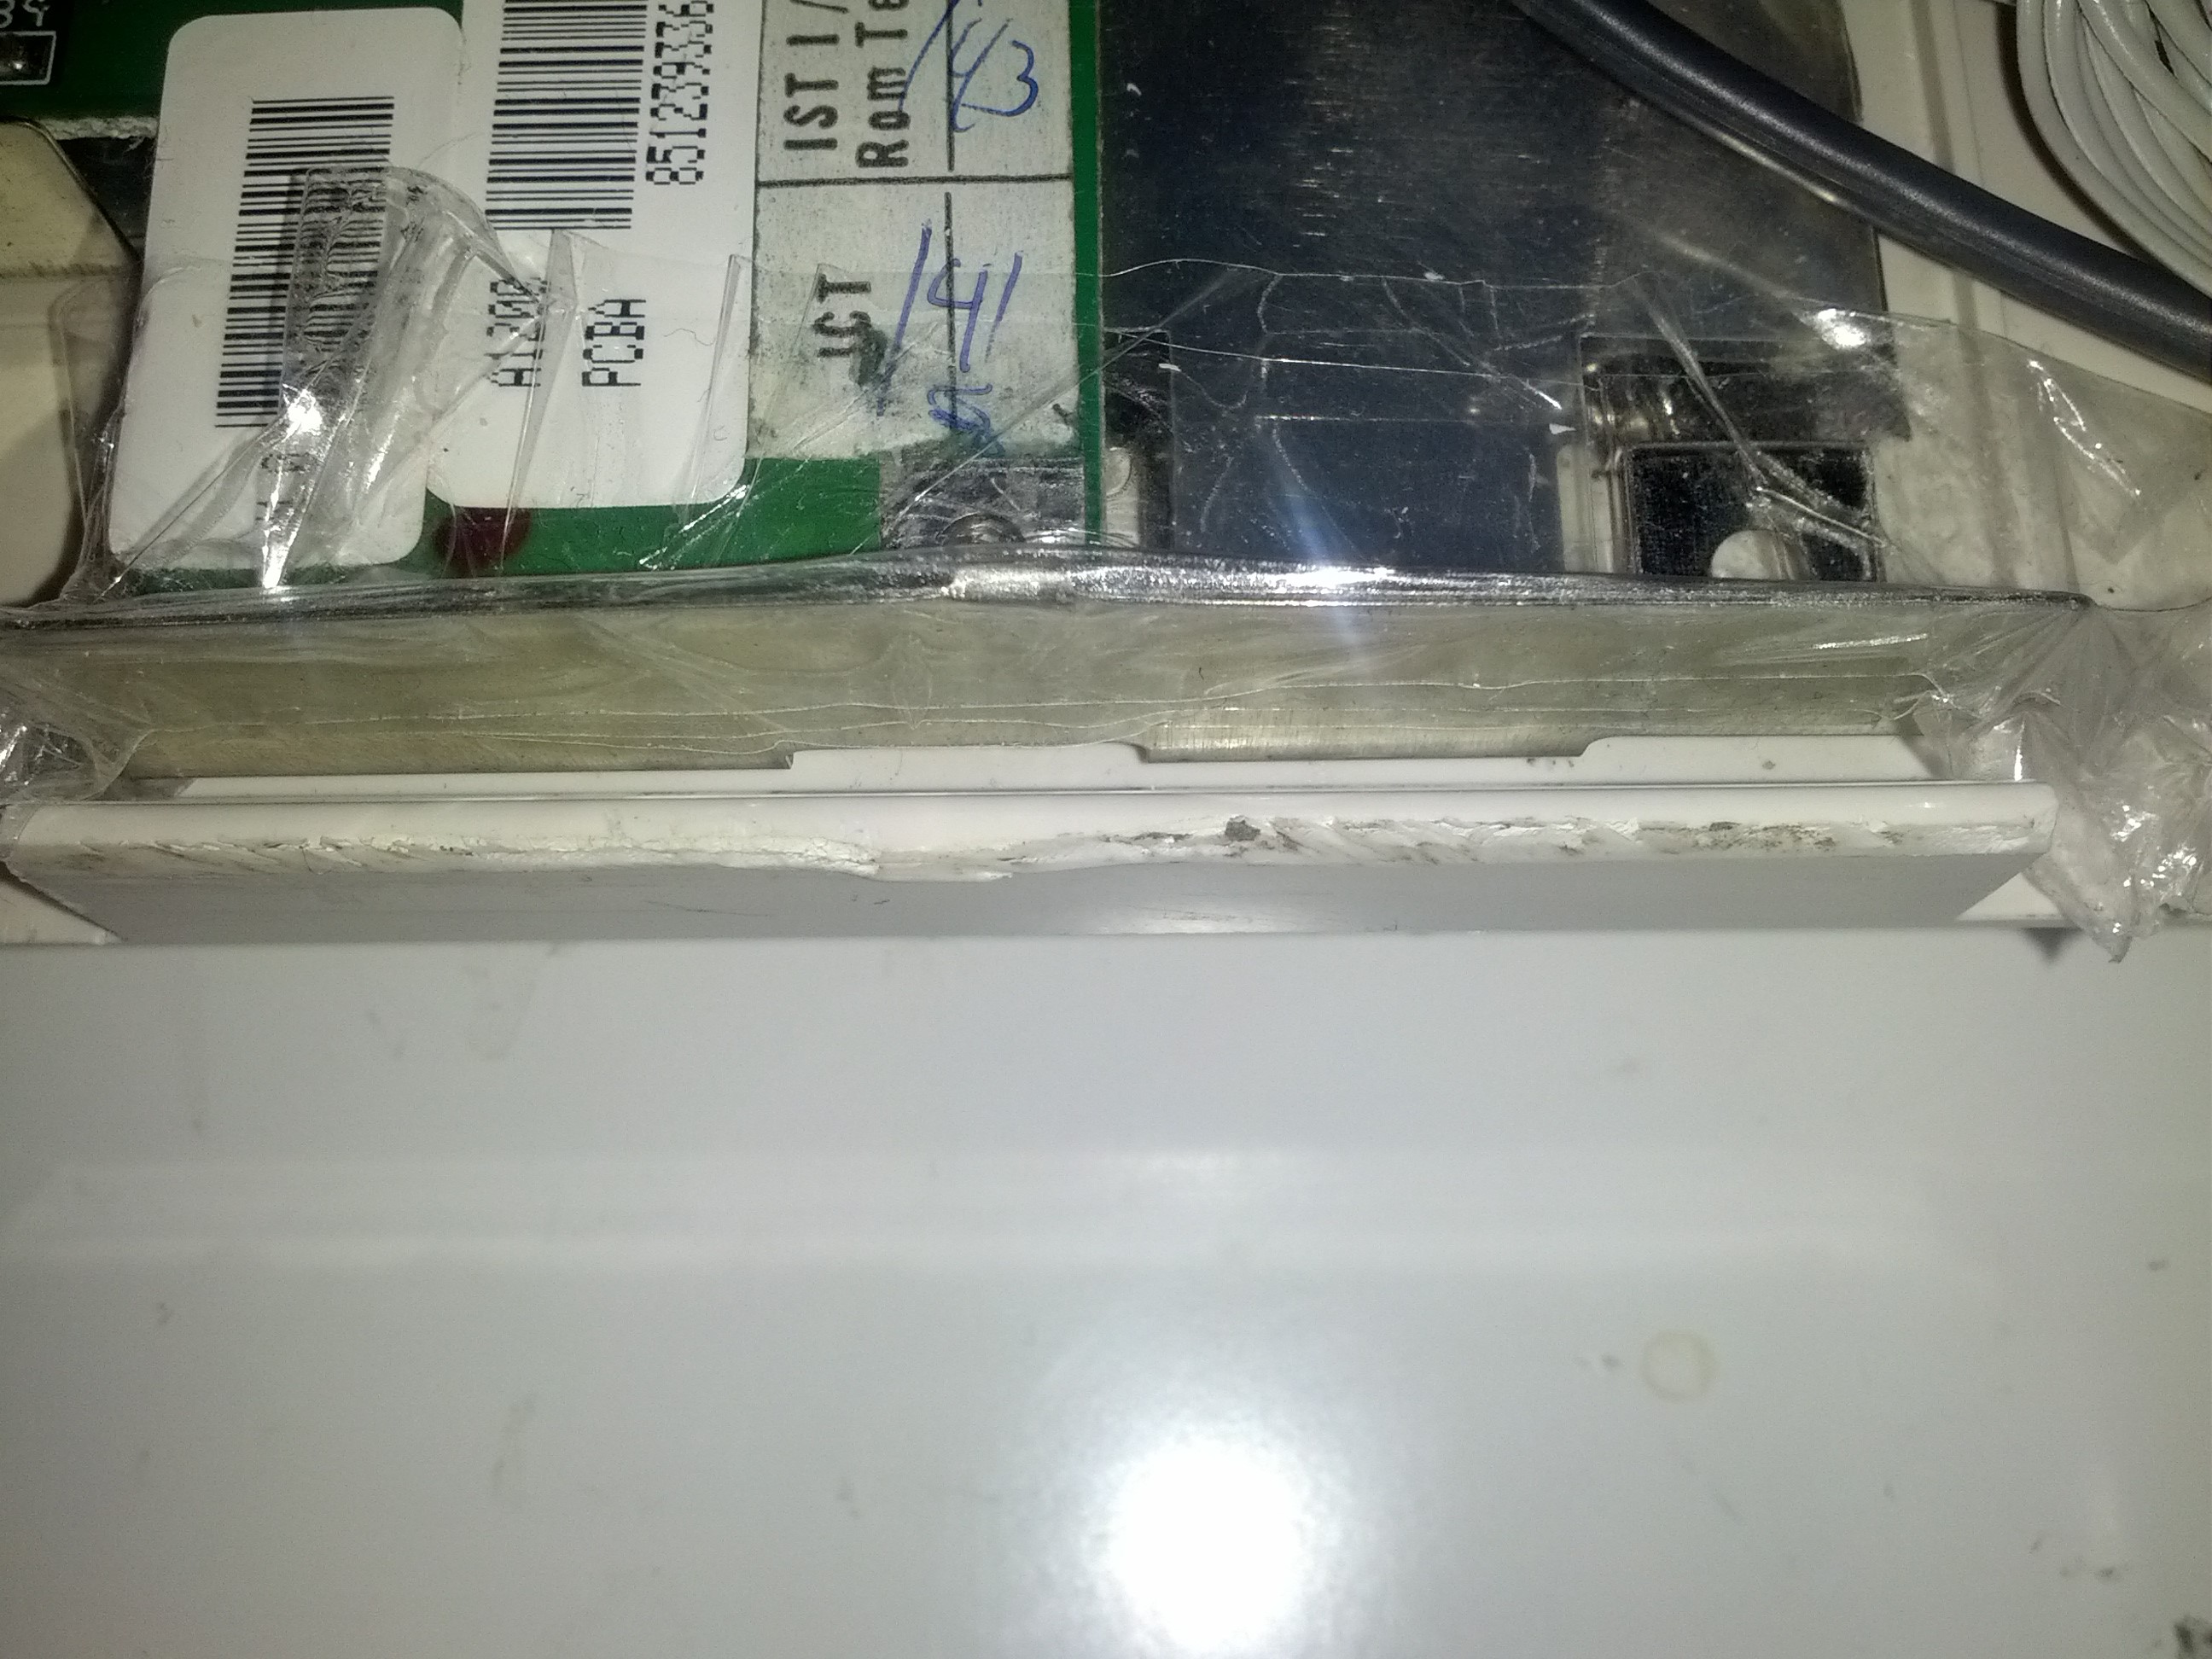
So, Some tape later.. Done.
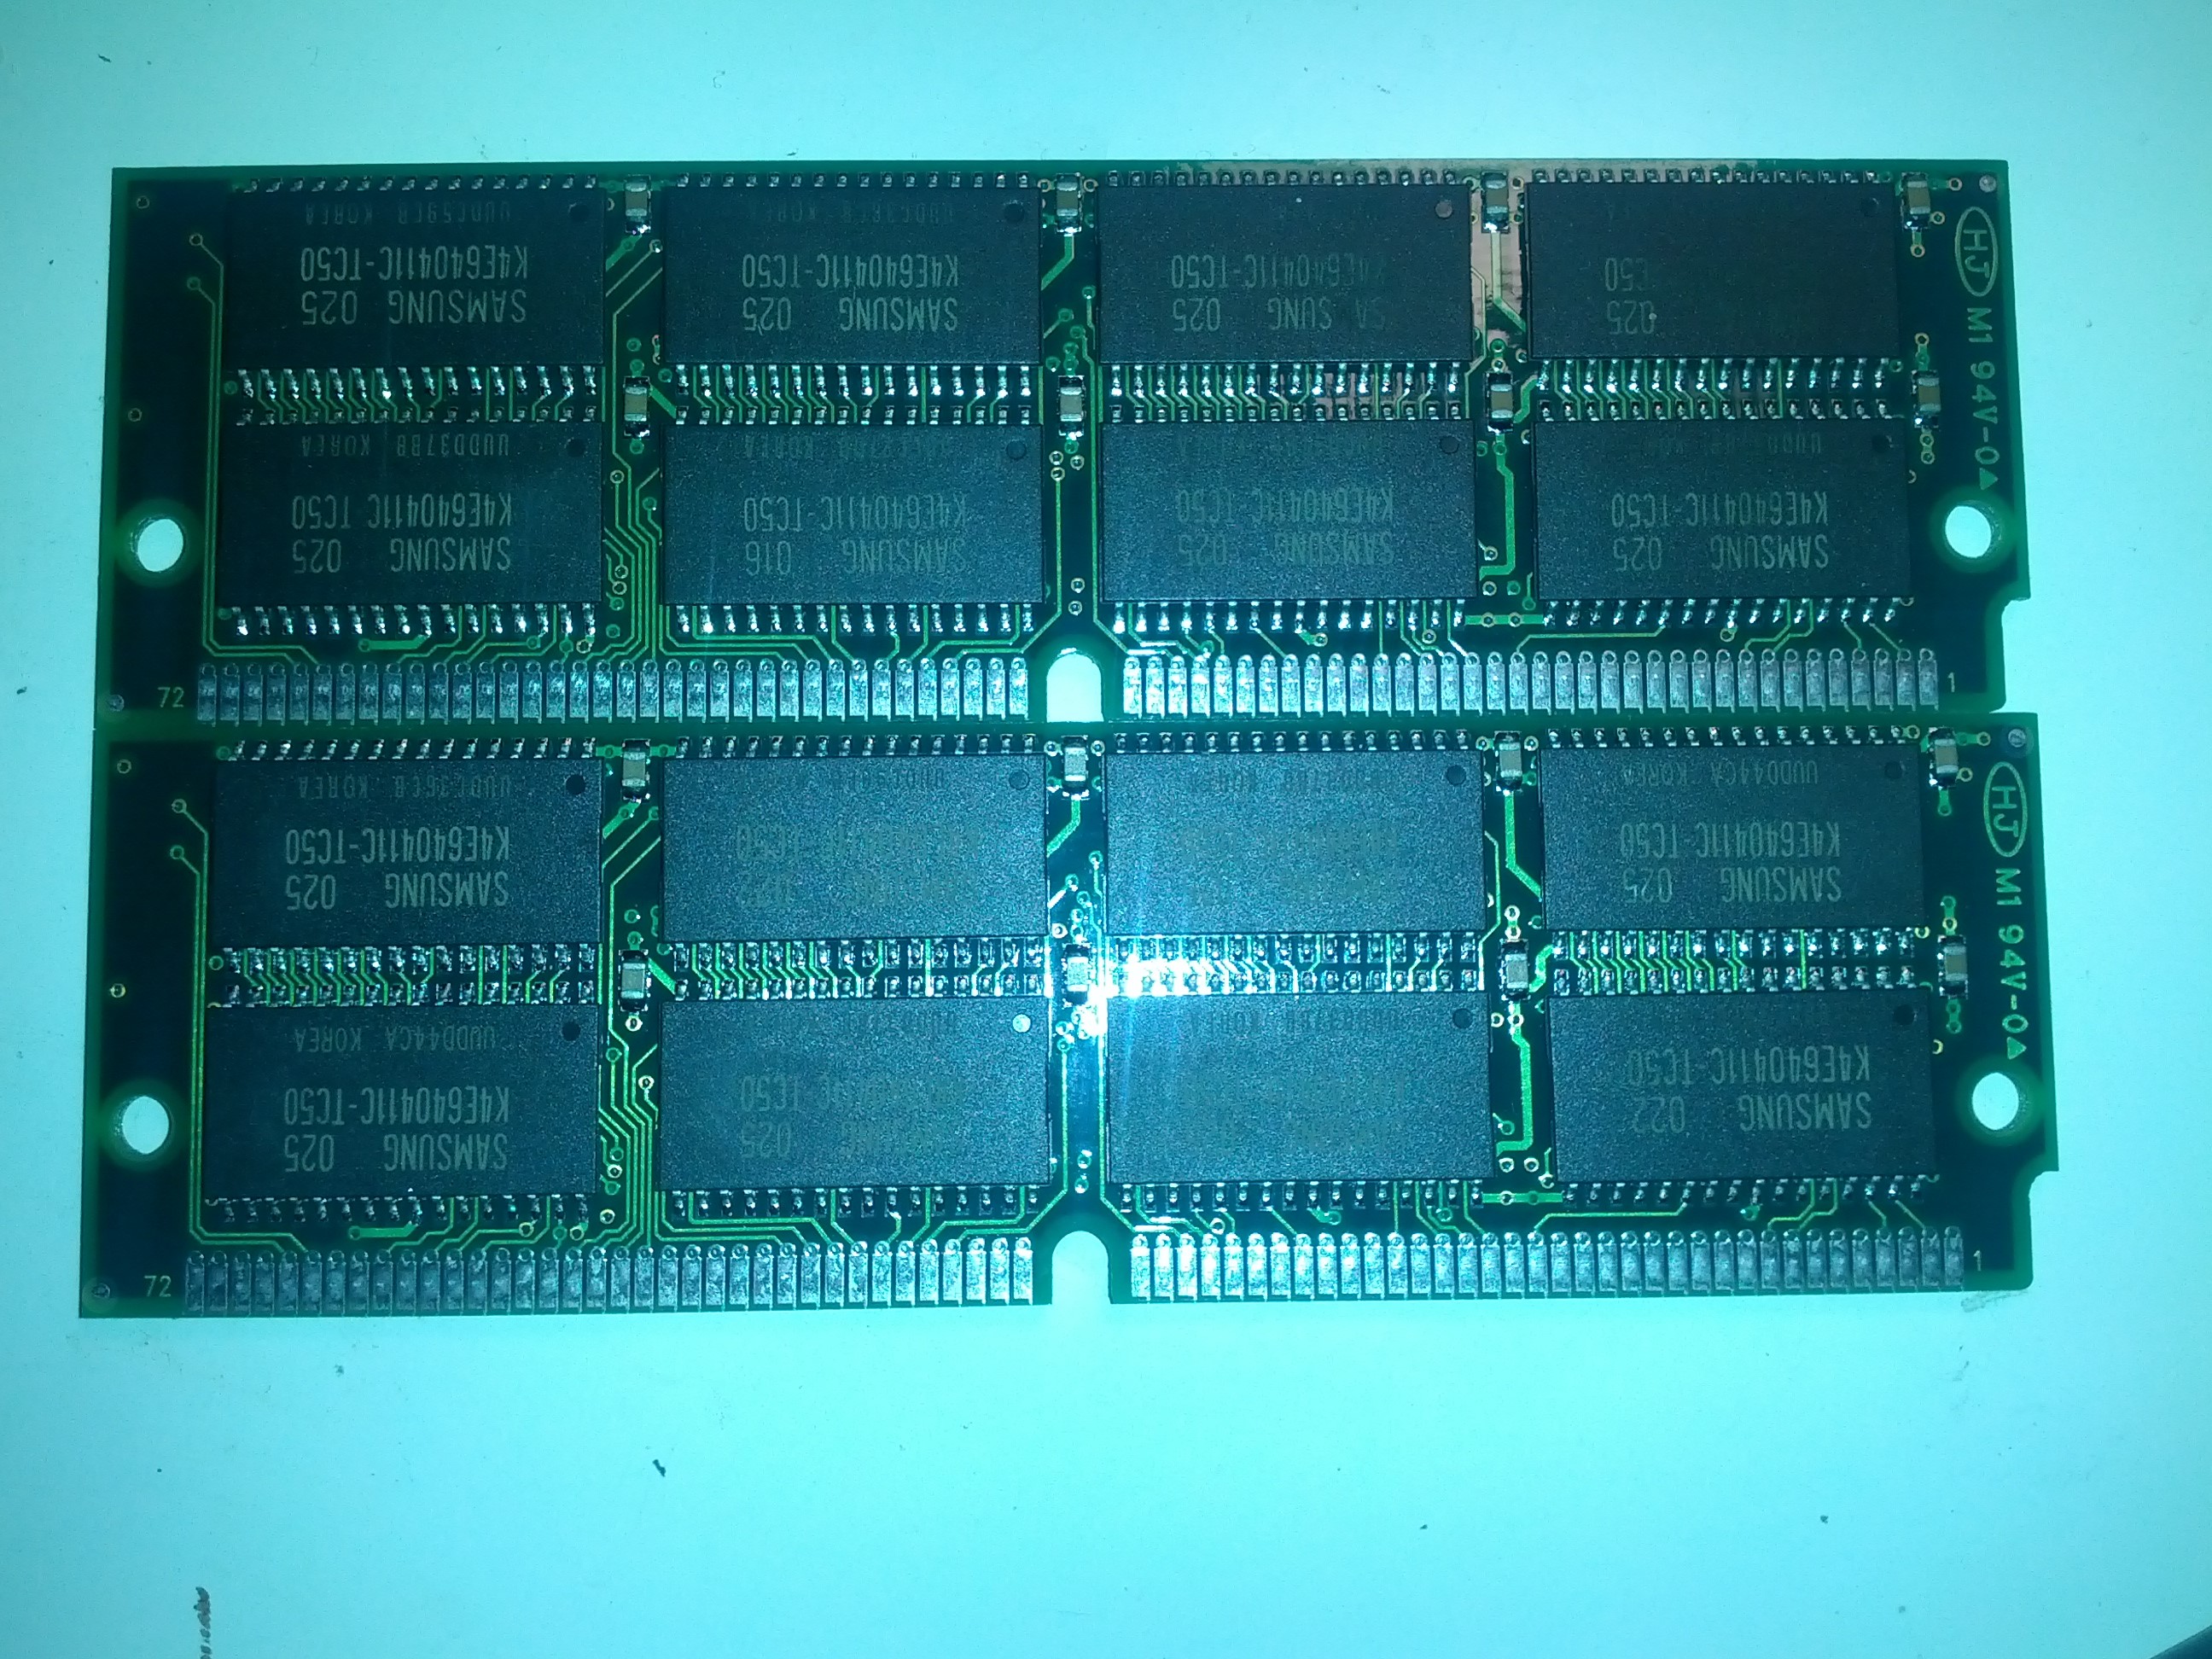
So I had to live with only 128MB of RAM in my setup. also having a bad day. when testing I was guessing my 66MHz overclock did the machine unstable I used my 50MHz oscillator. When putting back the 66MHz one I turned it the wrong way. breaking it ASWELL! BUMMER.. this is not good.
This actually made me stop this project for a while. Being quite irritated about this. and good thing. as I did get hold of new NOS 128MB modules, SEVERAL of them thin etc. So I got 6 of them. So back to my 256MB config. And also tried to find a new 66MHz oscillator but no luck. But when ordering the powerconnector above I found a 64MHz oscillator. so. 64MHz it will be.
Then, time to fix storage. As my floppy was dead I had to get a new one and it was vert important that the new drive did NOT have a spinning disk at the bottom as my old drive had. (as it would be disturbed of the cables being under the drive). So I contacted the local Swedish Amigadealer http://www.ggsdata.se/ and ordered a diskdrive:
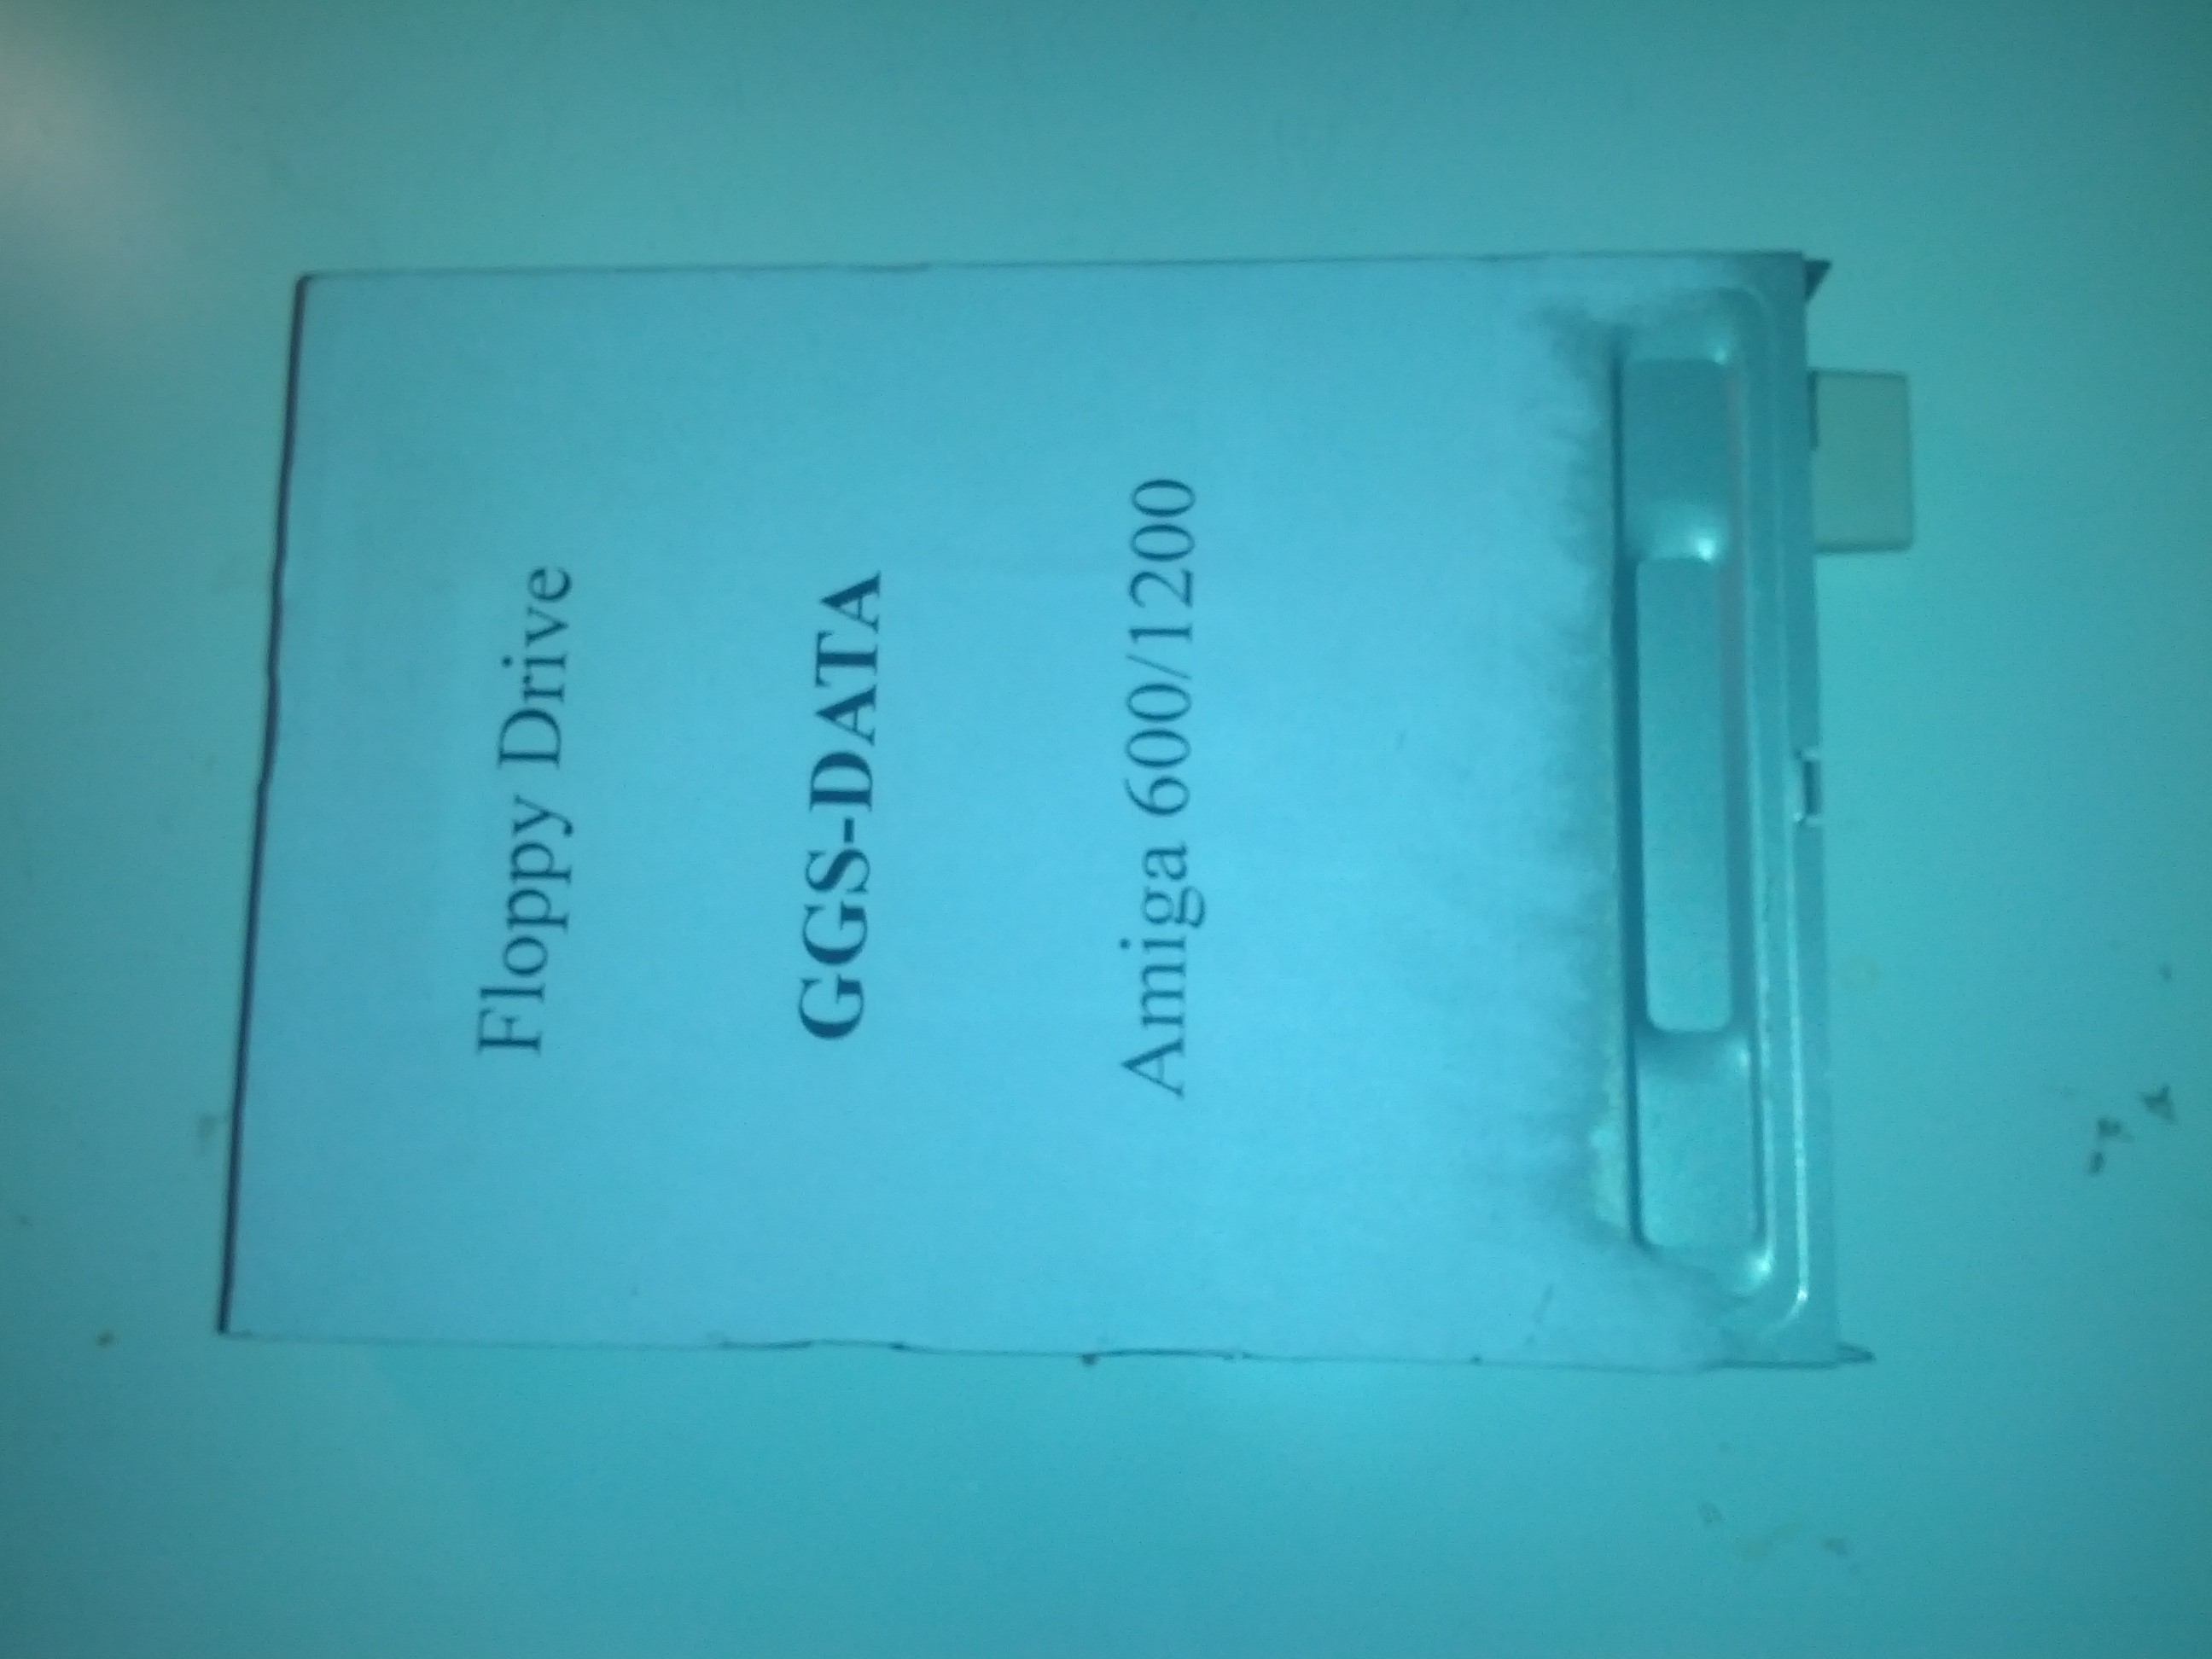
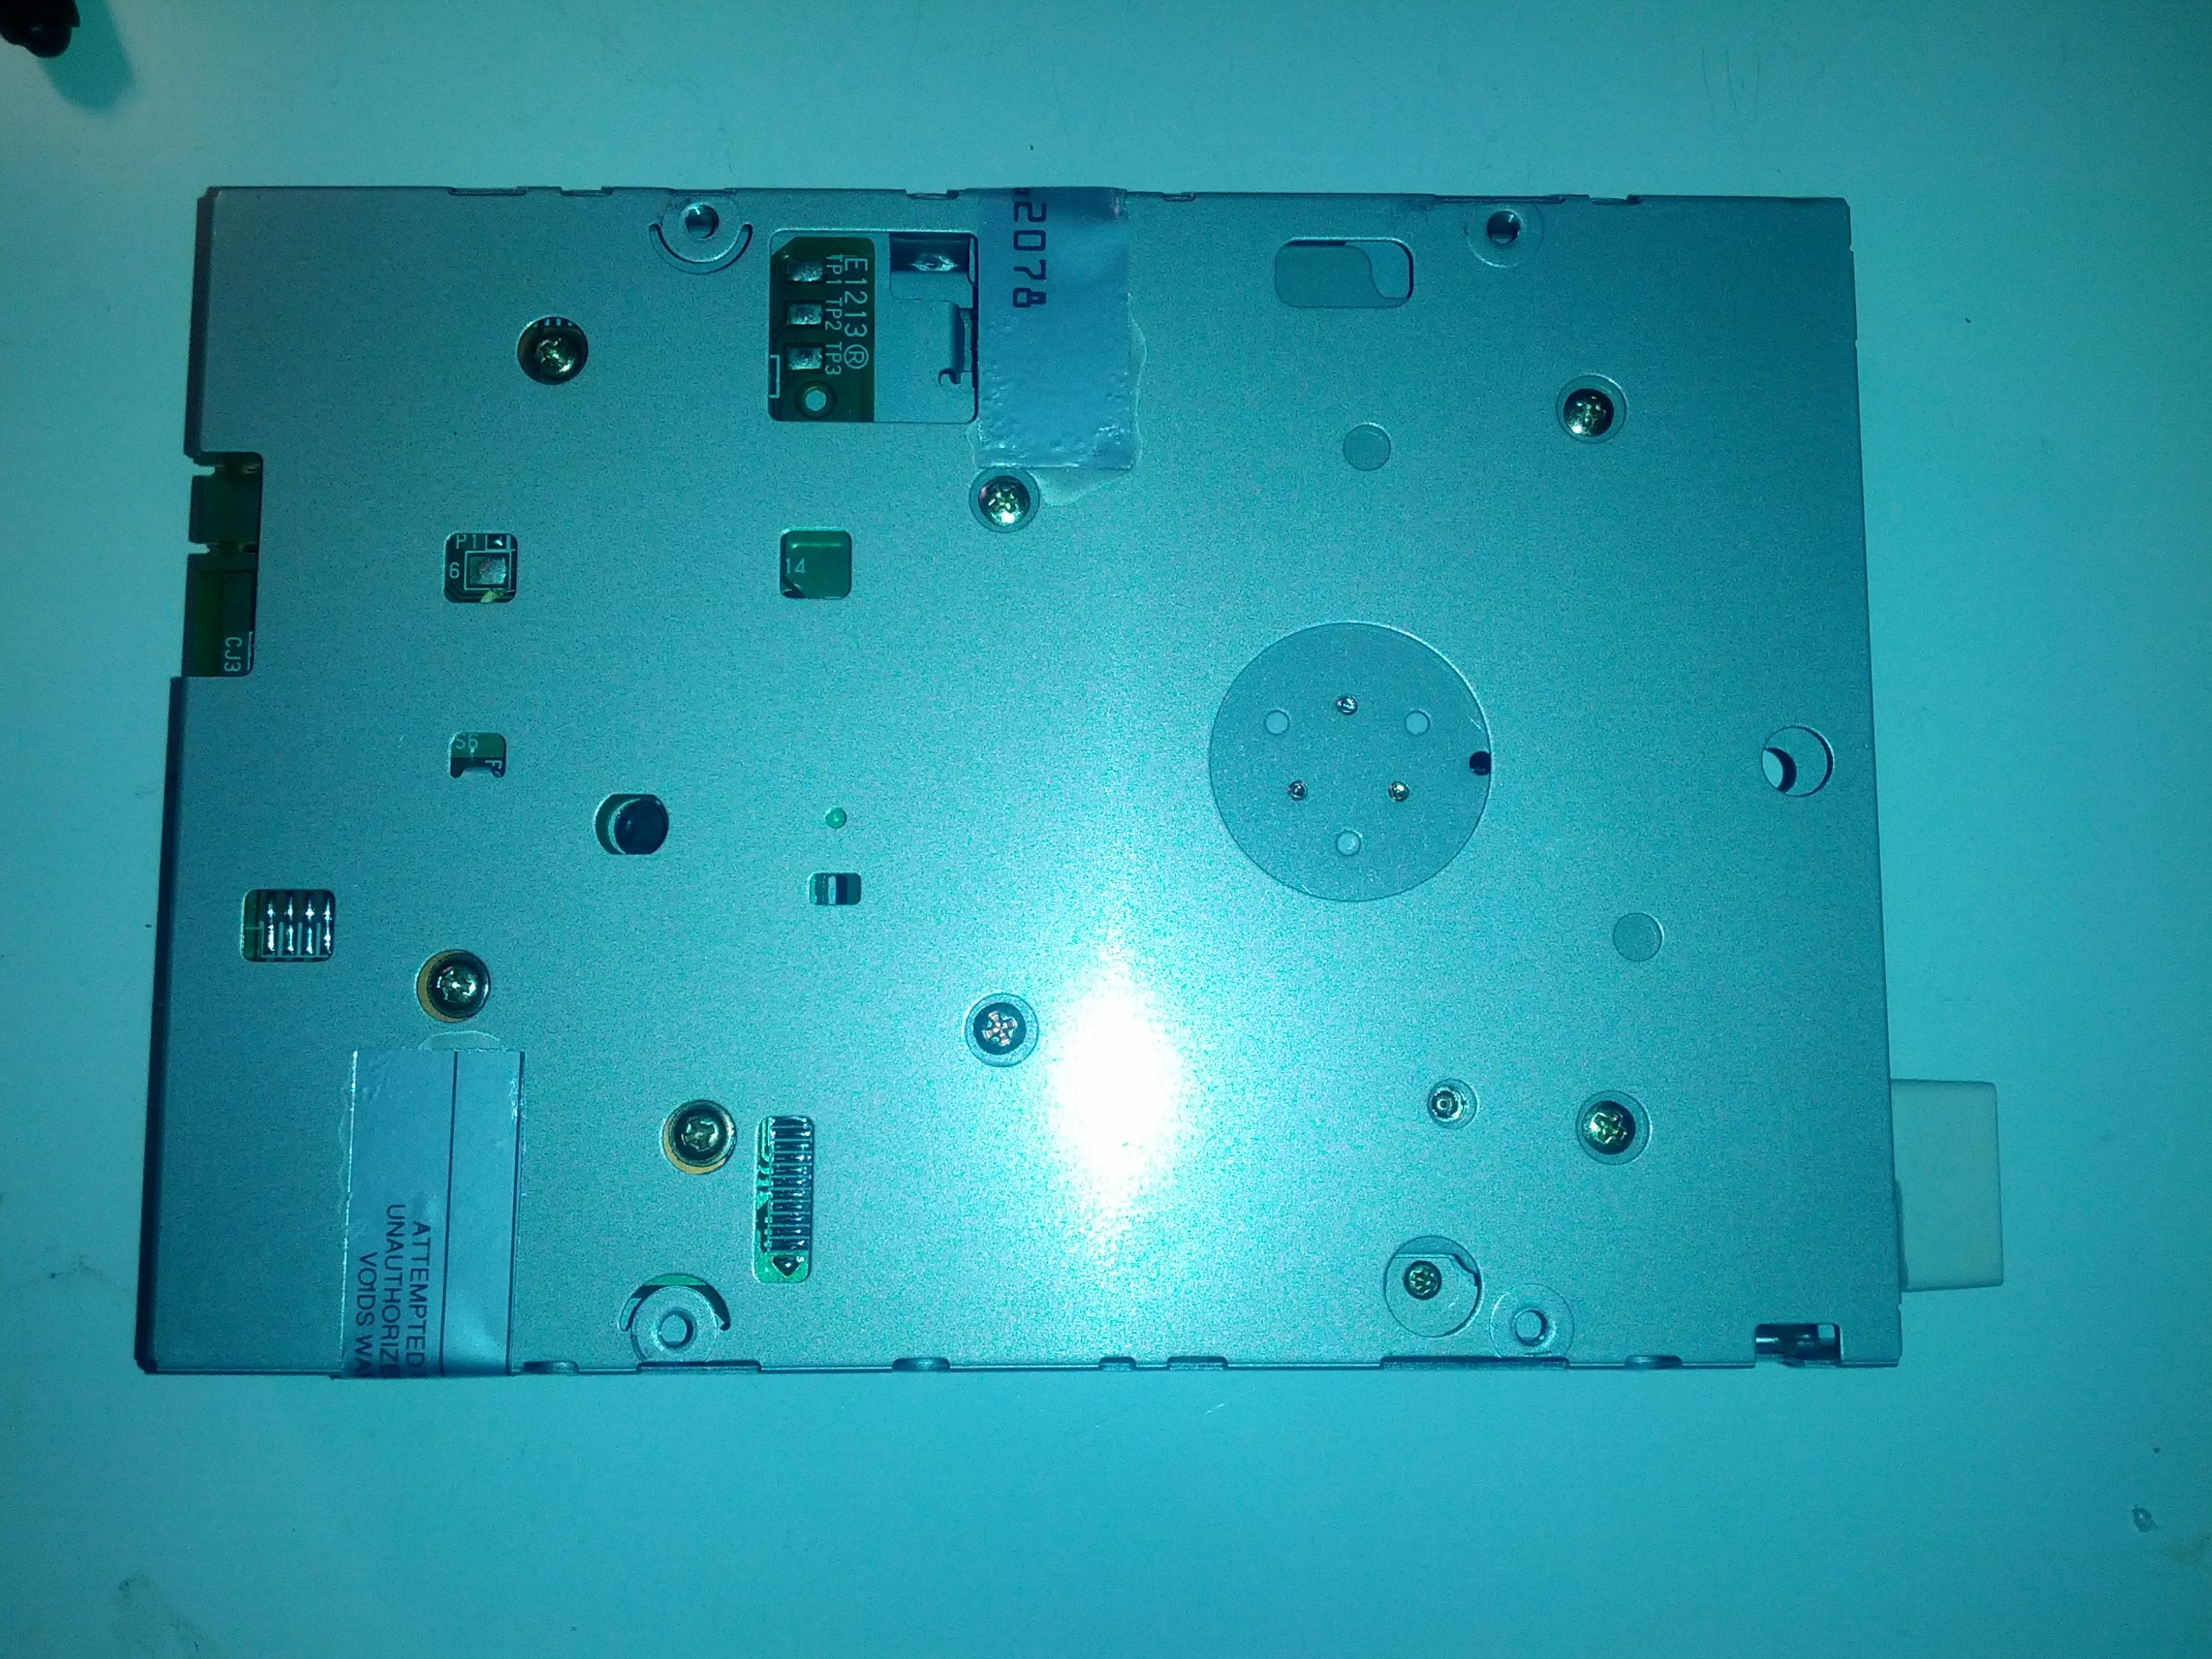
(bluish picture.. but this is not a photo-blog :))
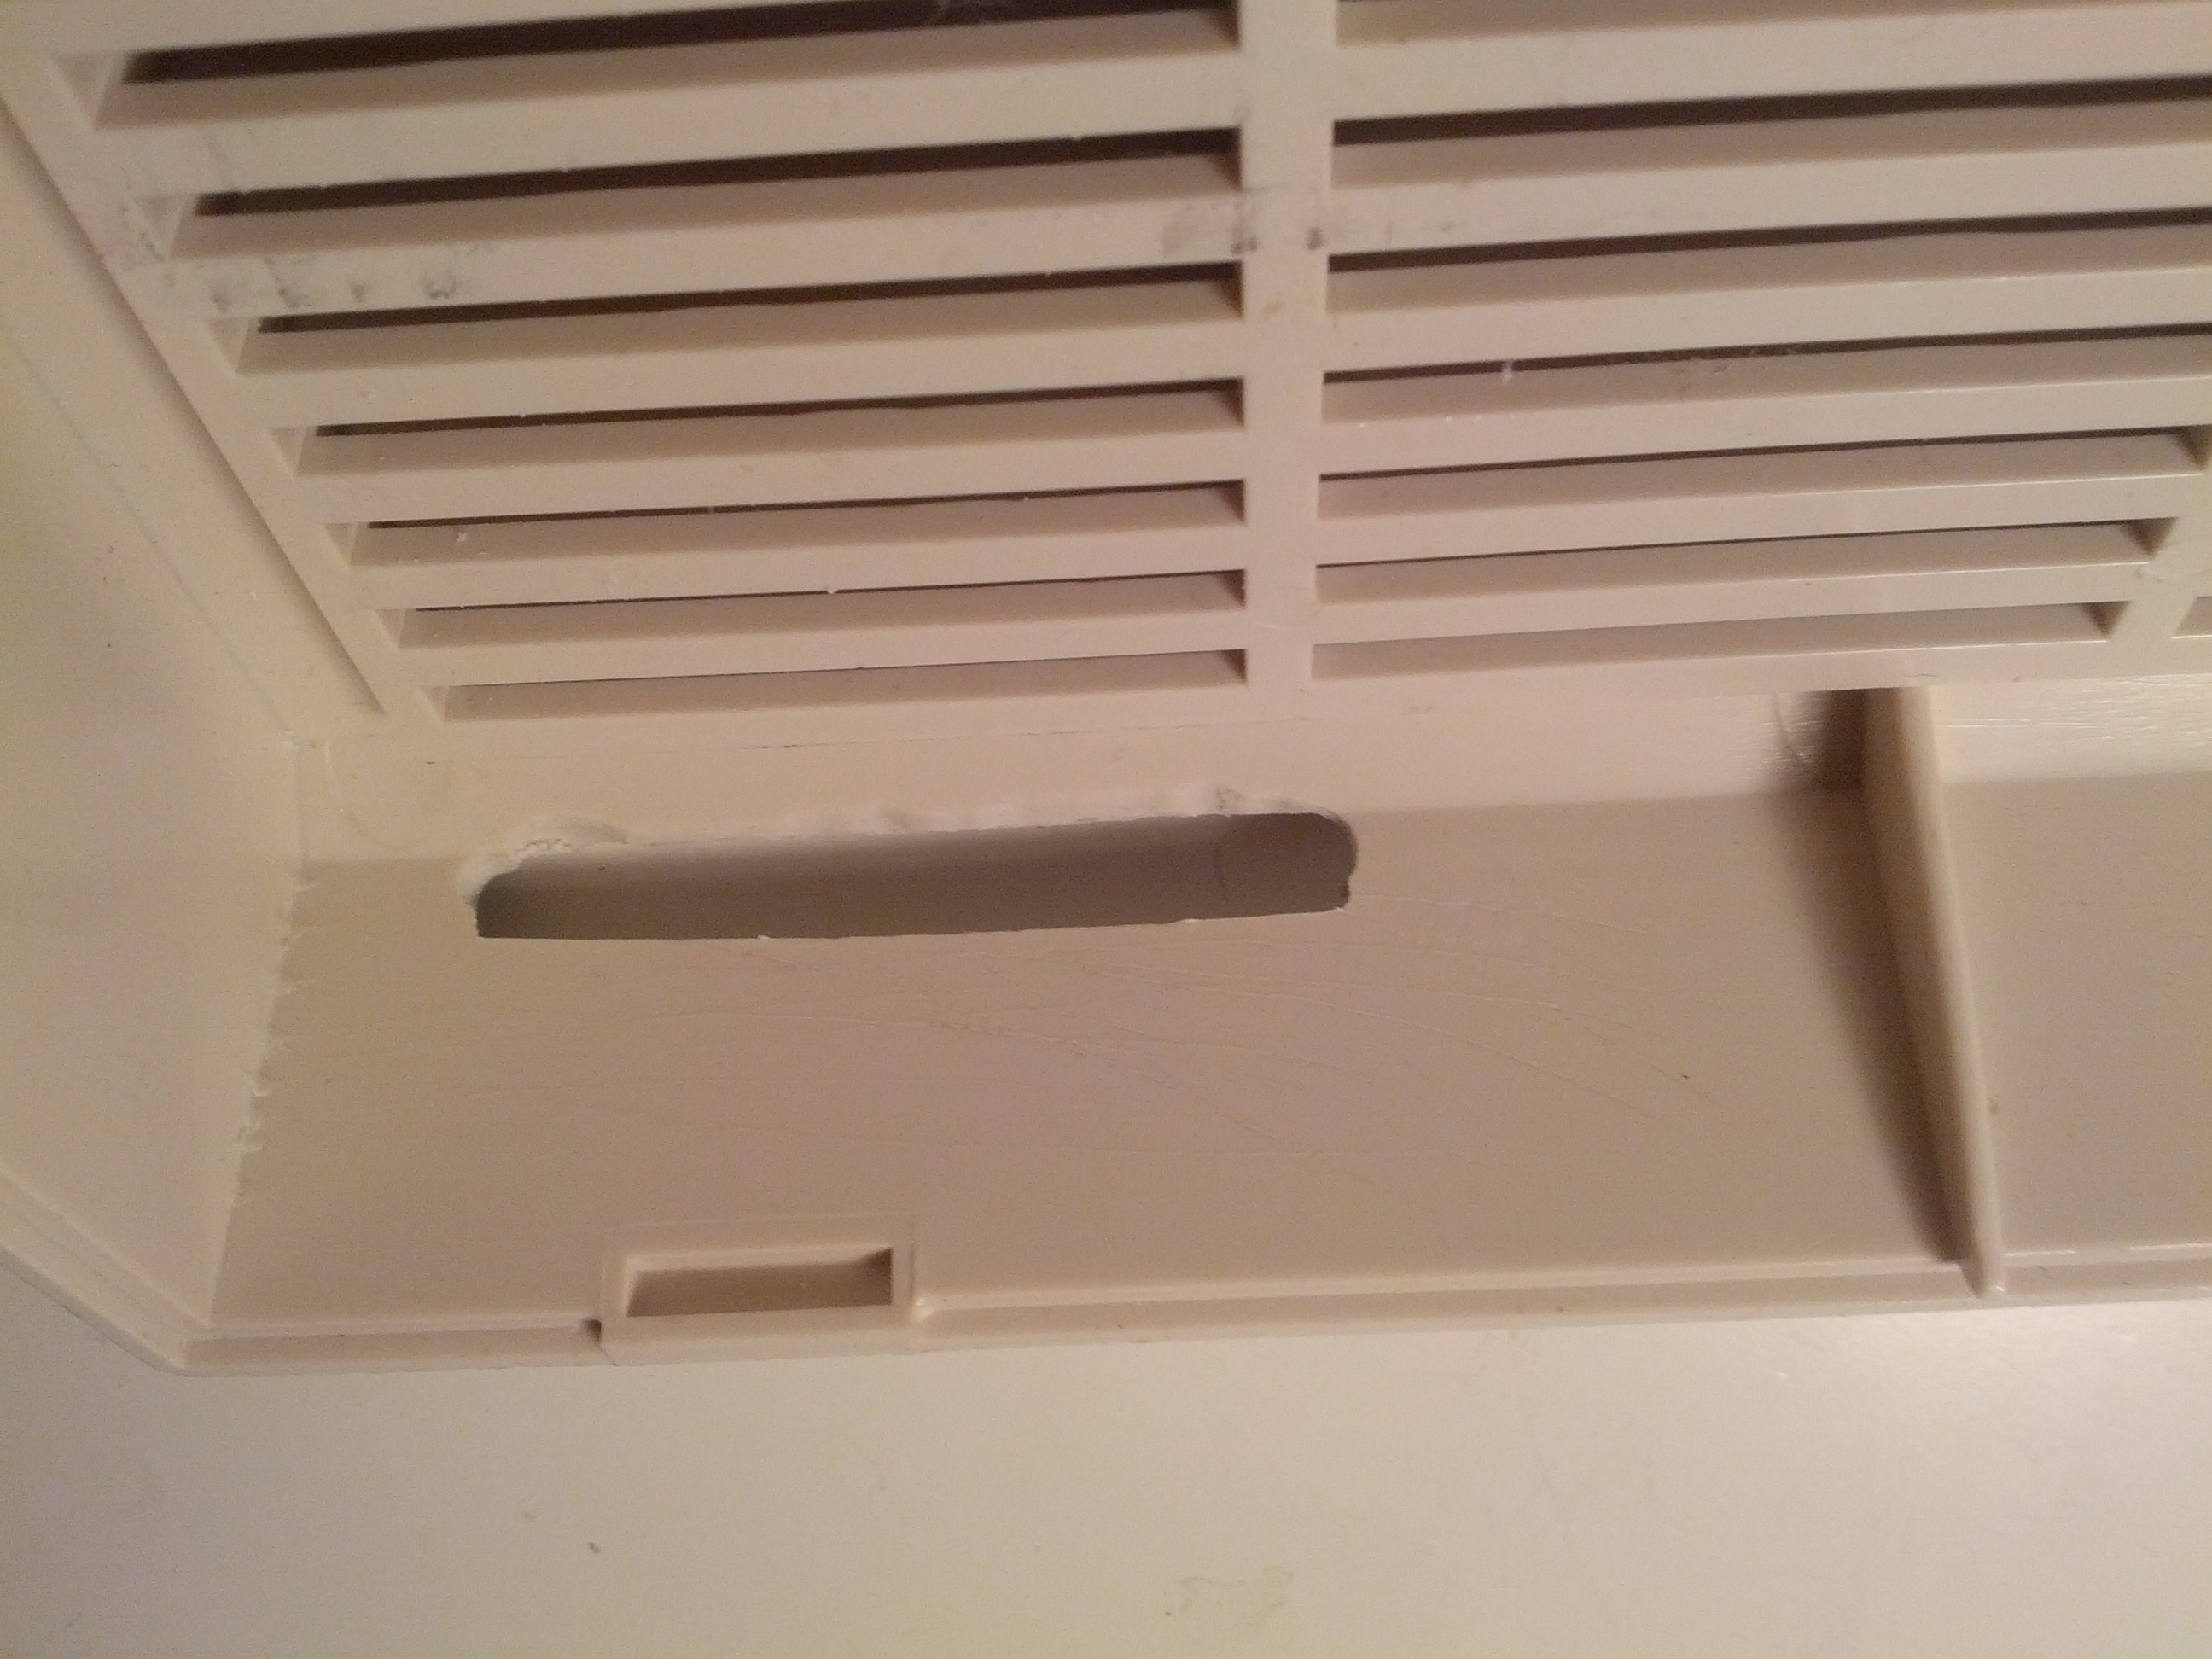
So diskdrive is done, now for my CF drive. I wanted one internal CF card for my 16GB card that will contain my main files etc. but also wanted the possability of using extra CF cards. So I made a mod to the case so I can add a CF easy as my pcmcia port will be occupied of a networkcard CF is not an option.

Now I just had to add the CF adapters
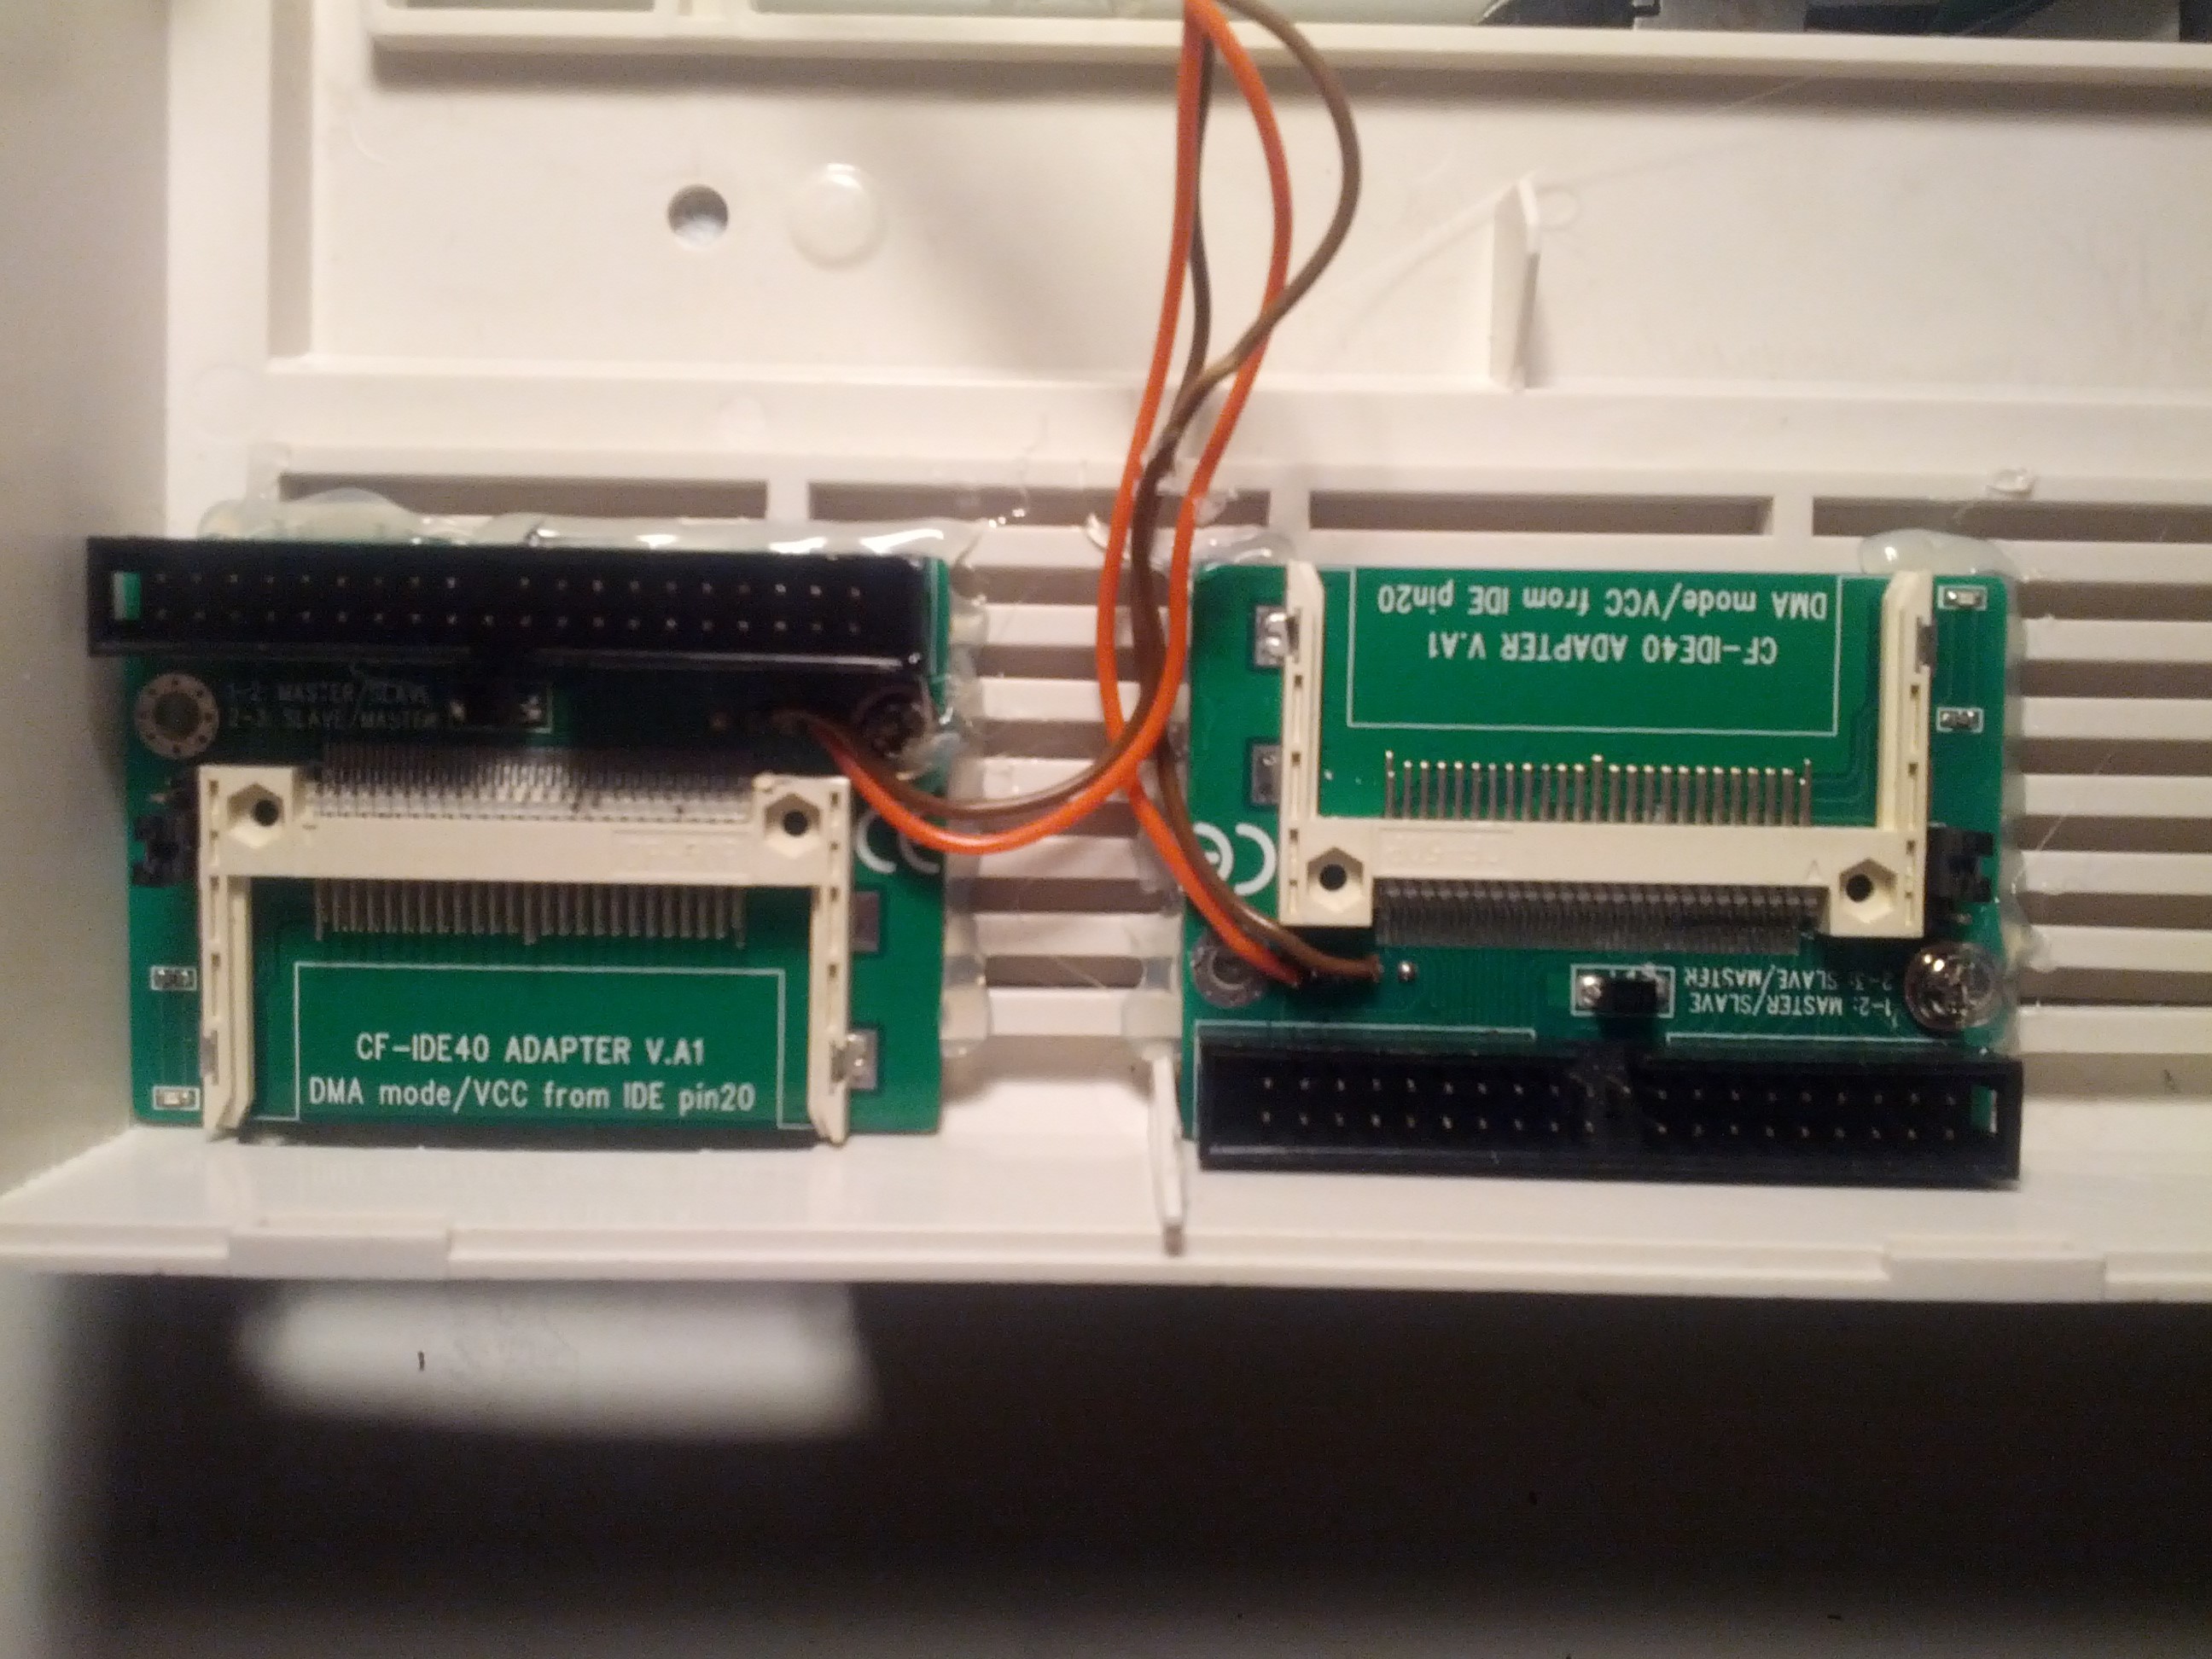
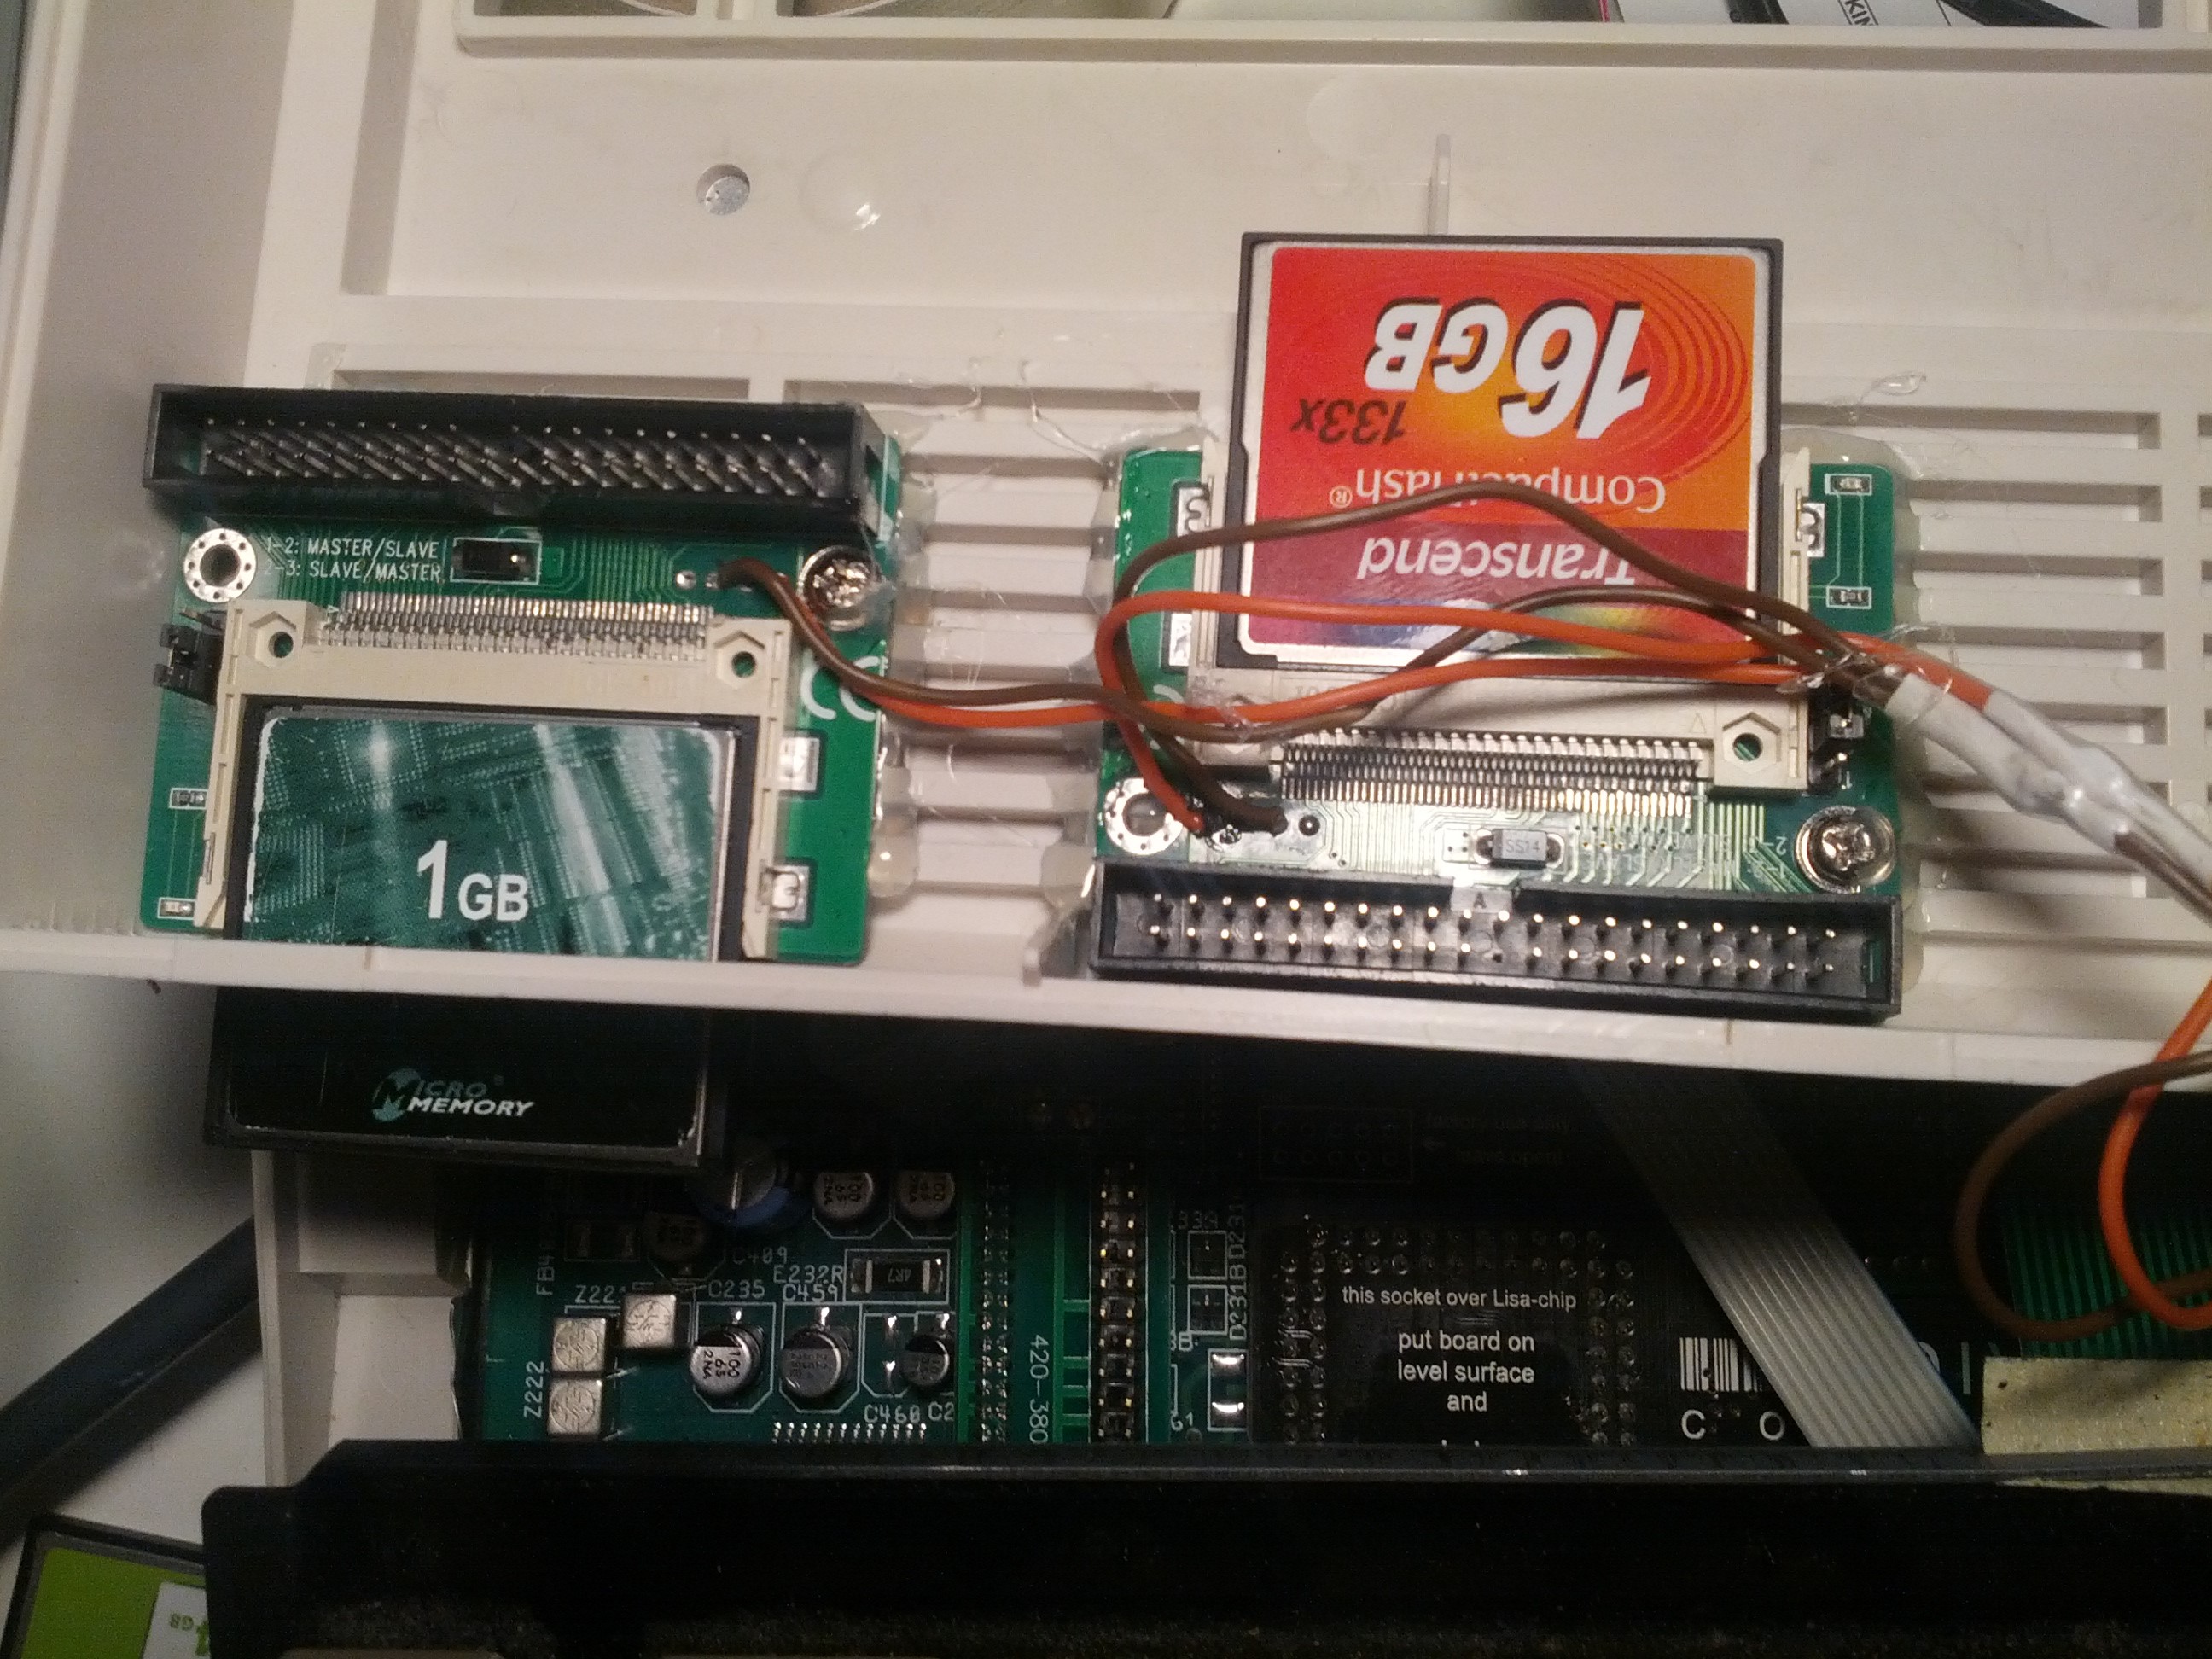
I hotglued them into place and a screw to make it stable when inserting cards.
I was unable to find a fitting IDE cable for this. But, making a own cable is not that hard.

Finally. Storge done.
Now time to mount everything.
first stuff everything that should go under the floppydrive:
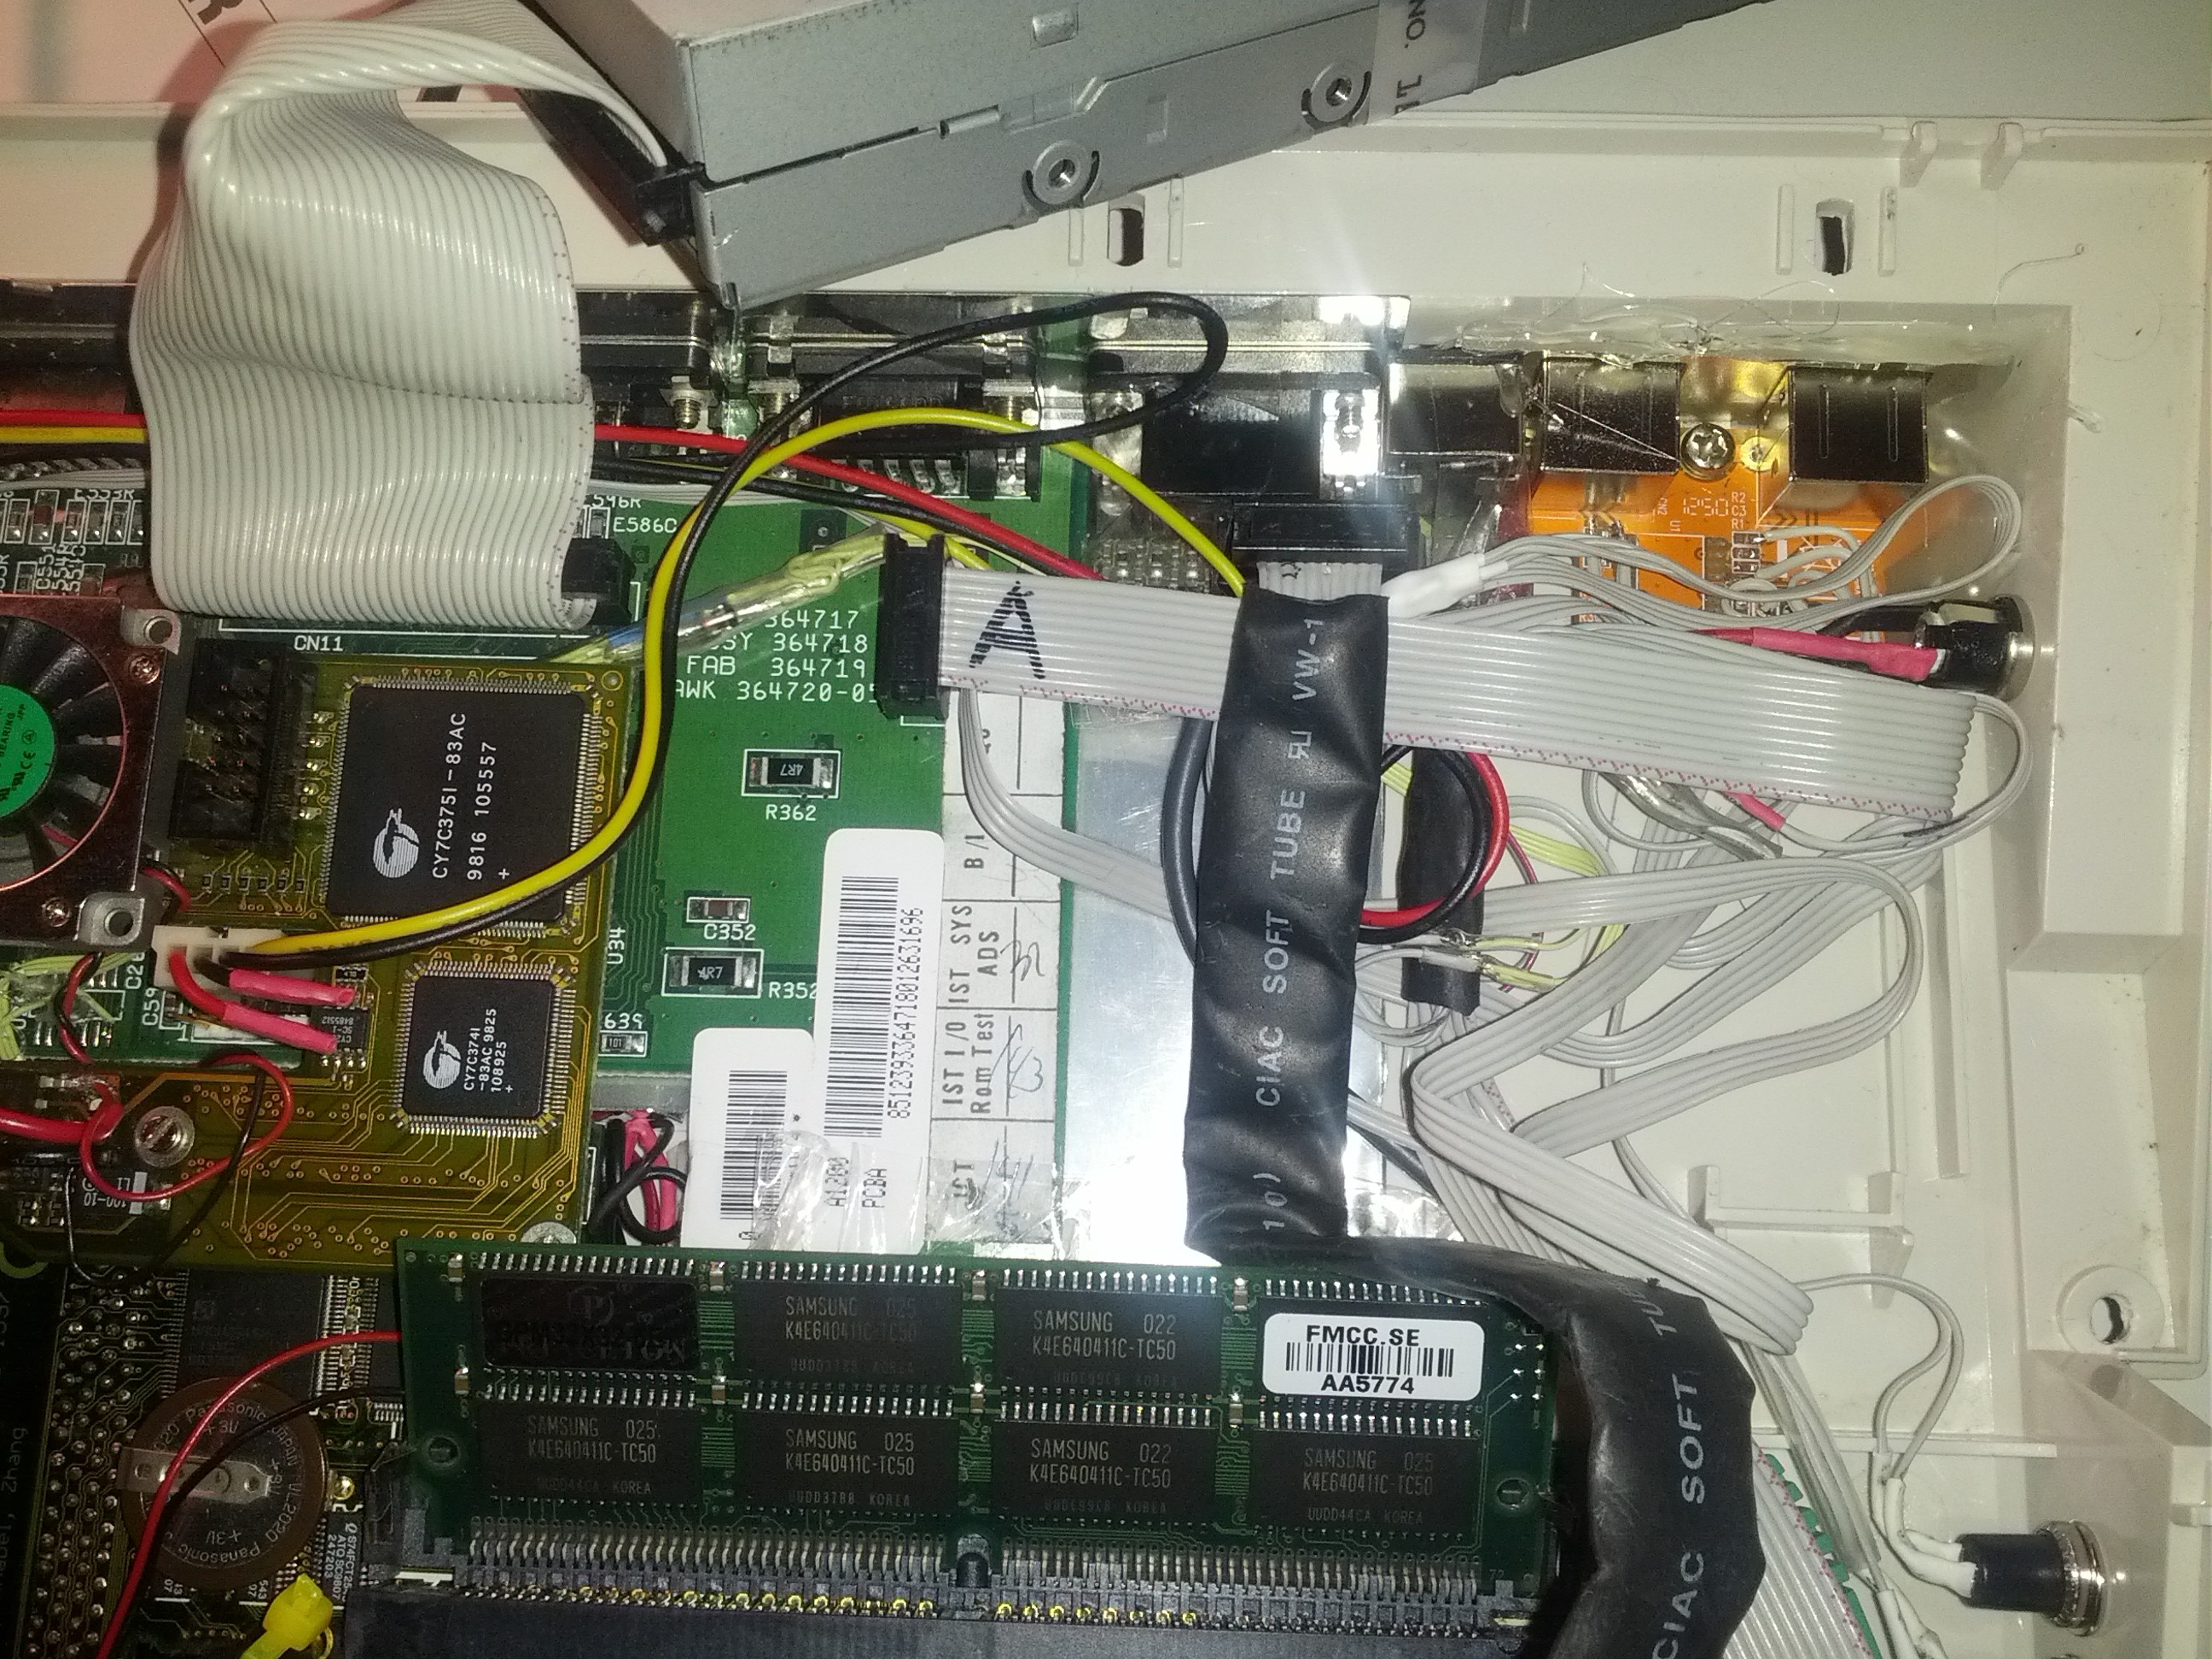
quite packed. So.. Add the floppy and powercables:
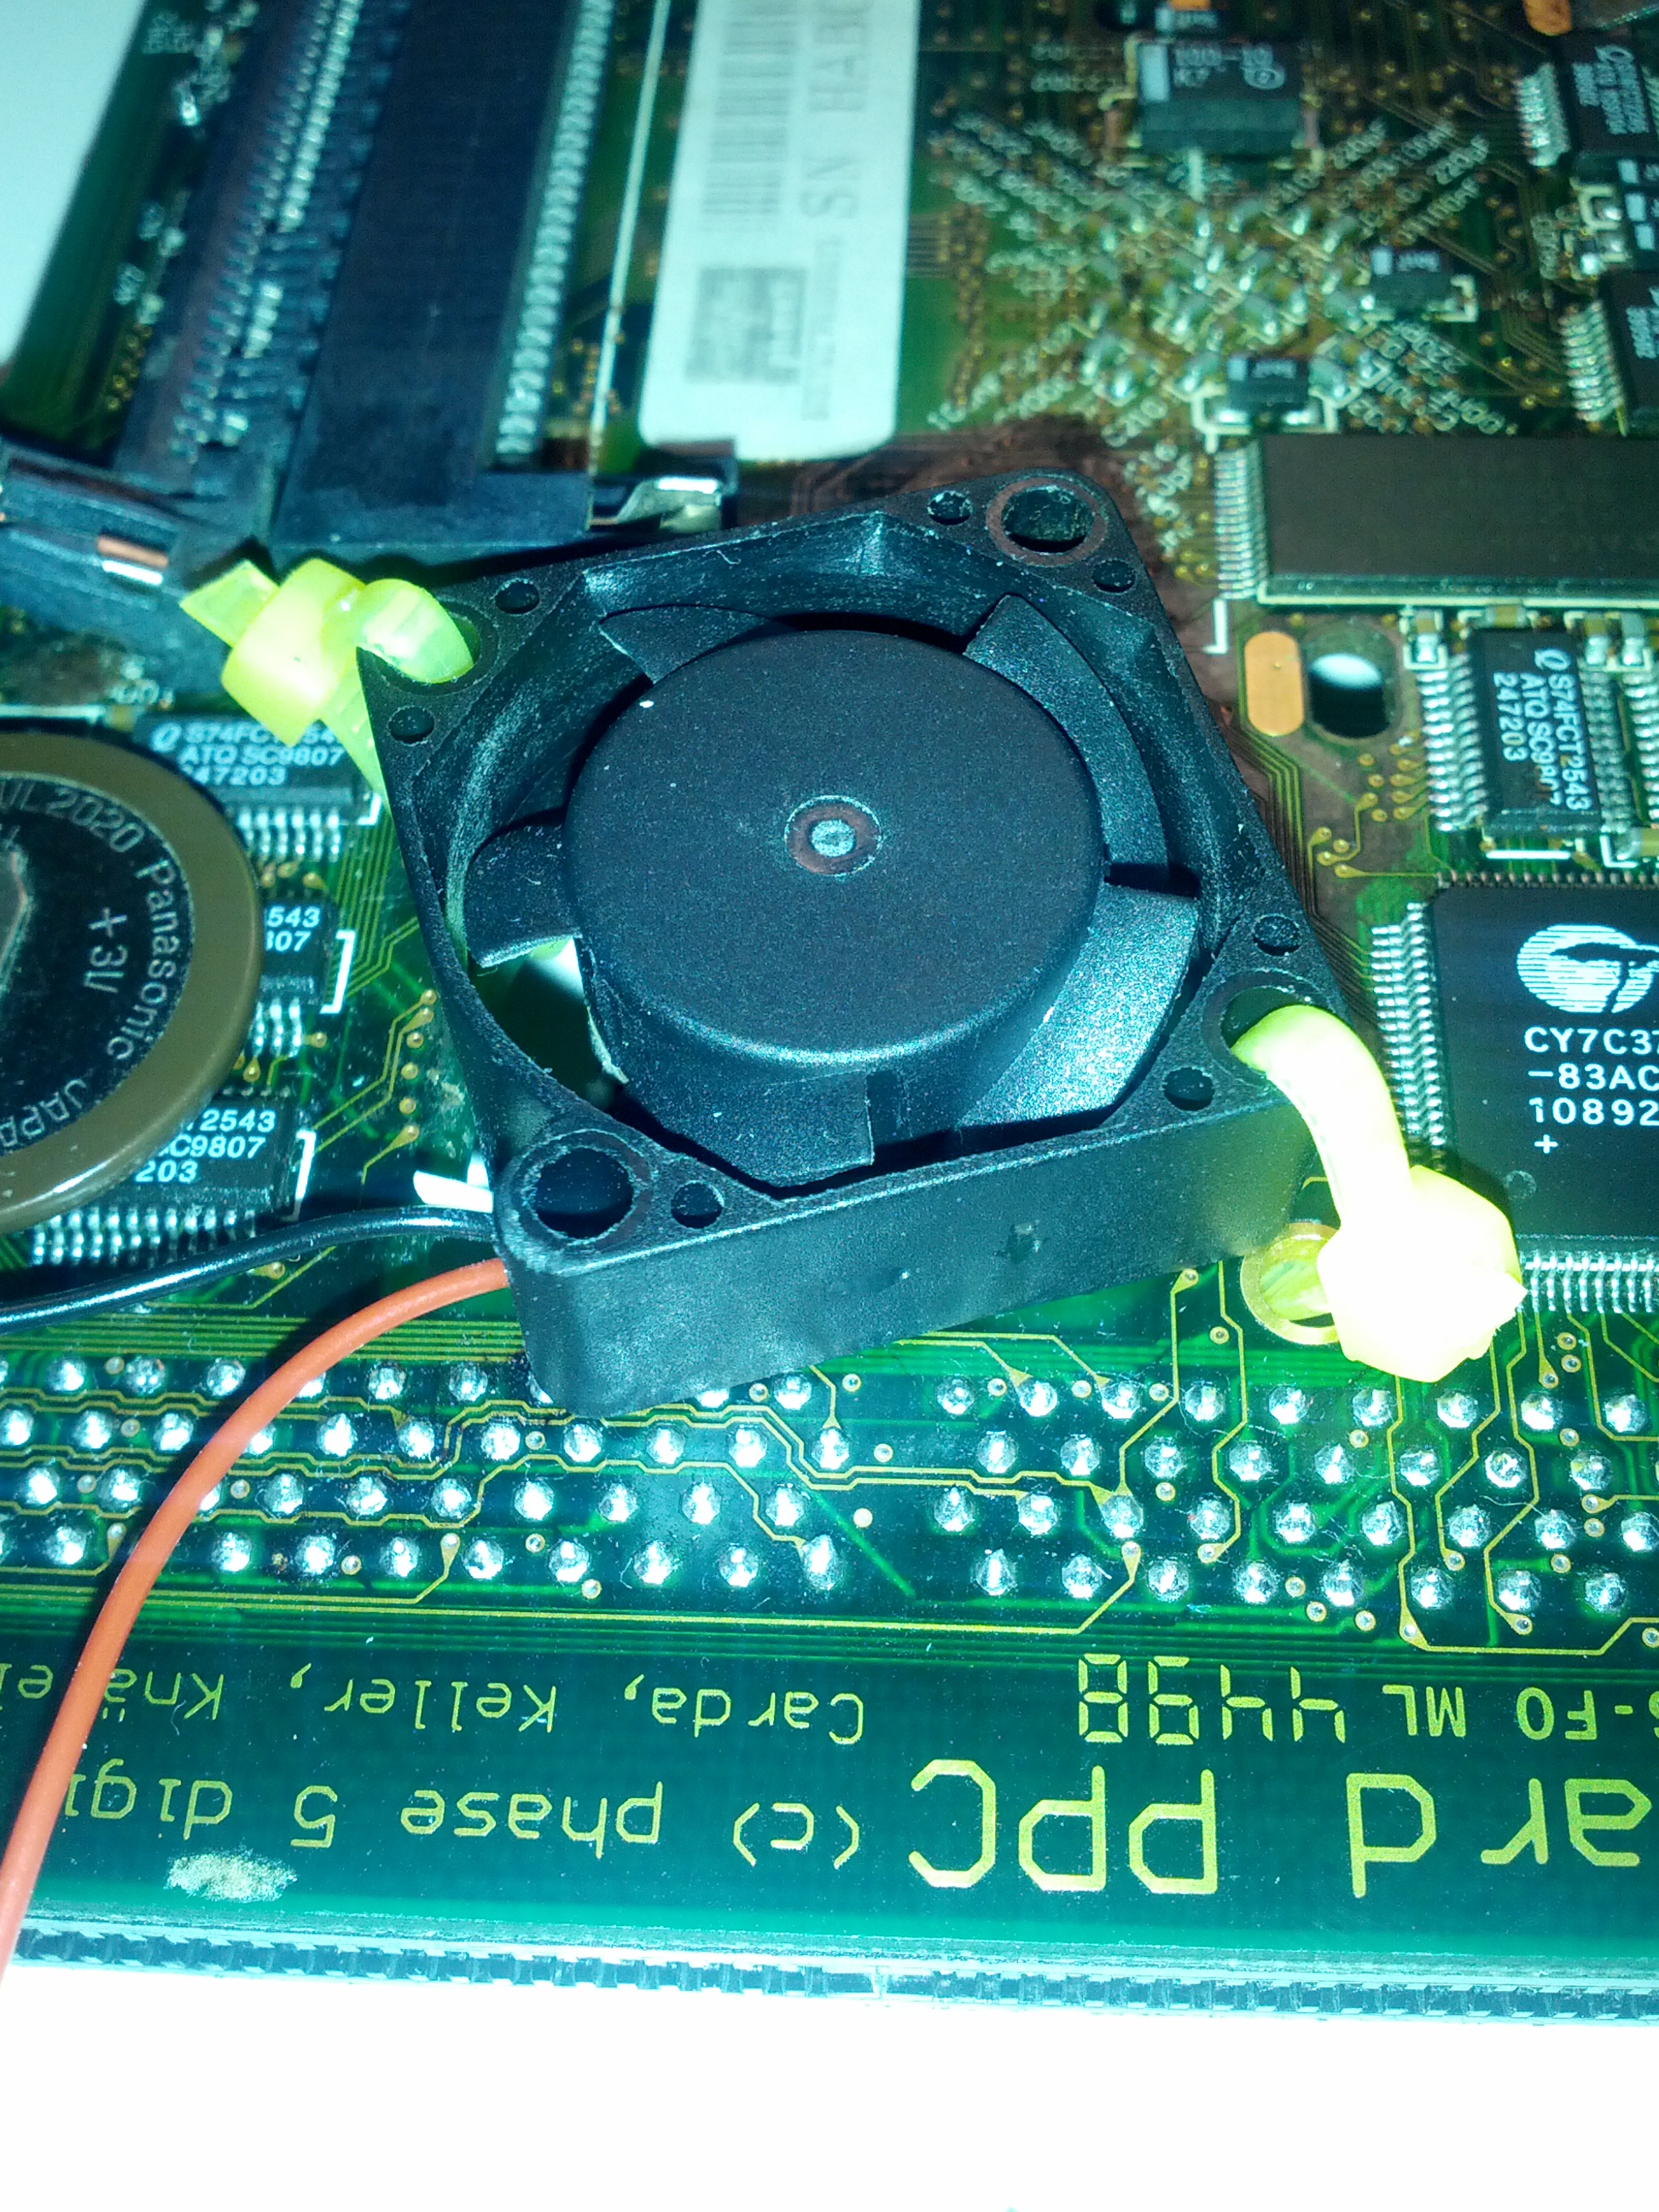
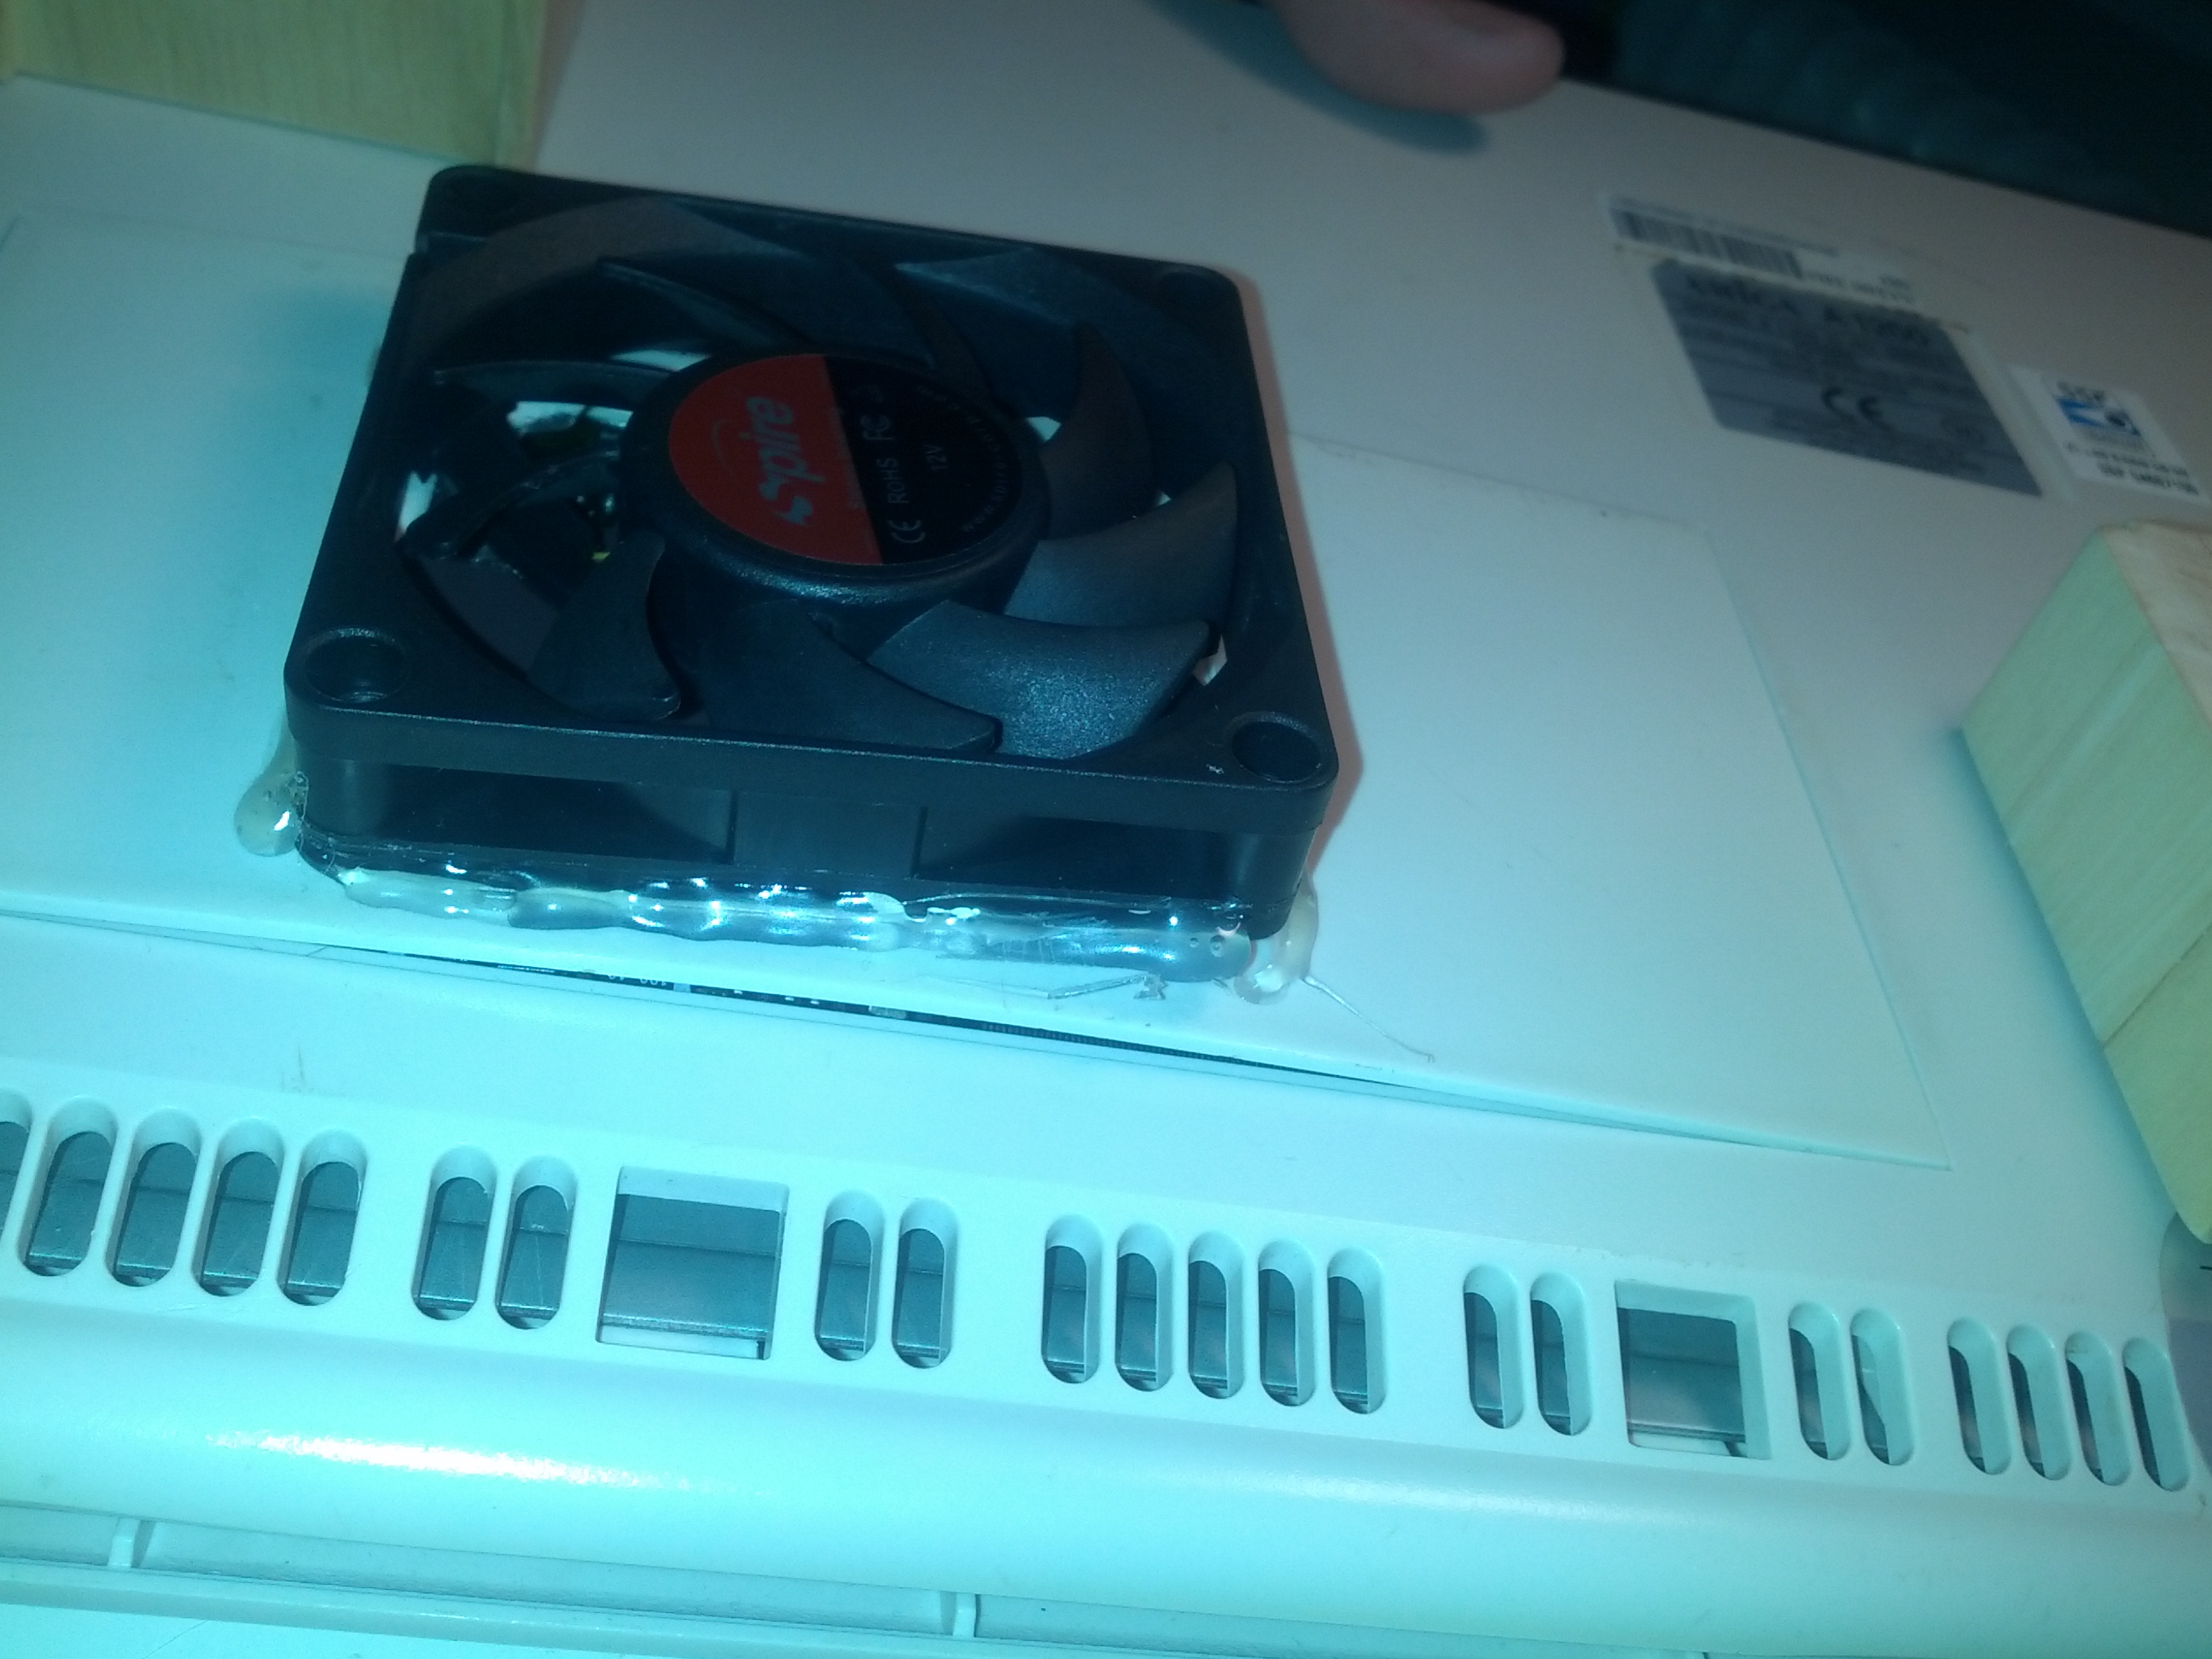
But now. when I tried to put in the keyboard, something was lifting it. And I did notice that the small fan on the BPPC is mounted by stripes.

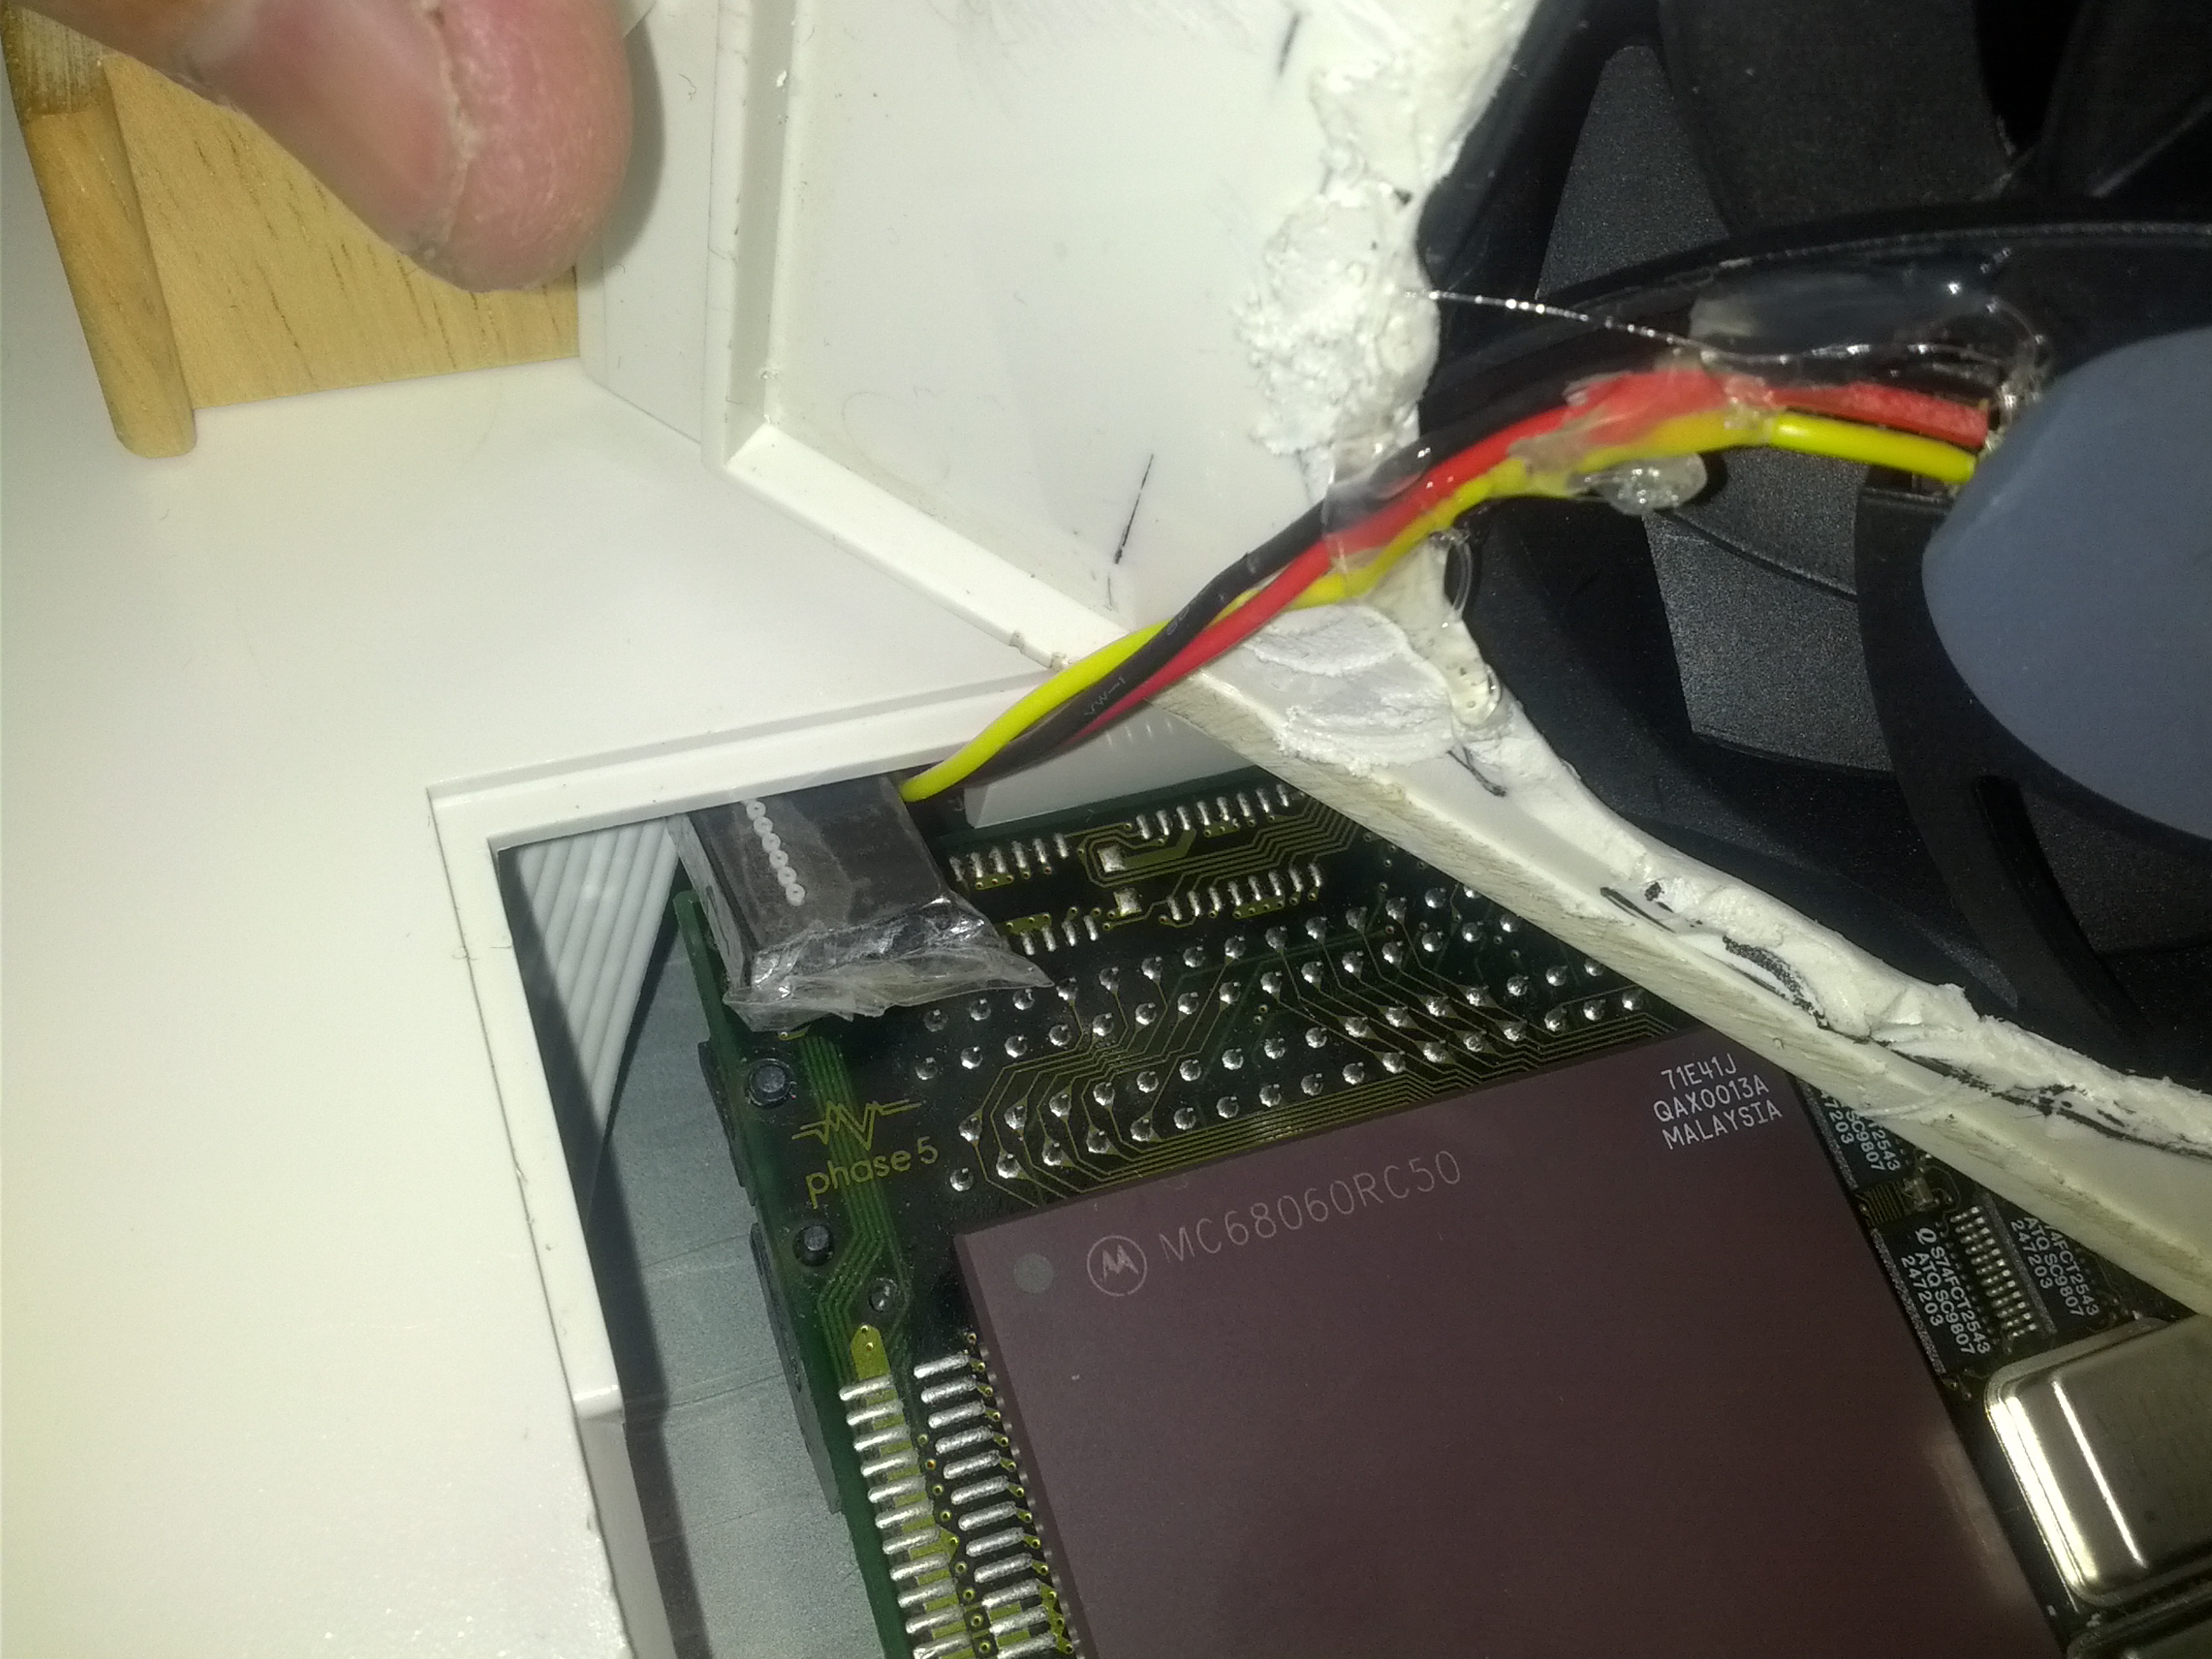
So I had to cut them. I forgot to take a photo before I cut the first one, but here. as you can see on the top of the fan the stripe is on the top of the fan. actually touching the keyboard. So I had to change that. so cut off the stripes and put in new ones.
by doing this I had to remove the CPU cooler.

So why not take a photo of the PPC CPU that is replaced. If you look at the first pictures you could see the unsoldered CPU, this is in a different size so guess there was pads on the board for both types of CPU.
Anyway. new stripes:
NOW I will be able to close the keyboard. NOW remembering my dead 128MB simm. I checked more. and yes. the keyboard will be VERY VERY close to the other simm. So, more tape to the rescue to insulate the keyboard:

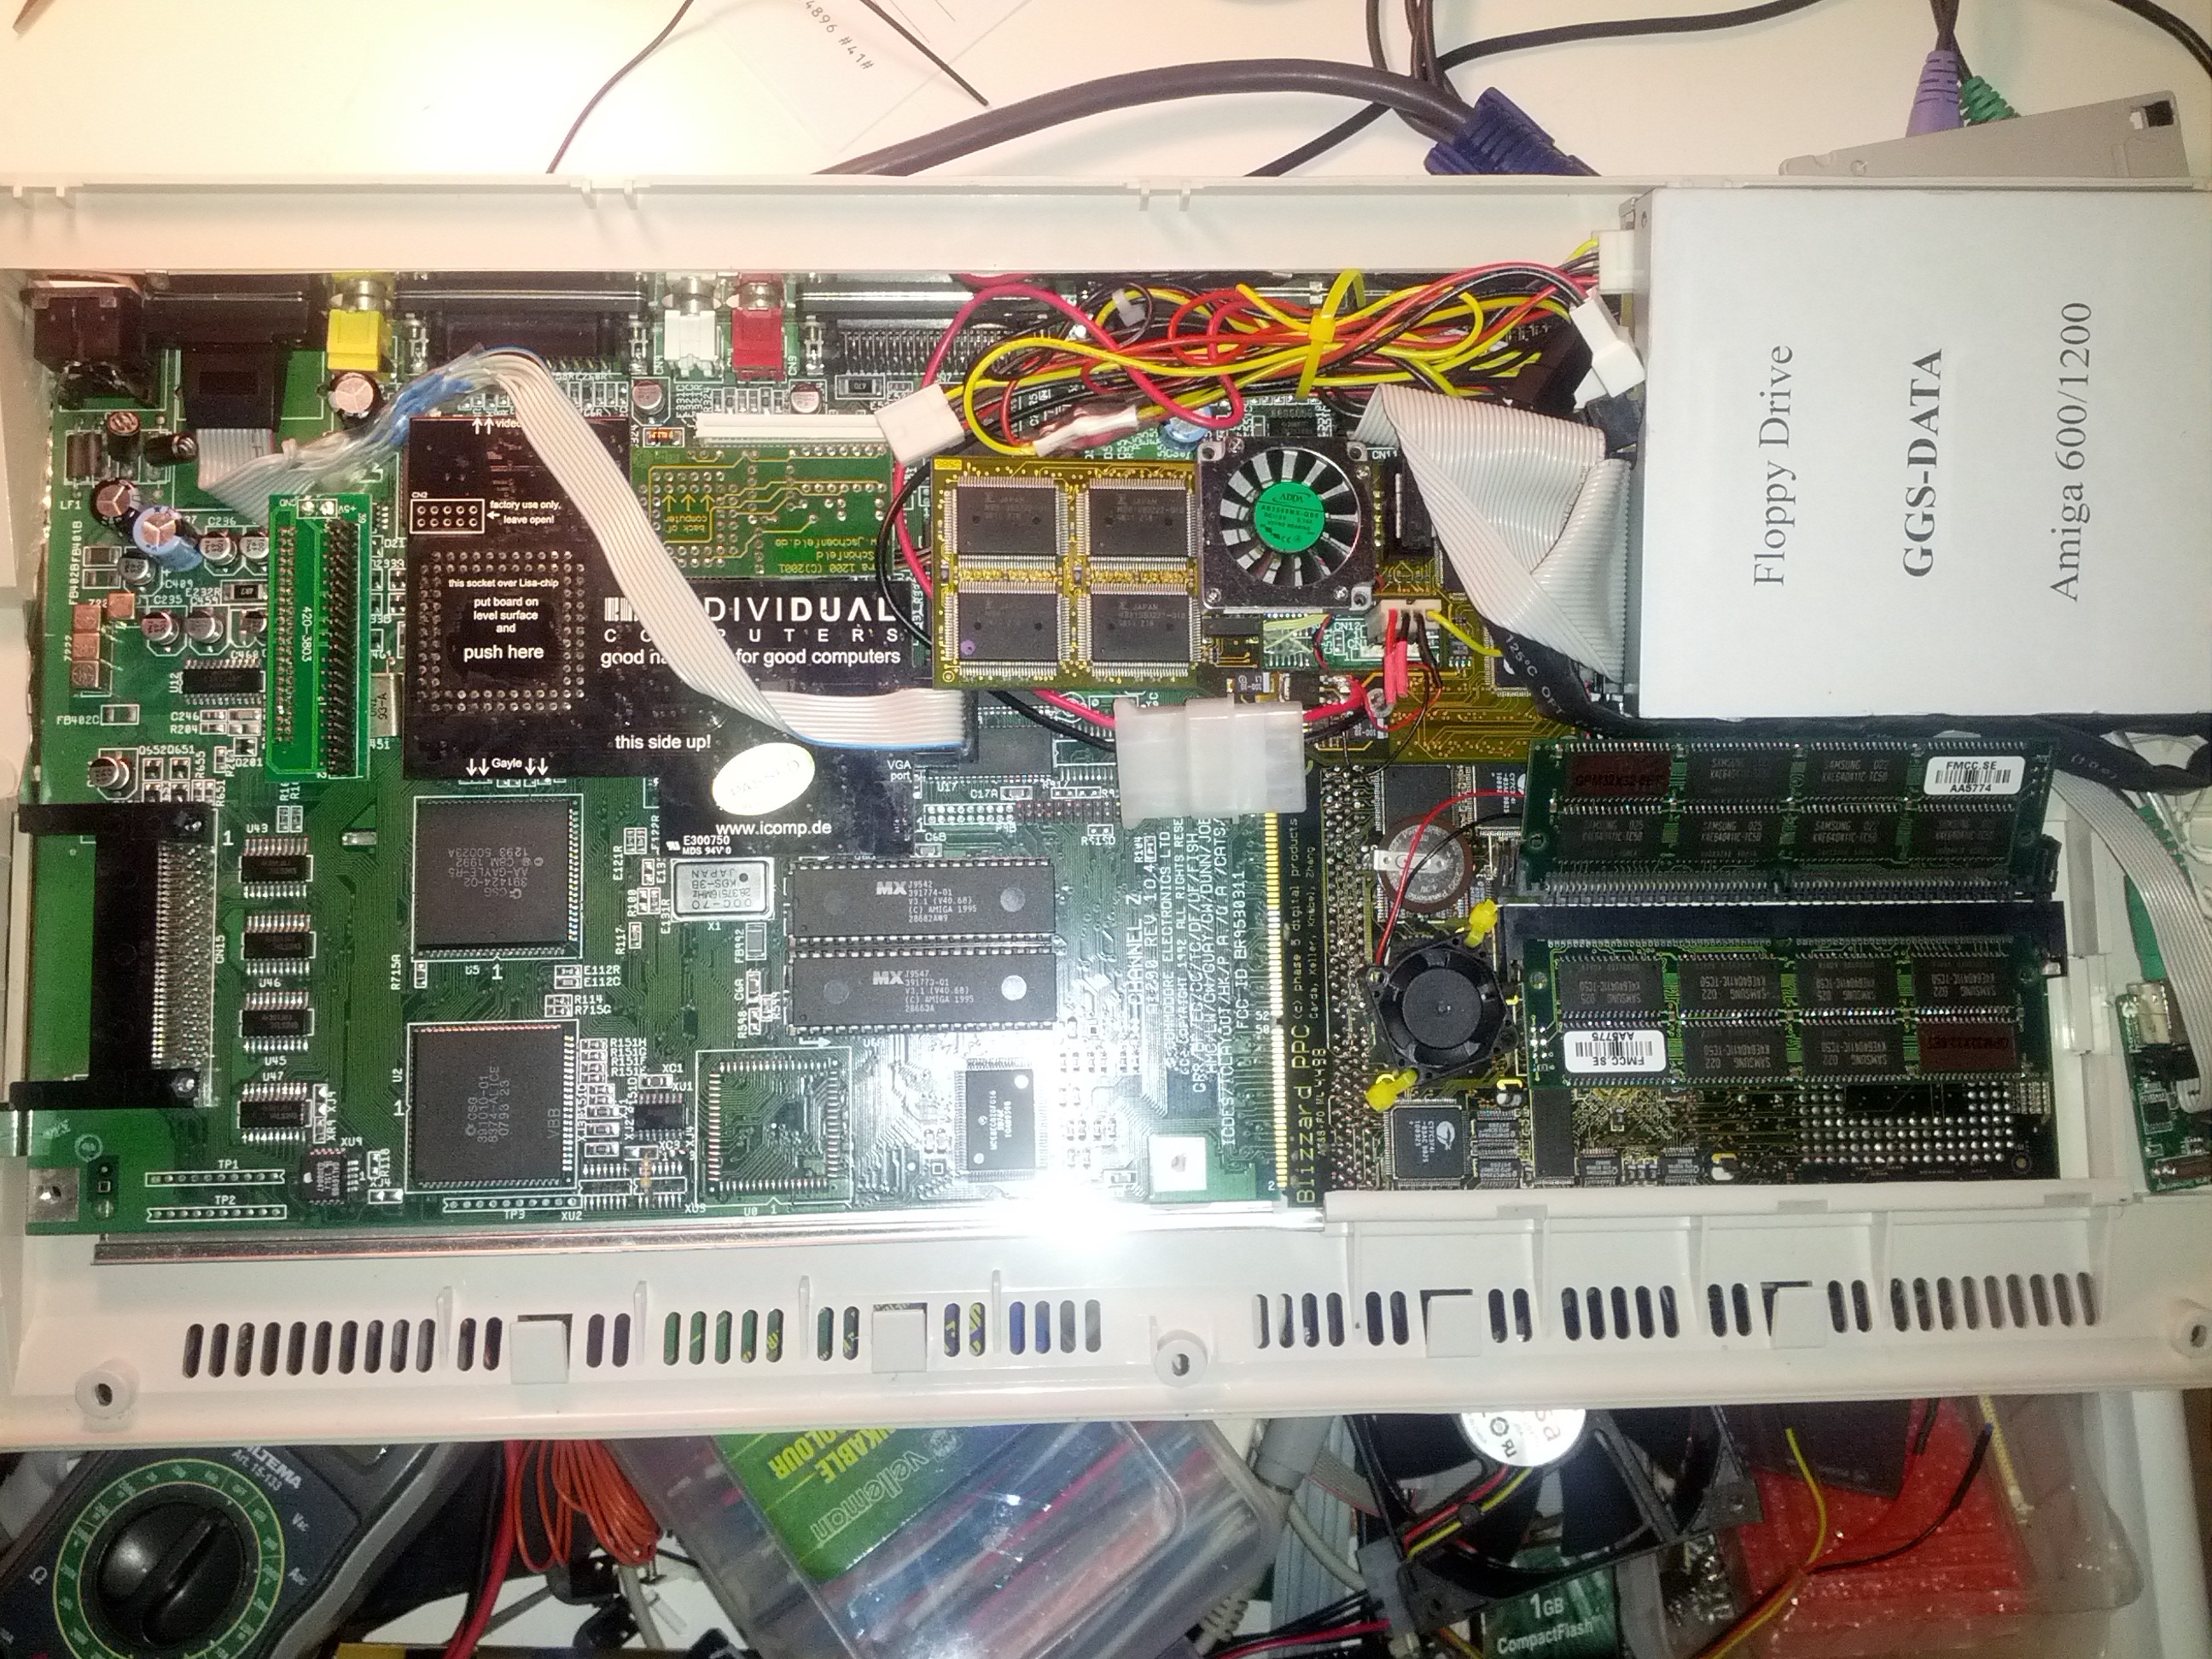
Now put all together.
but.. before putting in all screws I notived. the trapdoor often falls out. looking on the bottomside of the Amiga I notice:
This is a very bad fit. but I notived that I could improve that by lifting the BPPC card some with a small plastic connector (insulated)
Now it fits some better:
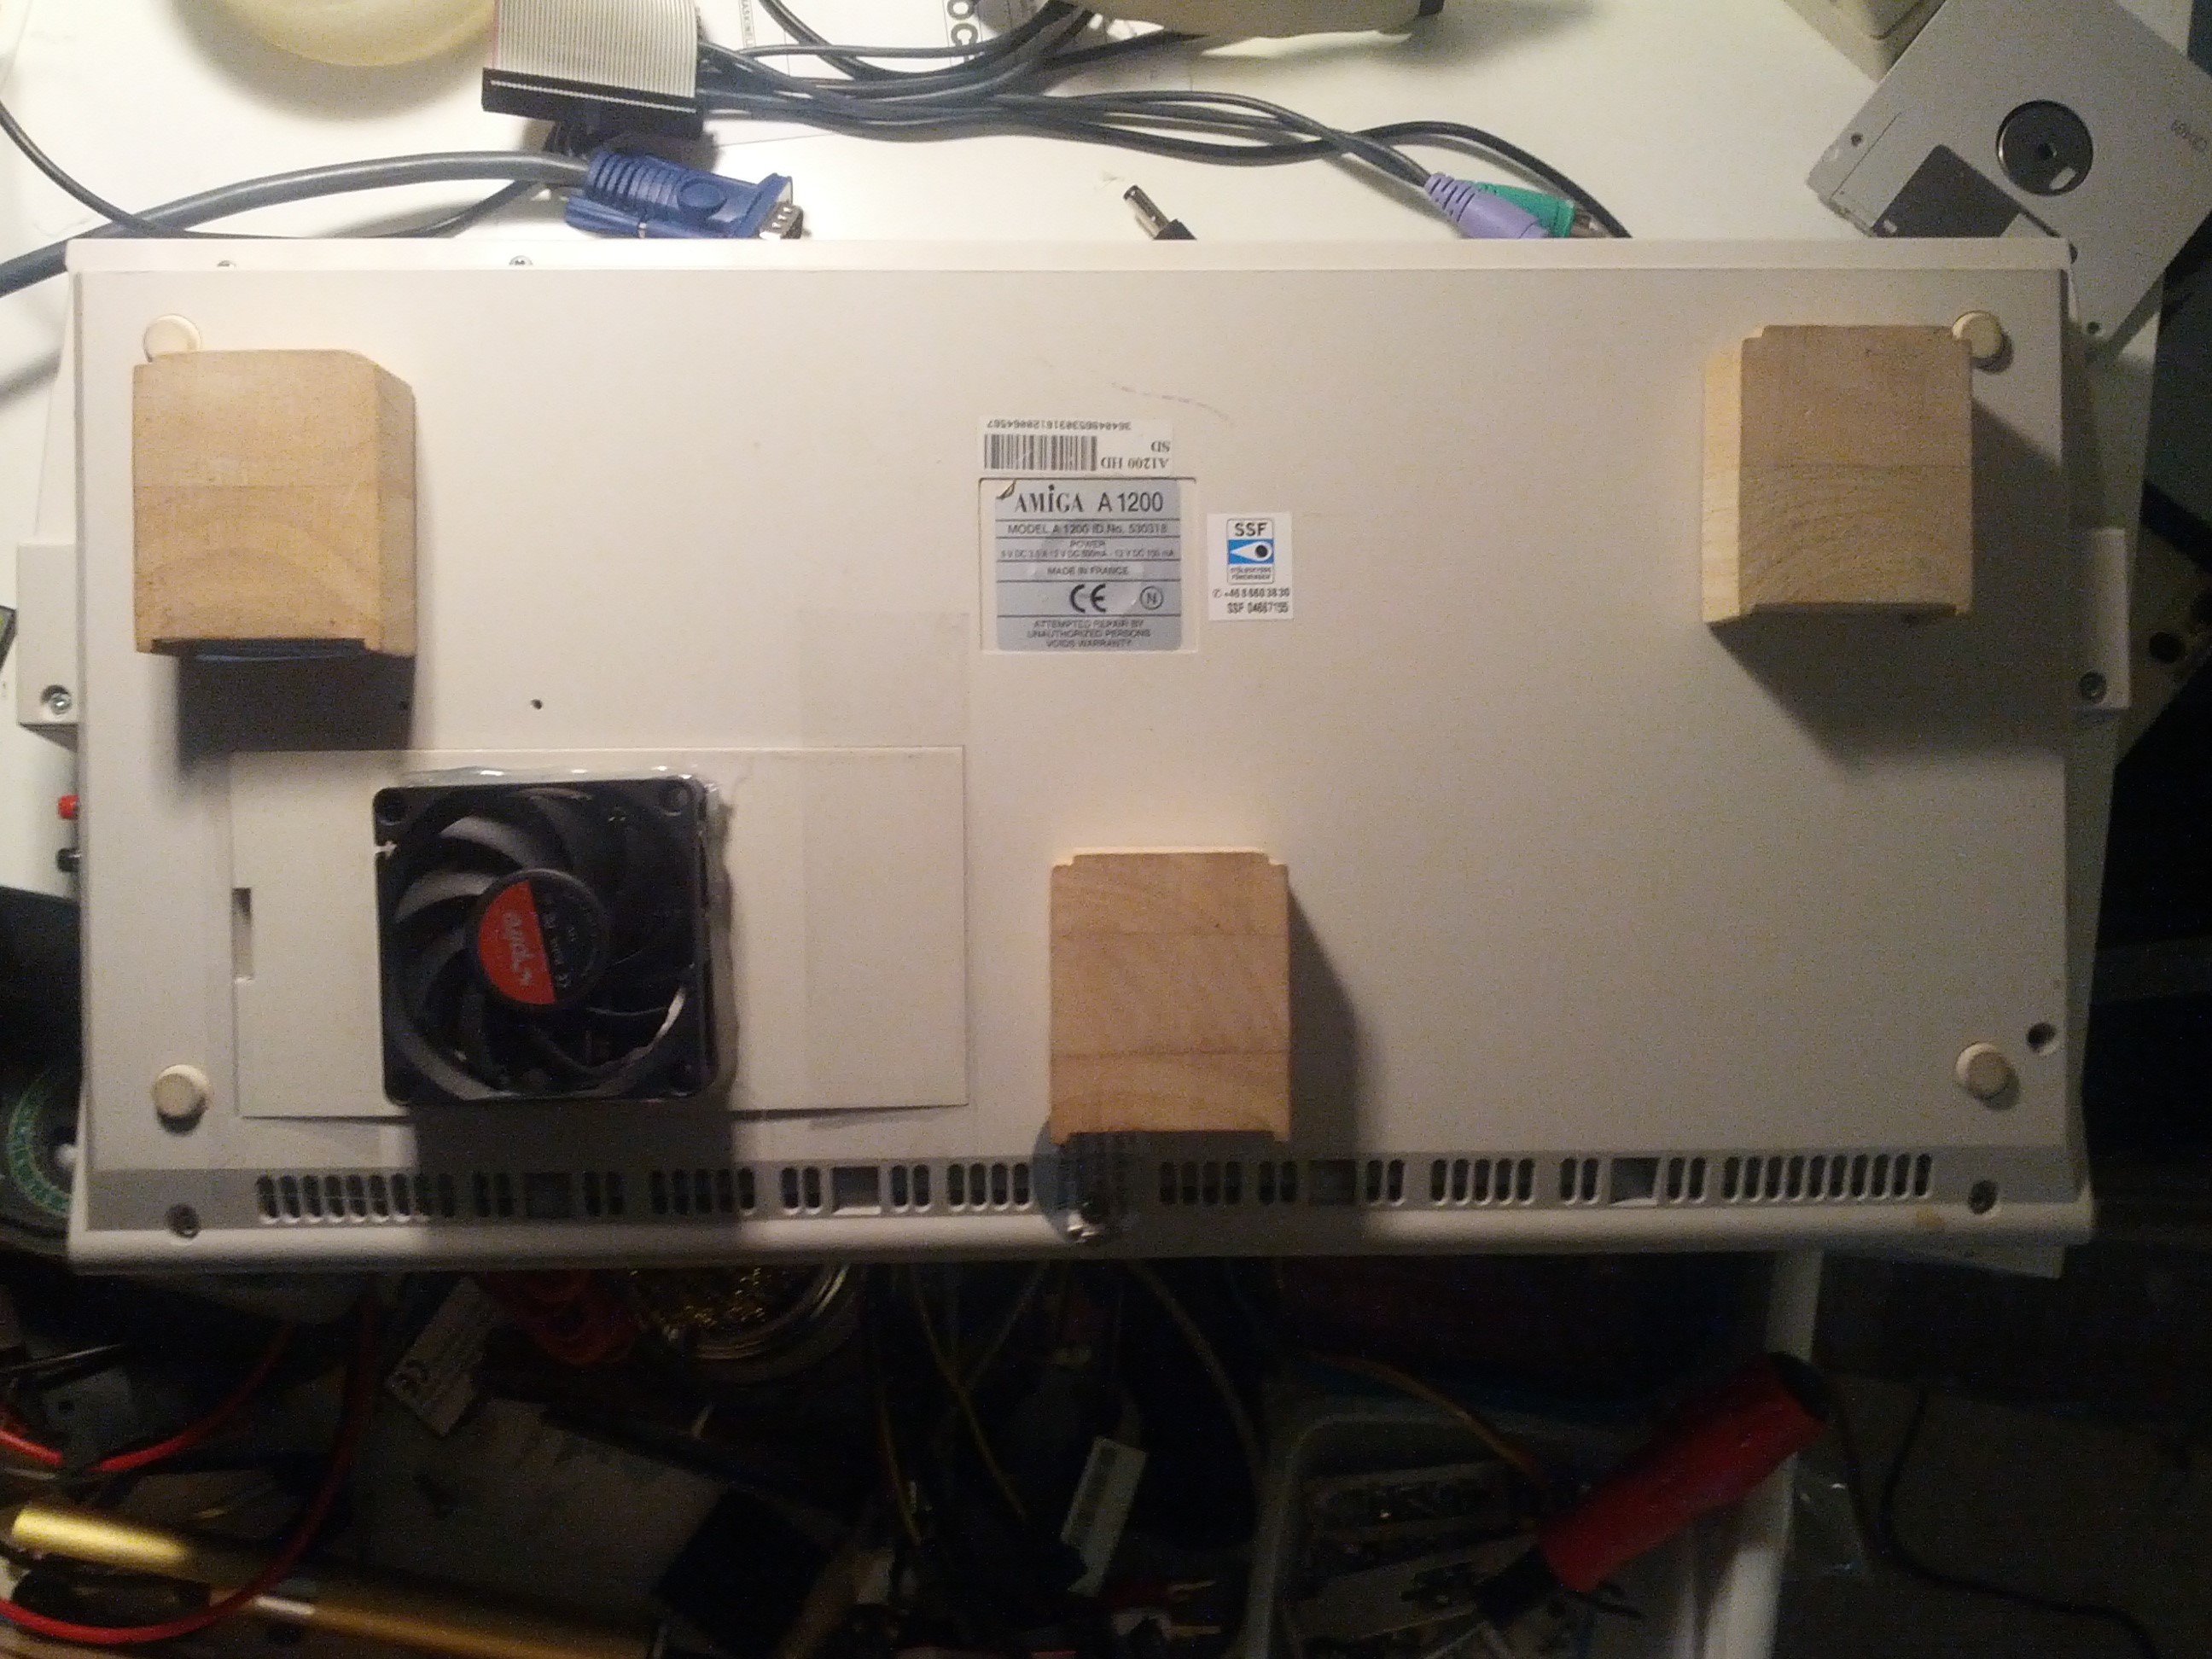
But YES I cheated some with extra tape. not one of my proudest moments. Anyway now hhe machine is a desktop machine:
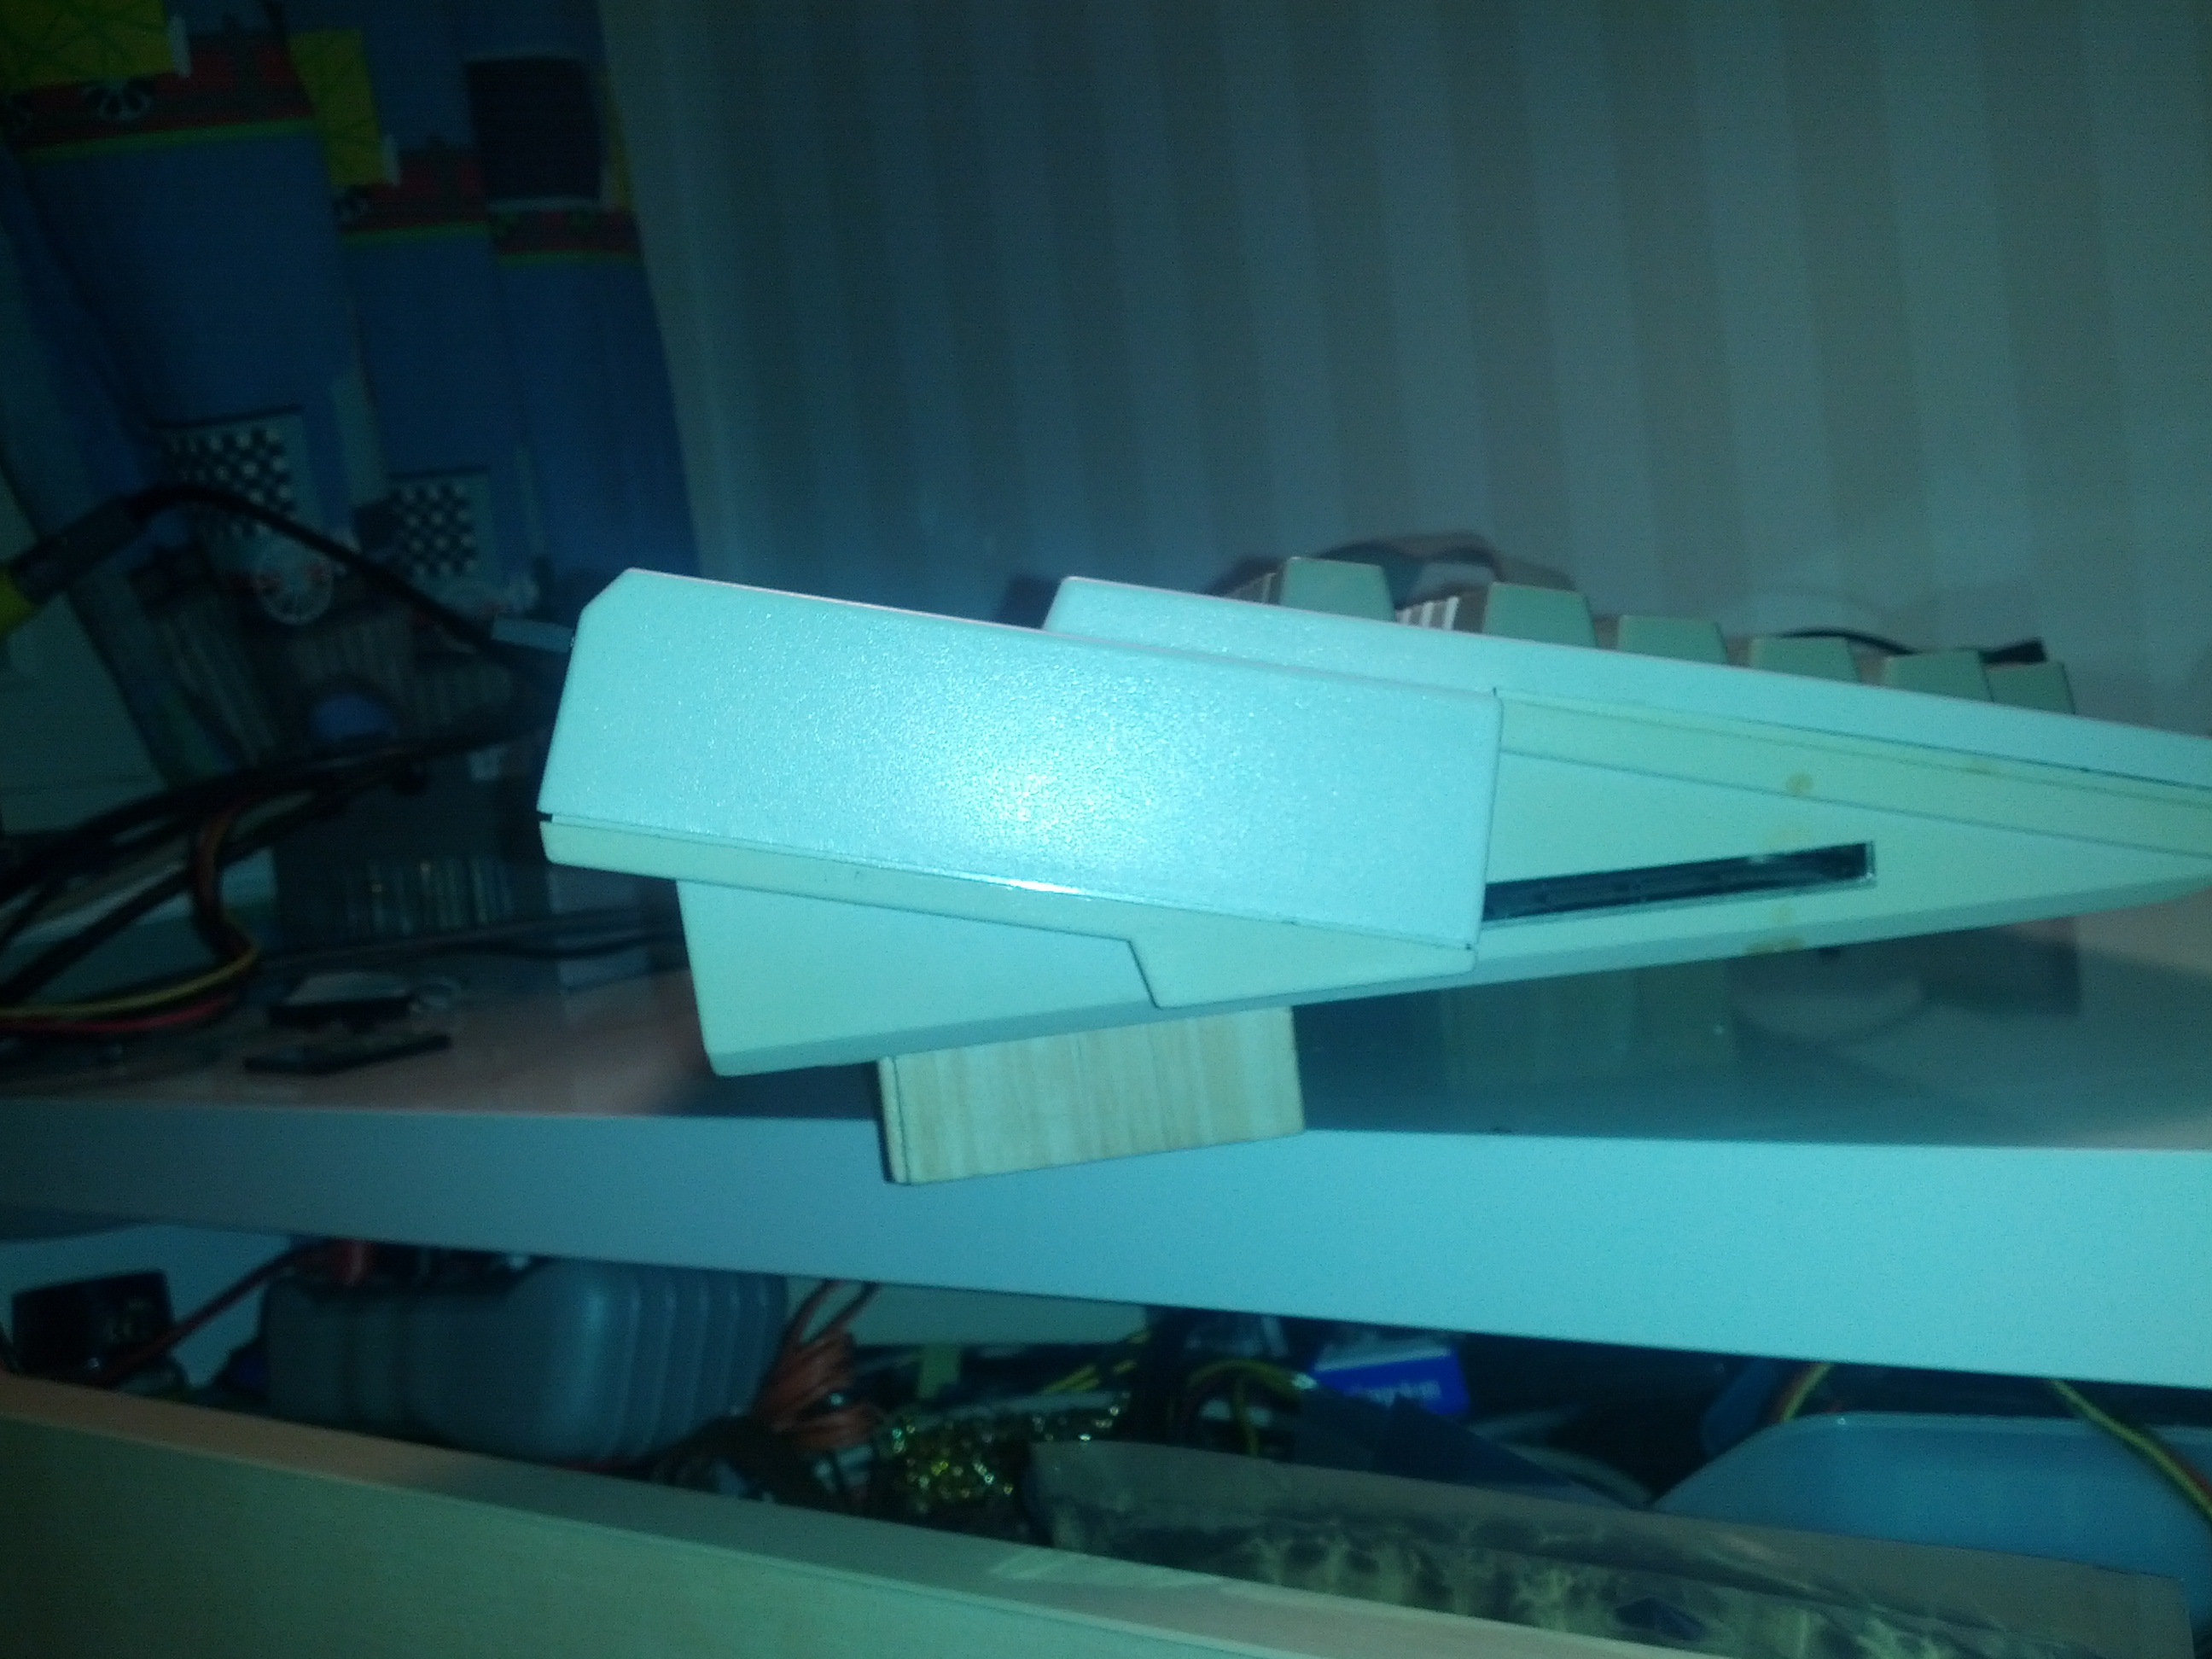
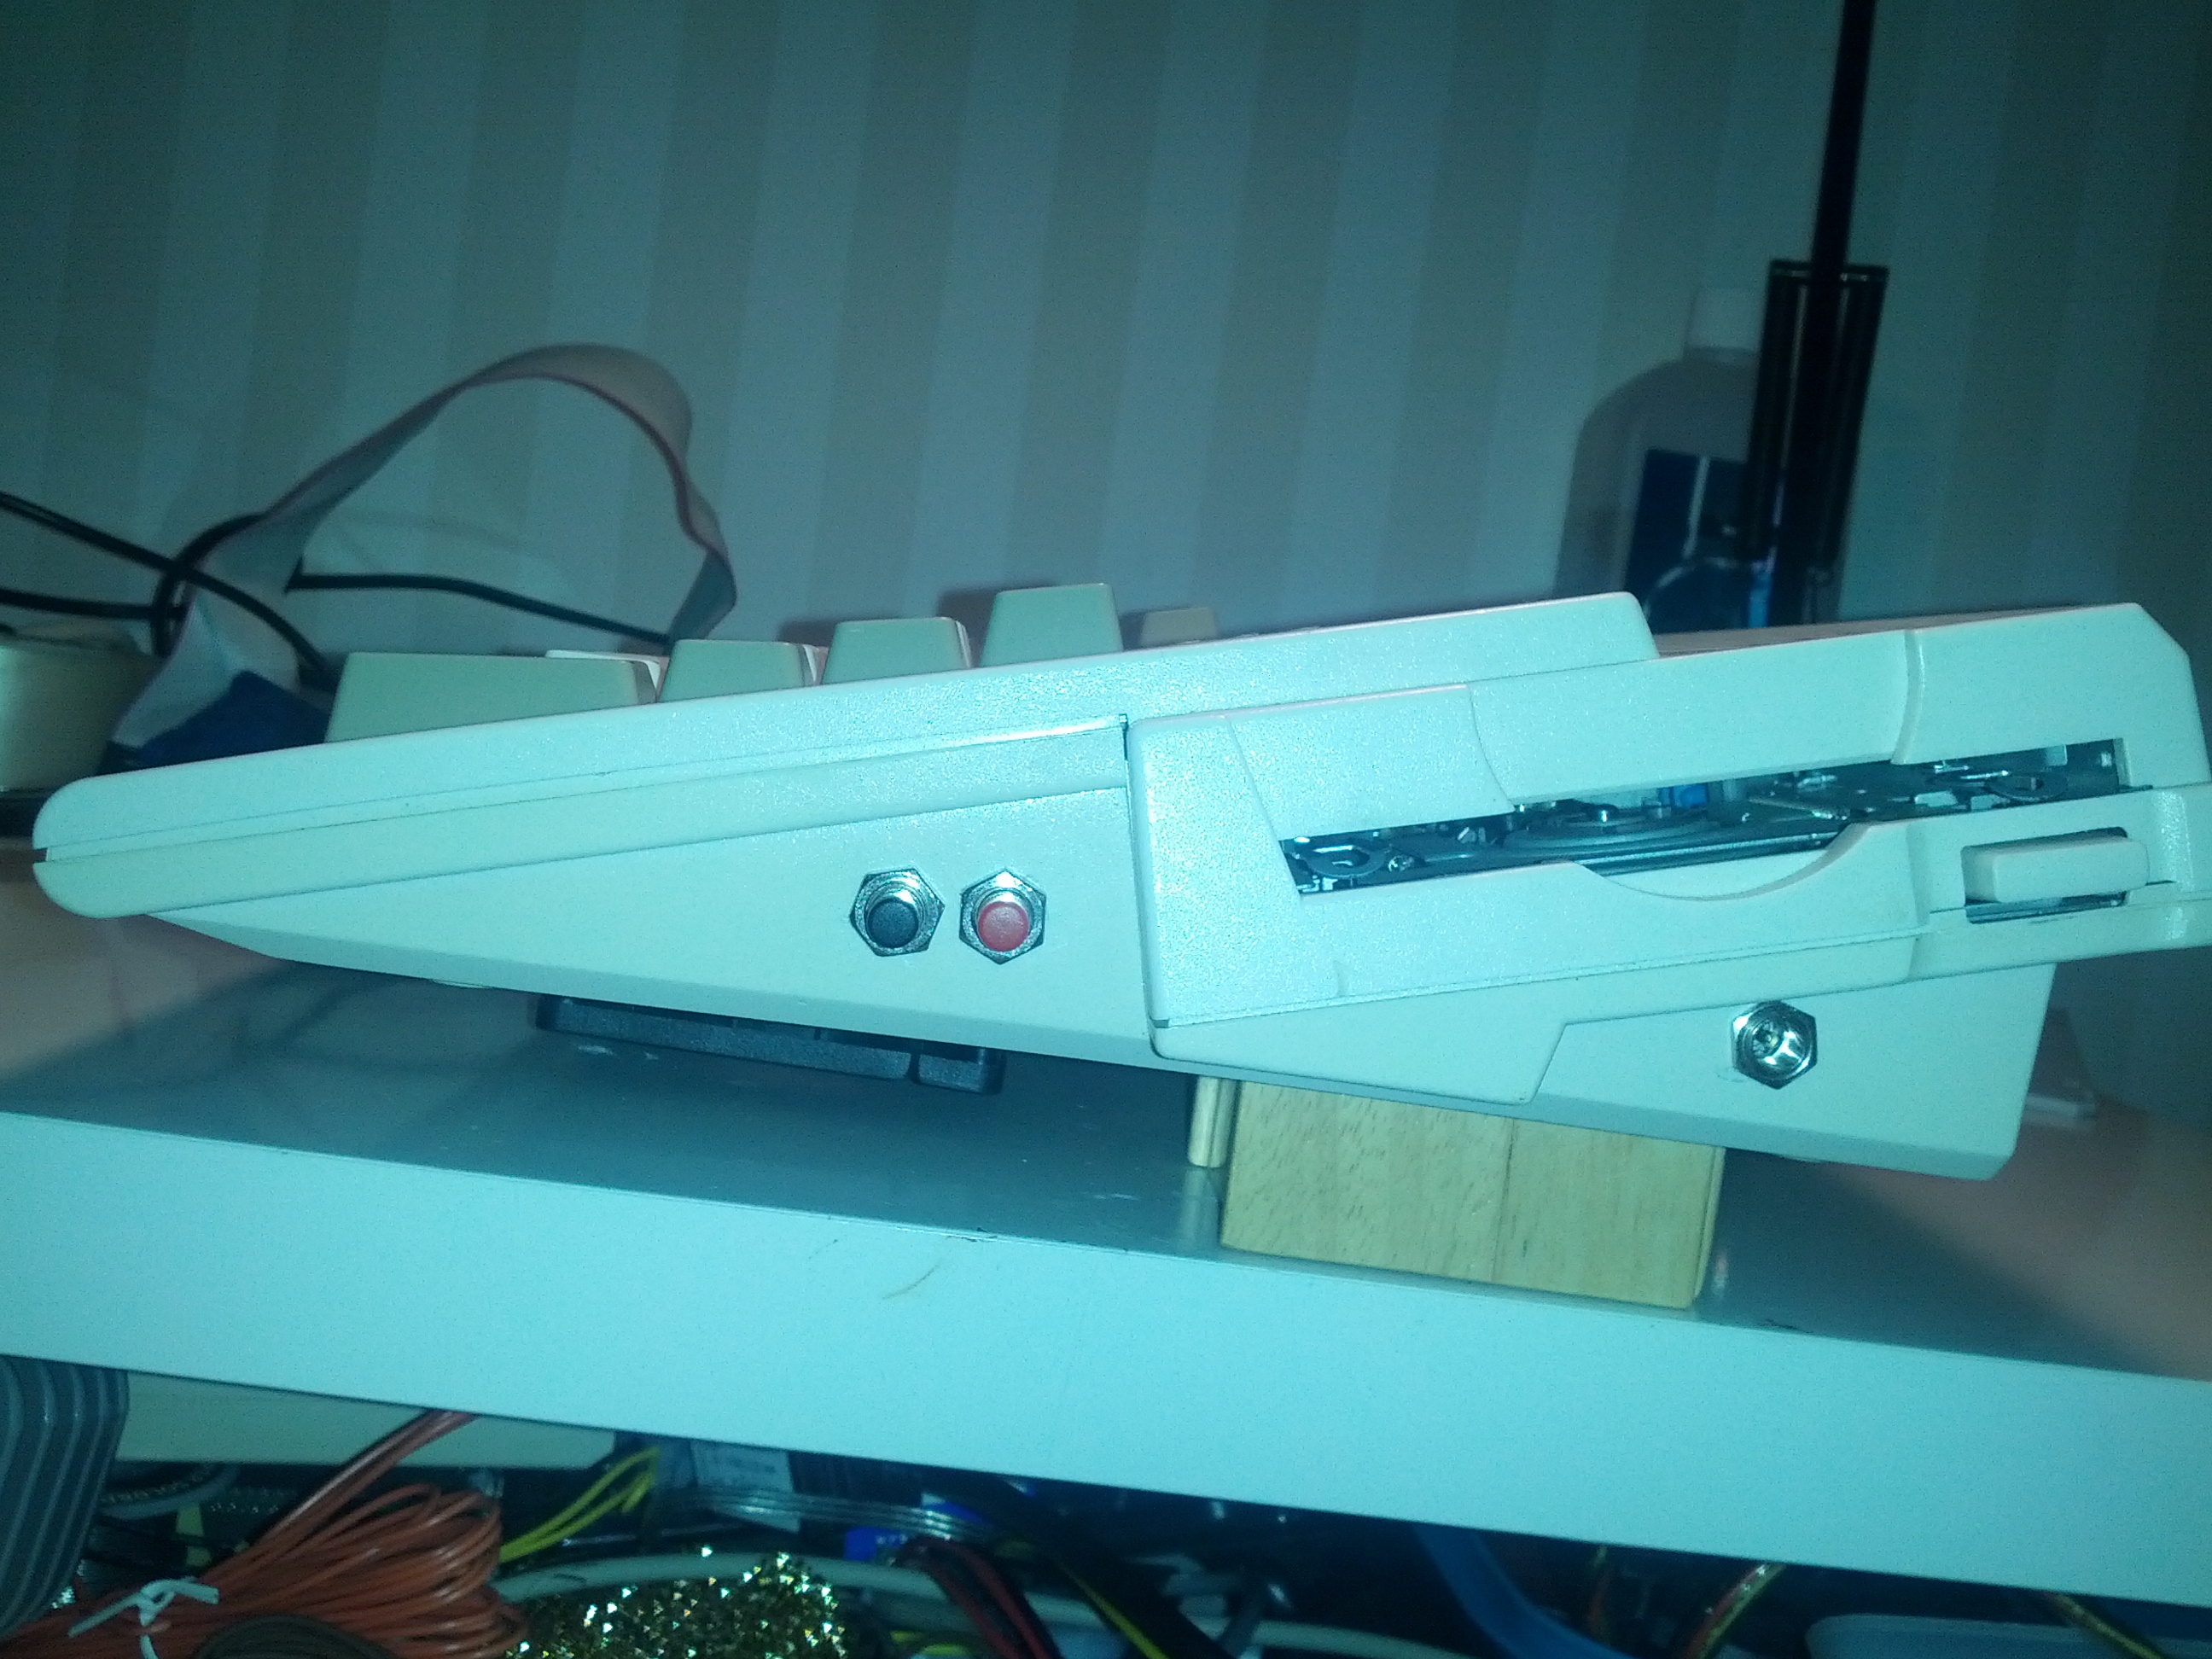
And that lift is still stable enough to use. But I will use an external keyboard most of the times anyway.
Now it is all done and time to boot it up:
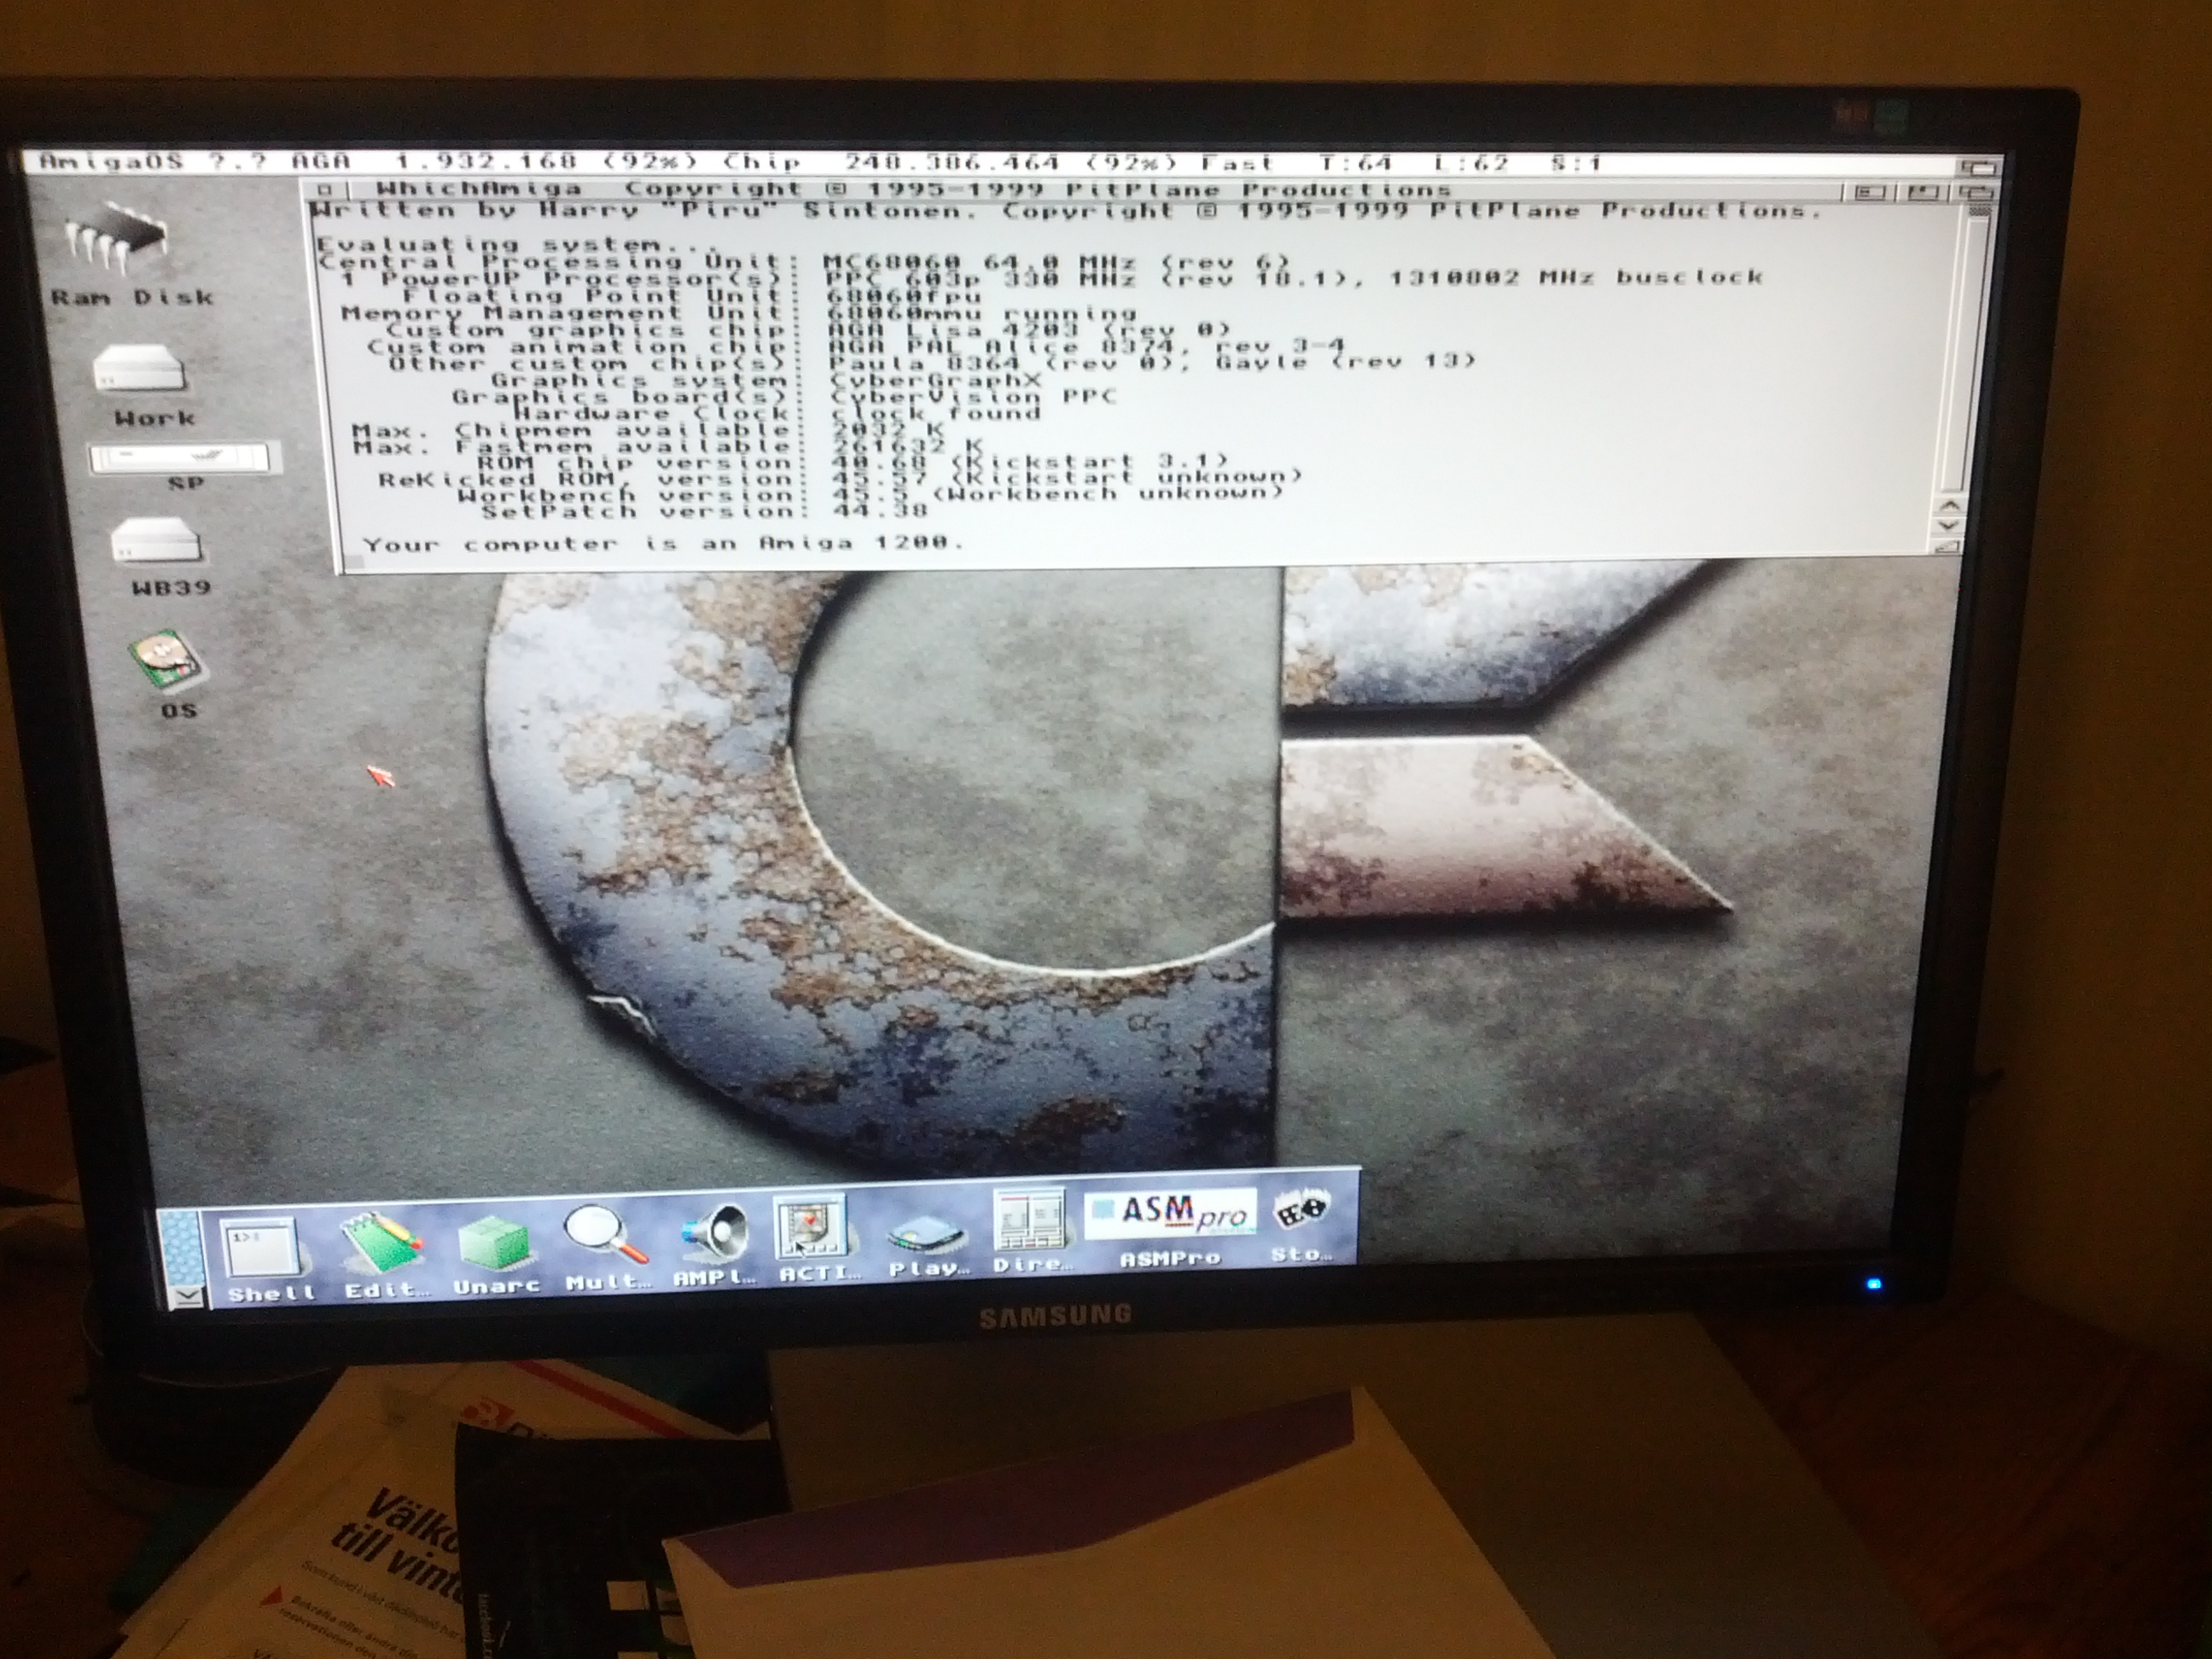
And YES. It works. I have a small issue when using 3D too much that the BVision overheats and have to look on that. I also had a plan of making the PCMCIA ethernet internal. but that will be a future thing to do. Now I want to use my very nice Amiga and I am very happy of this machine. there is not that much of space left inside so adding network internally maybe would give me problems.
So guess there will be no “Part 5” but you never know.. 🙂
EDIT – Added text:
Well after using this machine for a while and notice that the machine is unstable, especially when using the PPC. and it simply seems that it just gets too hot. So even if I wanted a really kick-ass Desktop Amiga. I guess I will stop this project and simply cancel it. I will build a towermachine instead as I have a elbox tower.
But as a towersystem is a more used “hack” I will not make a post of it. now I want to use my Amiga..
but as this towercase contains a motherboard with a busted MPU (keyboardinterface) I will make a small post of how to build a PicoPSU into the Amiga and use a Amiga 500 keyboard instead of the internal A1200 keyboard.
For later.. 🙂 however. it was fun tomake this Amiga and maybe if I skipped changing the PPC and also overclocked it it would have worked.