Many times on different forums I have seen the question:
1. How do I install Workbench on a CF Card to me moved to my Amiga
2. How do I use PFS3
So, I decided to do this step-by-step guide of doing both of this. I will use workbench 3.9 if you want to install 3.1 you are in your own after you mounted the CF etc. But if you use large CF cards I recomend you to use 3.9 with all boingbags.
First I want to apologise that my labb-windows-machine is in Swedish but hopefully you will manage with the screenshots anyway.
My machine is equipped with a SATA -> CF Adapter, but a USB one should work aswell. (but slower)
So I push my new CF Card into my machine and start it up.
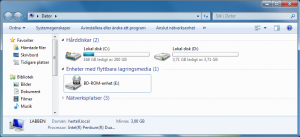
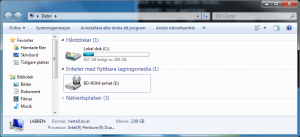
As you can see, I have a new empty disk this is my CF card. As we have stuff on it, WinUAE will refuse us to use it as a writeable disk. We have to remove the partition, this is of some strange reason not possible using normal Windows GUI. We have to do it with the command “Diskpart”
start a command prompt by searching for “cmd” and rightclick on the commandprompt icon and choose “Run as Administrator” if you get a UAC prompt, answer yes.
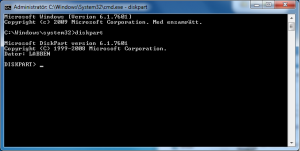
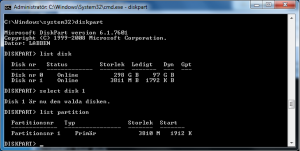
at the prompt write “diskpart” and press enter
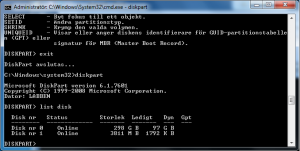
To check what disk we have to work with, we have to list all disks in your system.
This is done by writing “list disks”
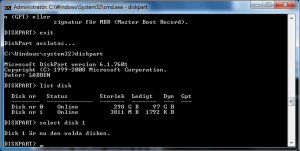
Check the result, you can see that I have a 298GB disk and a 3811MB one. The 3811MB must be my CF disk. so it is “disk 1”. So to work with this disk, we write “select disk 1”
(THIS IS IMPORTANT TO DO! IF YOU DOESN’T DO THIS YOU MAY ERASE THE WRONG PARTITION ON THE WRONG DISK!)
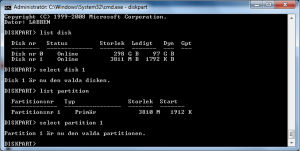
now we want to check partitions on the disk (card), this is done by “list partition”
Here I can see that my card contains one partition. Lets remove it. first by selecting it
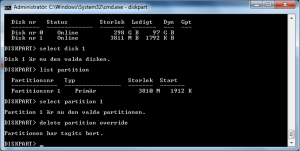
and then use the command “delete partition override”
If you have forgot to select the correct disk etc you have problems as you MIGHT have deleted the wrong partition. So it is very important to be VERY careful.
If there was more partitions, you have to select more partitions and delete them.
When this is done, close the window.
So now. When checking the disks
You can see, that the CF is missing. This is what we want.
Time to start WinUAE, this must be started as Admin for this to work.
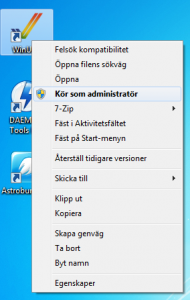
Rightclick WinUAE and choose “Run as administrator”
if you have UAC enabled press yes at the UAC Question that pops up.
now let us config UAE.
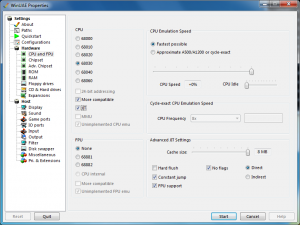
in “CPU and FPU” set the cpu to 68030, tick Fastest Possible and “JIT”
the rest is not that important for our task.
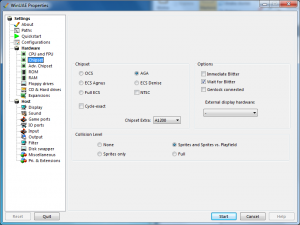
in Chipset, tick “AGA” and chipsets extra to “A1200”
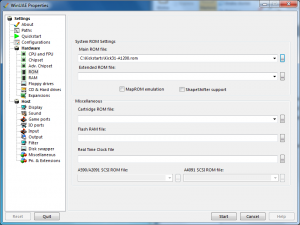
in ROM at “Main ROM file” choose your kickstartfile.
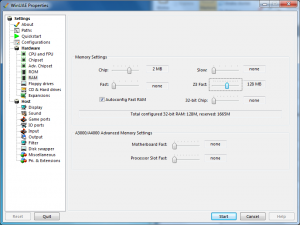
and at RAM choose a Z3 Fastmemory that is enough. 4MB is actually enough but, well why not more?
Now we have to setup a temporary partition for the rescuepartition.
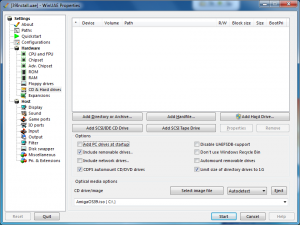
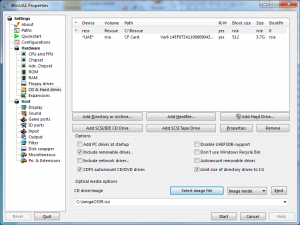
Click in CD & Hard drives.
now Click Add Directory of Archive
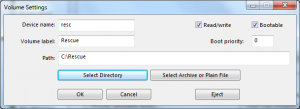
at Devicename write something like “resc”
Volume Label “Rescue”
and Path, choose e path to where the data is to be stored, this does not really matter as you will erase it later.
read/write and Bootable should be ticked. and klick OK
now time to choose the CF card.
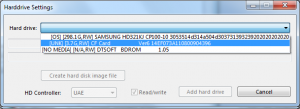
Click “Add Hard drive”
You will see a list if your devices [UNK] means a unknown disk, this is our CF card. A already Amiga-formatted drive will show ad [RDB]
Choose the disk and “Add hard drive”
Now you have your tempoerary rescuepartition and the CF card configured.
now you should also tick “Include removable drives” “CDFS automount CD/DVD drives” and “limit size of directory drives to 1G” (the later one to avoid stupid bugs)
and as I install from an ISO file, click Select Image File and search for the ISO. (or just put the WB3.9 cd in your drive)
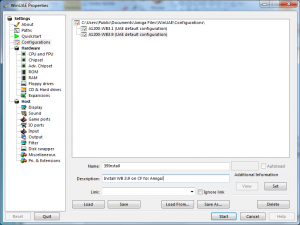
Now save this config.
Write a name, description and then Save.
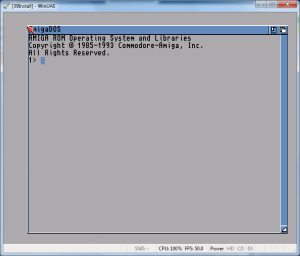
now. press Start and your Amiga will start up.
As your rescuepartition is empty, nothing more will happen then this, so we have to copy the data to the rescuepartition.
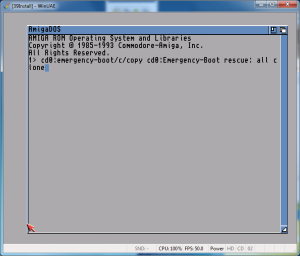
and this is done by writing:
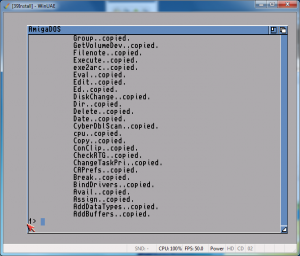
cd0:emergency-boot/c/copy cd0:Emergency-Boot rescue: all clone
press enter and the copy starts.
now, all files are copied to the rescuepartition.
Now reboot the machine by pressing CTRL+Windows+Windows
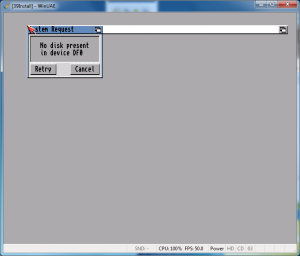
It will stop asking for the disk. this is wrong, but just hit cancel, twice.
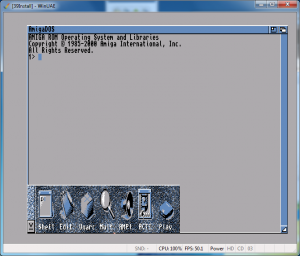
you will end up with a screen with amidock and a cli window.
in the window, enter “endcli” and press enter to close the cli window.
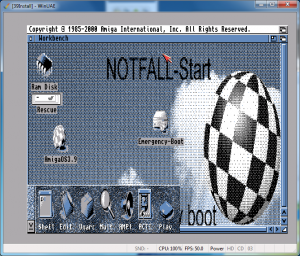
It looks ugly, yes but that is not important now.
Next part is how to install PFS3 and the operatingsystem.
You can use the point-and-click adventure instead of DiskPart as well. You need to activate the episode “Computer Management” / “Volume Management” 😉