Now I want to install PFS3, so I have been lazy and downloaded the PFS3 from aminet: http://aminet.net/package/disk/misc/PFS3_53 and unpacked it. (7zip unpacks lha files) and put it in the “T” directory of my rescuepartition.
in WB, first doubleclick on “Rescue”, rightclick to get the menues in the Window menu, Show -> all files” then you can fint T and then click to PFS3 install icons
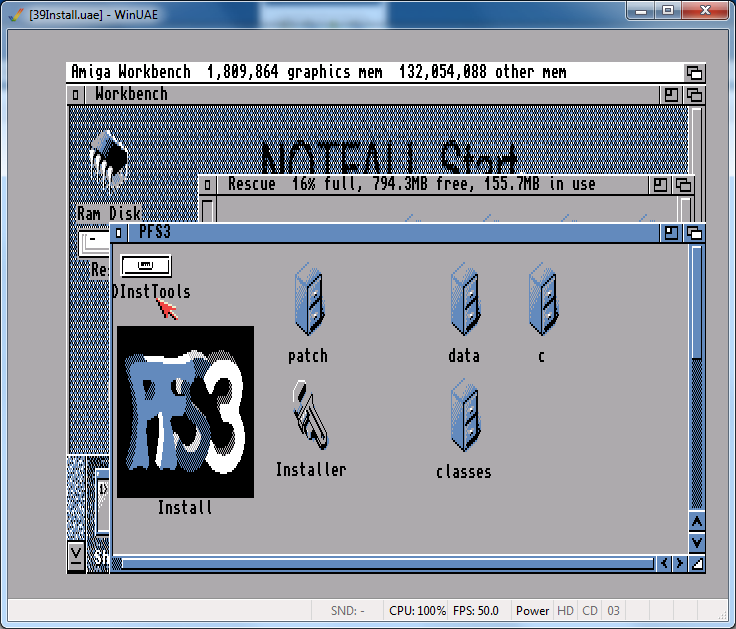
Doubleclick on “Install”
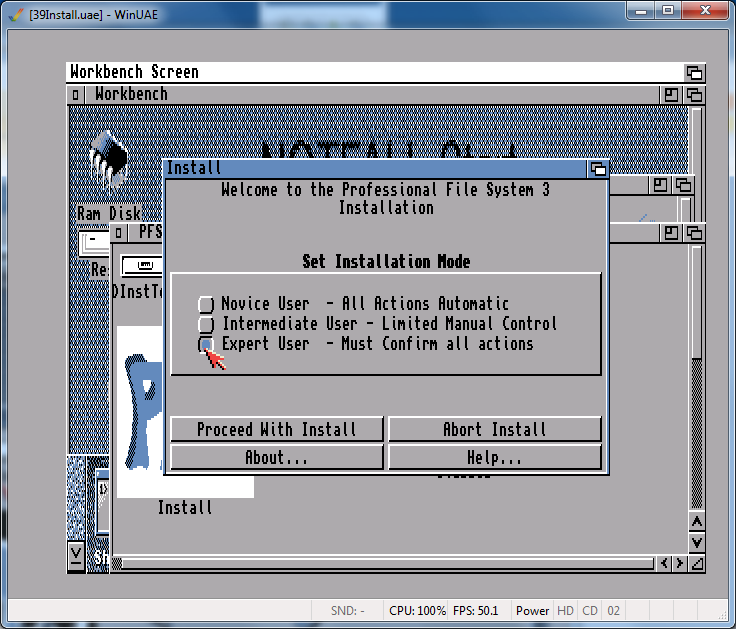
I always choose Expert User, click Proceed with Install.
As there is no point of showing all windows that pops up, I have skipped the screenshots of windows that I let be as default.
so next window is about options, just Proceed.
Choose language and Proceed
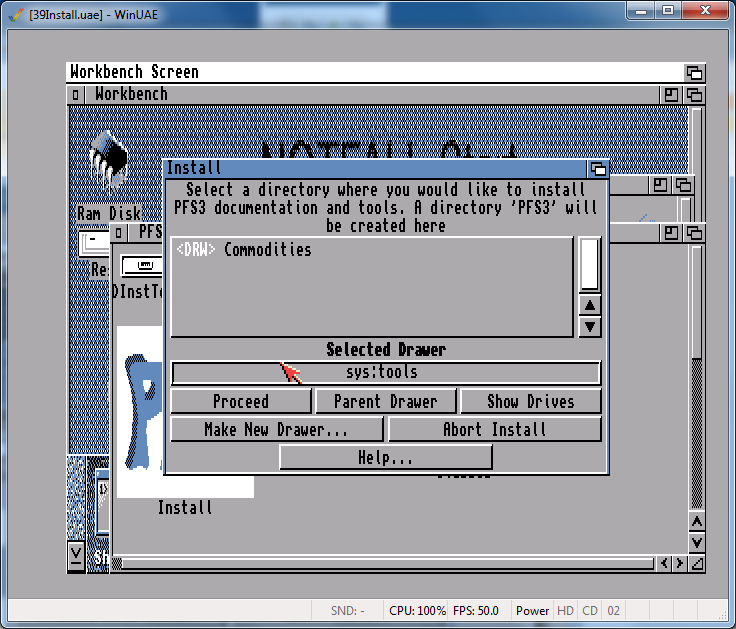
Select a drawer. I use SYS:tools and then Proceed
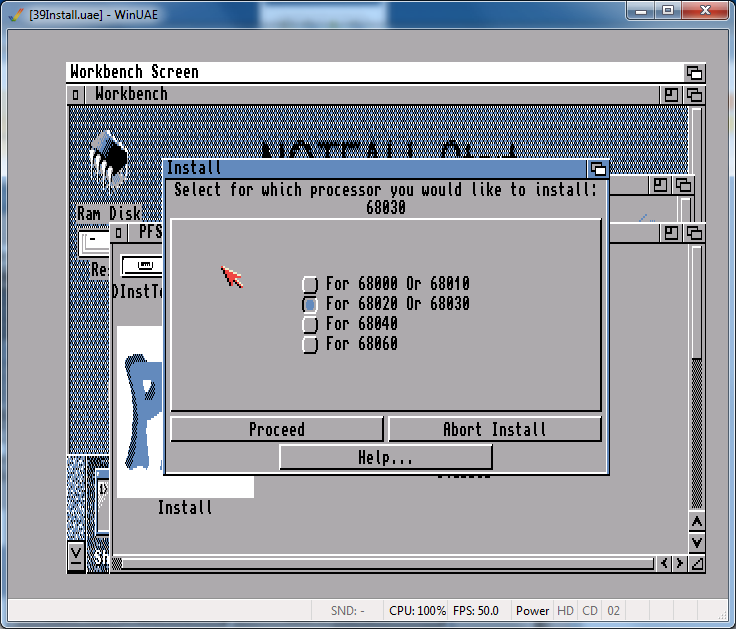
here choose a CPU that fits your WinUAE Config (and your Amiga aswell) and then Proceed

Now I only choose “Normal version” and “DirectScsi version” and then Proceed
at Documentation just Proceed
for the rest, just proceed all steps letting it be as recomended.
When all is installed. I usually just reboot even if it is not needed.
Remember the cancel on the floppy question and then the endcli command.
Now, time to partition the CF.
Doubleclick on Rescue and Tools.
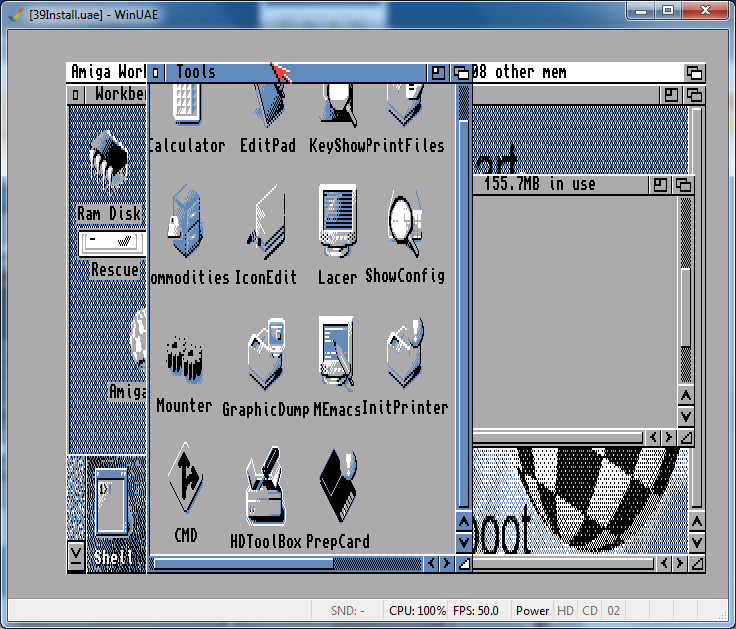
and locate HDToolBox
But we have to change it’s tooltypes to be able to partition the CF.
Click on HDToolBox ONCE.
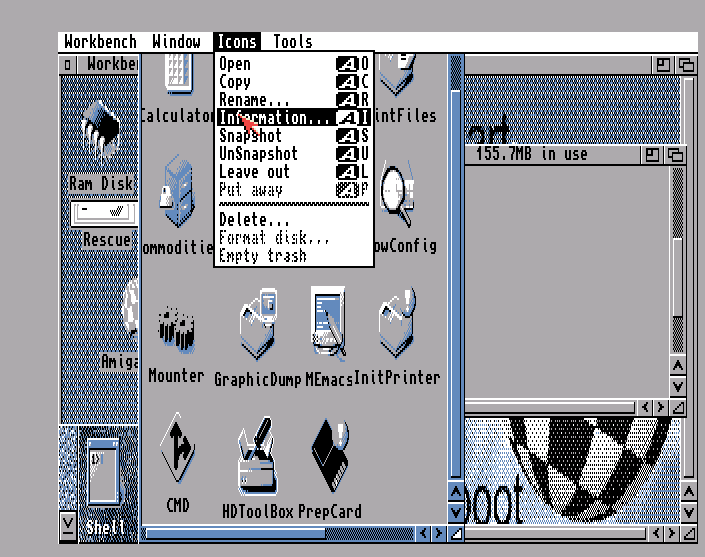
Hold Right mousebutton, in the menys Icons -> Information and release the mousebutton.
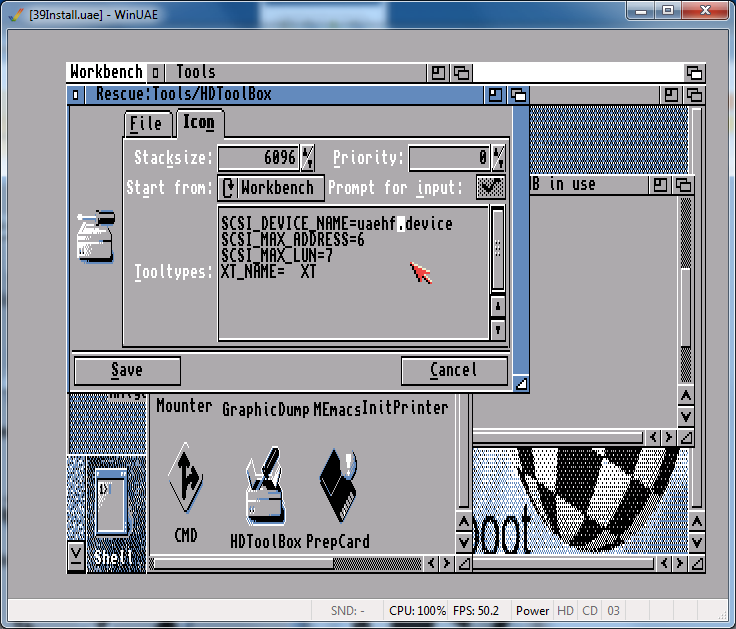
Click on the “Icon” tab. and change “scsi.device” to “uaehf.device” and Save
Now start HDToolBox
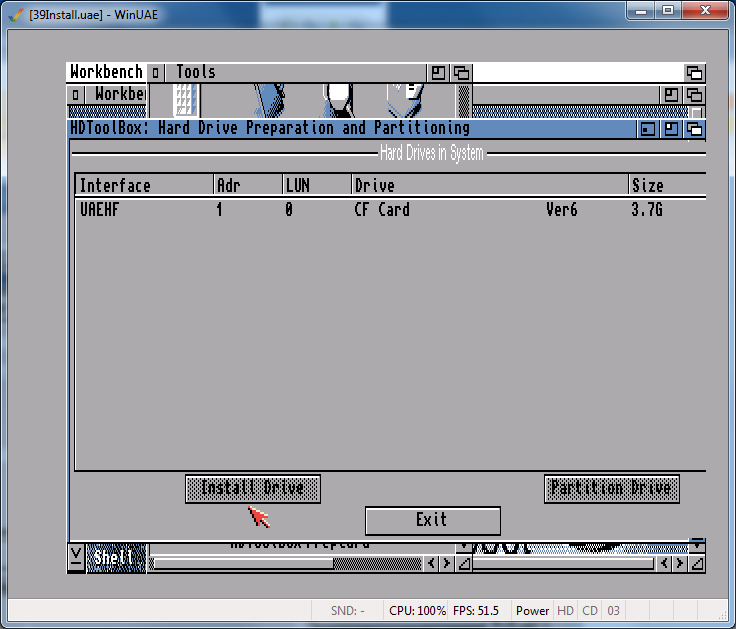
and you will see your CF Card.
Click on it and you will get:
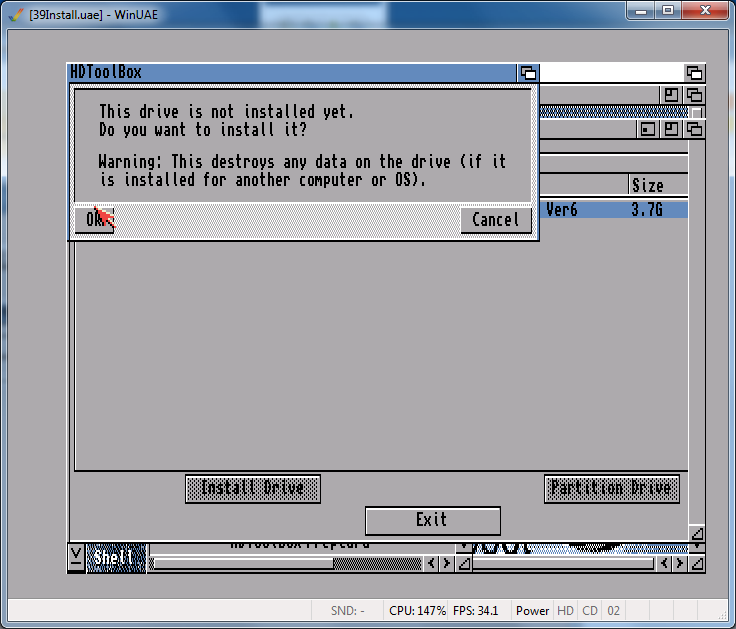
Press “OK”
And you will get a Window showing info about your card.
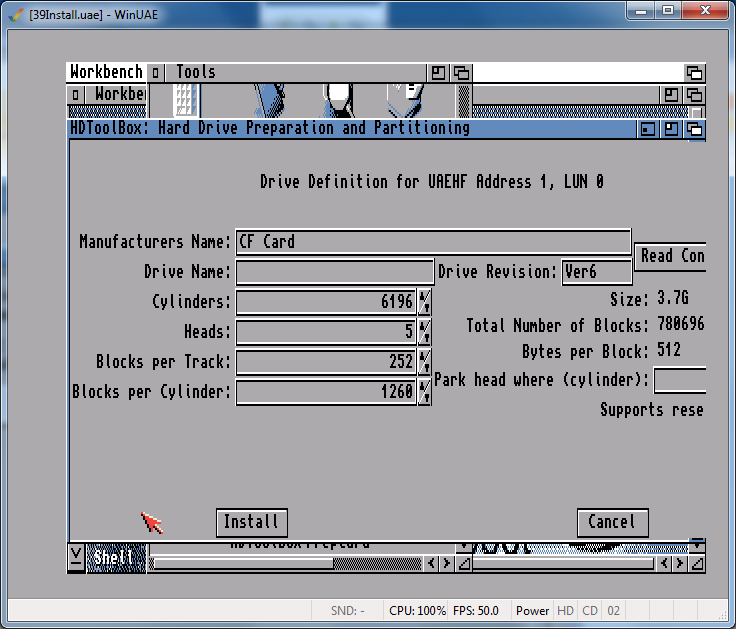
Just click “Install”
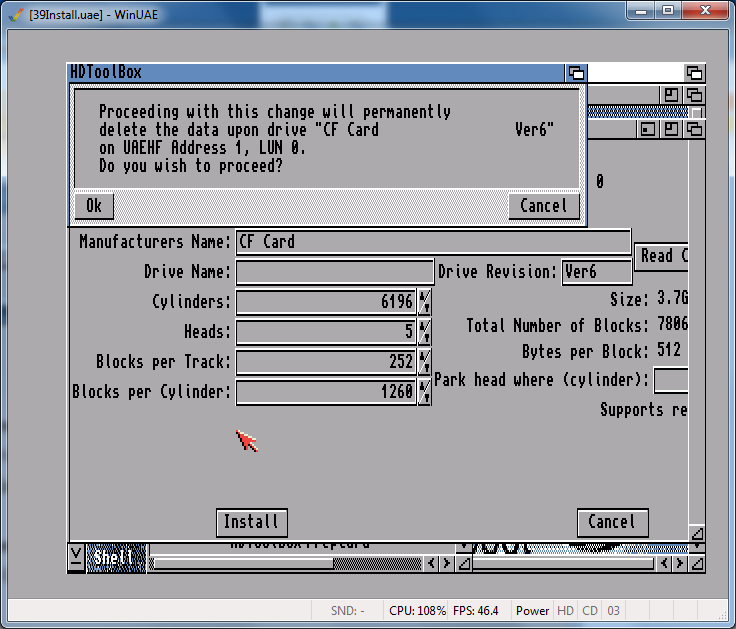
And you will get a warning, click “OK”
you will get back to the screen with your CF Card, click on it and “Partition Drive”
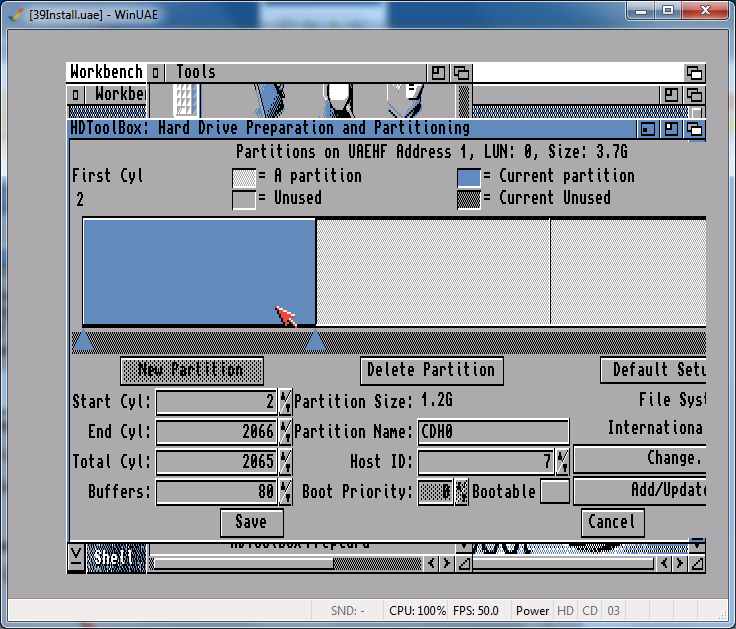
First, lets add PFS3 as a valid filesystem. Press “Add/Update” (hdtoolbox requires a higher resolution so parts are cut off)
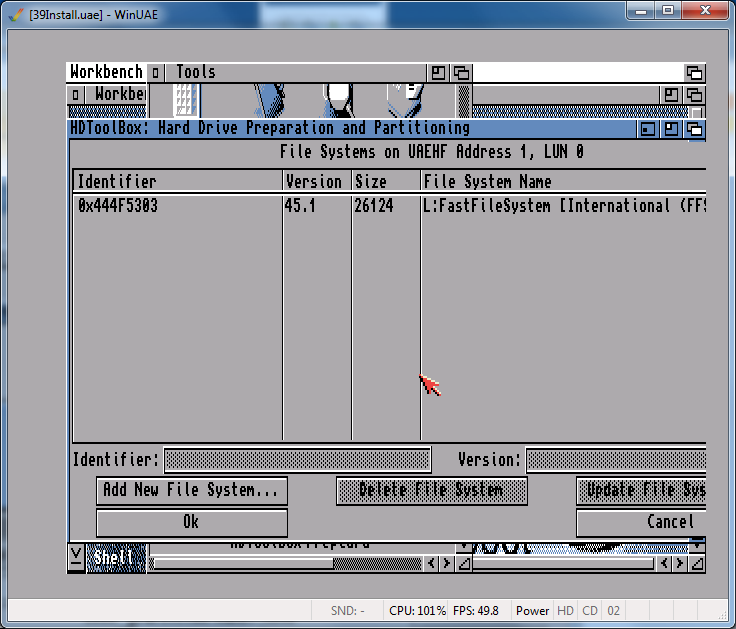
Klick on “Add New File System”

choose “pfs3ds” this is better for large drives. well. better for all, so. Just choose it.. 🙂
and “Load”

Change the identifier to 0x50445303 <- This is important and then OK
Now delete all partitions by clicking on them and Delete partition.
with the drive empty:
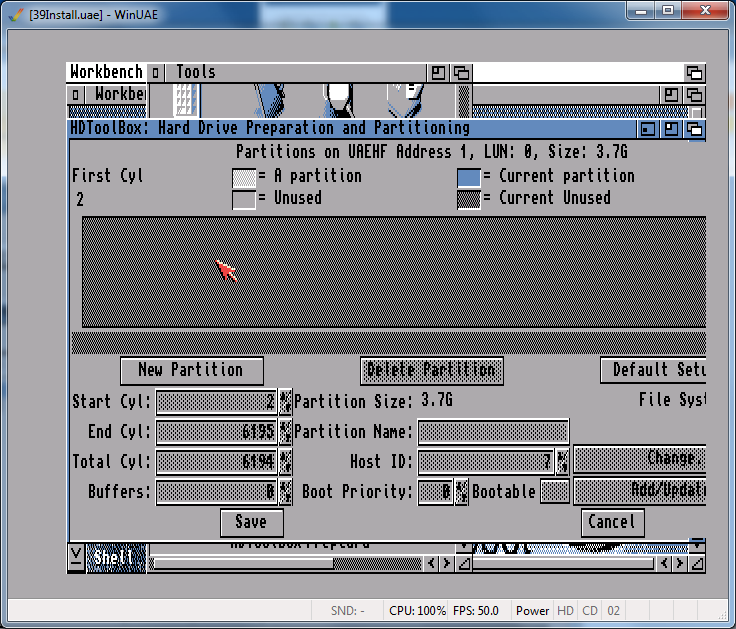
It is now time to add more partitions. and this is completly up to you. Remember that if your card is bigger then 4GB the boot partition must be within the first 4GB first and LESS then 4GB. Actually I recommend not above 2GB and that it also ENDS within the first 4GB. the rest of the partitions (atleast in PFS3) can be much bigger.
I also often do a small rescuepartition if something goes wrong so you can boot at it. with a lower bootpriority. the procedure is the same of creating the parition described below and then copy the data as you did in the beginning here.
However in this guide I will use one partition only. even if I recomend atleast one for the OS and one for Work. but that is completly up to you.
To create the partition Click “New partition”
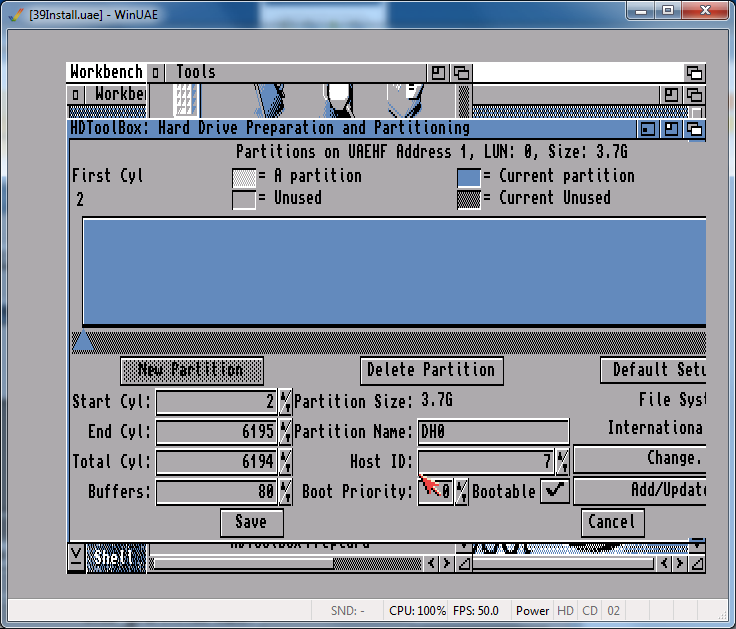
Tick “bootable” and change Partition name to something you want. (like DH0)
if you want a smaller partition, you cannot drag the size as you can see. first change total cyl to, lets say 100 THEN you can drag to your wanted size.
Now you have to choose the filesytem. So Click on “Change”
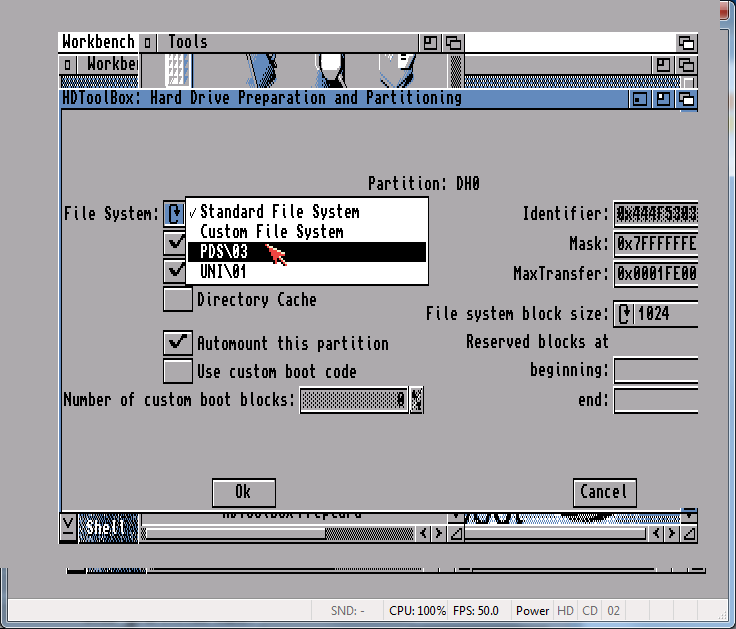
and under “File System” choose PDS\03 and if you are unable to find PDS\03 you wrote the wrong ID when adding the filesystem. then you have to remove it and add it again.
Click on OK
and you are back. now click Save
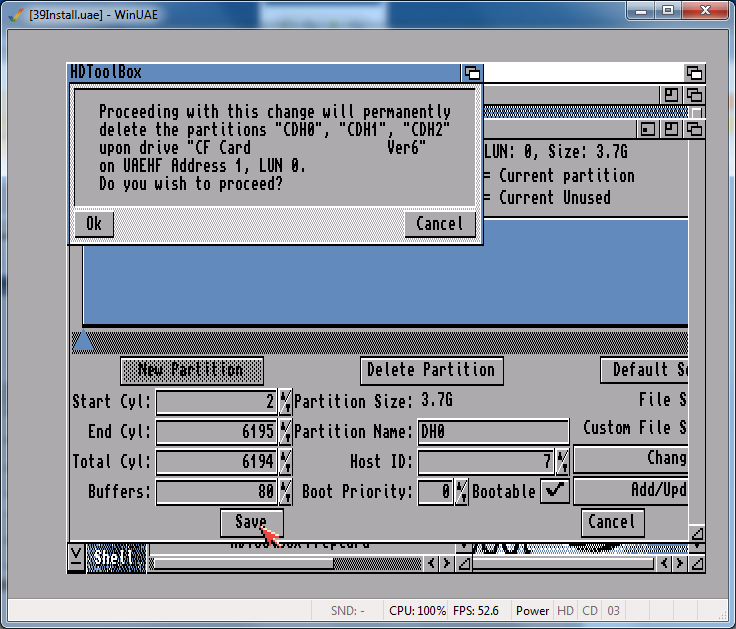
You will get a warning that partitions will be removed (the default that HDtoolbox want to do)
press “OK”
and you will be prompted to reboot
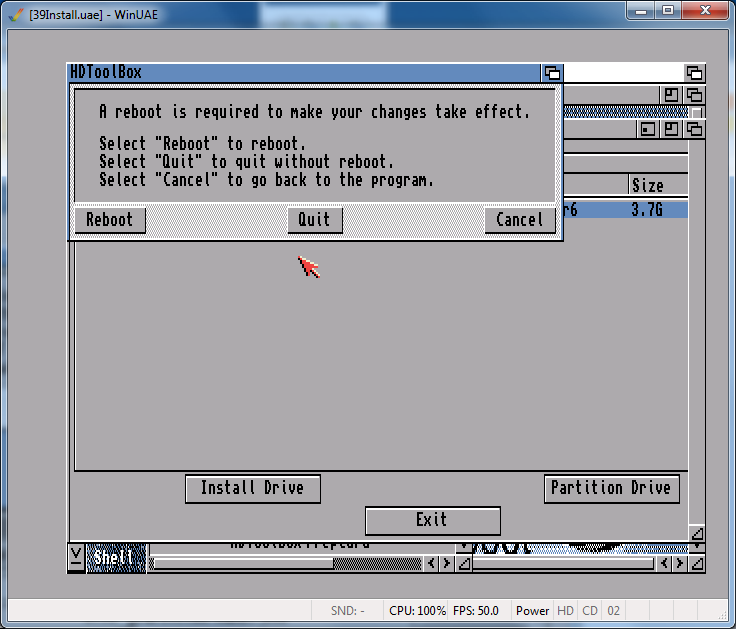
So click on “Reboot” and the machine reboots.
again, cancel on DF0 questions and then endcli
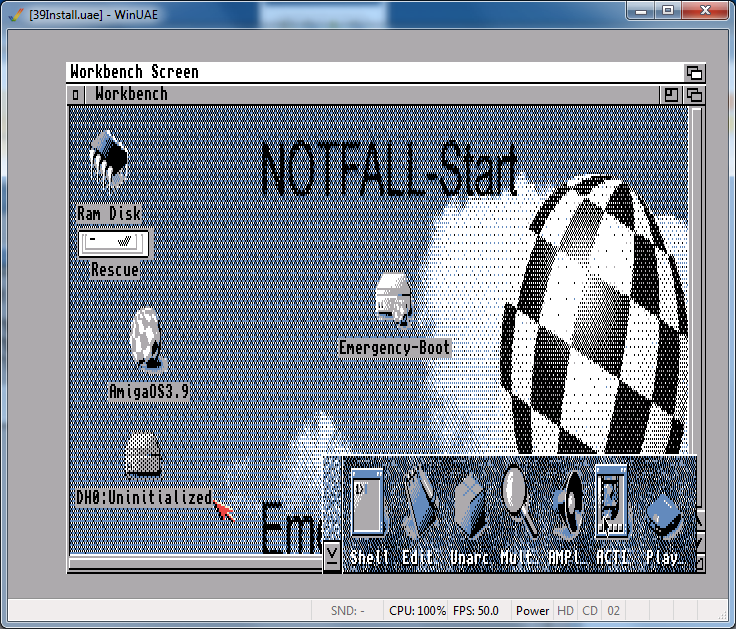
you have to move the AmiDock window and after a while your new Drive(s) will pop up, not formatted.
Time to format the drive(s)
so Click ONCE on the drive, hold right mouse button in the menu: Icons -> Format Disk

Enter a name for the disk and click on “Quick Format” (there is no real need of doing a long format)
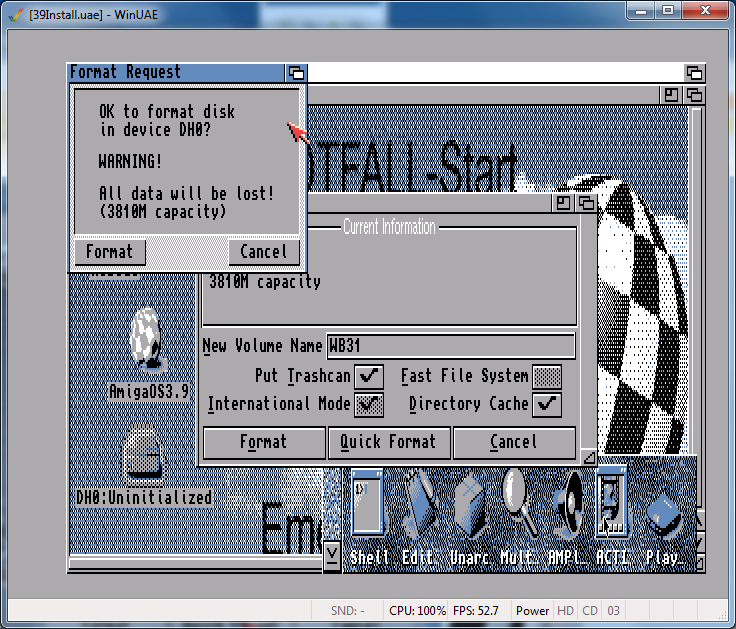
Click on Format at the warning. And you might get another warning. YEAH. do it.
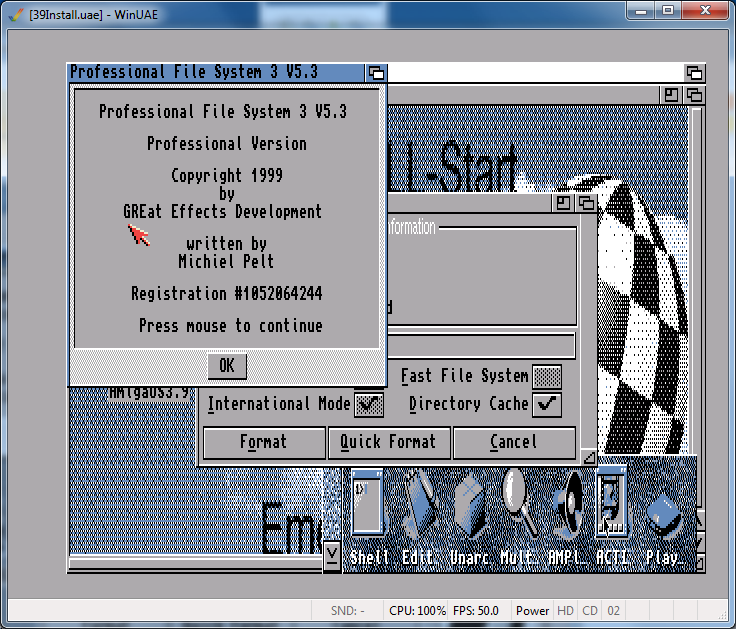
if you have managed to really use PFS3 you will get a winow telling that, press the left mousebutton anywhere to close it.
Now time to install WB 3.9. and a more step-by-step (not with screenshots) text how to do that can be found on my post at http://wordpress.hertell.nu/?p=18 just skip the PPC / 68060 parts etc.
OR just add a partition like the rescuepartition containing a already installed system and start a dosprompt and copy it with:
(this is defaulting that your partition is called PC: containing what you want to copy) (also, do NOT have it as bootable)
copy PC: DH0: all clone quiet
(remove the quiet part if you want to see what happens)
When finished installing the stuff close WinUAE, start it up again. load your saved config.
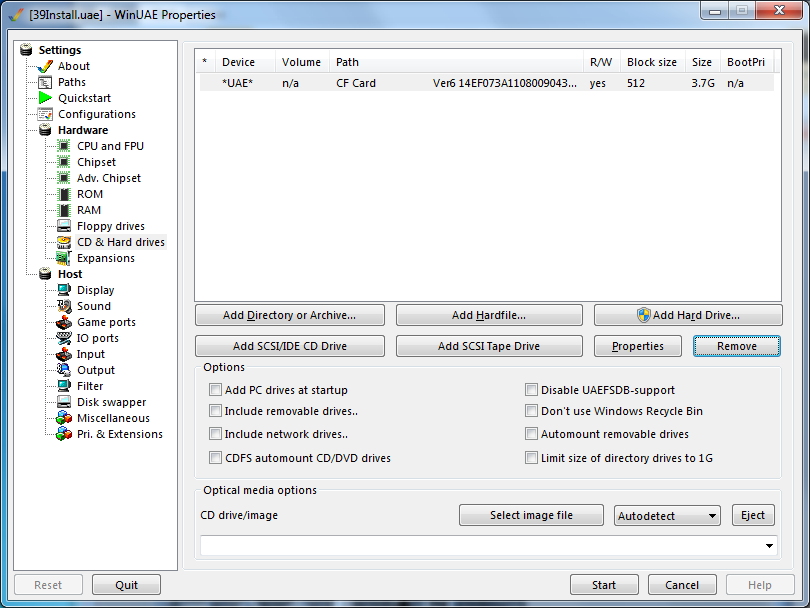
Edit your CD & Hard drives config, remove the rescuepartition and all stuff about removable drives, ISO files et.
And then “Start”

and. yes. 3.1 is started. Install Boing bags (BB1 and BB2 needs the CD so that can be done in UAE, but the rest can be done on the physical machine if you want to.. but it is WAY more easy to install everything in UAE then on the physcal machine. I can recommend that you add a temporary partition like I did on the rescuepartition to store the installfiles. but check that it is NOT bootable. 🙂
and there you have. when finished. remove the card from the PC. put it in your Amiga and boot.
(no. a PCMCIA adapter in the Amiga will NOT boot this. You have to use a CF->IDE adapter)
Thank you so much !!! Very instructive and well written.
Absolutely brilliant tutorial
Unfortunately for me, it only works in WinUAE and not my real 4000T
(it boots but can’t info any icon or open any tools like screenmode )
I get Amidock program failed at startup as well (wait for disk activity suspend or reboot)
If i install drivers for my video card (zz9000) it goes through process and on reboot nothing there but original stuff and same Amidock error..
Any suggestion would be great (If your still around!!)
Are you using a WB3.1 install with 3.1.4 or 3.2 roms maybe?