Why not do more Guides? time to do a WinUAE install so you can use your UAE install as an high end Amiga.
This will include a quick installation of WB3.2 but you can use 3.1 or whatever if you want. just go past the 3.2 install. but you can follow my UAE Config first:
Configure WinUAE.
I will set this up as a 68060 machine. just to be able to run 060 demos. But using “060” instead of “030” in a emulated state doesnt do that much. but to be able to run 060 software.
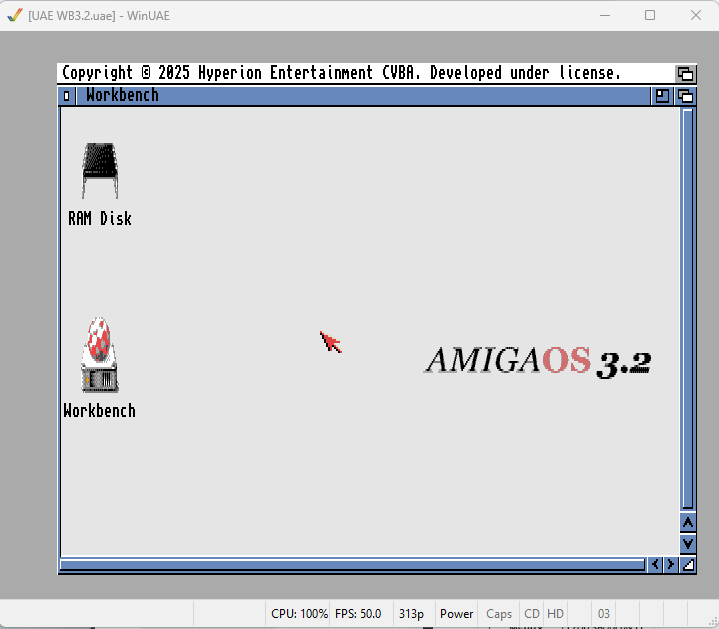
Start WinUAE
Go to “Quickstart”
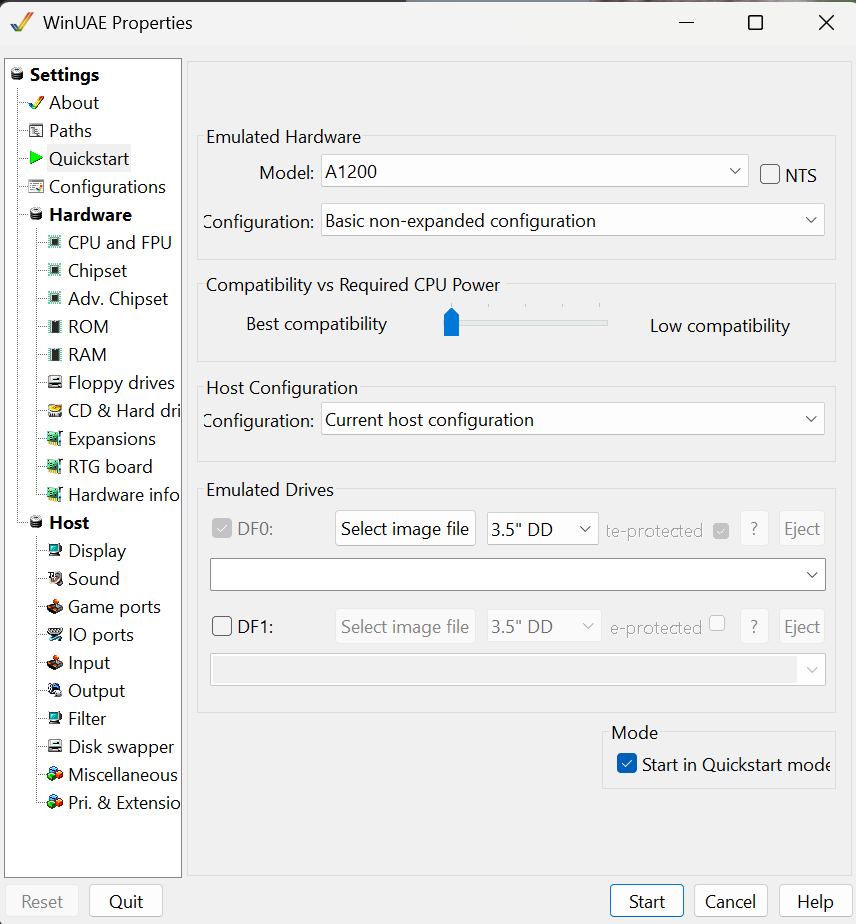
Select A1200.
Click on CPU and FPU:
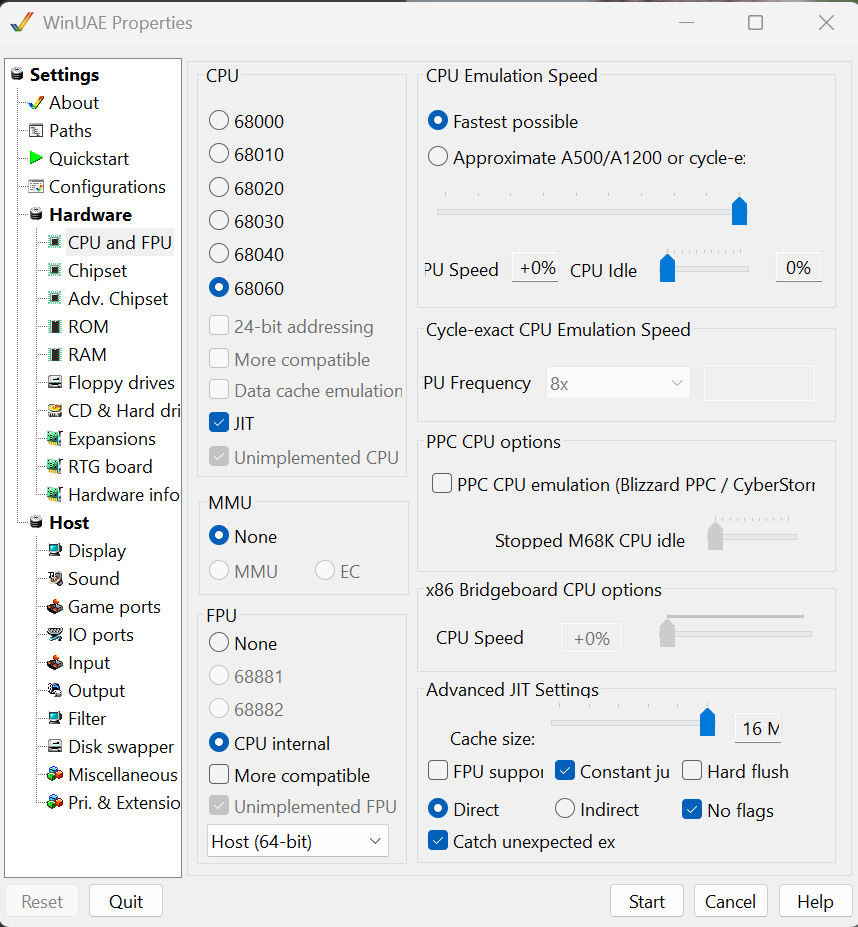
Choose 68060, JIT and FPU CPU Internal. And “Fastest possible”
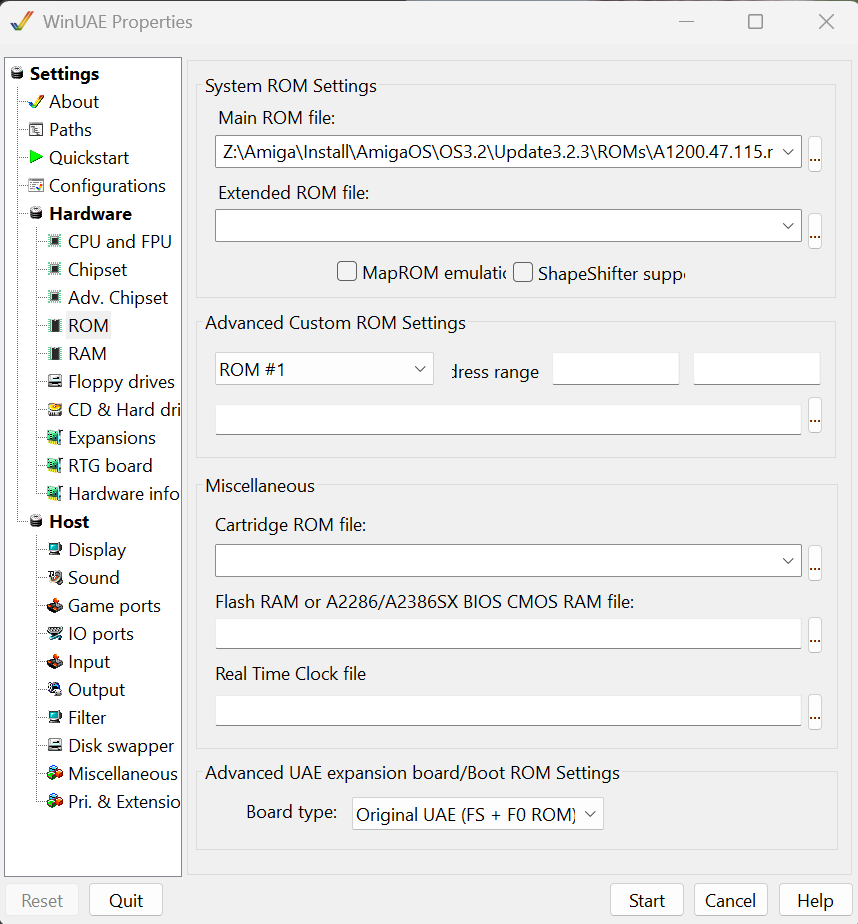
Click on ROM.
at Main ROM File. choose a kickstartfile fitting the OS Version you will use. A1200 version.
go to “RAM”
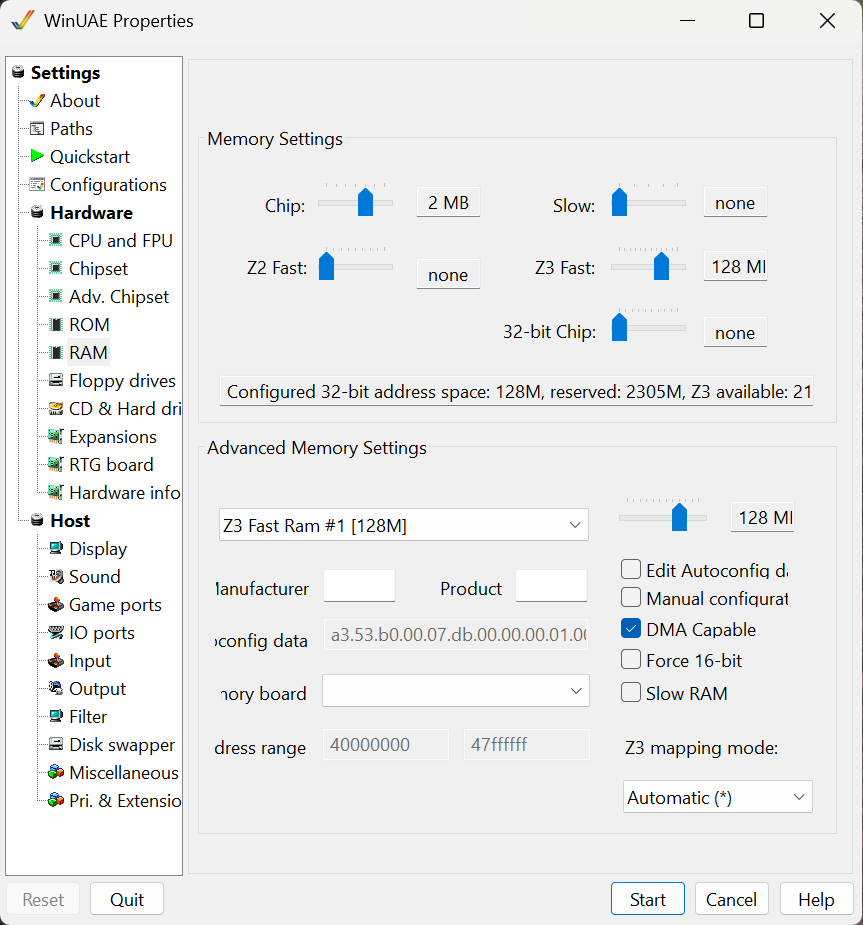
I put Z3 Fast as 128MB. this should be enough for most.
Go to CD & Harddrive
Click “Add Directory or Archive”, Click on “Select Directory”

Create a dir to keep your Amigainstall at. I did it in C:\UAE\UAEWB32. you can select whatever you think works.
Devicename DH0: and label Workbench. you can select whatever you want.
Also Click “Add SCSI/IDE CD Drive”
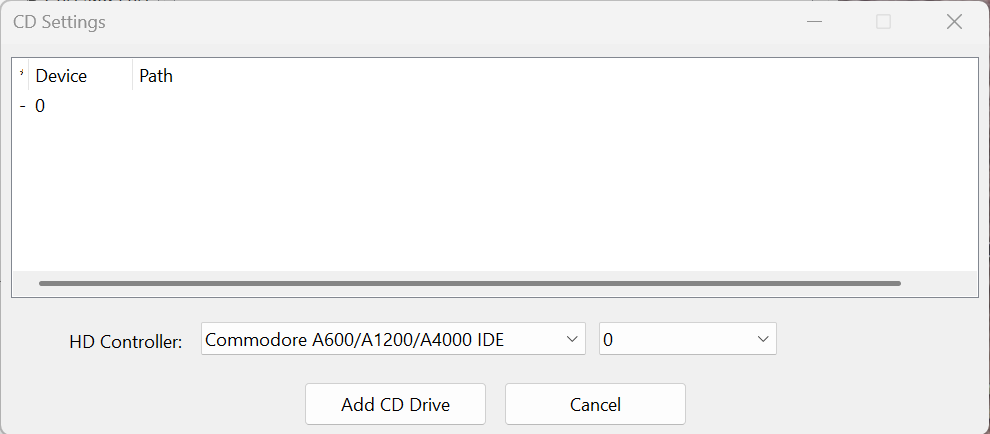
Change “HD Controller” to “Commodore A600/A1200/A4000 IDE” and device 0. Click “Add CD Drive”
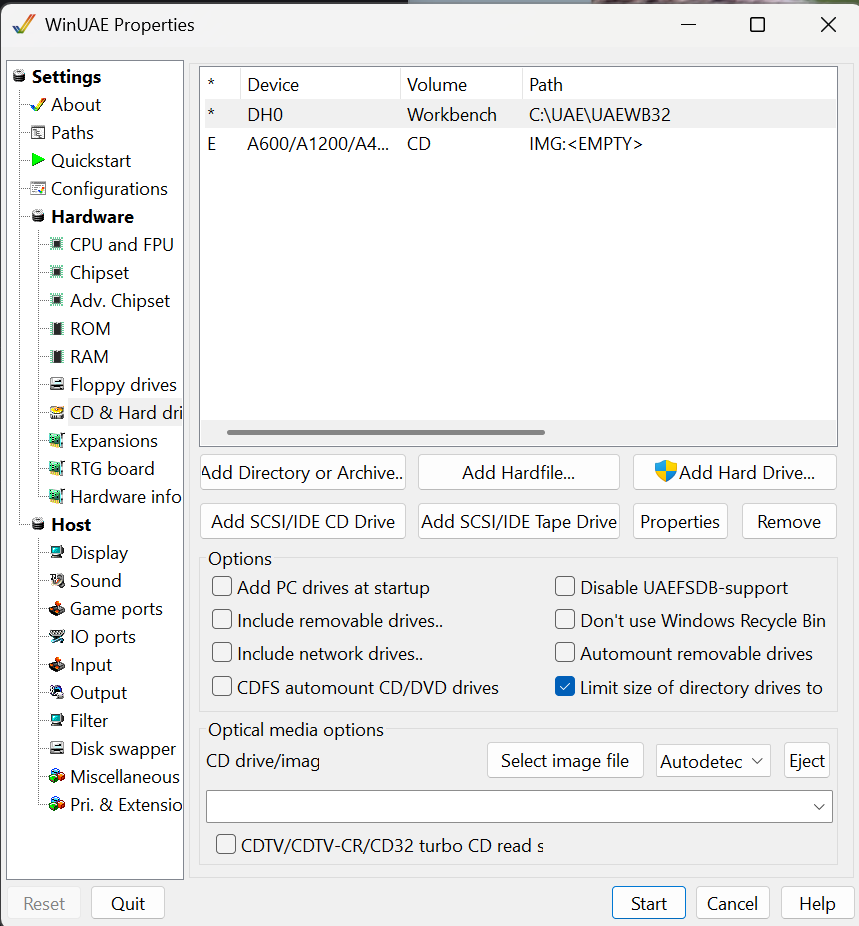
I Check the “Limit size of directory drives to 1GB” this will fool the amiga that there is never more then 1GB free space as some programs will not work/install as they think you got too little space left on your drive.
You can add PC Drives at startup. this will make it possible for you to access your PCs drives from the Amiga. I however do not do this. I copy the stuff I need to my “Amiga” dir instead. this is totally up to you!.
Now click on RTG Board.
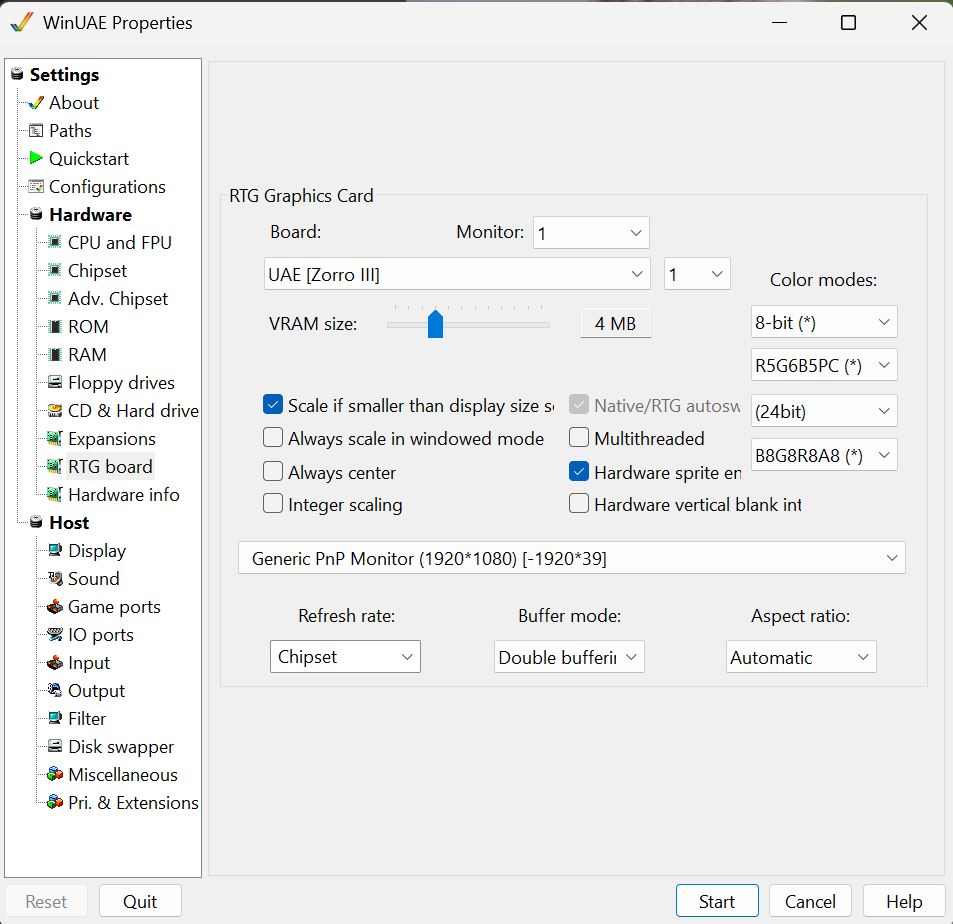
Choose UAE [Zorro III]
Click on “Configurations”
Under name choose a good name, I choose UAE WB3.2
and Click “Save”
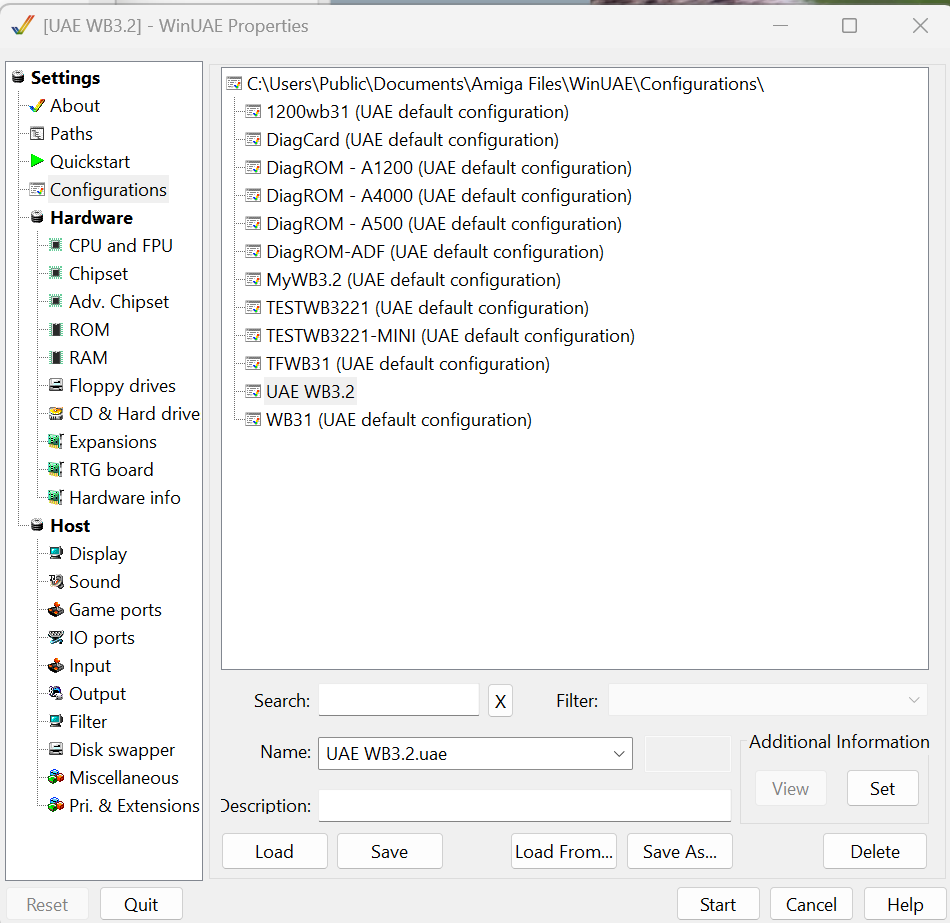
Ignore all other configurations I have here.
Install the operatingsystem Workbench 3.2
(you can install 3.1 or whatever if you want to. skip this part to “Configure UAE” later in this install)
I will go through this quick. for a better guide do check my 3.2 install guide:
https://wordpress.hertell.nu/?p=1633
in WinUAE go to Floppy drives add the install 3.2 adf. Floppy Drive emulations speed to Turbo so you do not have to wait forever.
Go to CD & Hard drives, CD drive/image select the 3.2 ISO file.
Click “Start”
(Interesting.. I got a Guru here but booted later. I guess it is due to my “060”. to be fixed later)
(IF it doesnt work. change CPU to 030 until you have installed mmulib)
my 3.2 install guide above uses Unit 1 for CD. but here we use Unit 0 (Unit 1 will just not work here….)
so we need to change the Unit on the installdisk
So doubleclick Install 3.2 -> Storage -> DOSDrivers and click on CD0 hold right mousebutton choose Icons->Information
Click on the “Unit” row and set it to Unit=0 and Save.
After that doubleclick Install 3.2. -> Activete CD ROM. Close Install window
Doubleclick AmigaOS 3.2 CD
Install -> Start here -> OK
Now Doubleclick Install 3.2 (that is magically swapped out for CD Magic)
Install -> English (or whatever you like)
Proceed -> Install 3.2 -> Proceed
Novice -> Proceed -> Yes
Select languages -> Proceed
Yes at Glow icons.
Nag about CPU. Proceed -> Proceed
Lets install MMU lib from the CD. we do not really need to be updated and fancy here, so click on install language again.
Proceed -> “Install CPU Support Libraries” -> Proceed
Asking to install MMULibs , answer YES
Other -> Proceed -> Proceed
Machine reboots. IF you changed to 030 above of reasons. you can now go back to 060.
(Remember saving config)
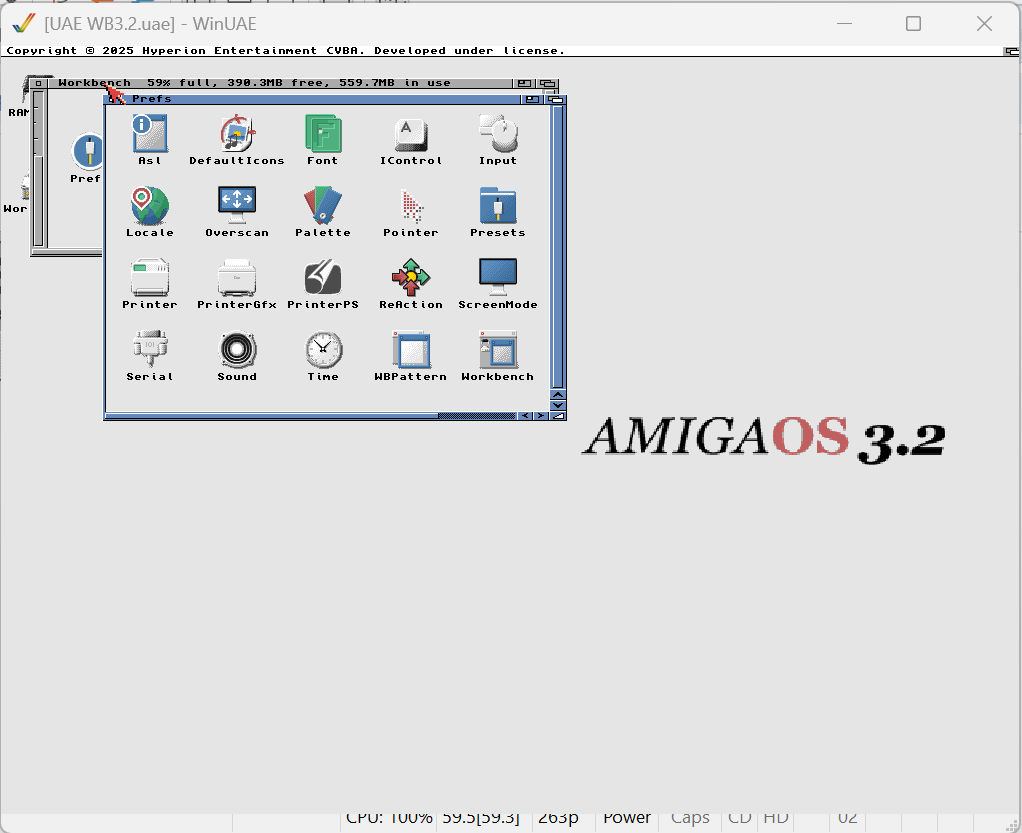
To be sure it is ok. start a shell . Workbench -> System -> Shell
write “CPU” and return

If “060” and FPU is shown. all fine!
now F12 and “Floppy Disk” and select your Update 3.2.3 disk (I was wrong in guide. you can skip directly to 3.2.3)
Doubleclick on Update 3.2.3 and install, Choose language .
Proceed -> Novice -> Proceed -> YES -> Language -> Proceed
do the F12 dance and swap disks.
And voila! as we already configured the ISO handling lets make it reachable from WB.
(IF you are using 3.1 you will need to install CD Driver. outside this scope as CD is not “really” needed)
Go to workbench -> Storage -> Dosdrivers. close your “Storage” folder.
Click on CD0 and hold right mouseutton -> Icons -> Information
Cick on Icon TAB. Go to UNIT line and change to UNIT=0 -> Save
now open Workbench, Devs and DOSDrivers. move the CD0 icon to this Window instead. next time you reboot. if you have a ISO in the “CD & Harddisk” tab in UAE (F12) this will be mounted as a CD.
(YES I know DriveImage etc in AmigaOS do the same!)
Also. hold down right mousebutton, go up in meny and tick off “Backdrop” to let AmigaOS run in screenmode. and save by hold down right mouse, Window -> Snapshot -> all
Configure UAE and adapt the system for usage.
Continue here if you did not install 3.2. BUT if you are using 060 you must have installed MMU Library!
IF you of any reason need to release the mouse/focus from WinUAE to Windows, use ALT+TAB
RTG Mode
Download Picasso96. I recomend the newest that you can buy from www.icomp.de. (YES. I know there are people complaning of the subscription-like way. but it is good. and you do not need to always get the newest version)
to buy it. you login to the store. shop. “P96 RTG Software” buy it. and when you bought it. I think there is a manual process. but when done. go to Account -> Order history and you will able to download the software. you have 20 downloads (or 1 year I think)
now You have a “Picasso96.lha” file.
press F12 to get to WinUAE config. CD & Handdrives. -> Add Directory of archive
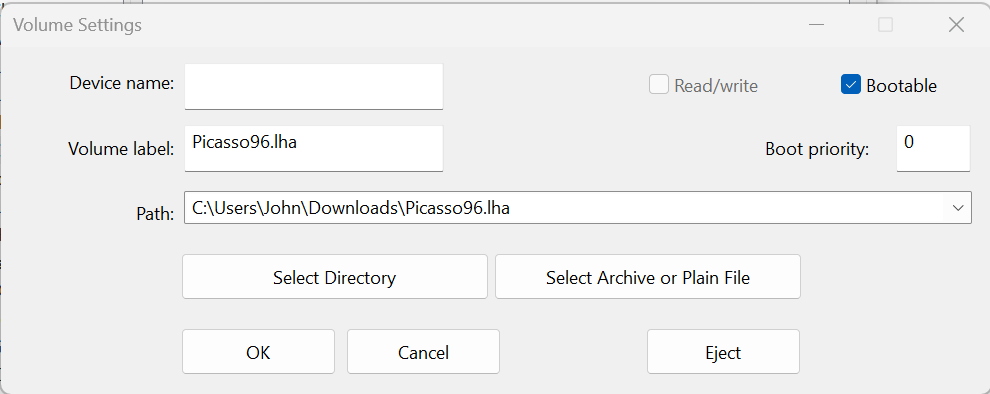
“Select Archive or Plain File” and choose your Picasso96 file. the rest will be added automatically.
OK -> OK
Restart your Amiga (Ctrl+Windows+Windows)
Doubleclick “Picasso96.lha” -> Picasso96Install -> Setup
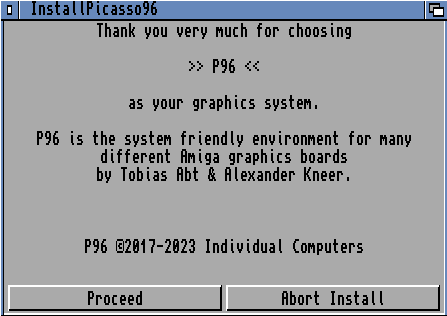
Proceed
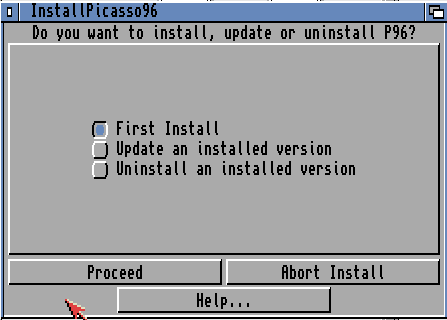
First Install -> Proceed
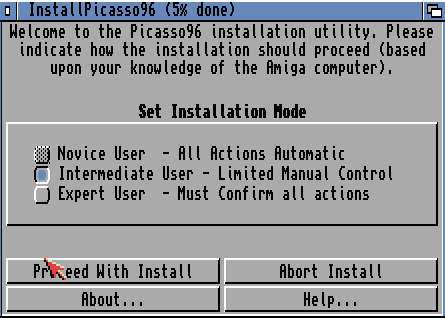
Intermediate User -> Proceed
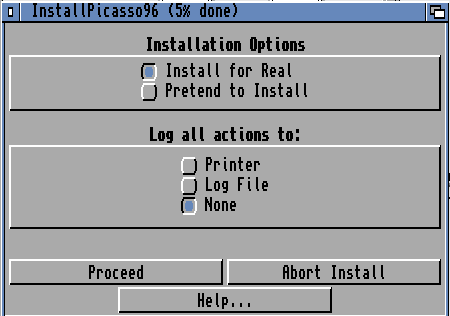
Proceed
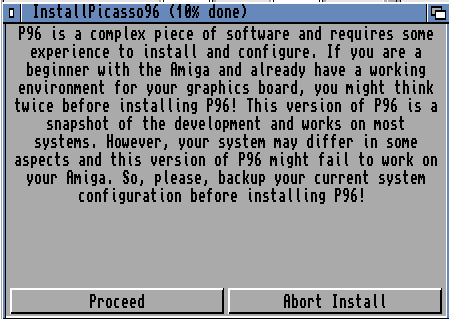
Proceed
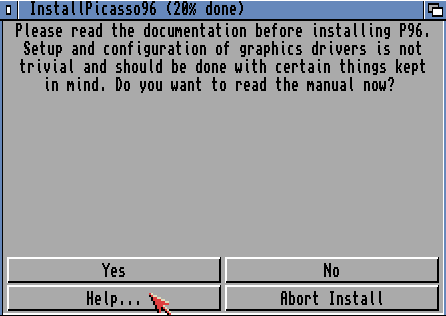
No
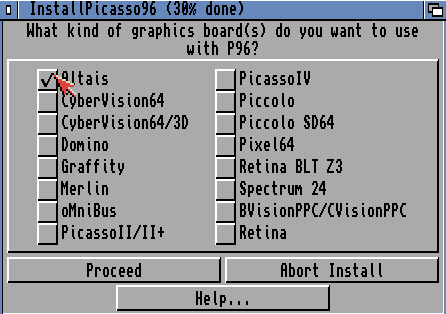
I just select any here. like Altais -> Proceed
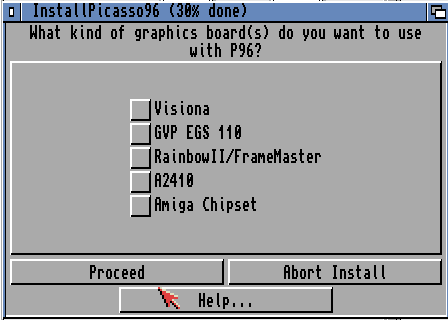
Click none -> Proceed

SYS:Libs
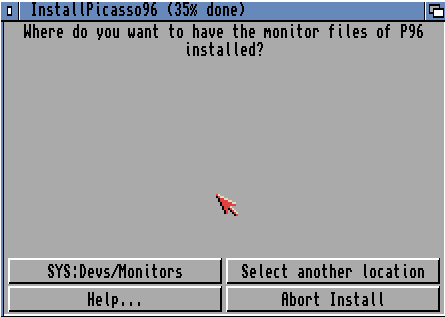
SYS:Devs/Monitors
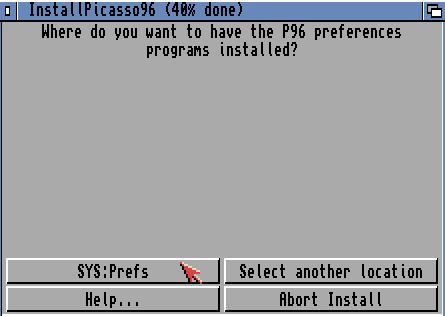
SYS:Prefs
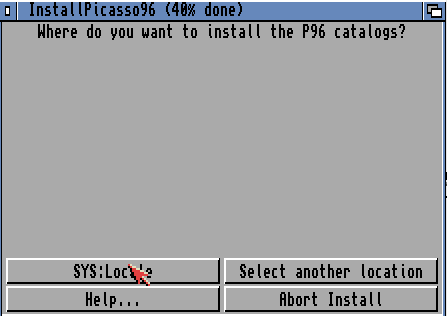
SYS:Locale
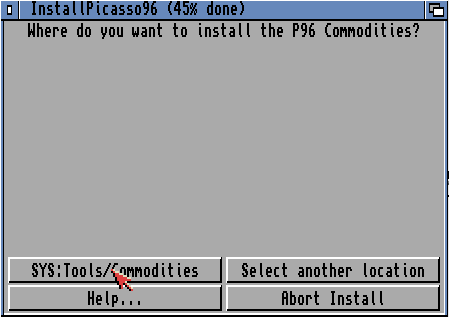
SYS:Tools/Commodities
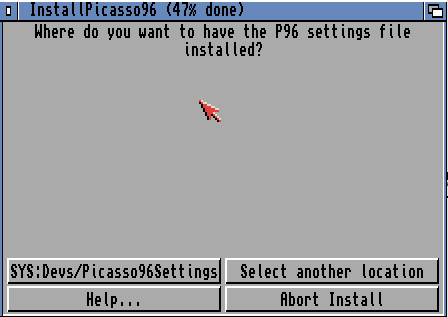
SYS:Devs/Picasso96Settings
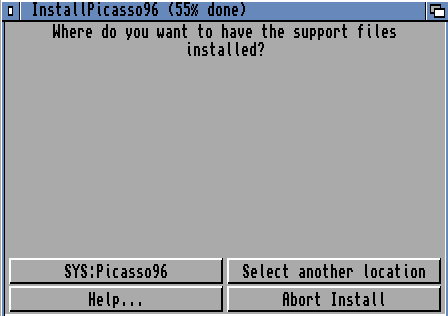
SYS:Picasso96
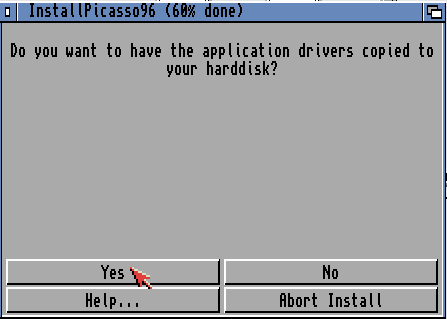
Yes
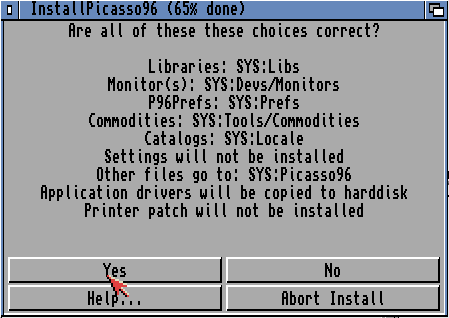
Yes
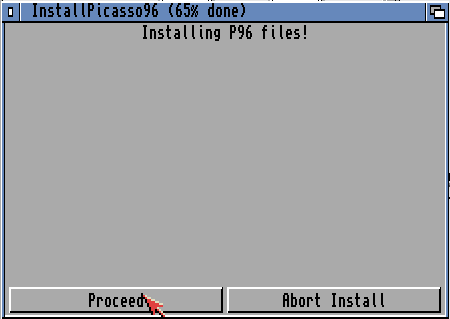
Proceed
Proceed
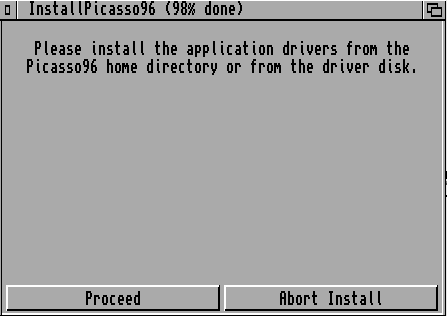
Proceed
done reboot your UAE Machine.
To clean up. F12 and Floppy Drives. eject any disk, and CD & Hard drives click on your Picasso96.lha and remove. -> OK and reboot your amiga (Amiga reuquires a SHITTON of reboots 🙂 )
Workbench -> Devs -> Monitors -> Click on “Altais” Hold right mousebutton go to menu Icons -> Rename and rename it to uaegfx
Click on it. Hold right mousebutton go to menu Icons -> Information
Icon and find “Boardtype=”
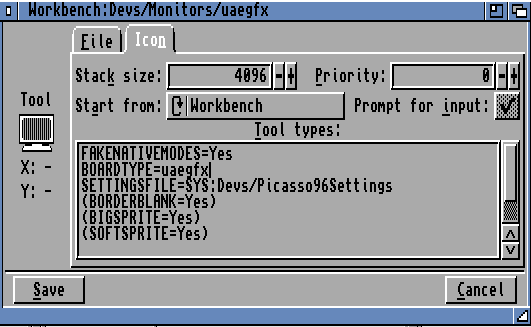
Change tp BOARDTYPE=uaegfx
IF you annoy that mousecursor is too small remove the paranthes of BIGSPRITE=Yes
Save and reboot
Workbench -> Prefs -> Screenmode
You now have a lot of UAE: screenmodes. select one of your liking.
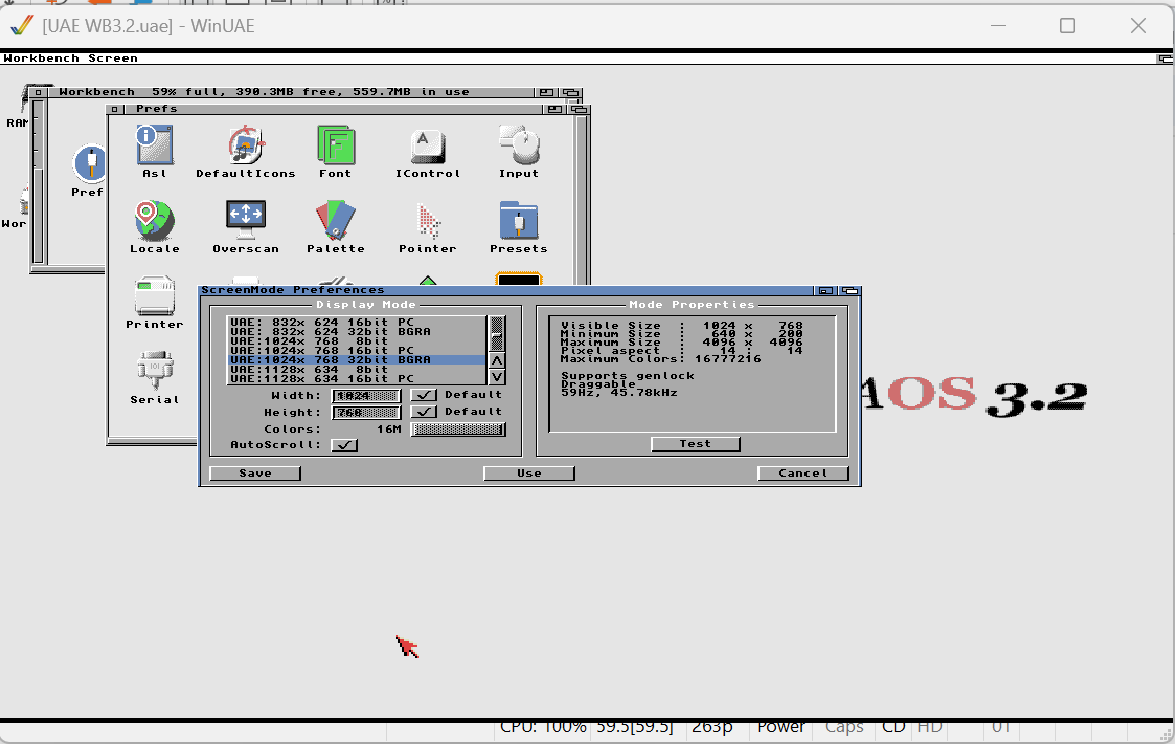
Save.
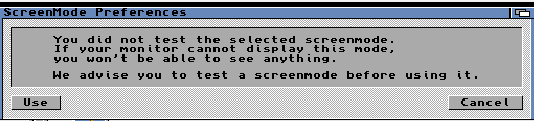
yes yes! we did not test. USE
AND like that. RTG Mode.
We need AHI. but. AHI “requires” MUI. so even if “MUI” teeechnically is out of a scope here. but as it is needed. we better download and install. I will use 5.0 but you can use 3.8 aswell.
https://github.com/amiga-mui/muidev/releases/MUI-5.0-20210831
Scroll down and find and download MUI-5.0-20210831-os3.lha
Add this as a harddrive in UAE. F12 -> CD & Hard drive
Select Archive or Plain file. find file. OK -> OK
Reboot Amiga.
Double click that.
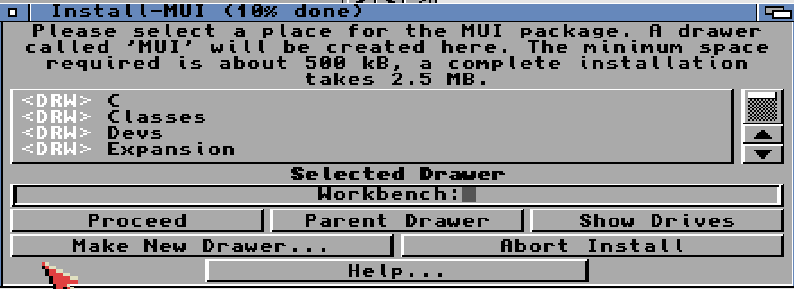
MUI -> Install MUI.
You MIGHT bump into “Unable to open your tool ‘C:Installer’ as.
YAY for hardcoded paths.
if so select “Select a different tool”
Drawer SYS:System
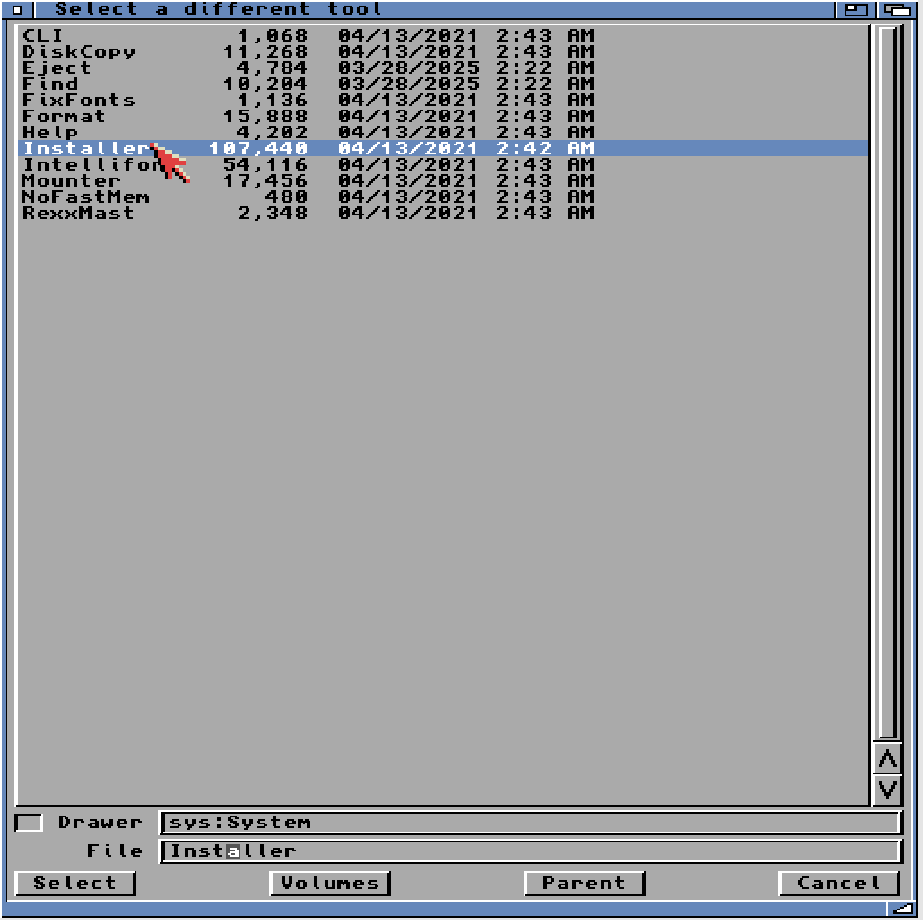
And Select “Installer” and “Select”
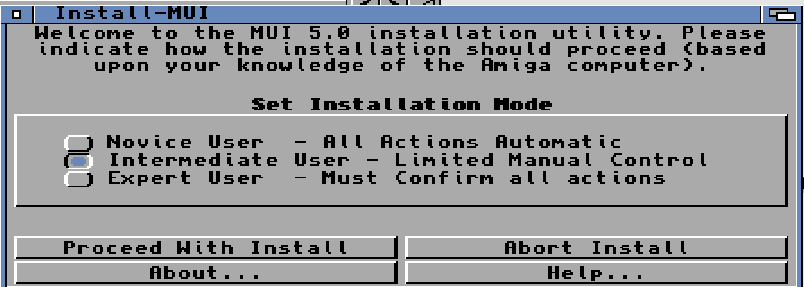
Intermediate User -> Proceed

Proceed

Proceed
Proceed
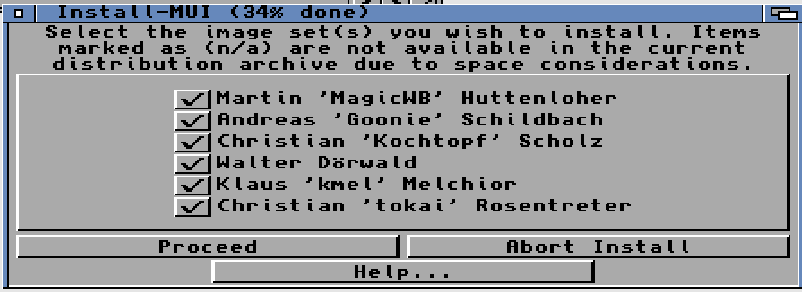
Proceed
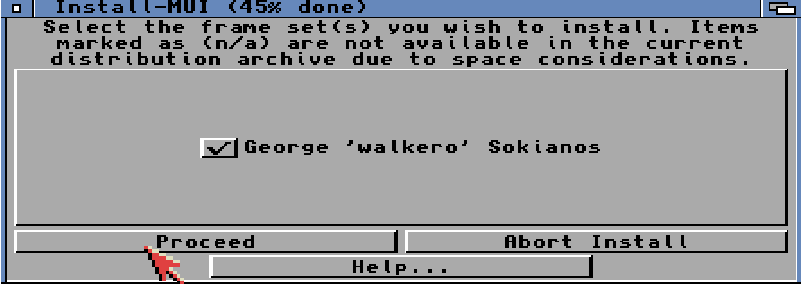
Proceed
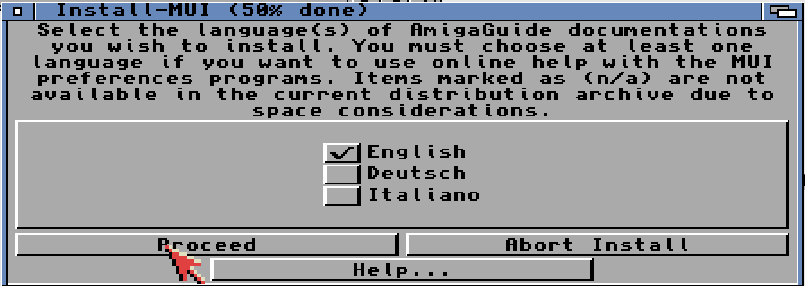
Proceed
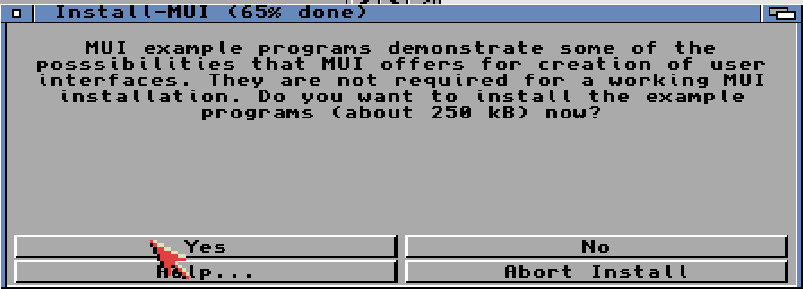
Yes

Yes
Proceed.
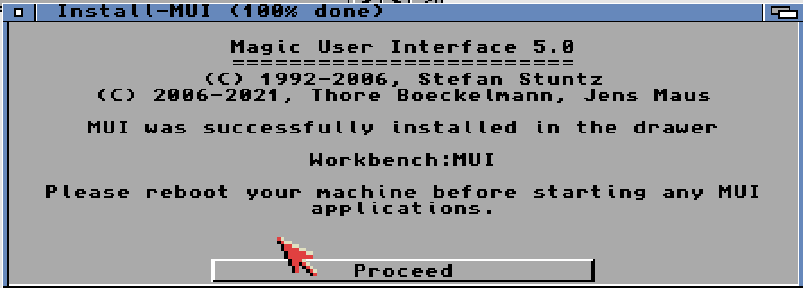
OK now we have MUI Installed. needed for AHI.
So lets prepare some.
On your PC browse to your WinUAE installation.
C:\Program Files\WinUAE
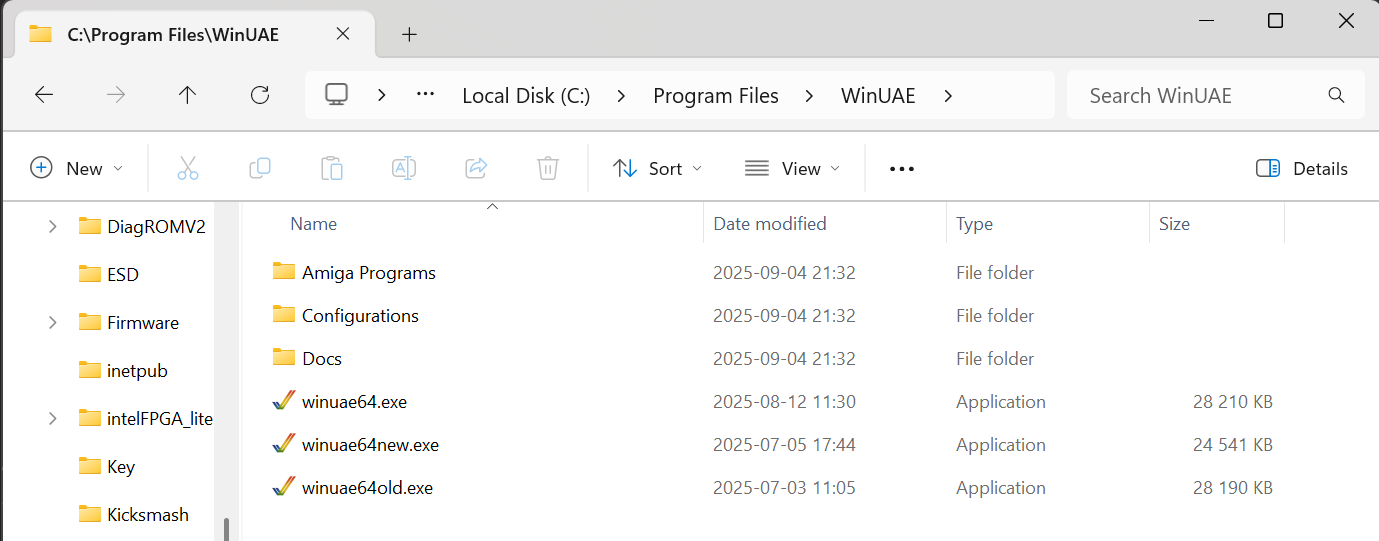
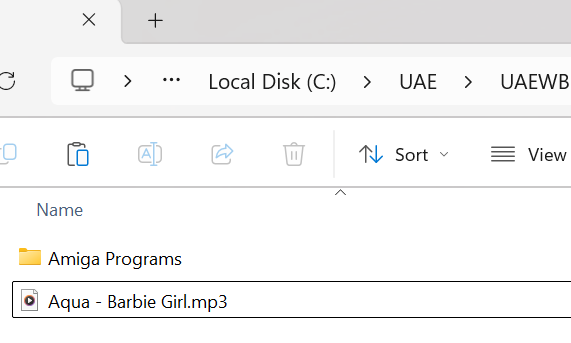
here you have a dir Called “Amiga Programs” Rightclick on it and choose “Copy” (CTRL+C)
now find your Directory where you installed your UAE Machine:
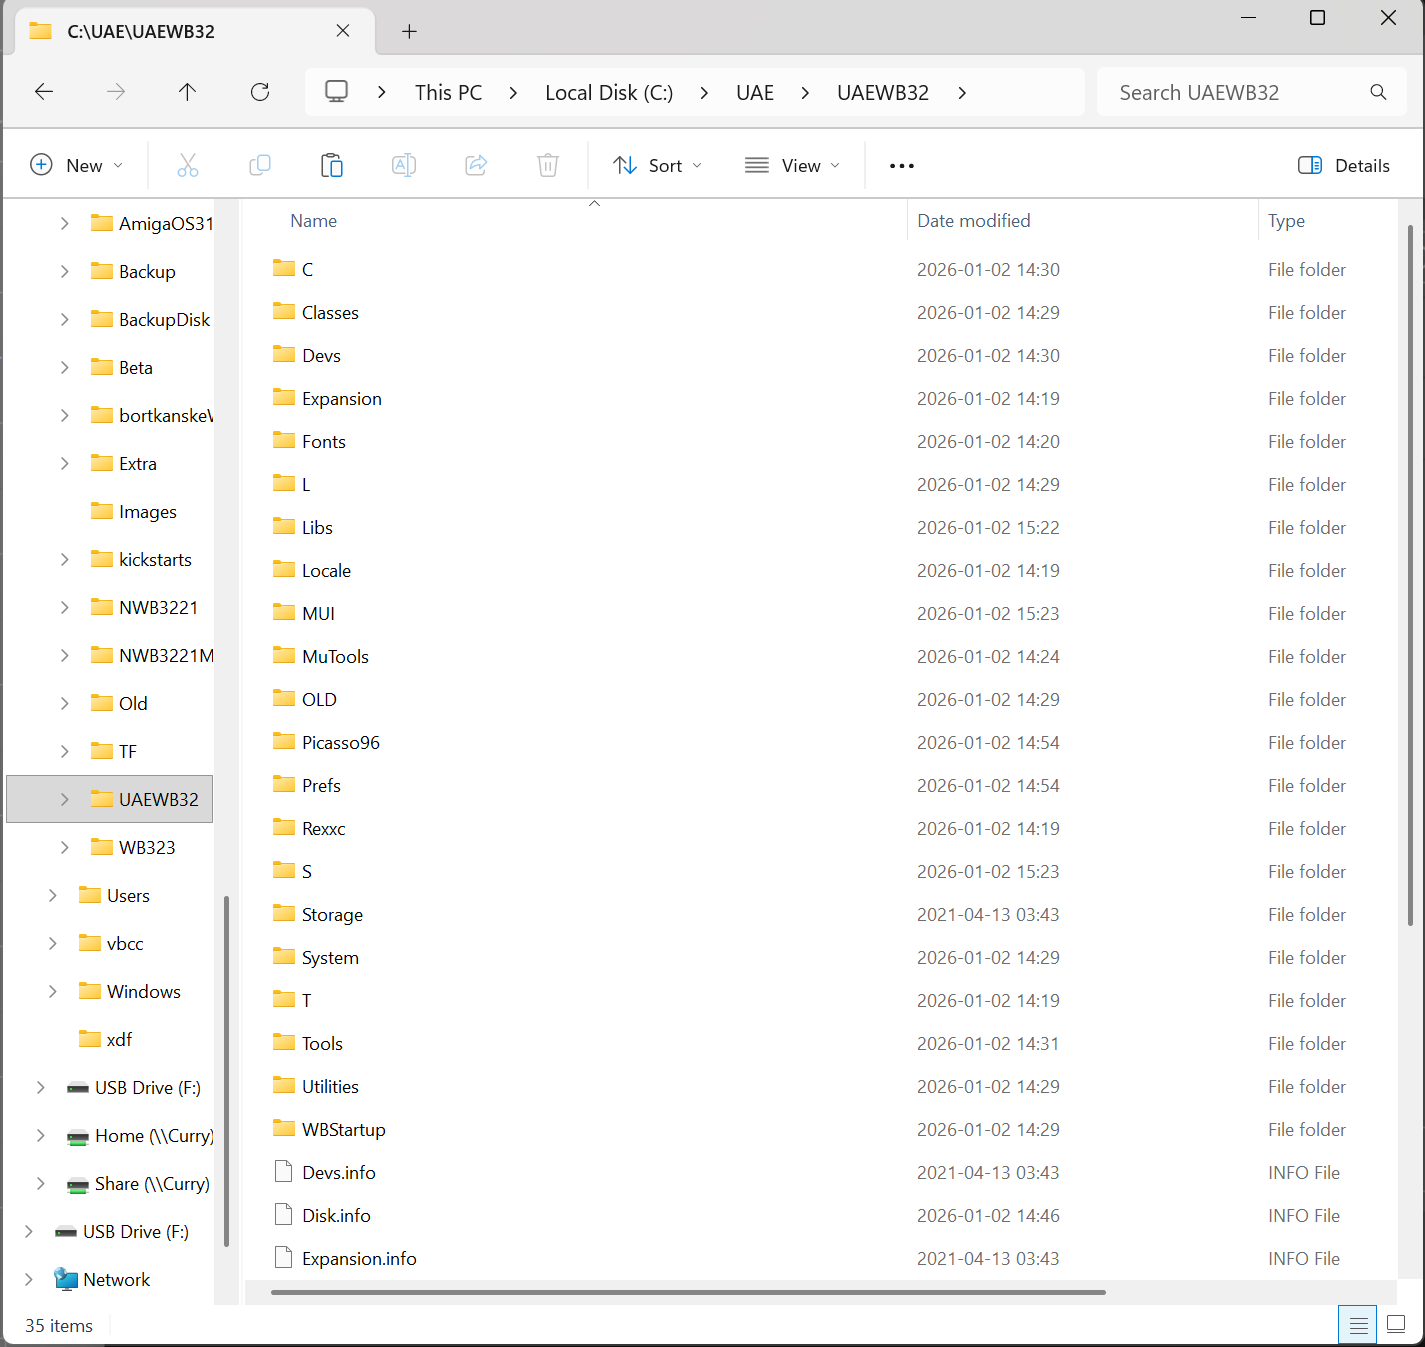
Go to the dir called “T” here and right click and Paste (CTRL-V)
When done. Double click on the Amiga Programs (in your T drawer)
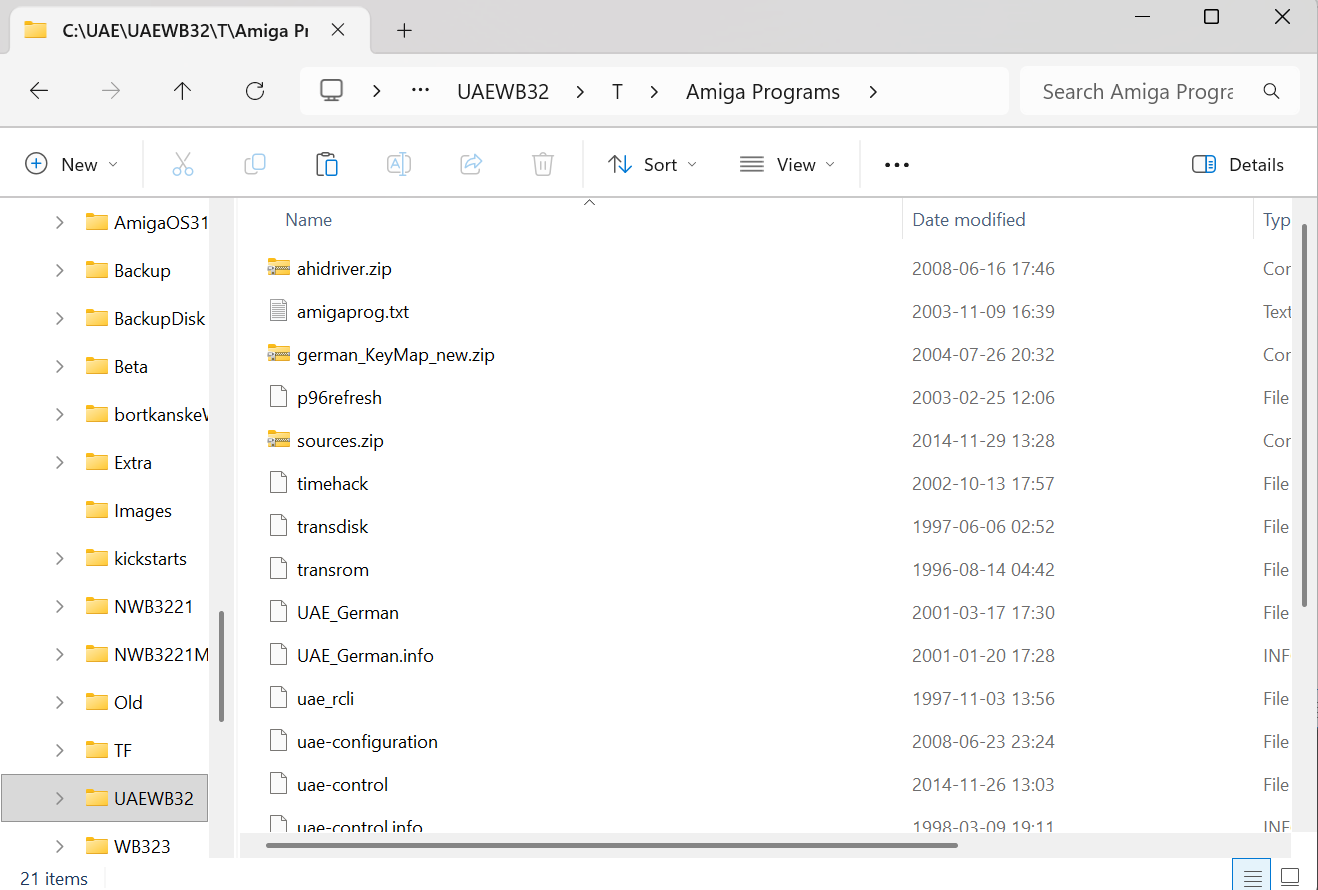
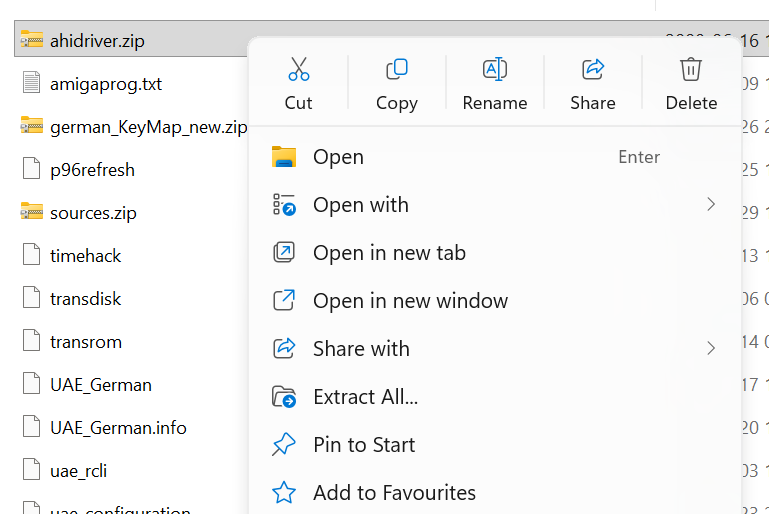
Right click on “ahidriver.zip” and Extract All
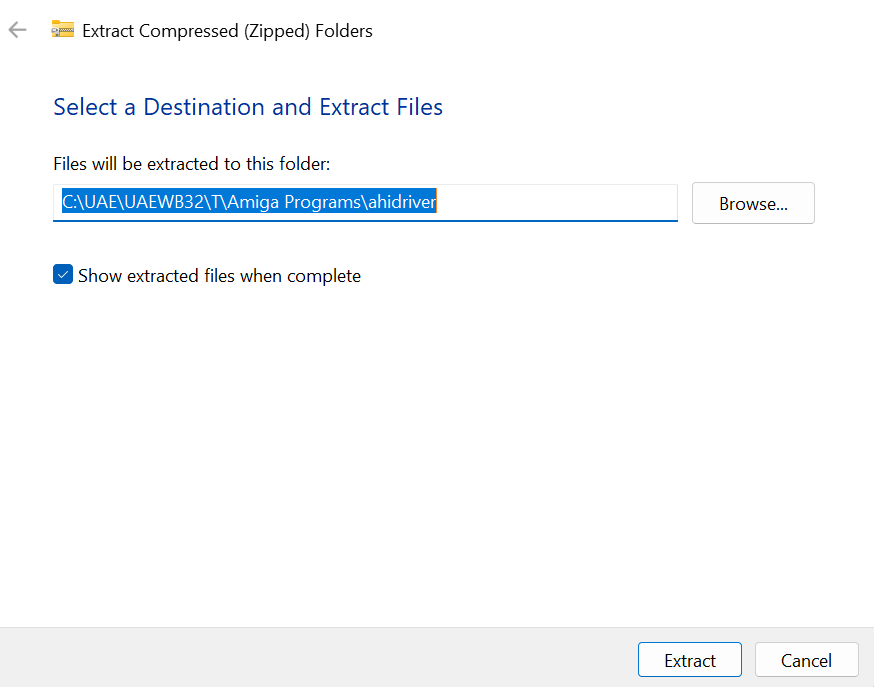
Extract
you can now close the extra windows and download AHI.
I Google “ahi amiga download” and find aminet:
https://aminet.net/package/driver/audio/ahiusr_4.18
Download this and assign it as a harddrive in UAE. like above. (remove old links to clean stuff up)
and reboot (AS USUAL)
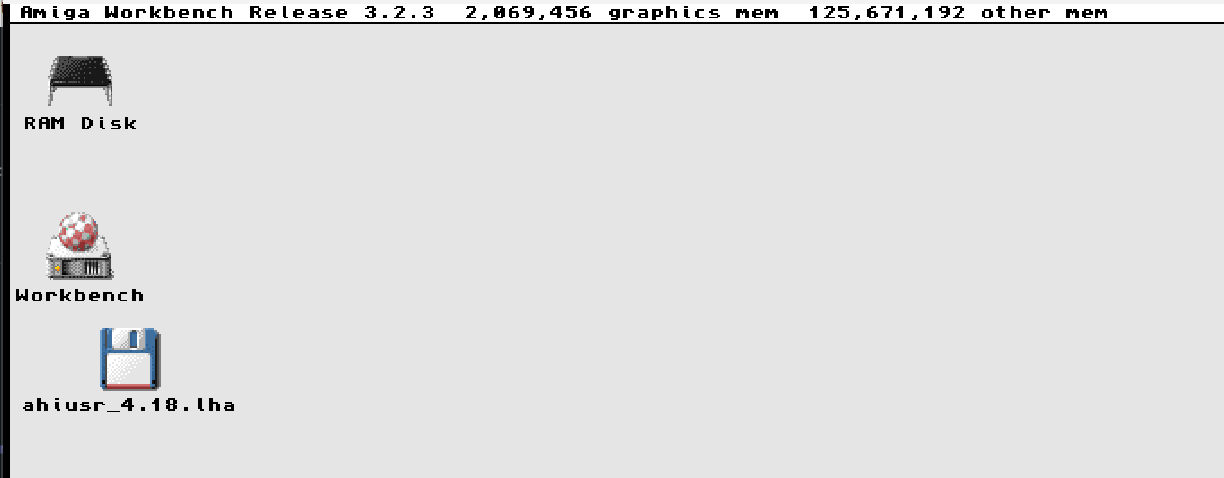
Doubeclick ahiusr. -> AHI -> Install AHI
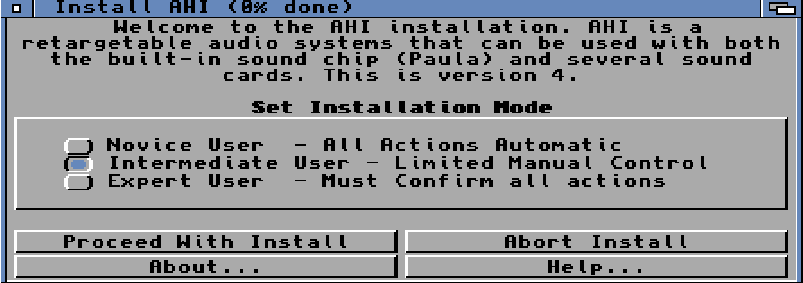
Intermediate -> Proceed
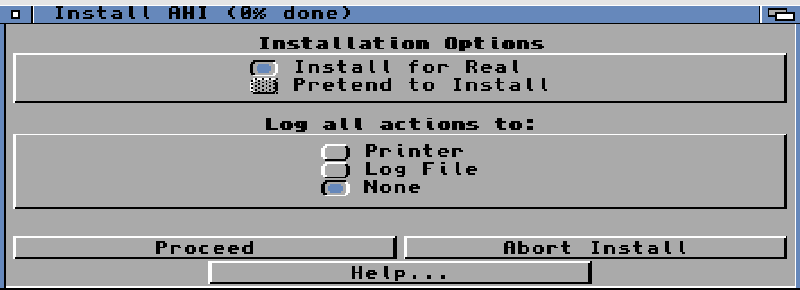
Proceed
Proceed

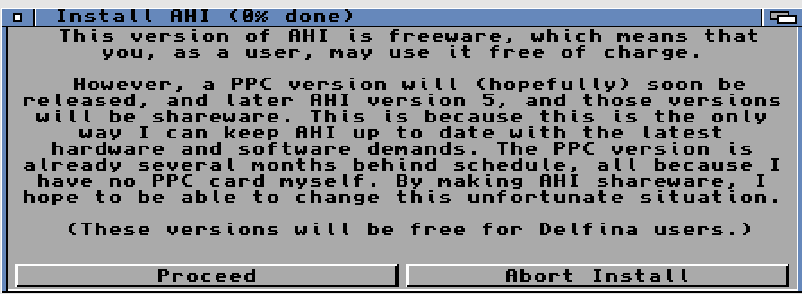
(he have moved and what I know stopped with Amiga totally! do not bother!) proceed
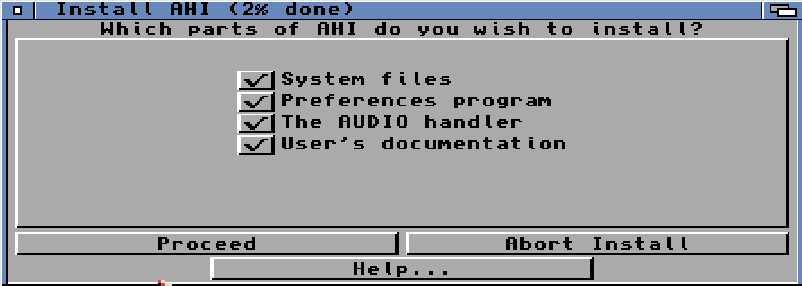
Proceed
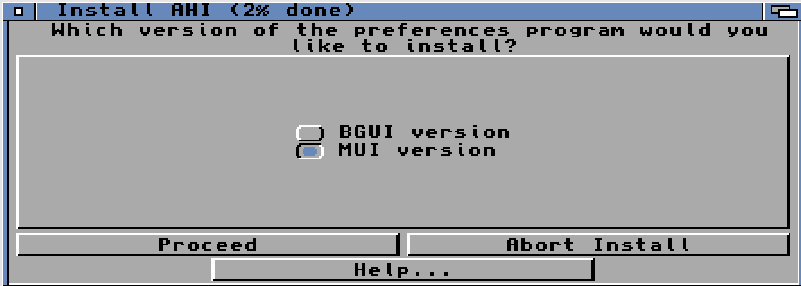
MUI -> Proceed
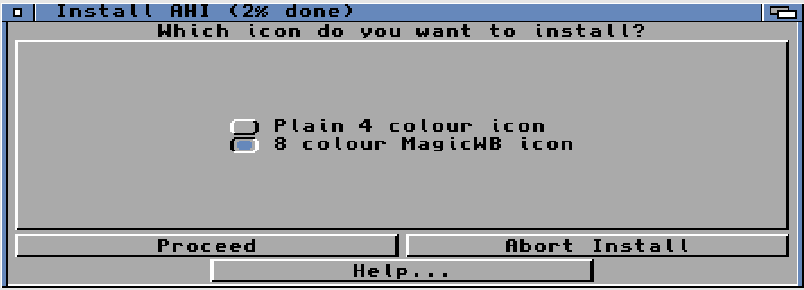
Up to you, Proceed
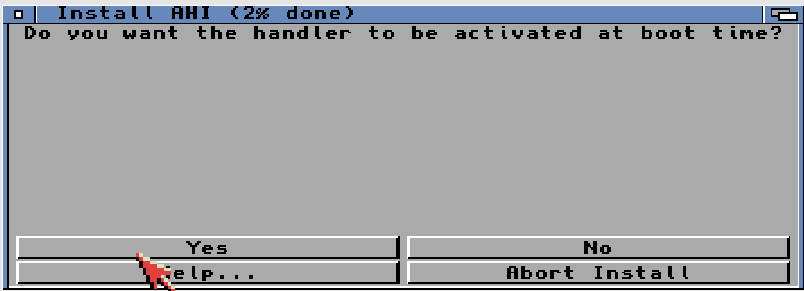
Yes
Proceed
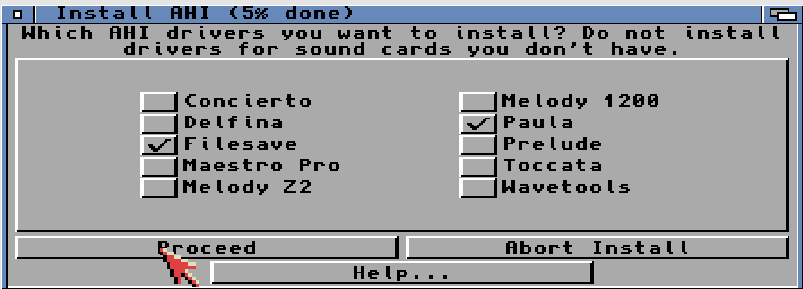
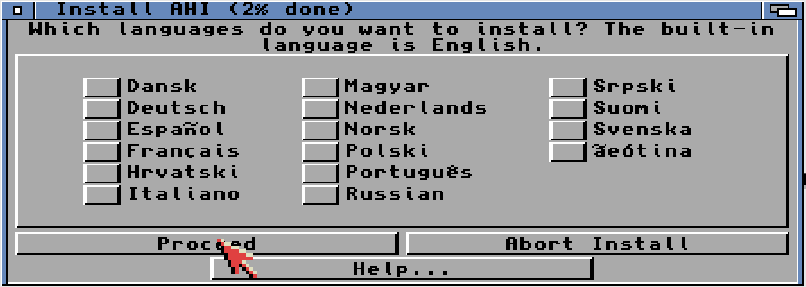
Proceed
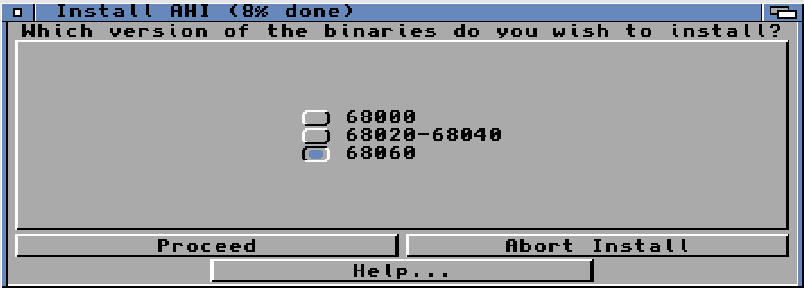
Select CPU and proceed
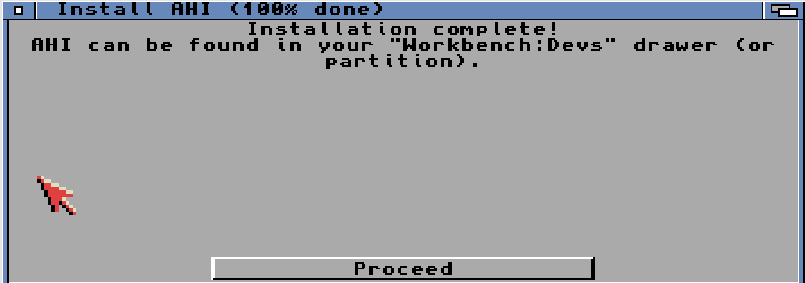
Proceed.
AHI is a nice software but he forgot a VERY important thing: a way to TEST it!
so I will install AmiAMP to load a MP3 to be used for testing!
First it needs mpeg.library so lets download and install:
google: mpeg.library amiga download
https://aminet.net/package/util/libs/mpega_library
Download it. mount as disk (clean up old stuff) reboot
as mpeg.library does not have any installscript. lets do it from shell
Workbench -> System -> Shell
resize window to be able to see more. to make sure what device the mounted disk have use the info command
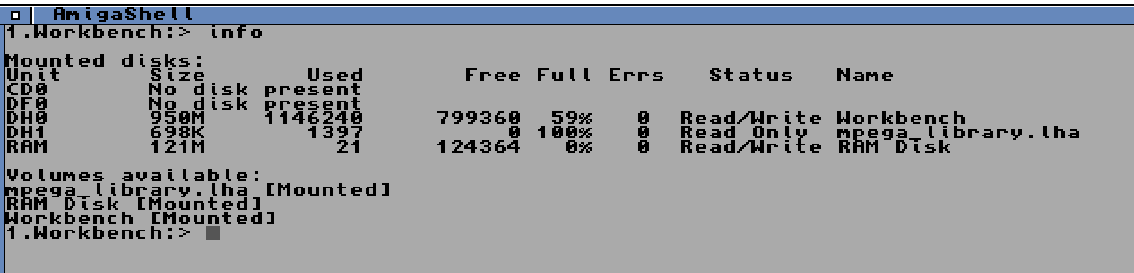
ok it is mounted as DH1. good.
write dh1: enter
dir
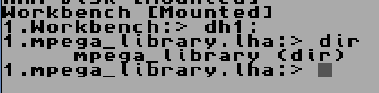
cd mpega_library and return. (in 3.2 you can just do cd mp<and press tab key) actually no need to write CD at all. not even in 3.1
cd libs
dir

now copy the wanted file. I will use mpega060FPU.library you can use one that fits your config:

I wrote copy mpega060FPU.library libs:mpega.library
this will copy the file mpega060FPU.library put it in the LIBS: path and rename it to mpega.library
we can now close this window.
Lets download and install AmiAMP
Download , Rightclick on 68k and save link.
https://www.amigaamp.de/Binaries/AmigaAMP3-68k.lha
Mount in UAE (and cleanyp. reboot..)
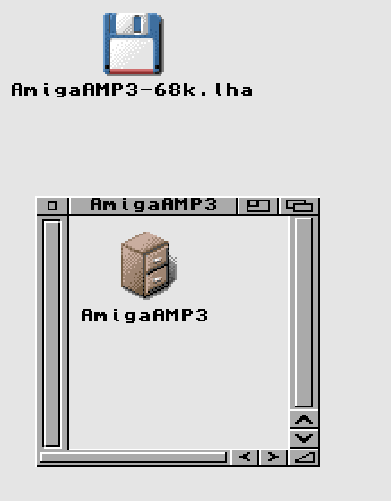
Double click on AmigaAMP3-68k.lha
and move the window some so you can reach your Workbench icon and double click that aswell.
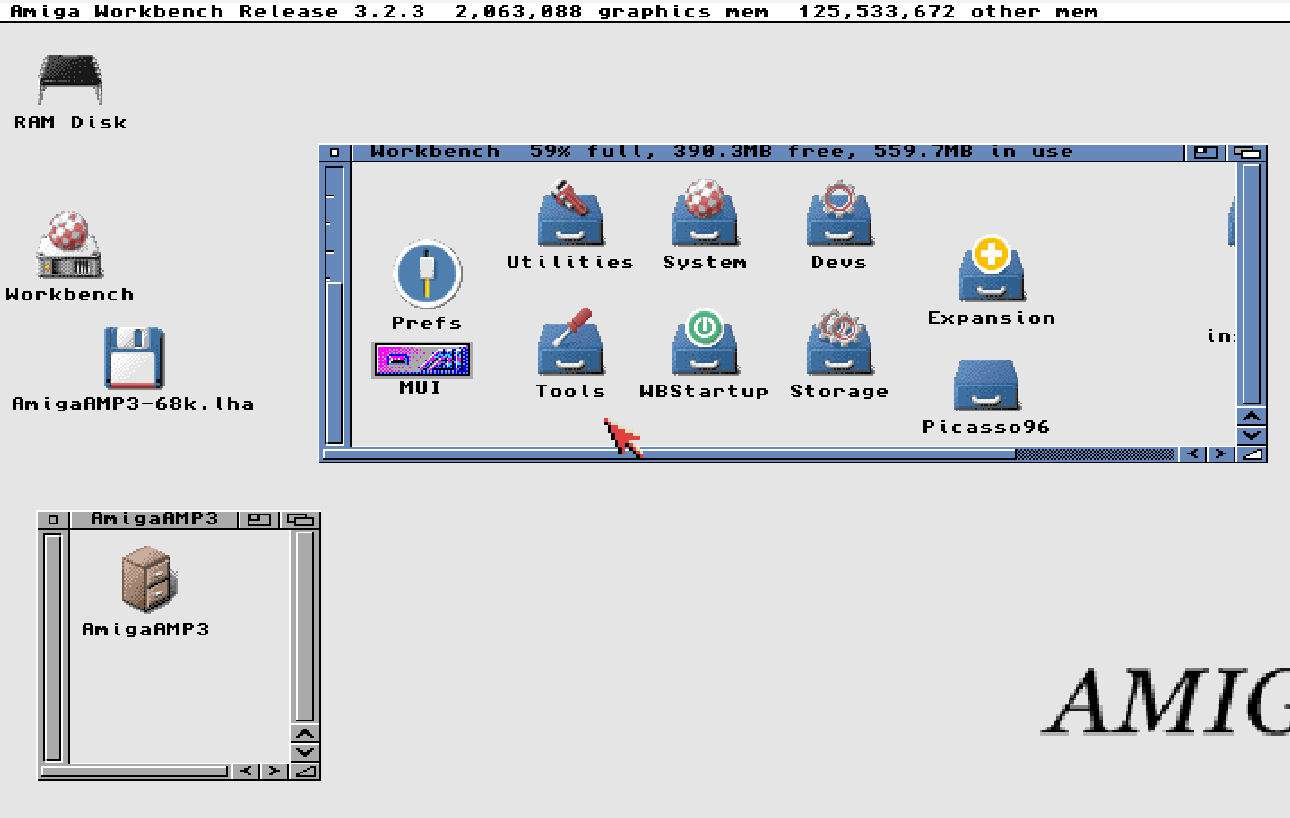
As AmigaAMP does not have a install script. I click on a empty space in “Workbench” and hold down right mousebutton go to the menu and choose Window -> New Drawer
and in “New drawer name” i Choose “Music”
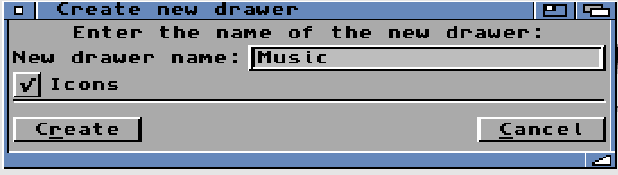
and Create
if I resize my Workkbench window i will find “Music” double click on it
and just click and hold on AmigaAMP3 and move it to this “Music” drawer

This “installs” AmigaAMP to the harddrive.
you can now go to F12 and remove the AmigaAMP HD mount we did and reboot..
ALSO. copy a mp3 file of your liking from your PC (well all have that old napster folder? 🙂 ) to your Amiga machine T Dir.
Back to Amiga:
Workbench -> Music -> AmigaAMP3
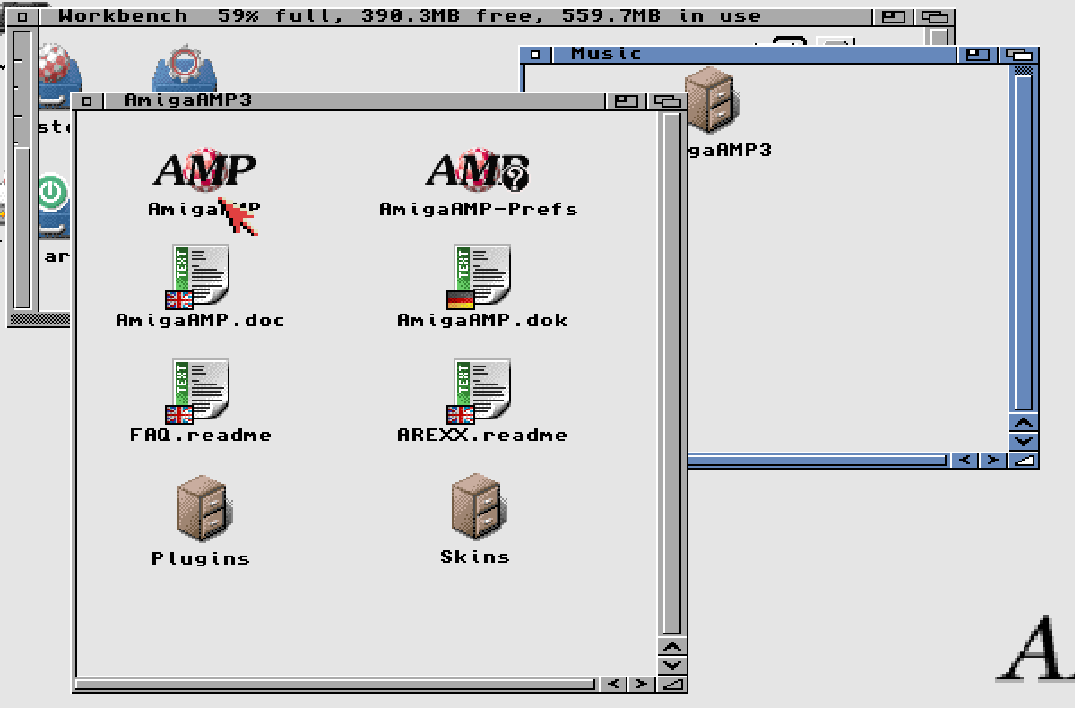
Doubleclick AmigaAMP.

OK
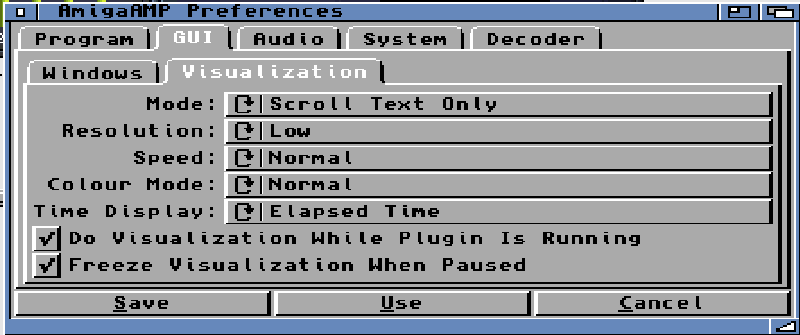
Go to GUI tab and Visualization and change mode to Scroll text Only.
Decoder
and make sure you choose MPEGA Layer 3 tab.
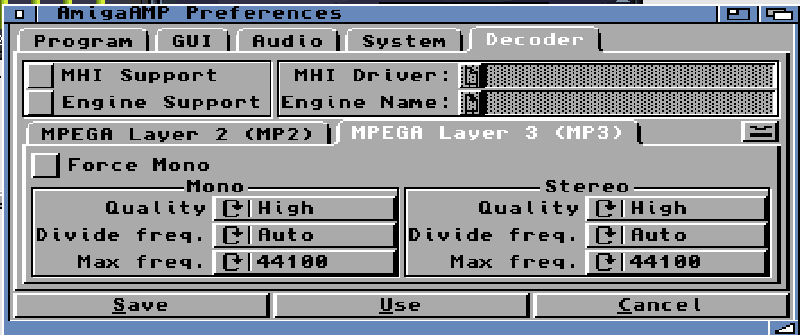
Set to High, And 44100 freq.
Save
Now press the “PLAY” symbol on AmigaAMP.
as we have no music in the playlist:
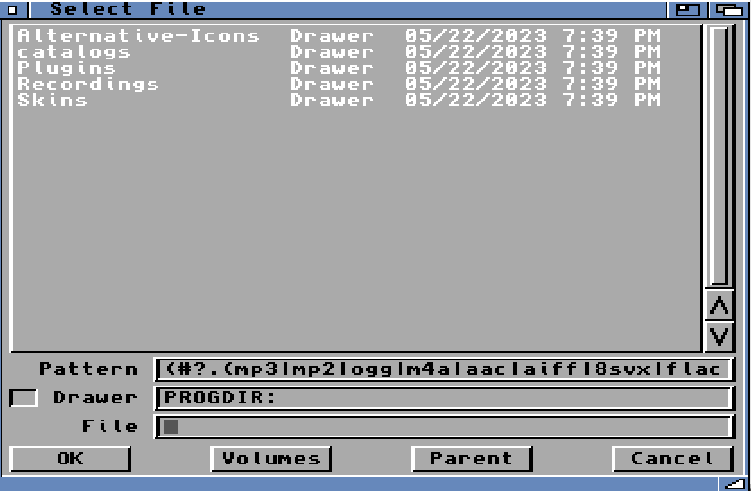
so Select drawer SYS:T
Choose the mp3
AAAND it sounds HORRIBLE!. yes. as we are playing on PAULA and shitty settings! 🙂
close AmigaAMP.
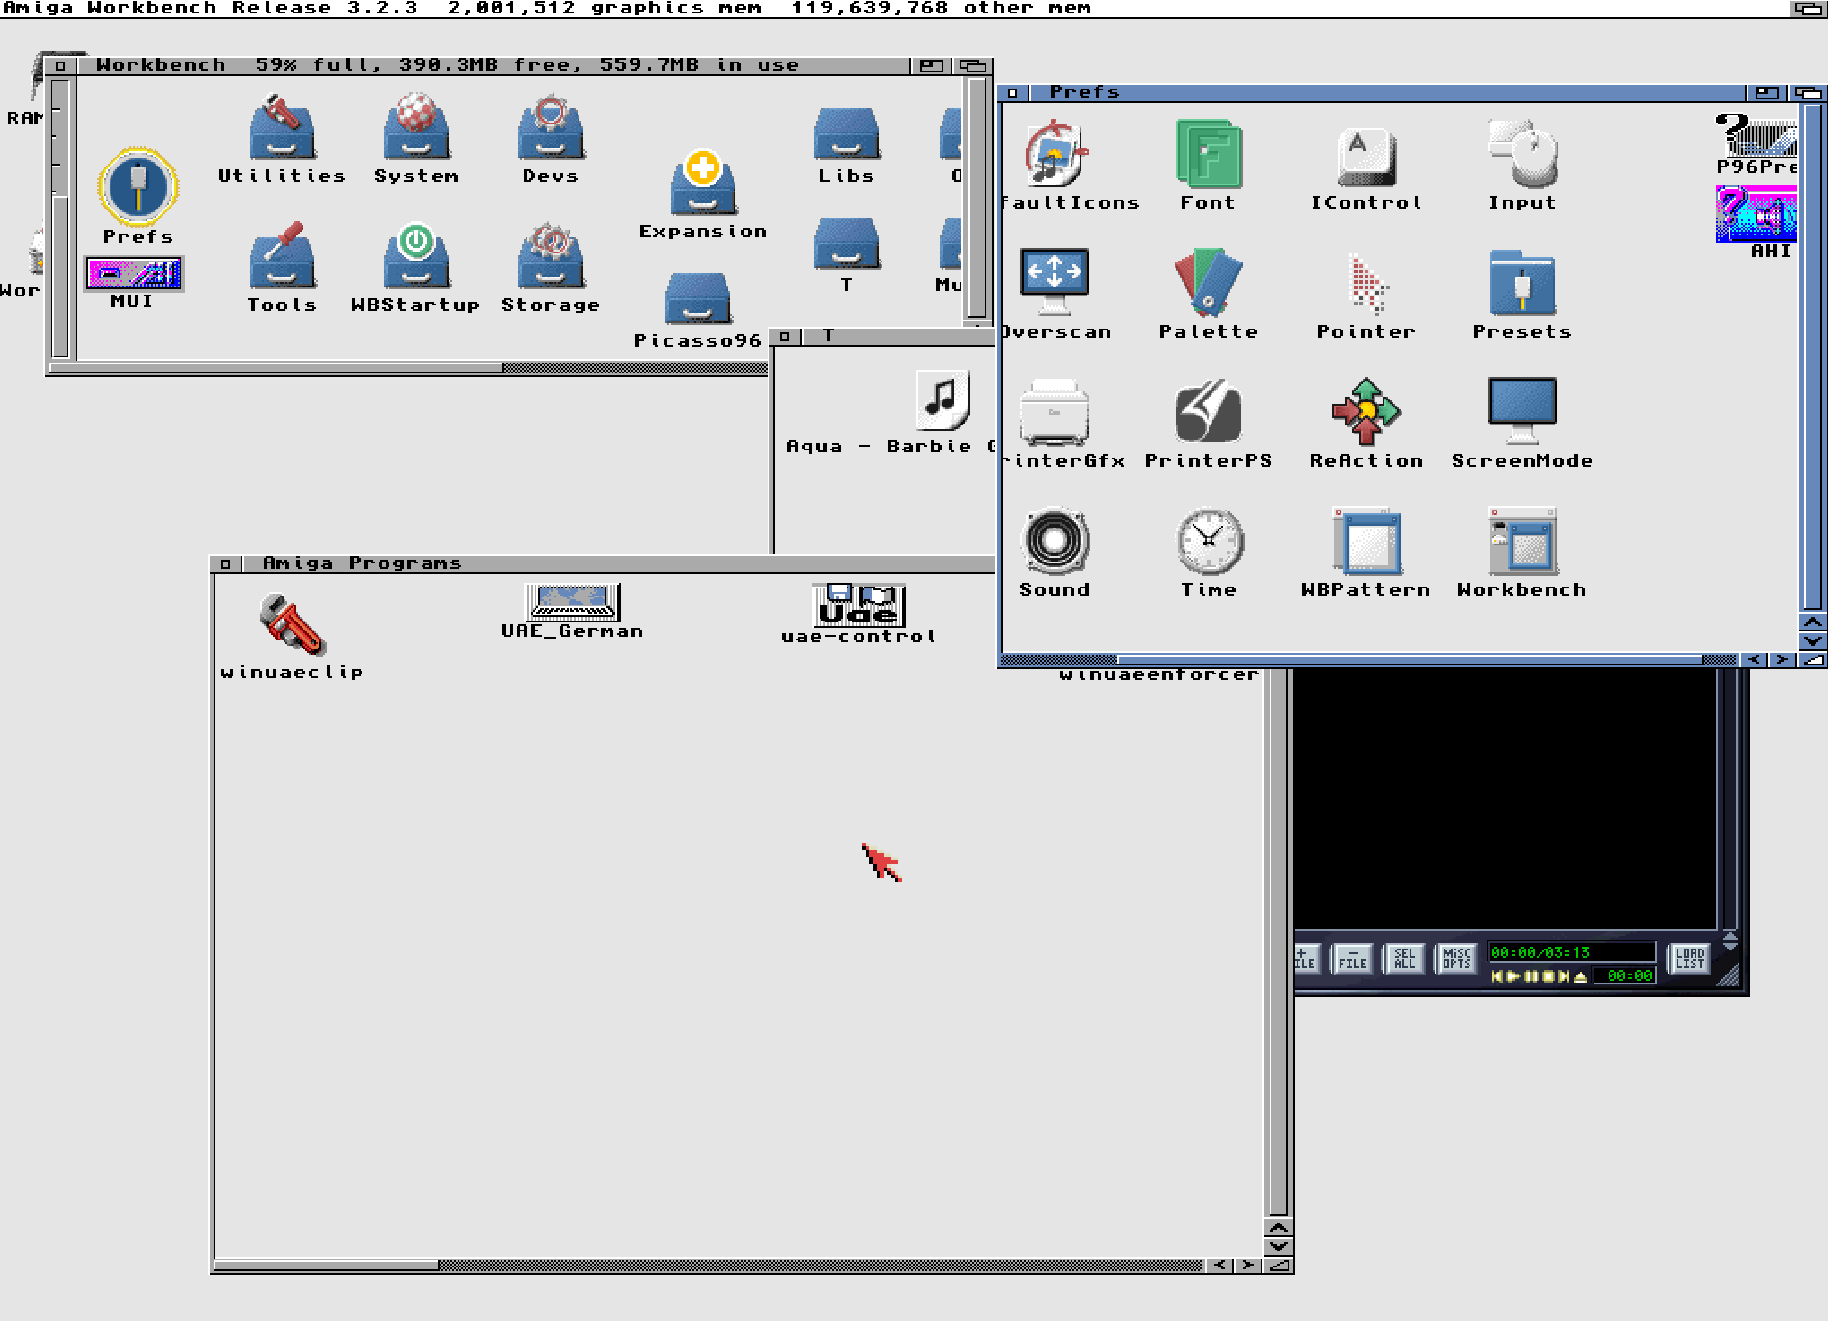
Workbench -> Prefs -> AHI
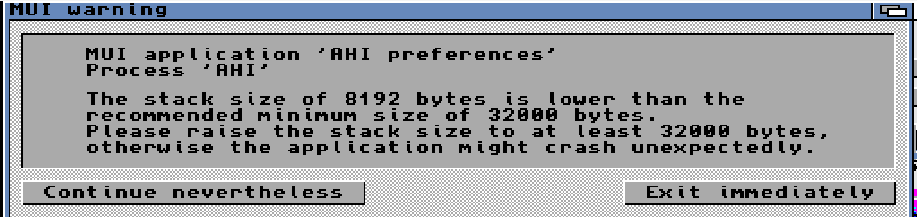
uhuh! MUI 5 thing! exit.
Click on AHI Hold right mousebutton and menu ICONS -> Information
Icon Tab
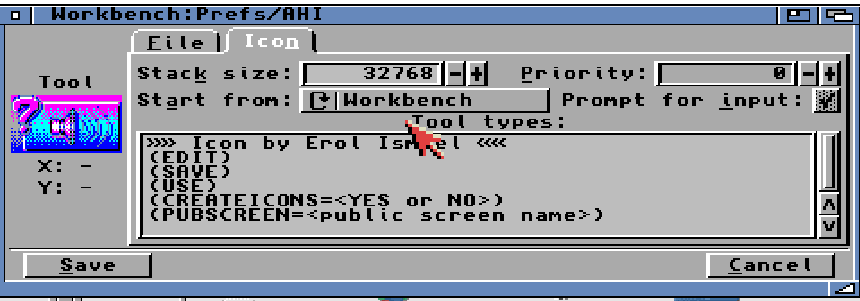
Change Stack size from 8192 to 32768 (from 8k to 32k)
Save
Now Doubleclick AHI again.

“Better” . (you need to configure font in MUI! not in this scope of this guide)
Click on “Music unit” and change to Unit 0
There are no PC stuff here. hmm we fix that. you CAN however play here first if you want to by changing to Paula Fast 14 bit and higher Frequency . Save and check in AmigaAMP if you want to.
lets fix UAE AHI Config..
Start a CLI Prompt: Workbench -> System -> Shell
resize window for more “clear view”
SYS:T
dir
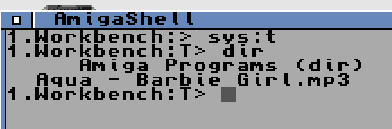
cd “Amiga Programs” in 3.2 you only need to do cd am<tabkey>
dir
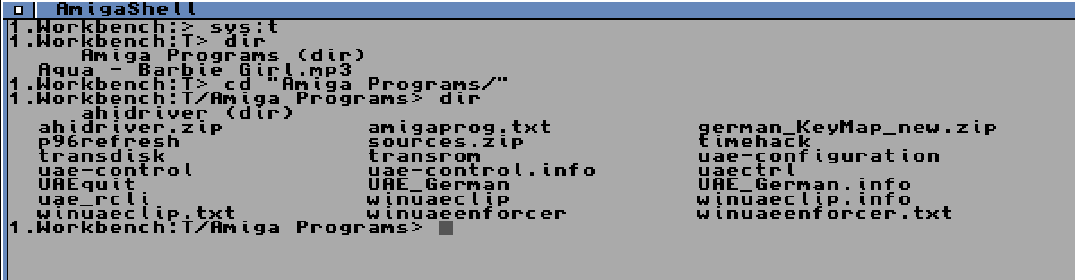
cd ahidriver
dir
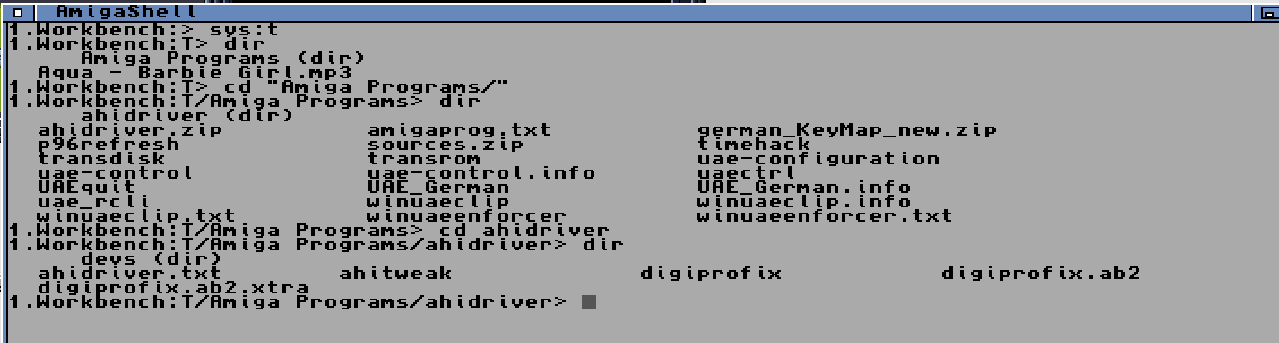
lets copy the needed files:

so being in the “ahidriver” dir as above just write: copy devs devs: all
(NOTE! first devs is without : )

Reboot your Amiga.
Workbench -> Prefs -> AHI
Resize window.
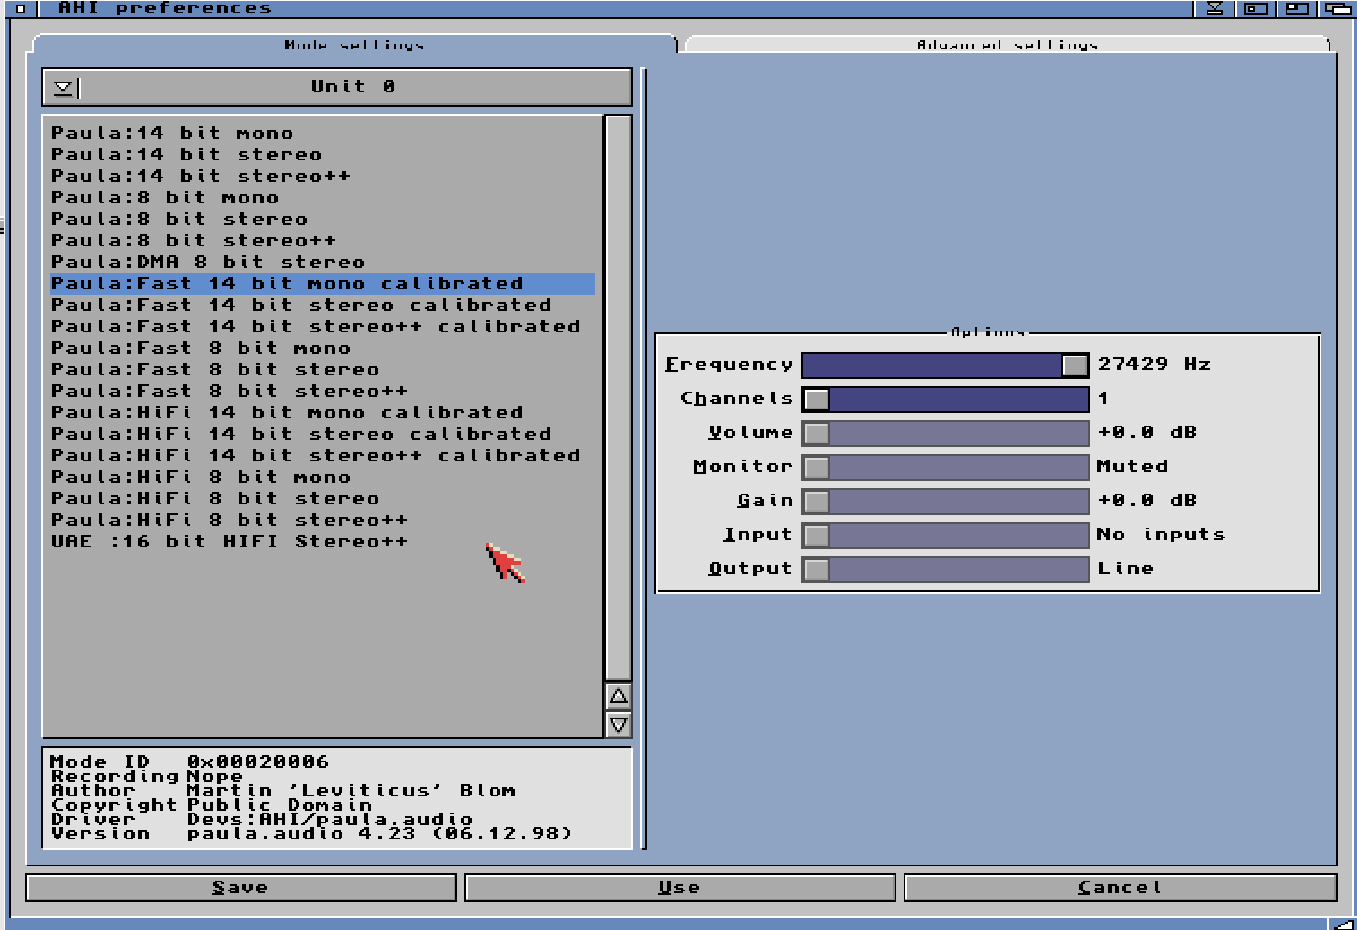
NOW at bottom you have UAE. choose that.
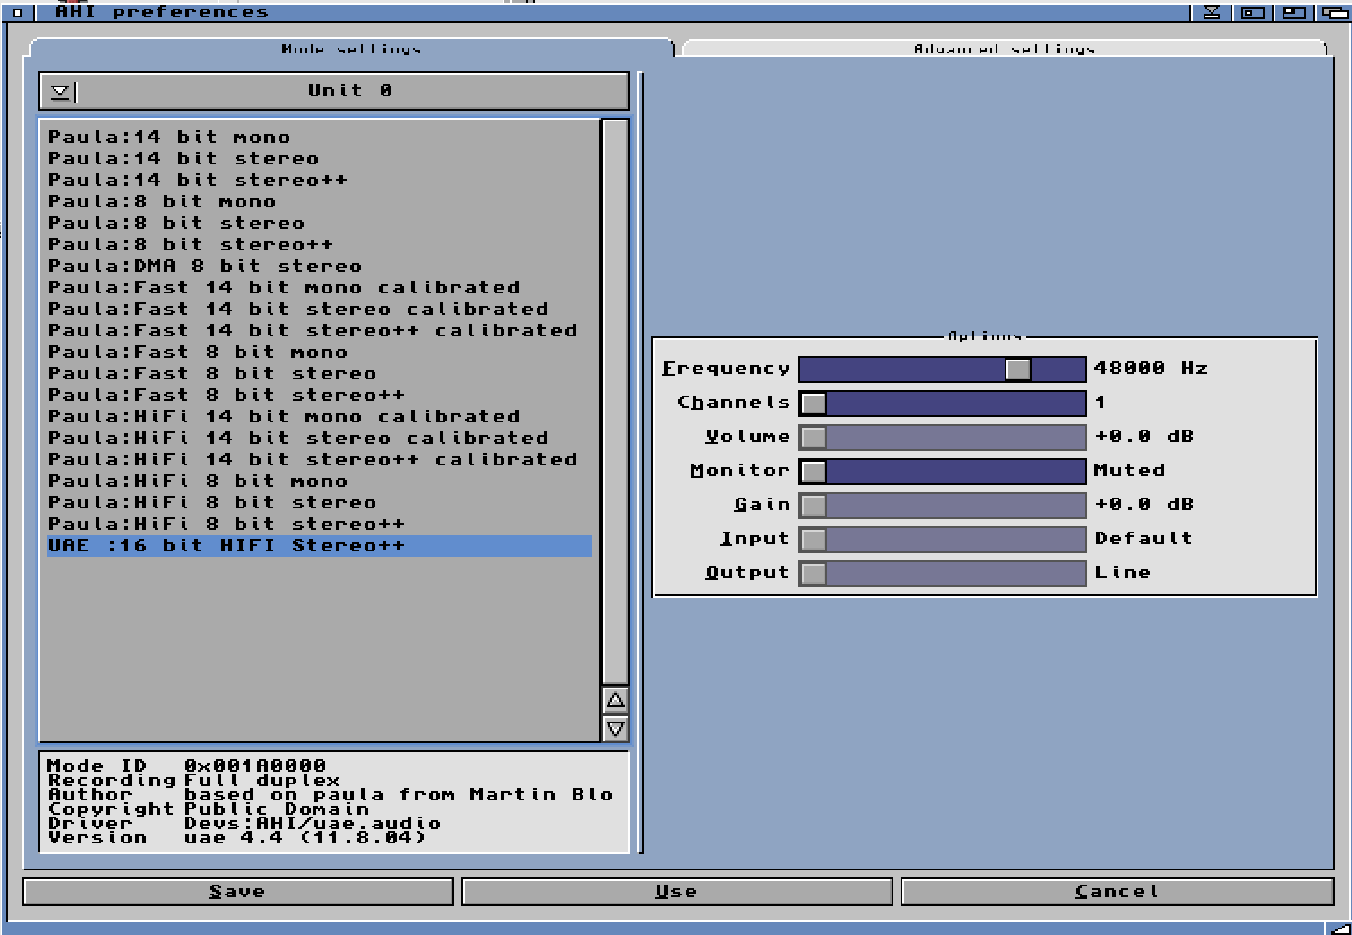
And set Frequency to 48KHz. Save.
and now close all windows: workbench -> Music -> AmigaAMP and run AmigaAMP.
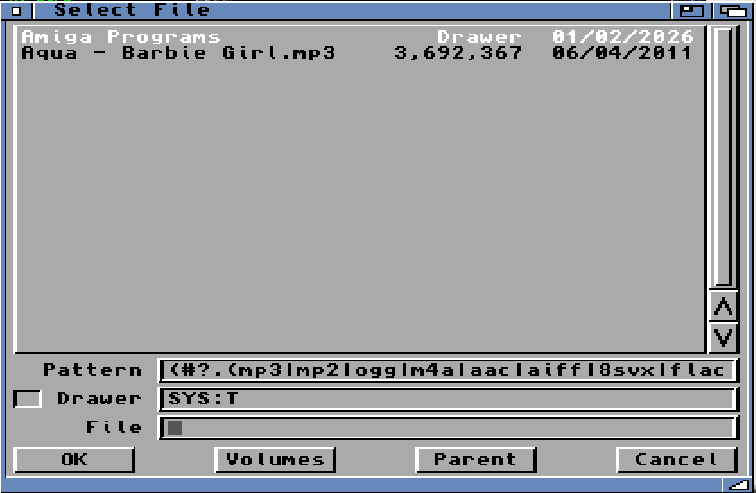
Press Play sombol.
Choose SYS:T and your mp3
16 bit glory flows out of your speakers! YAY!
Now lets copy the UAE-Control software
go to Workbench. Hold right mousebutton and go to menu: Window -> Show all files.
now there will be more files suddenly and you will be able to see the T folder. go into that.
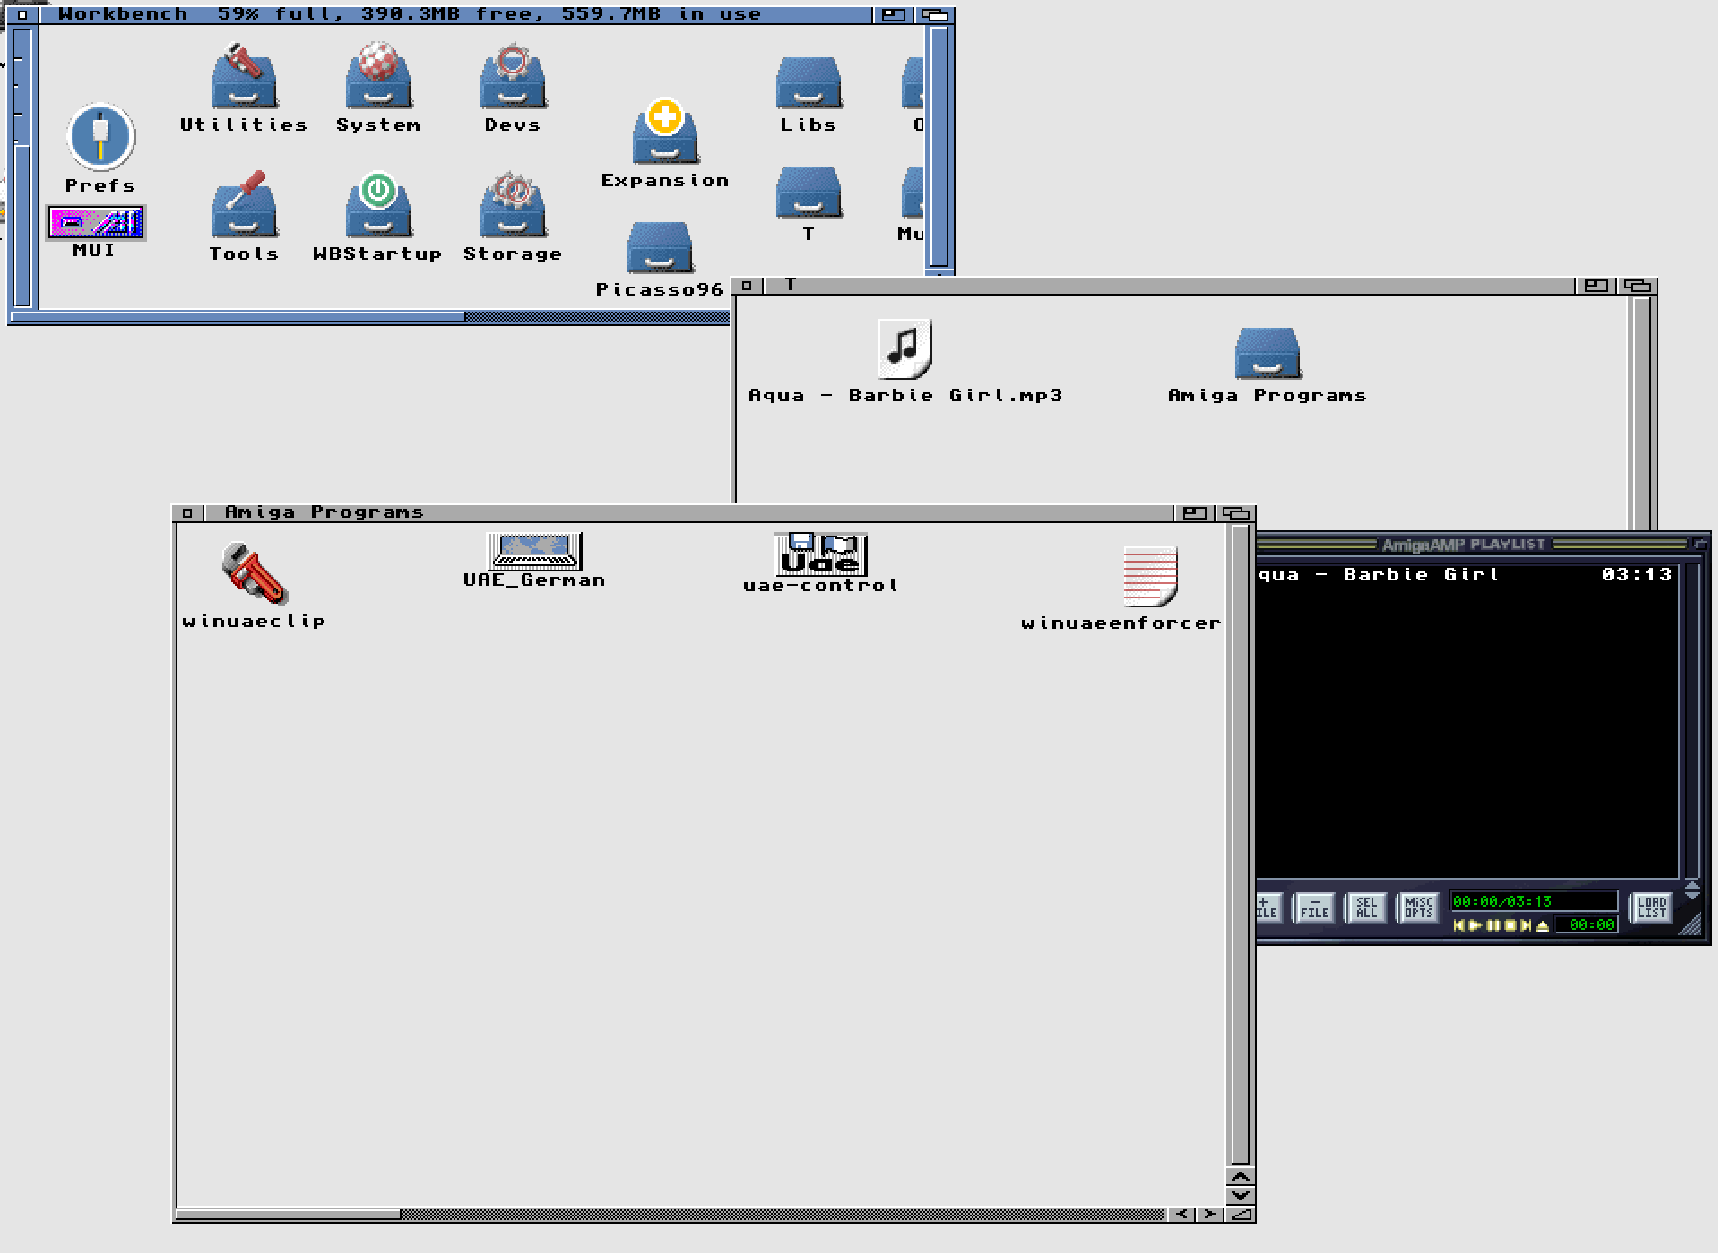
and there go into “Amiga Programs”
when you have done that open “Prefs” from workbench
and copy the file “uae-control” to Prefs
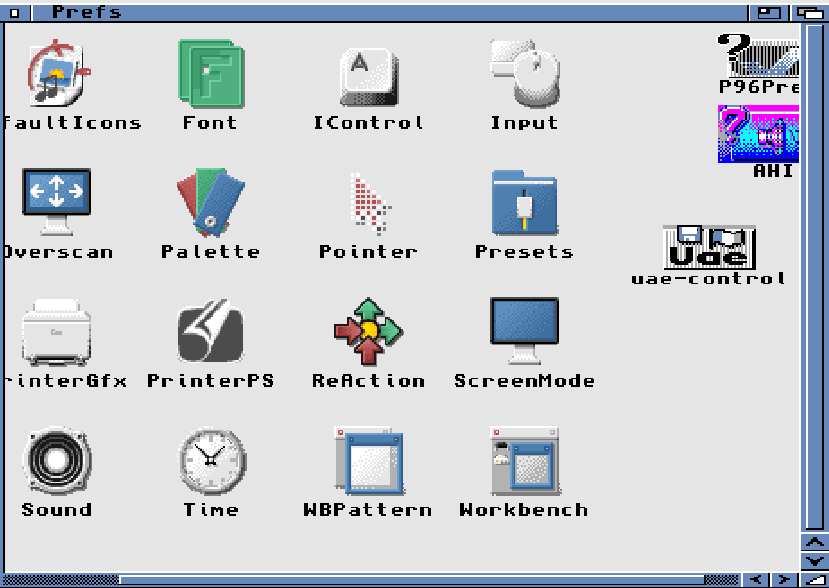
if you now start uae-control from prefs
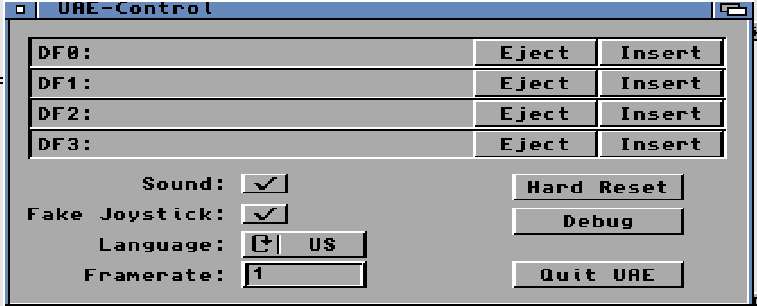
you can control some UAE stuff from here.
Quit UAE will do exactly THAT! and YES THAT! no questions!
now more or less all stuff is done. now you need to install all the rest you want in an Amiga.
NETWORK?
YES! you can get network up and running aswell
in WinUAE Config. (WITH machine turned OFF!)
in “Expansions” you can click bsdsocket.library
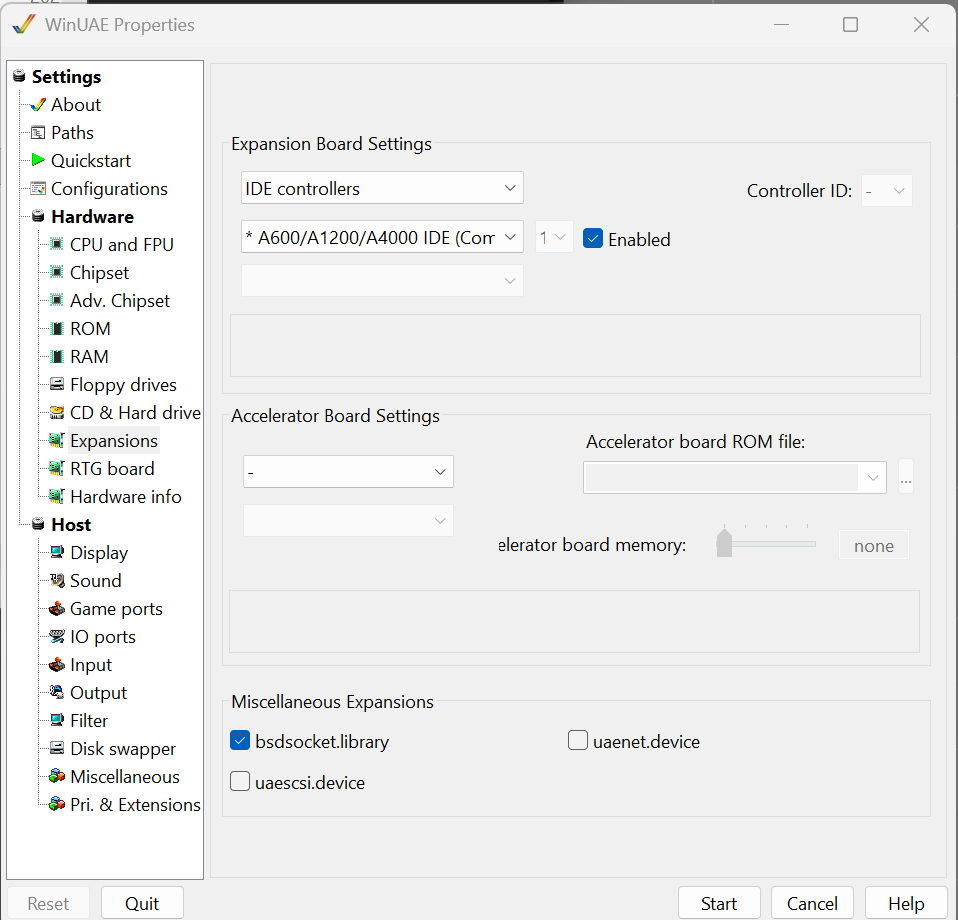
by doing this. you have a complete tcp/ip stack. sadly no “ping” command or so. so if you need that. .I usually download the roadshow demo version and install. and it will give you the commands etc.
but you do not need to download roadshow to be able to use FTP, AmiWEB or anything.
(Remember to save your UAE config)
now remember to erase all files you copied to your Amiga dir in windows. remove everything in the T folder (but the T Folder should remain there)
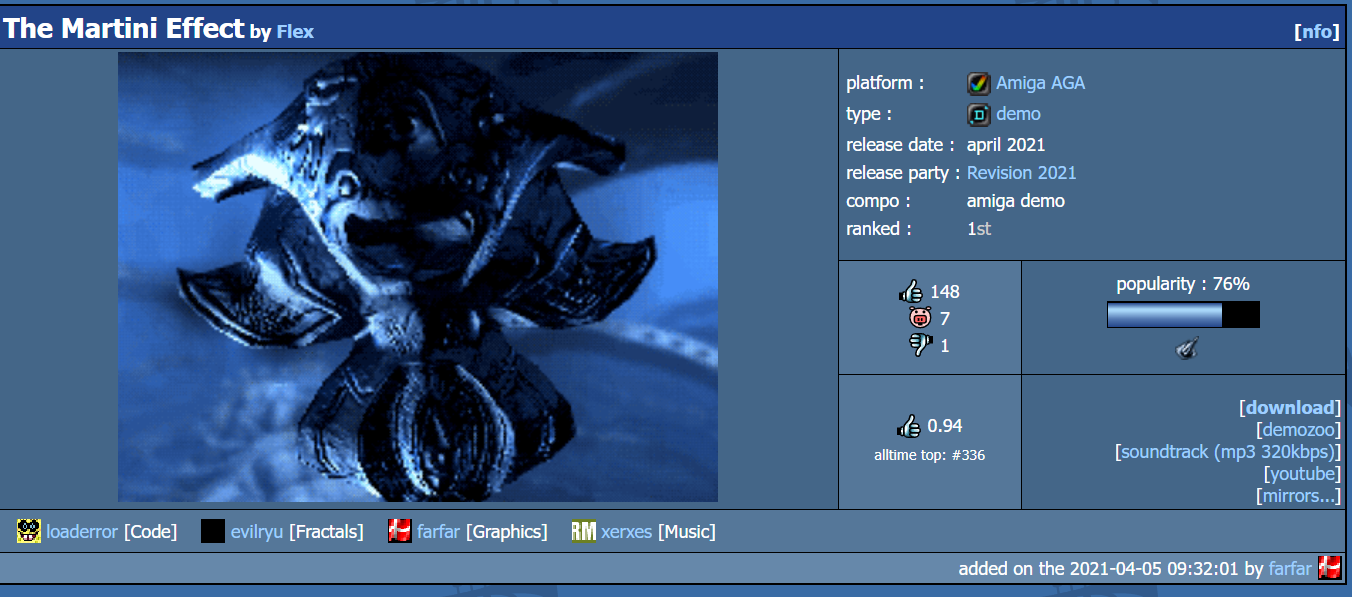
lets try a demo?
search “martini” as prod

Download
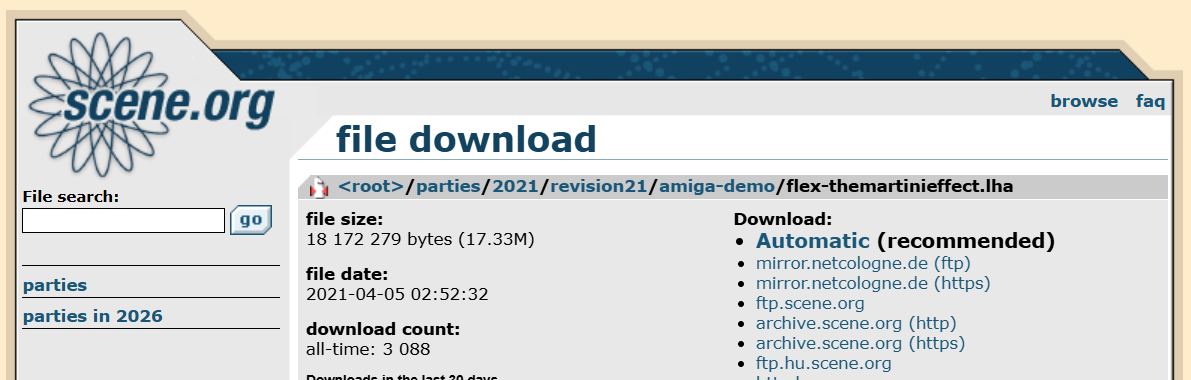
mount the lha file as usual. reboot
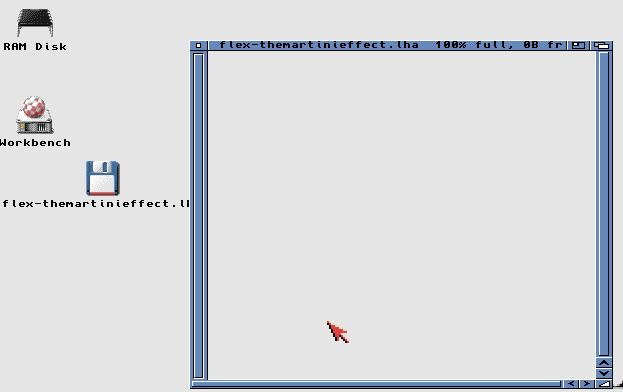
Empty? well rightclick hold menu window -> show all files
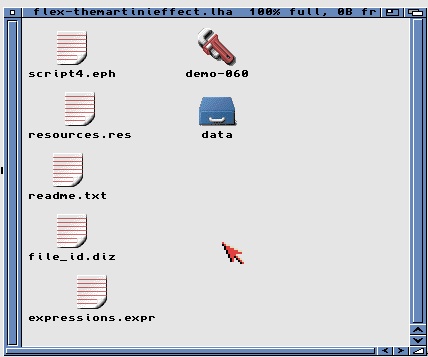
Demo-060
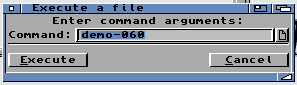
Execute
nagged about writeprotected but started.
BUT bugs out?!
yeah demos 🙂 they usually do not like being run from WB 🙂
Reset hold down both mousebuttons
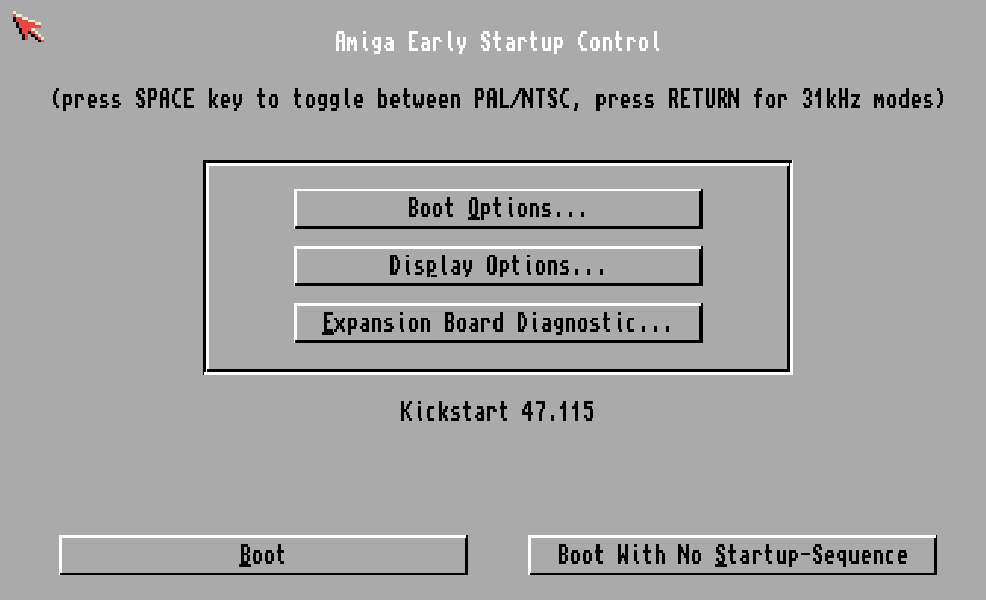
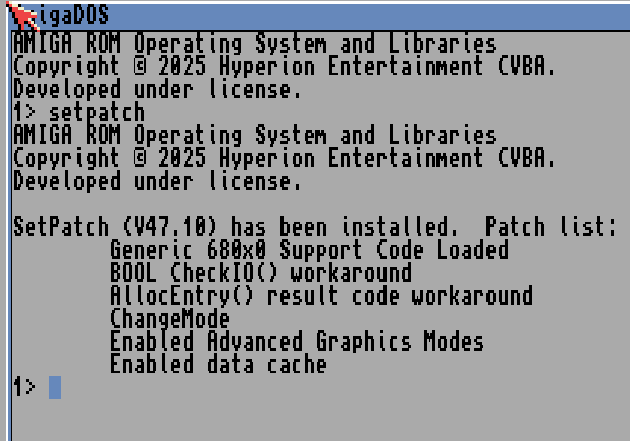
Boot with no startup-sequence
write setpatch and enter (THIS is important as it enables the FPU)
write “info” and return and see what device disk was mounted at
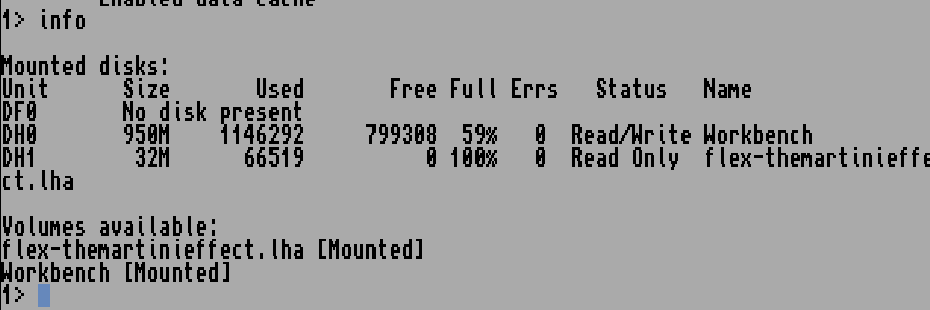
DH1
so write dh1:
dir
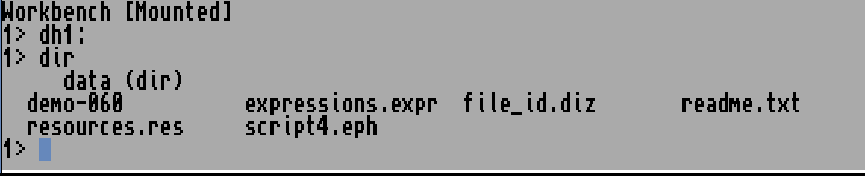
demo-060
Nag about write protected cancel. and it runs!
VOILA!!
You now have your “own” Highend Amiga. with RTG, AHI 16 bit audio..